Intercom
エージェントサービスをIntercomに統合することで、エージェントが人間のサポート担当者として機能できるようになります。
GPTBotsエージェント用の管理者アカウントを作成する
Intercomアカウントにログインし、エージェントを作成したいワークスペースを選択します。
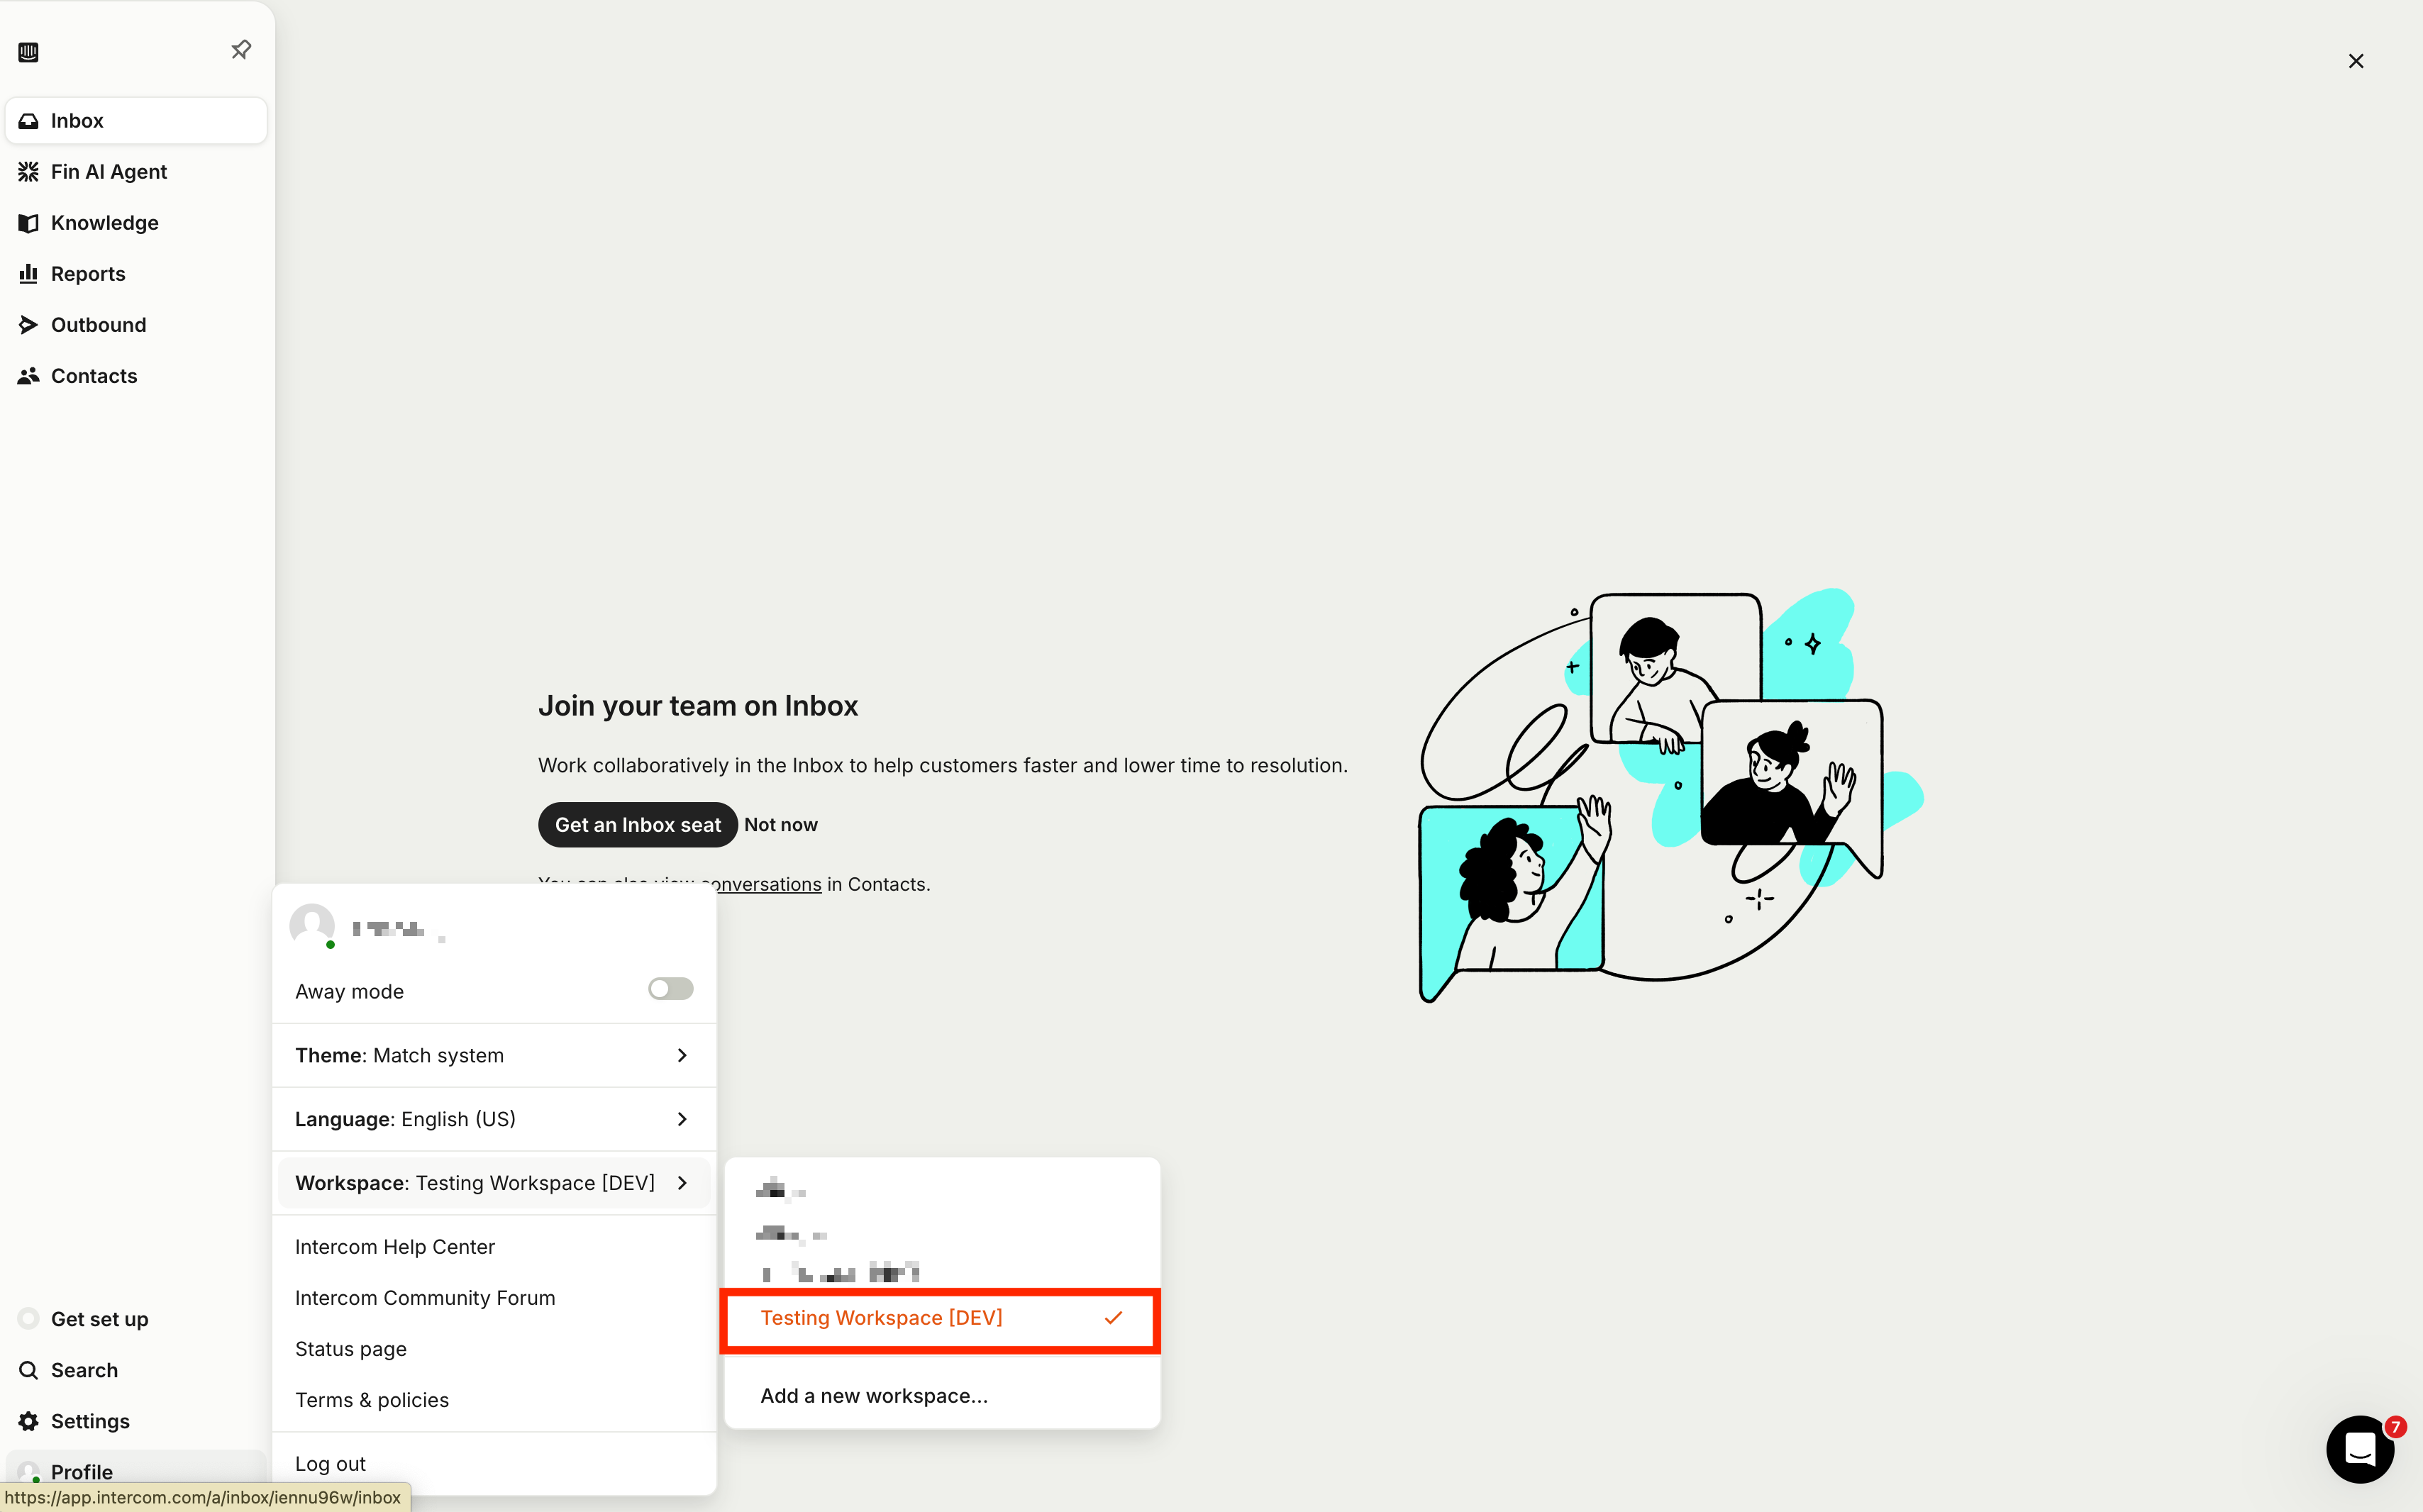
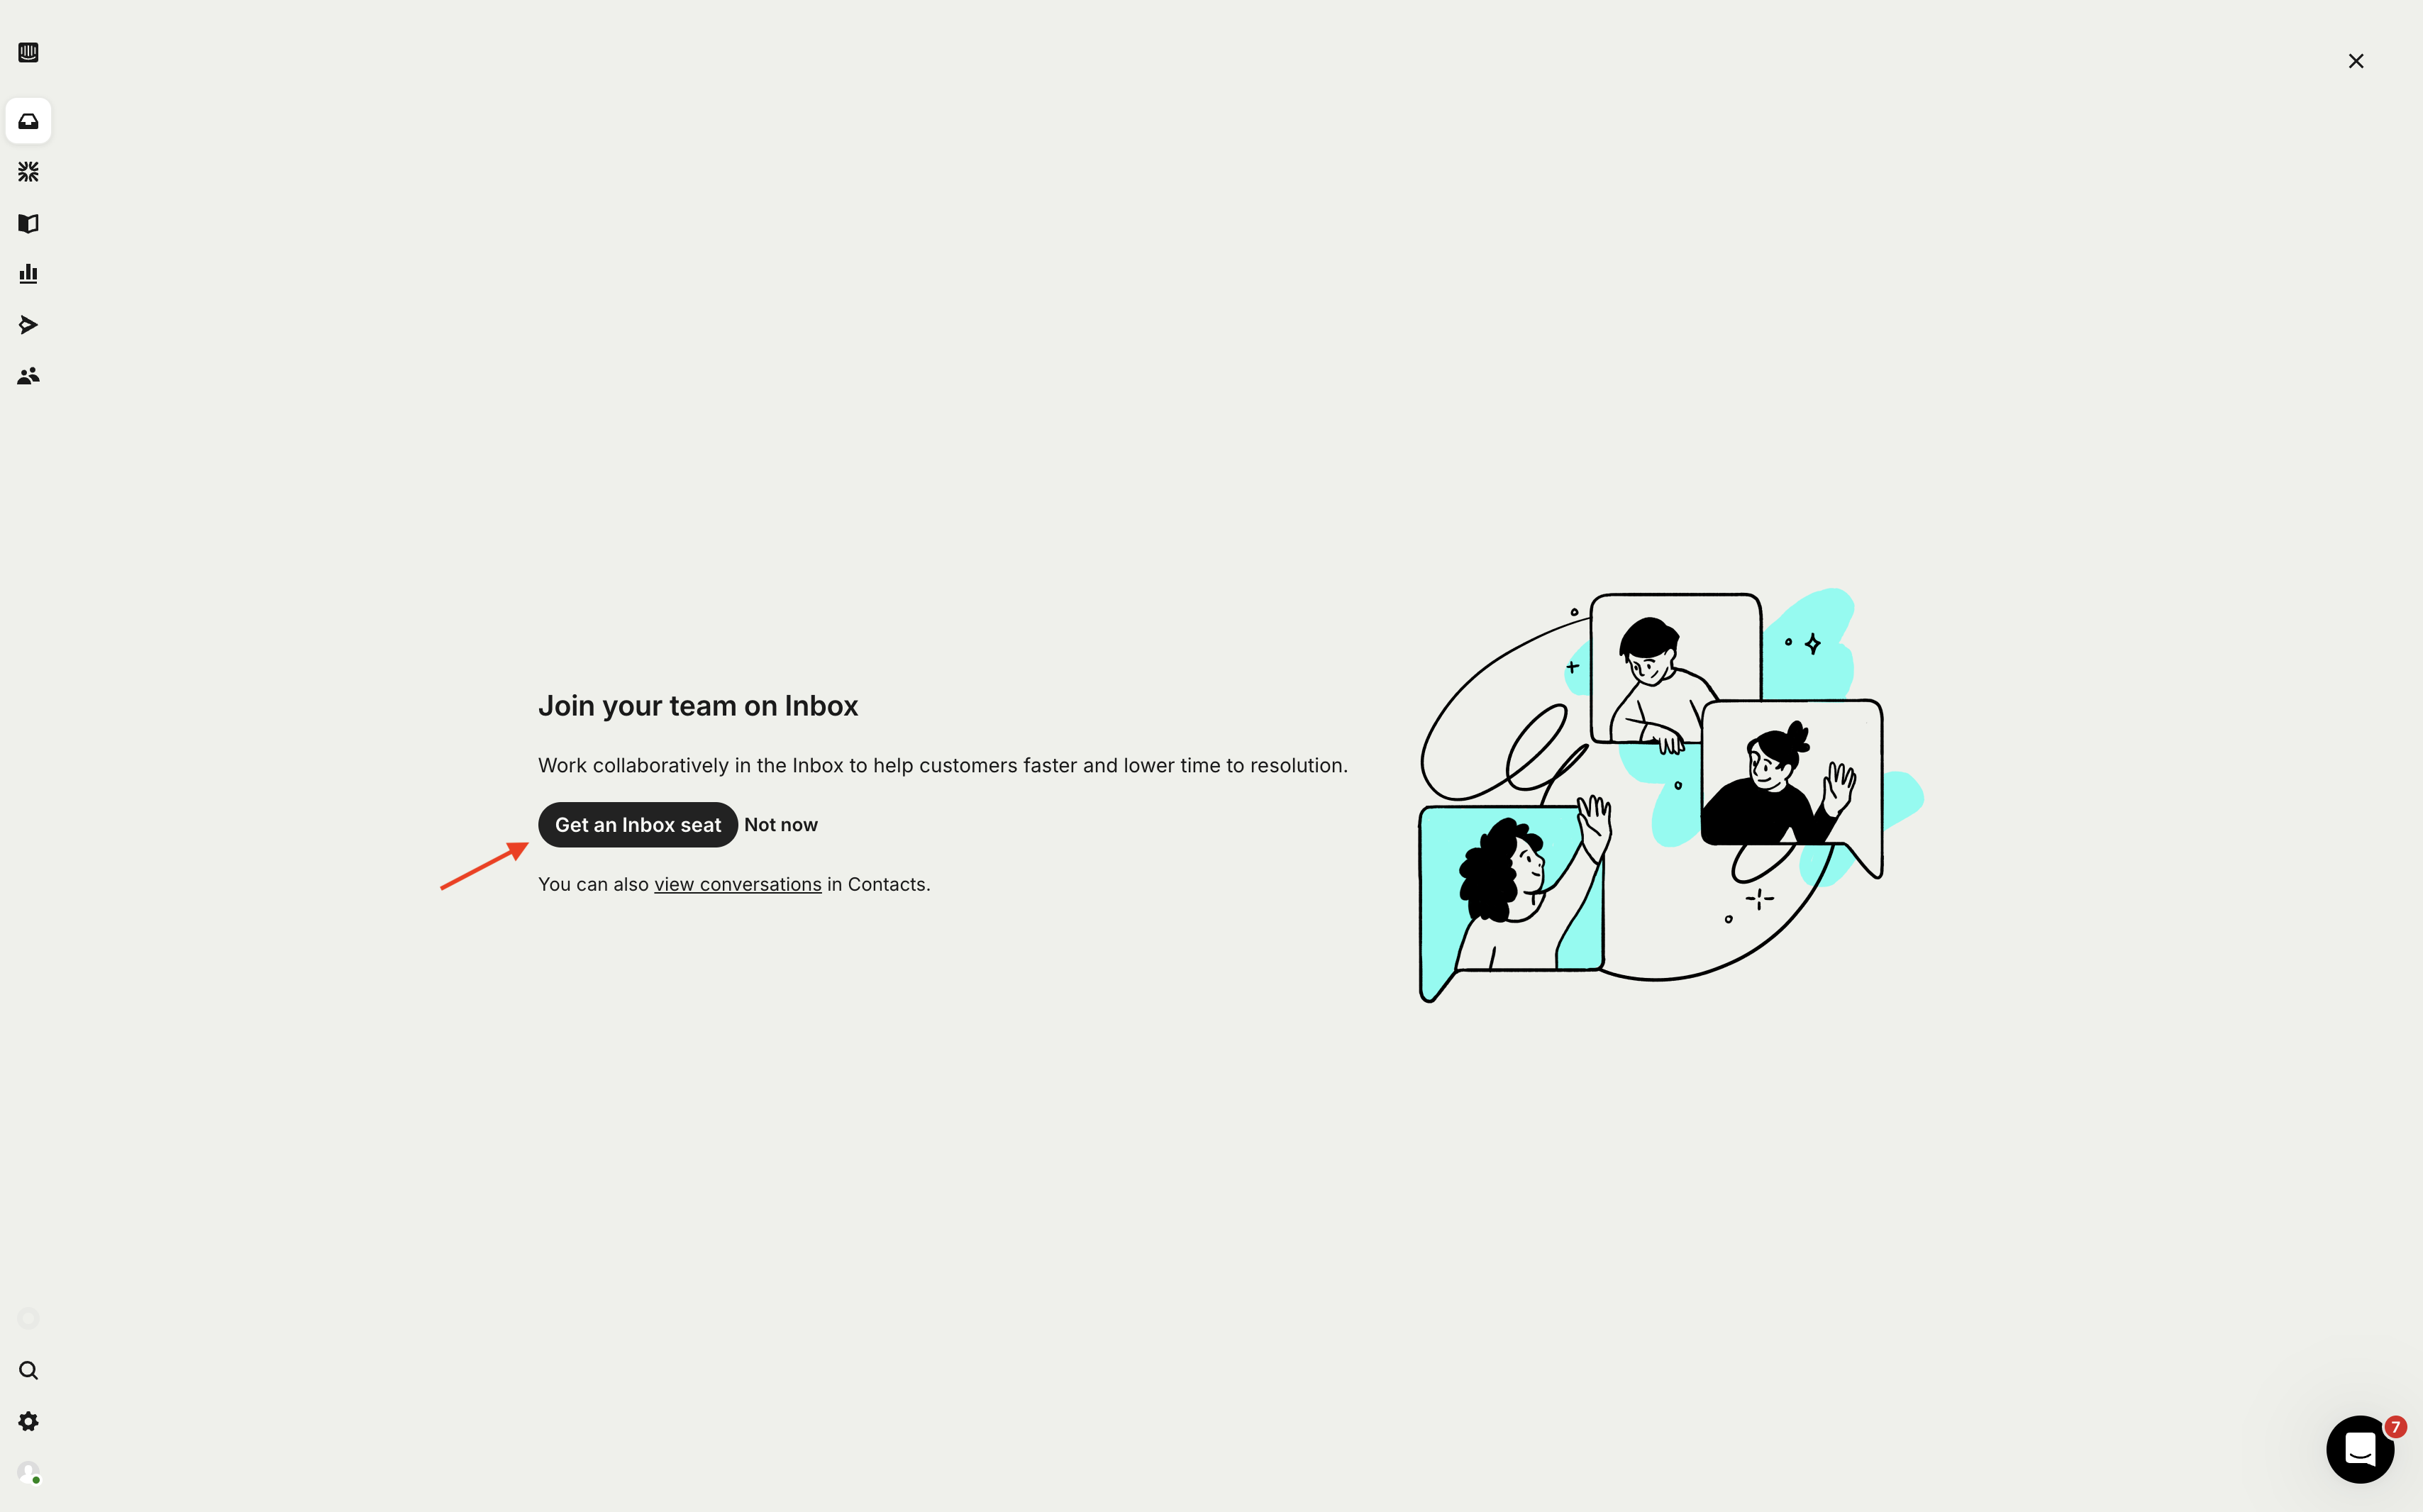
「Get an Inbox seat」をクリックします。
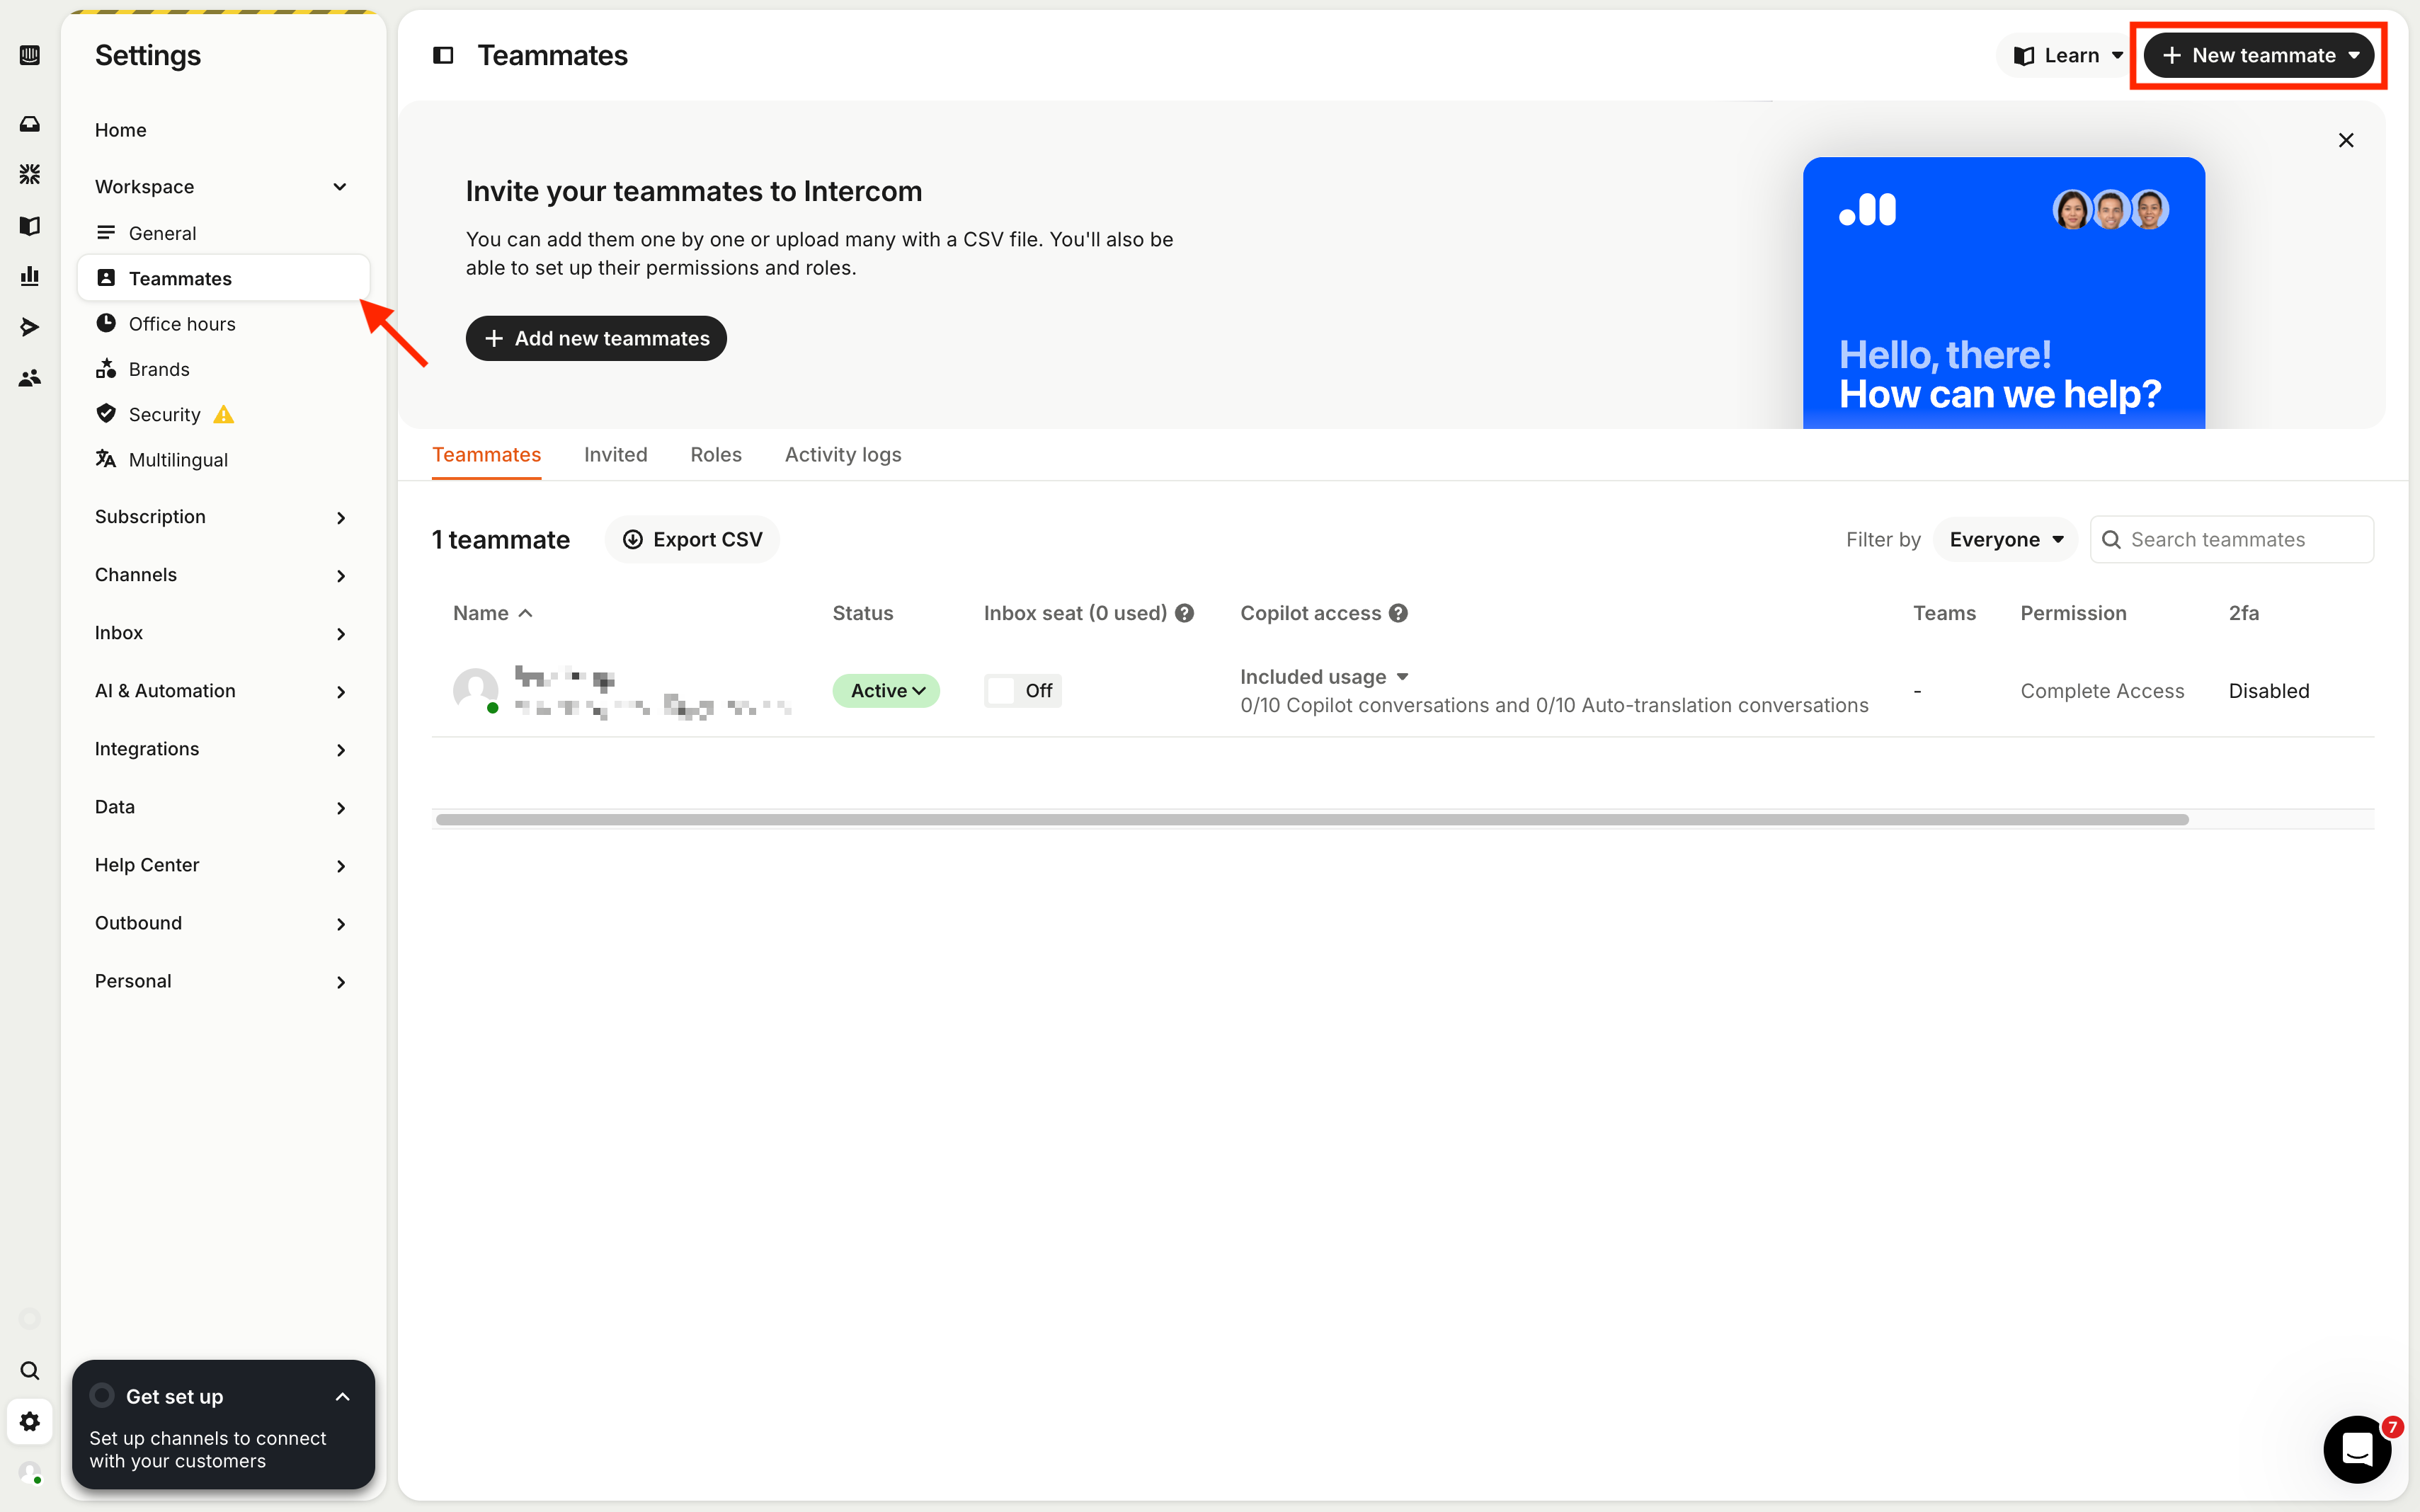
サイドバーの「Teammates」セクションに移動し、右上の「Add New Teammate」をクリックします。
AIエージェントで使用するメールアドレスを入力します。
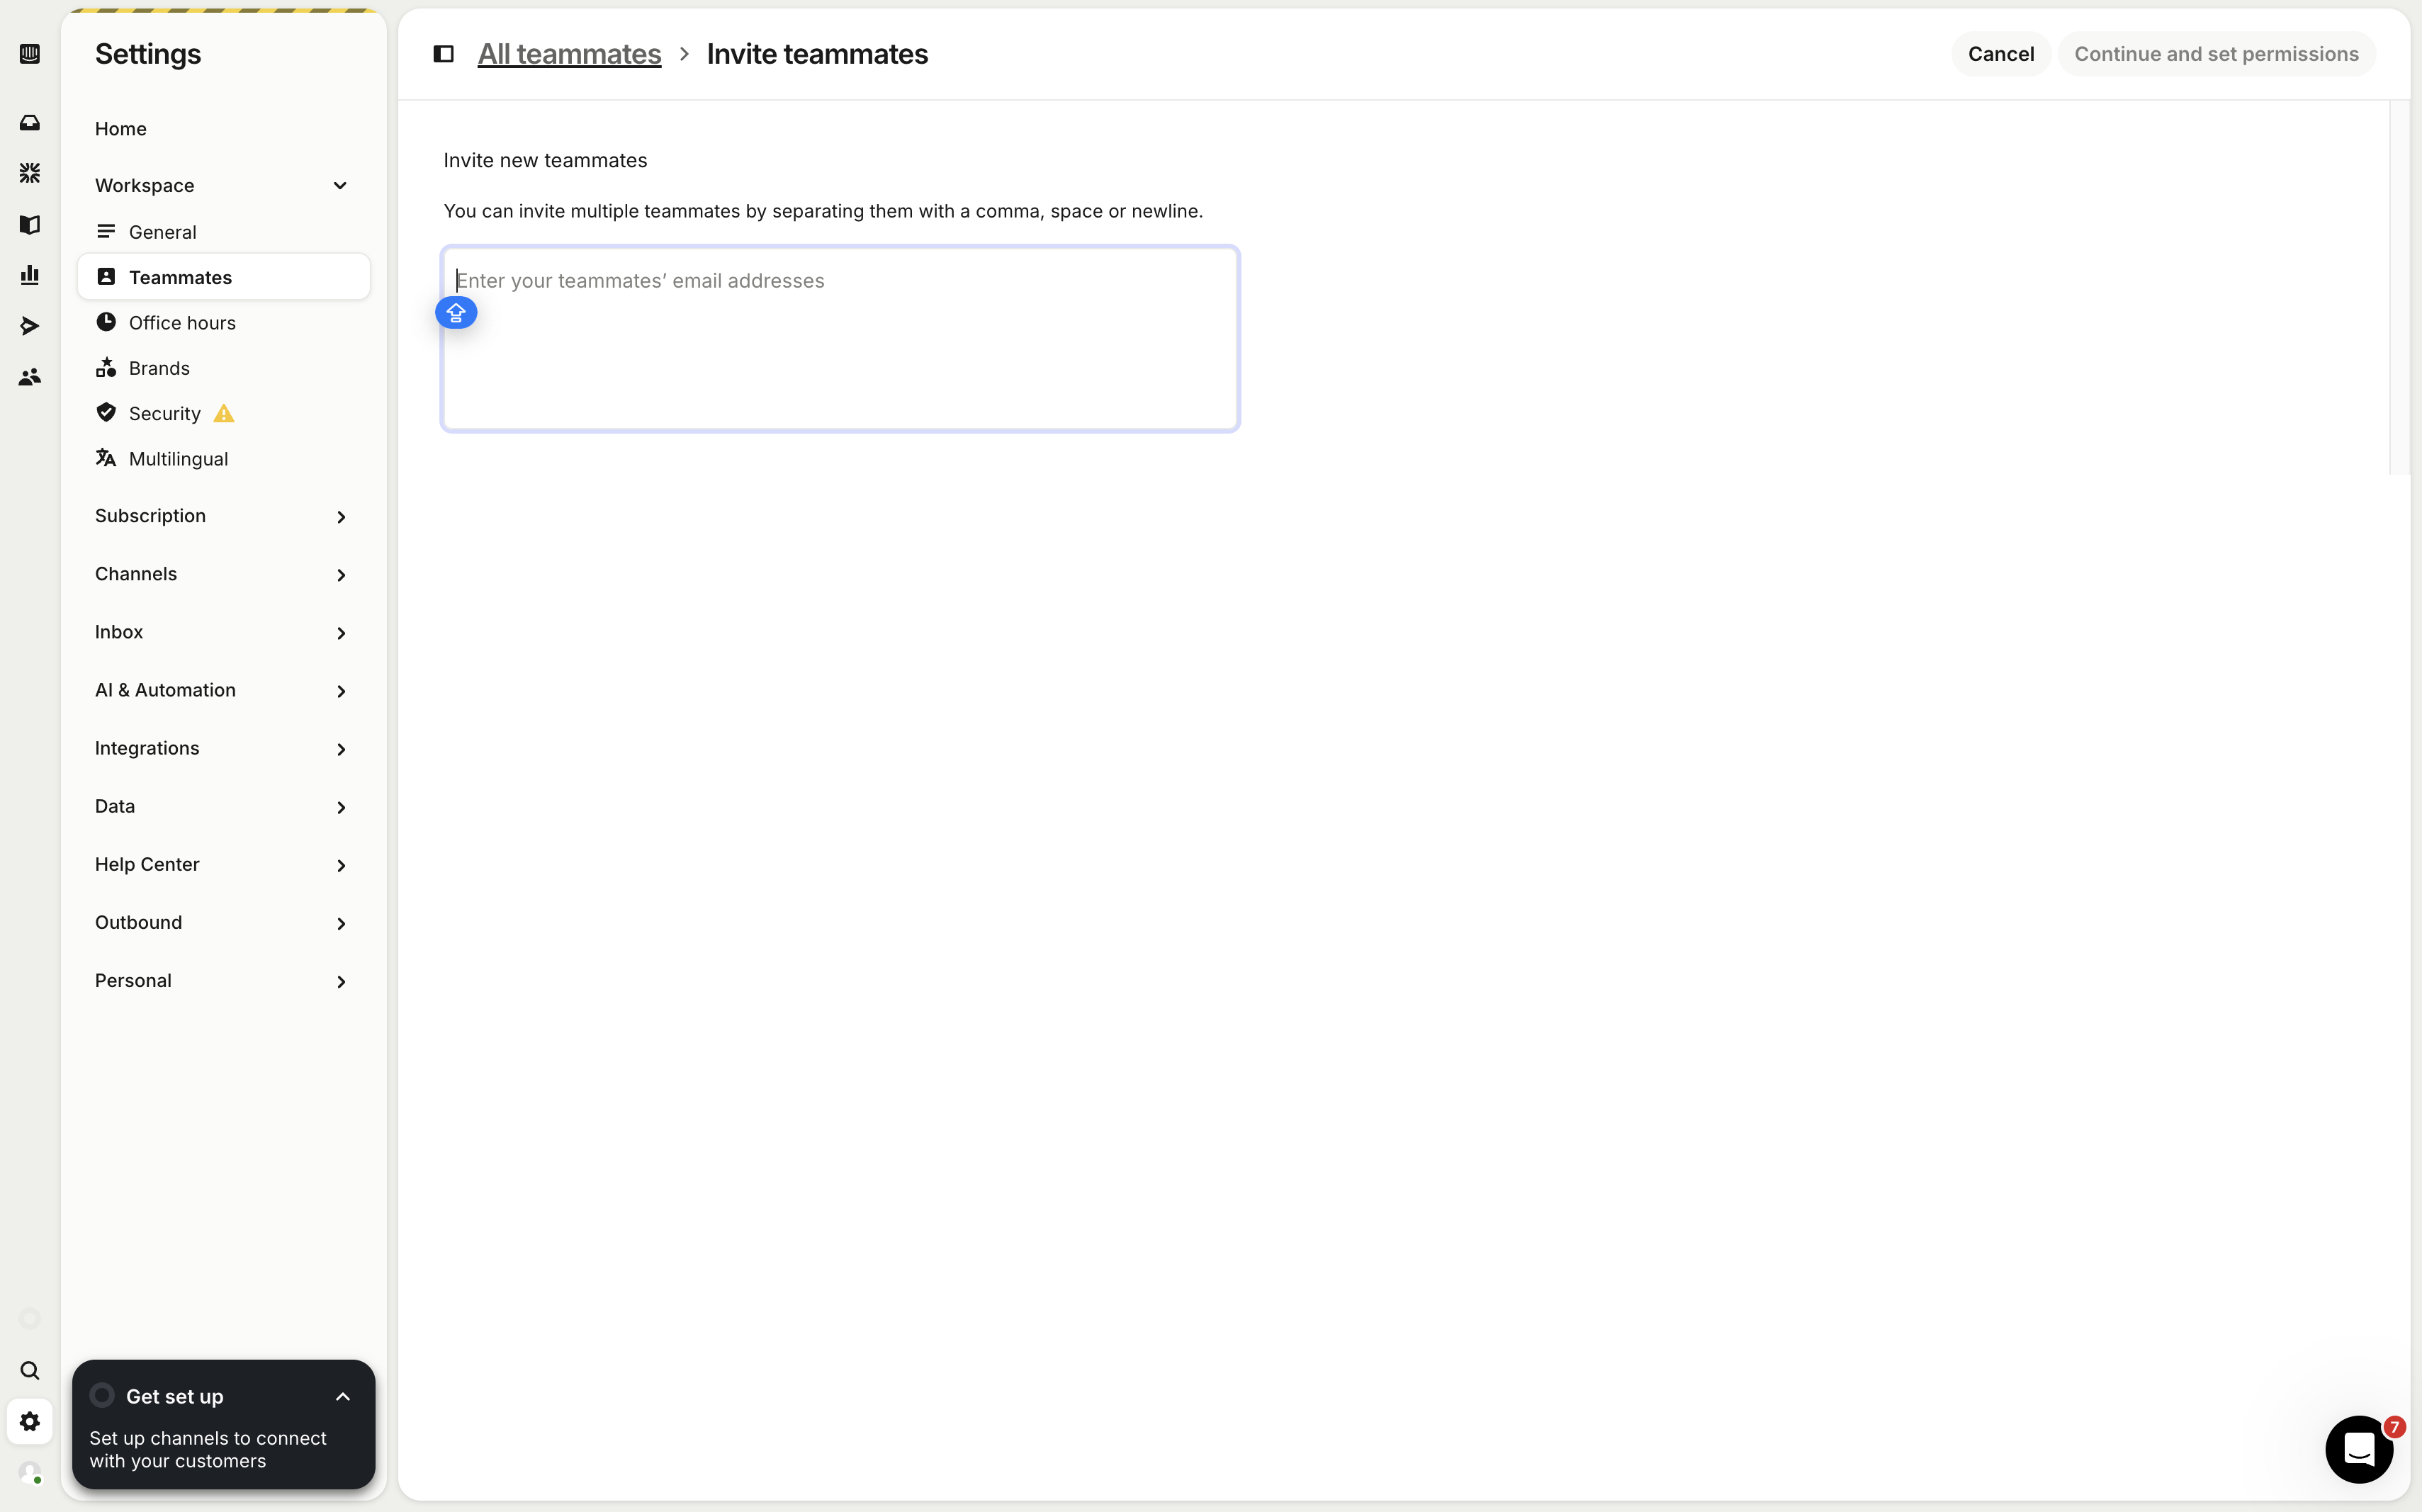
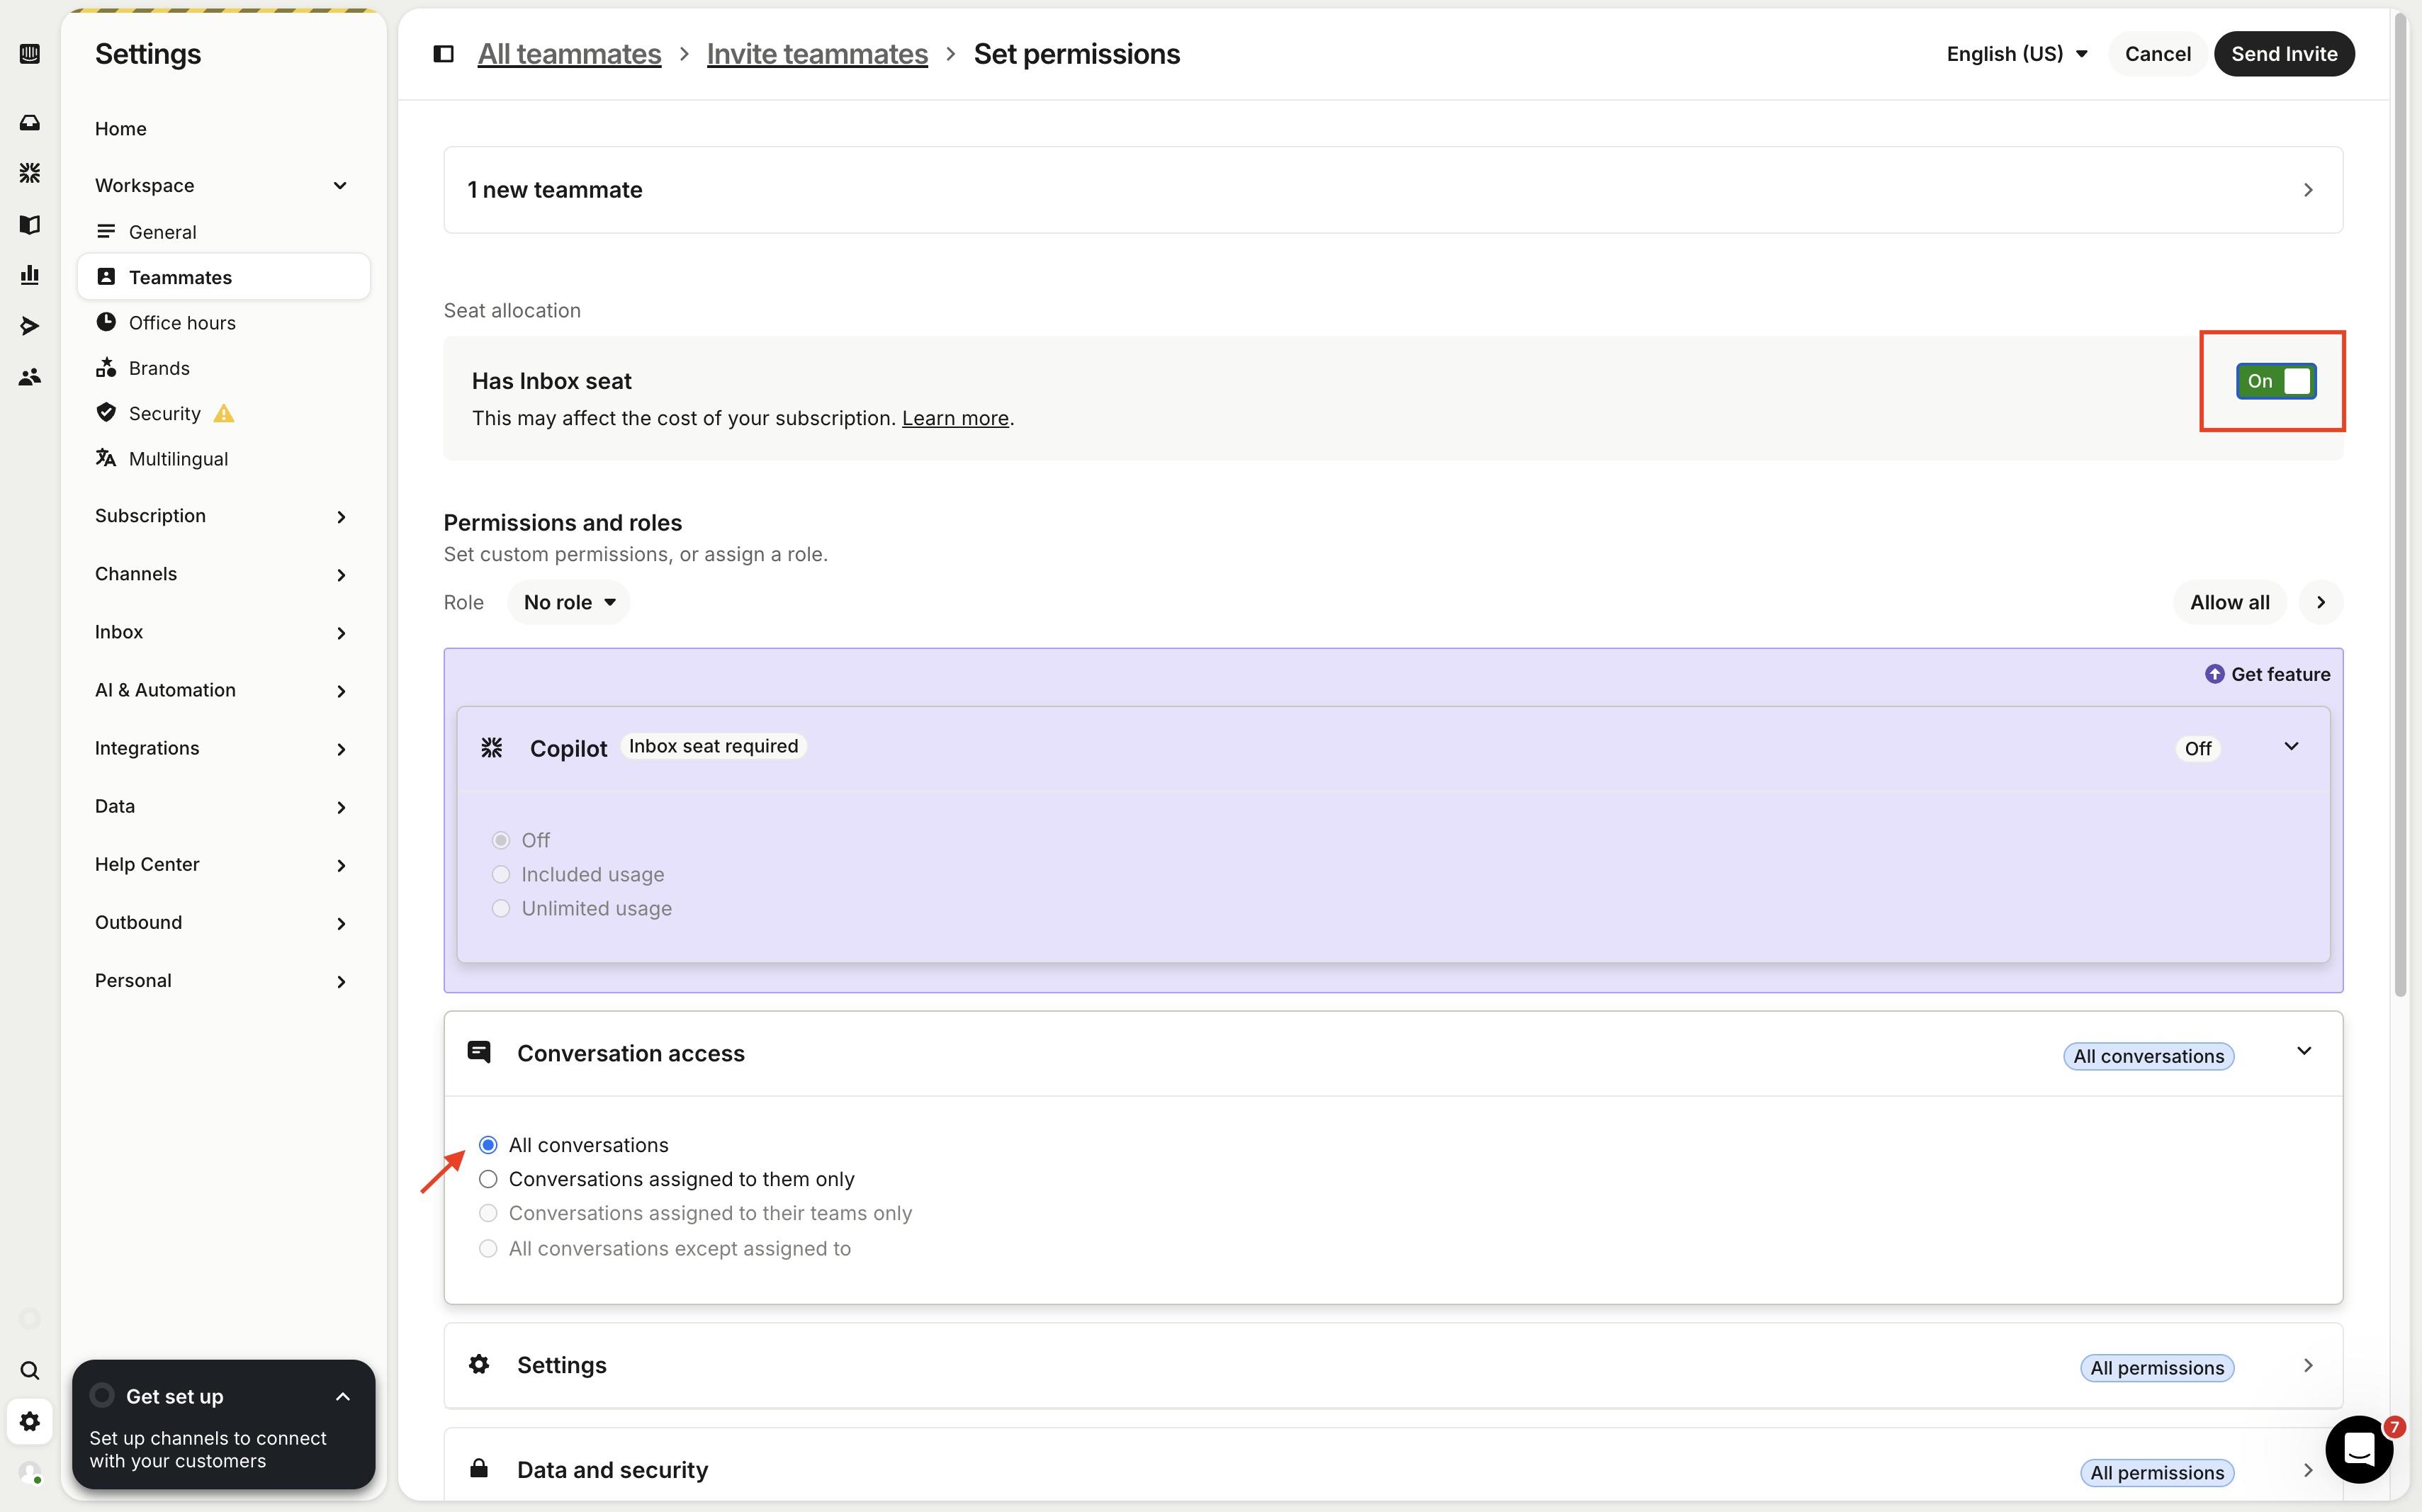
このAIエージェント管理者アカウントにInbox seatとすべての会話へのアクセス権限を付与し、「Send Invite」をクリックします。
エージェントのメールに届いた招待を受け取り、チームに参加します。
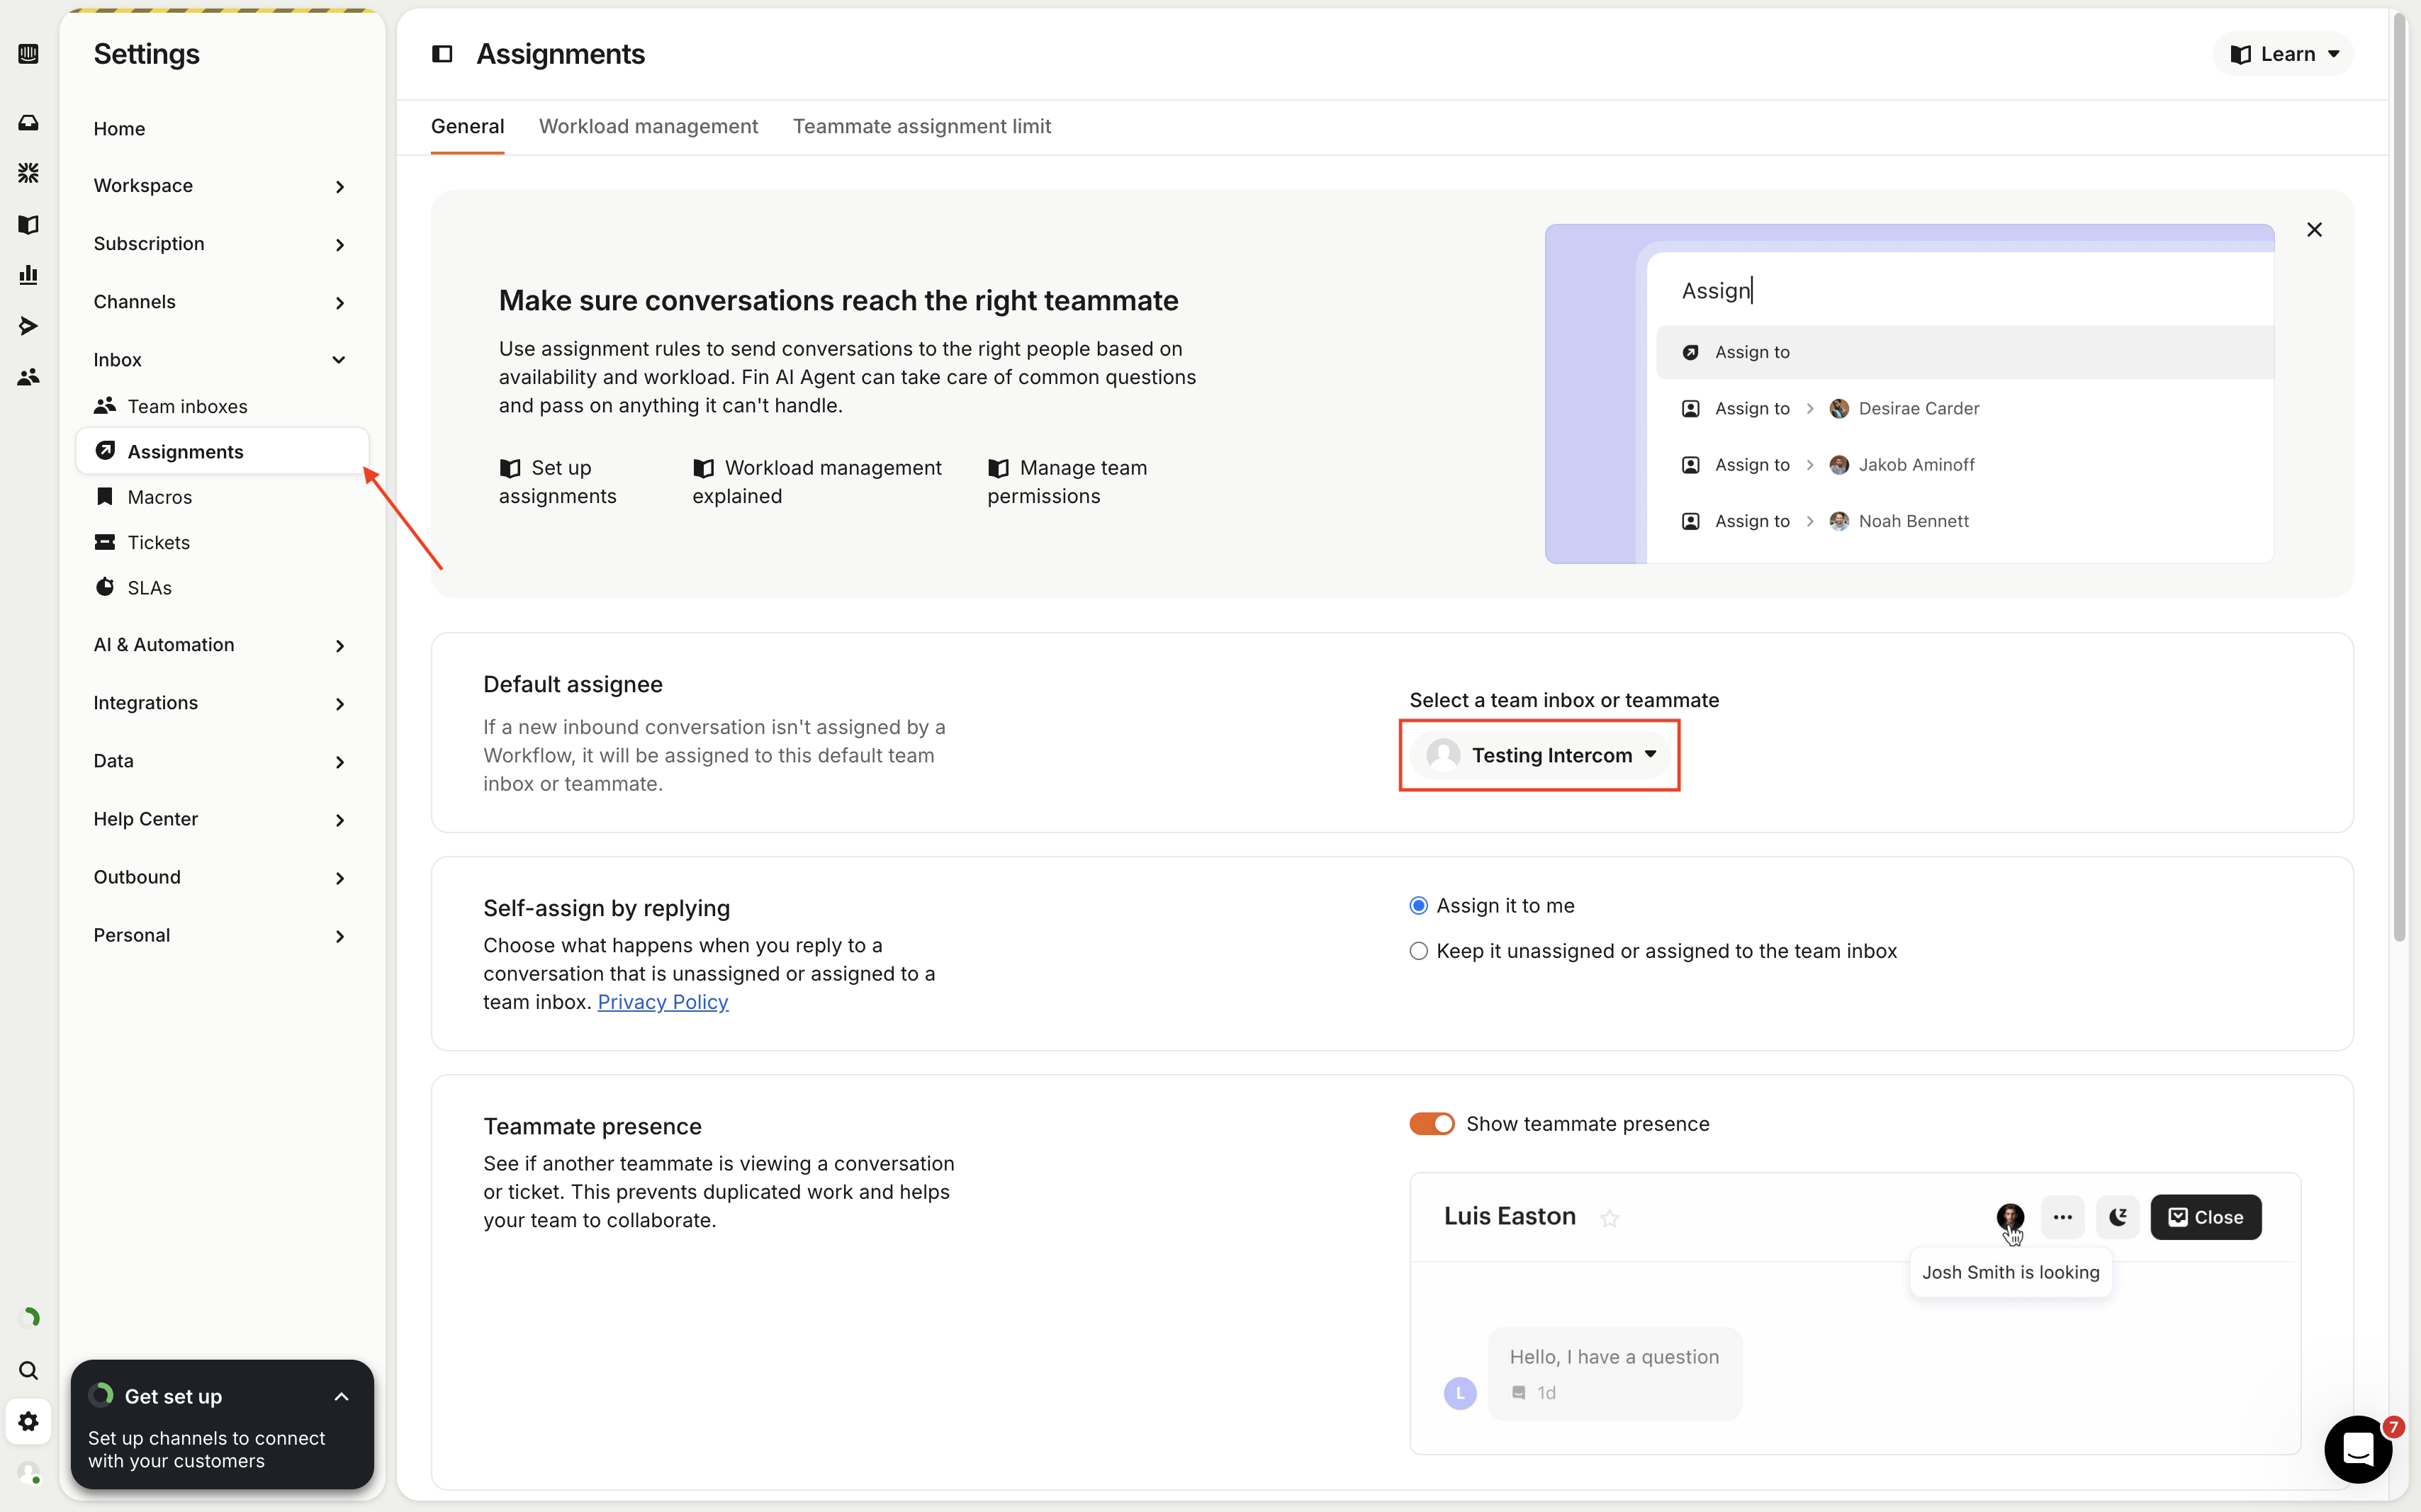
次に、このエージェントアカウントがすべてのユーザーメッセージに自動返信できるように設定します。サイドバーの「Assignments」をクリックし、「Default assignee」を見つけて、先ほど設定したエージェントアカウントを選択します。
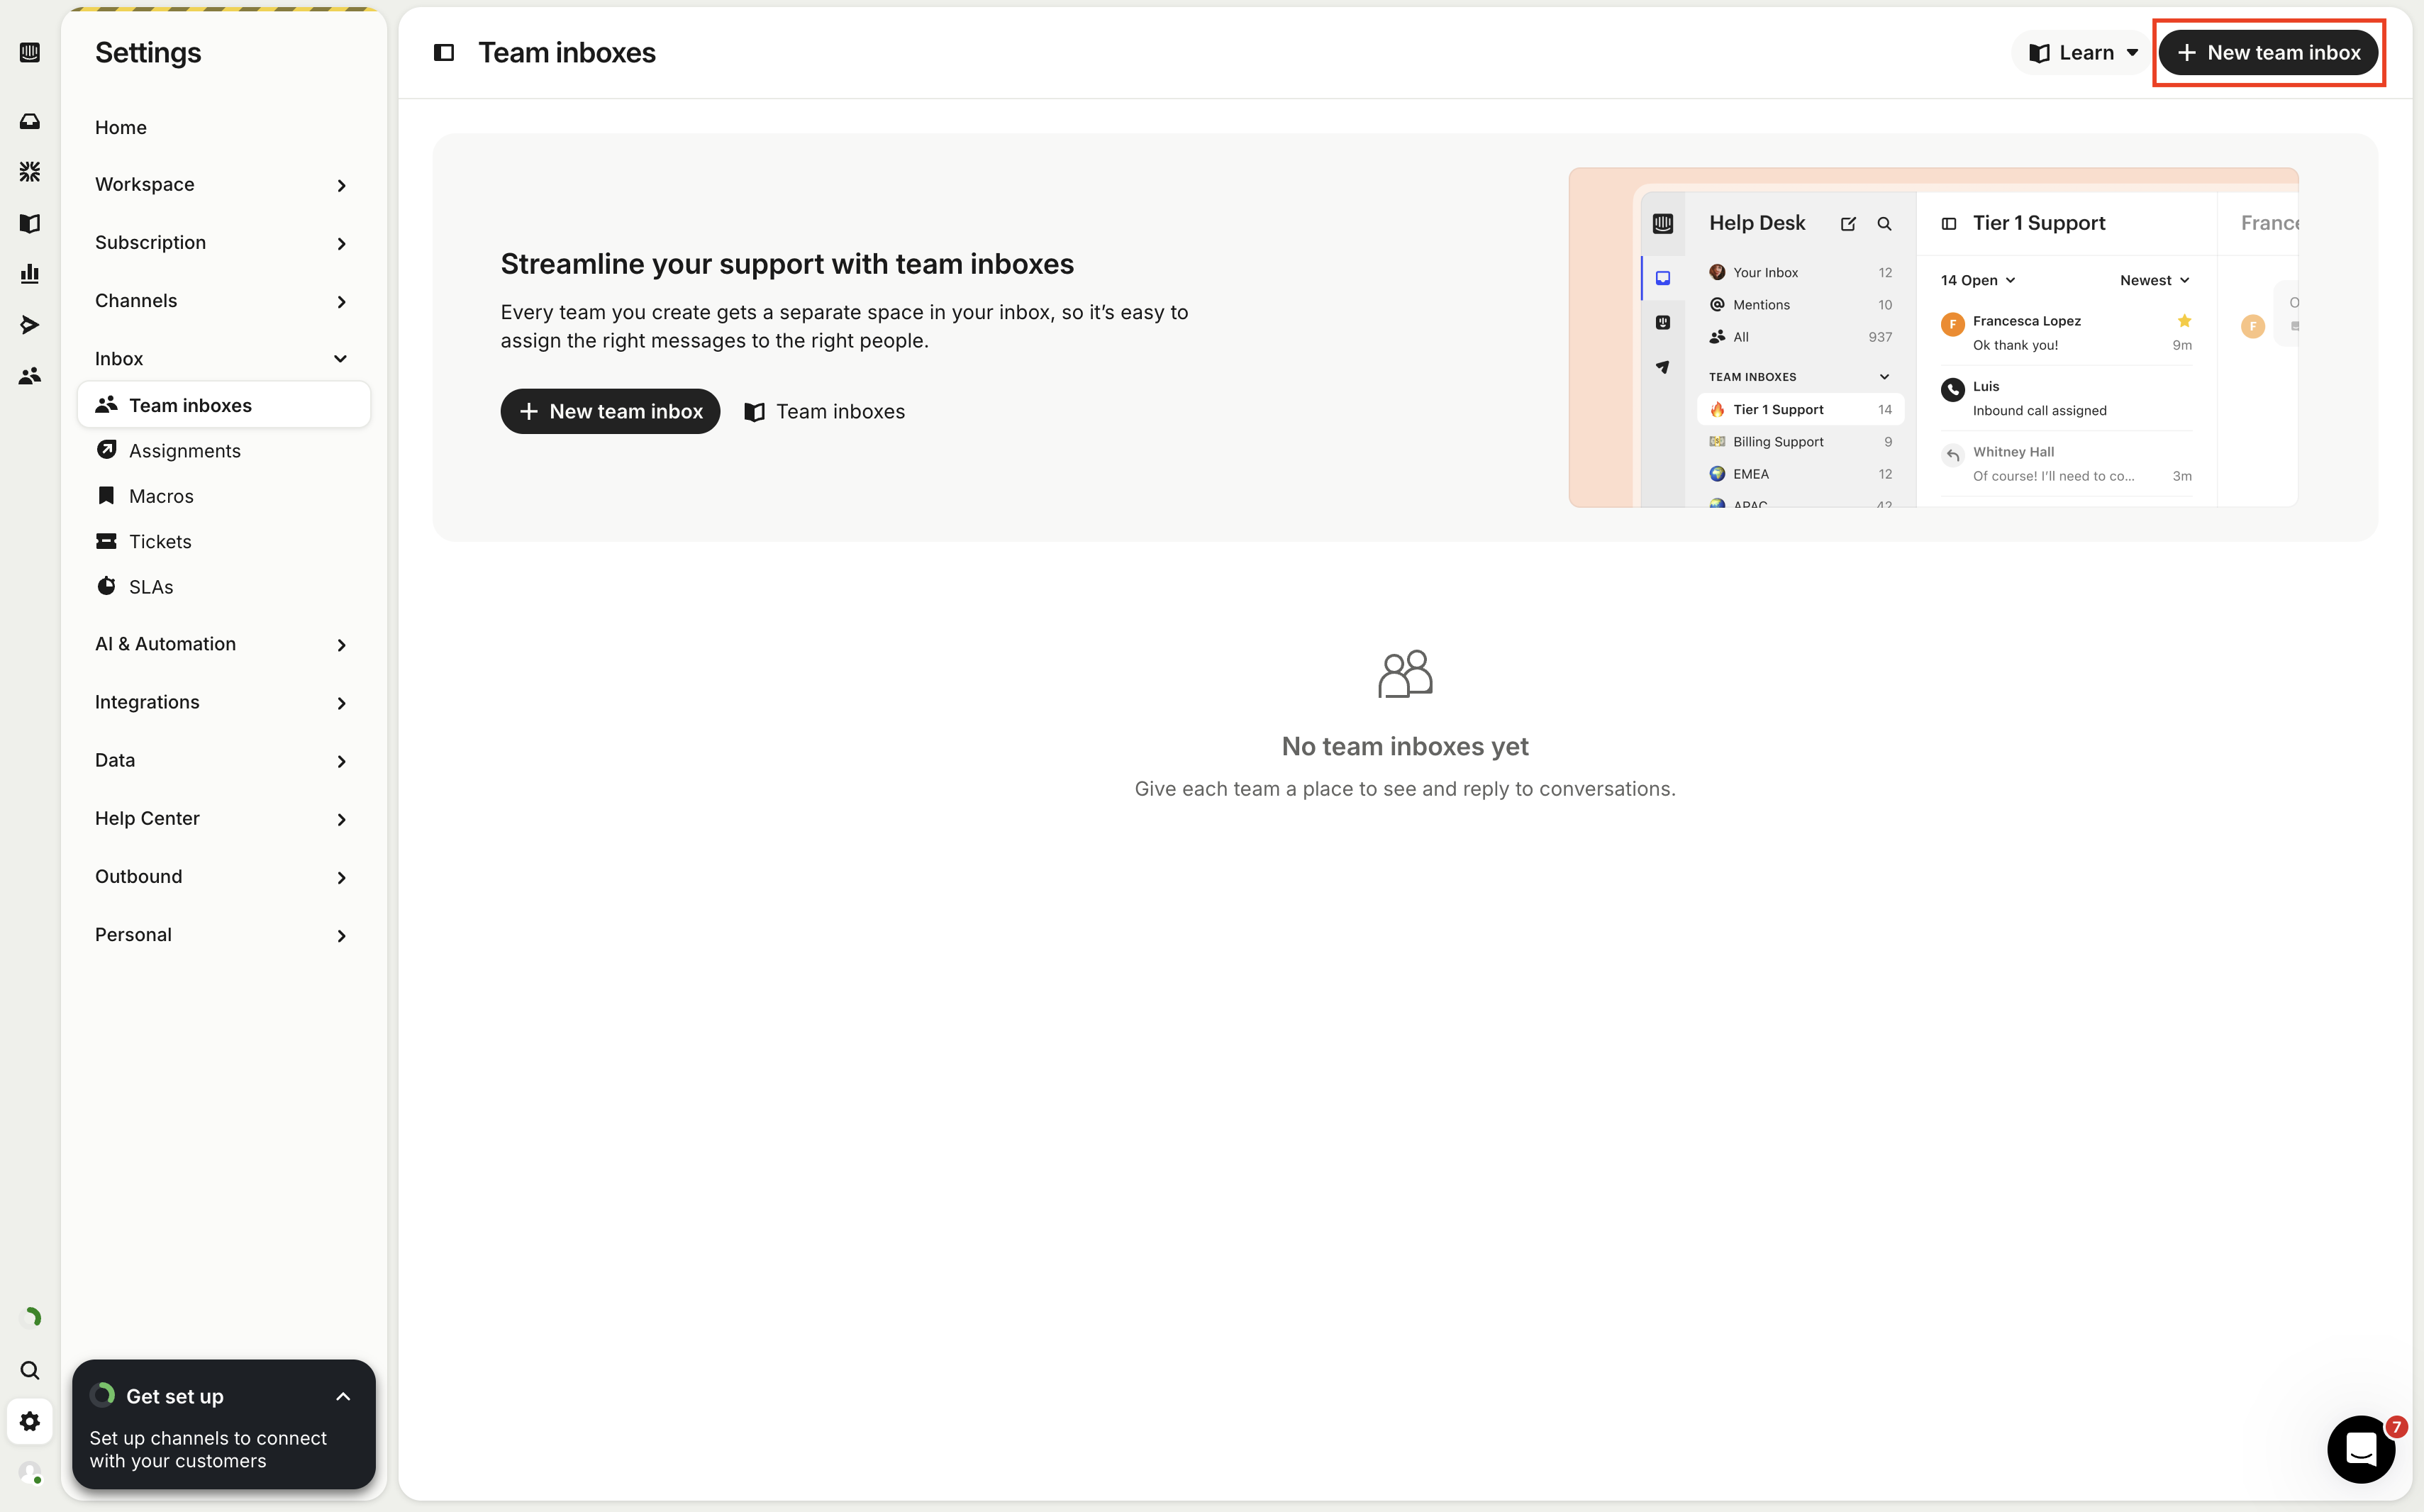
エージェントが人間サポートにエスカレーションする必要がある場合、会話を指定したサポートチームに転送できます。そのためには、まず少なくとも1つのサポートチームを作成する必要があります。すでにある場合はそれを使用し、なければ右上の「Add New Team Inbox」をクリックして新しいチームを作成します。
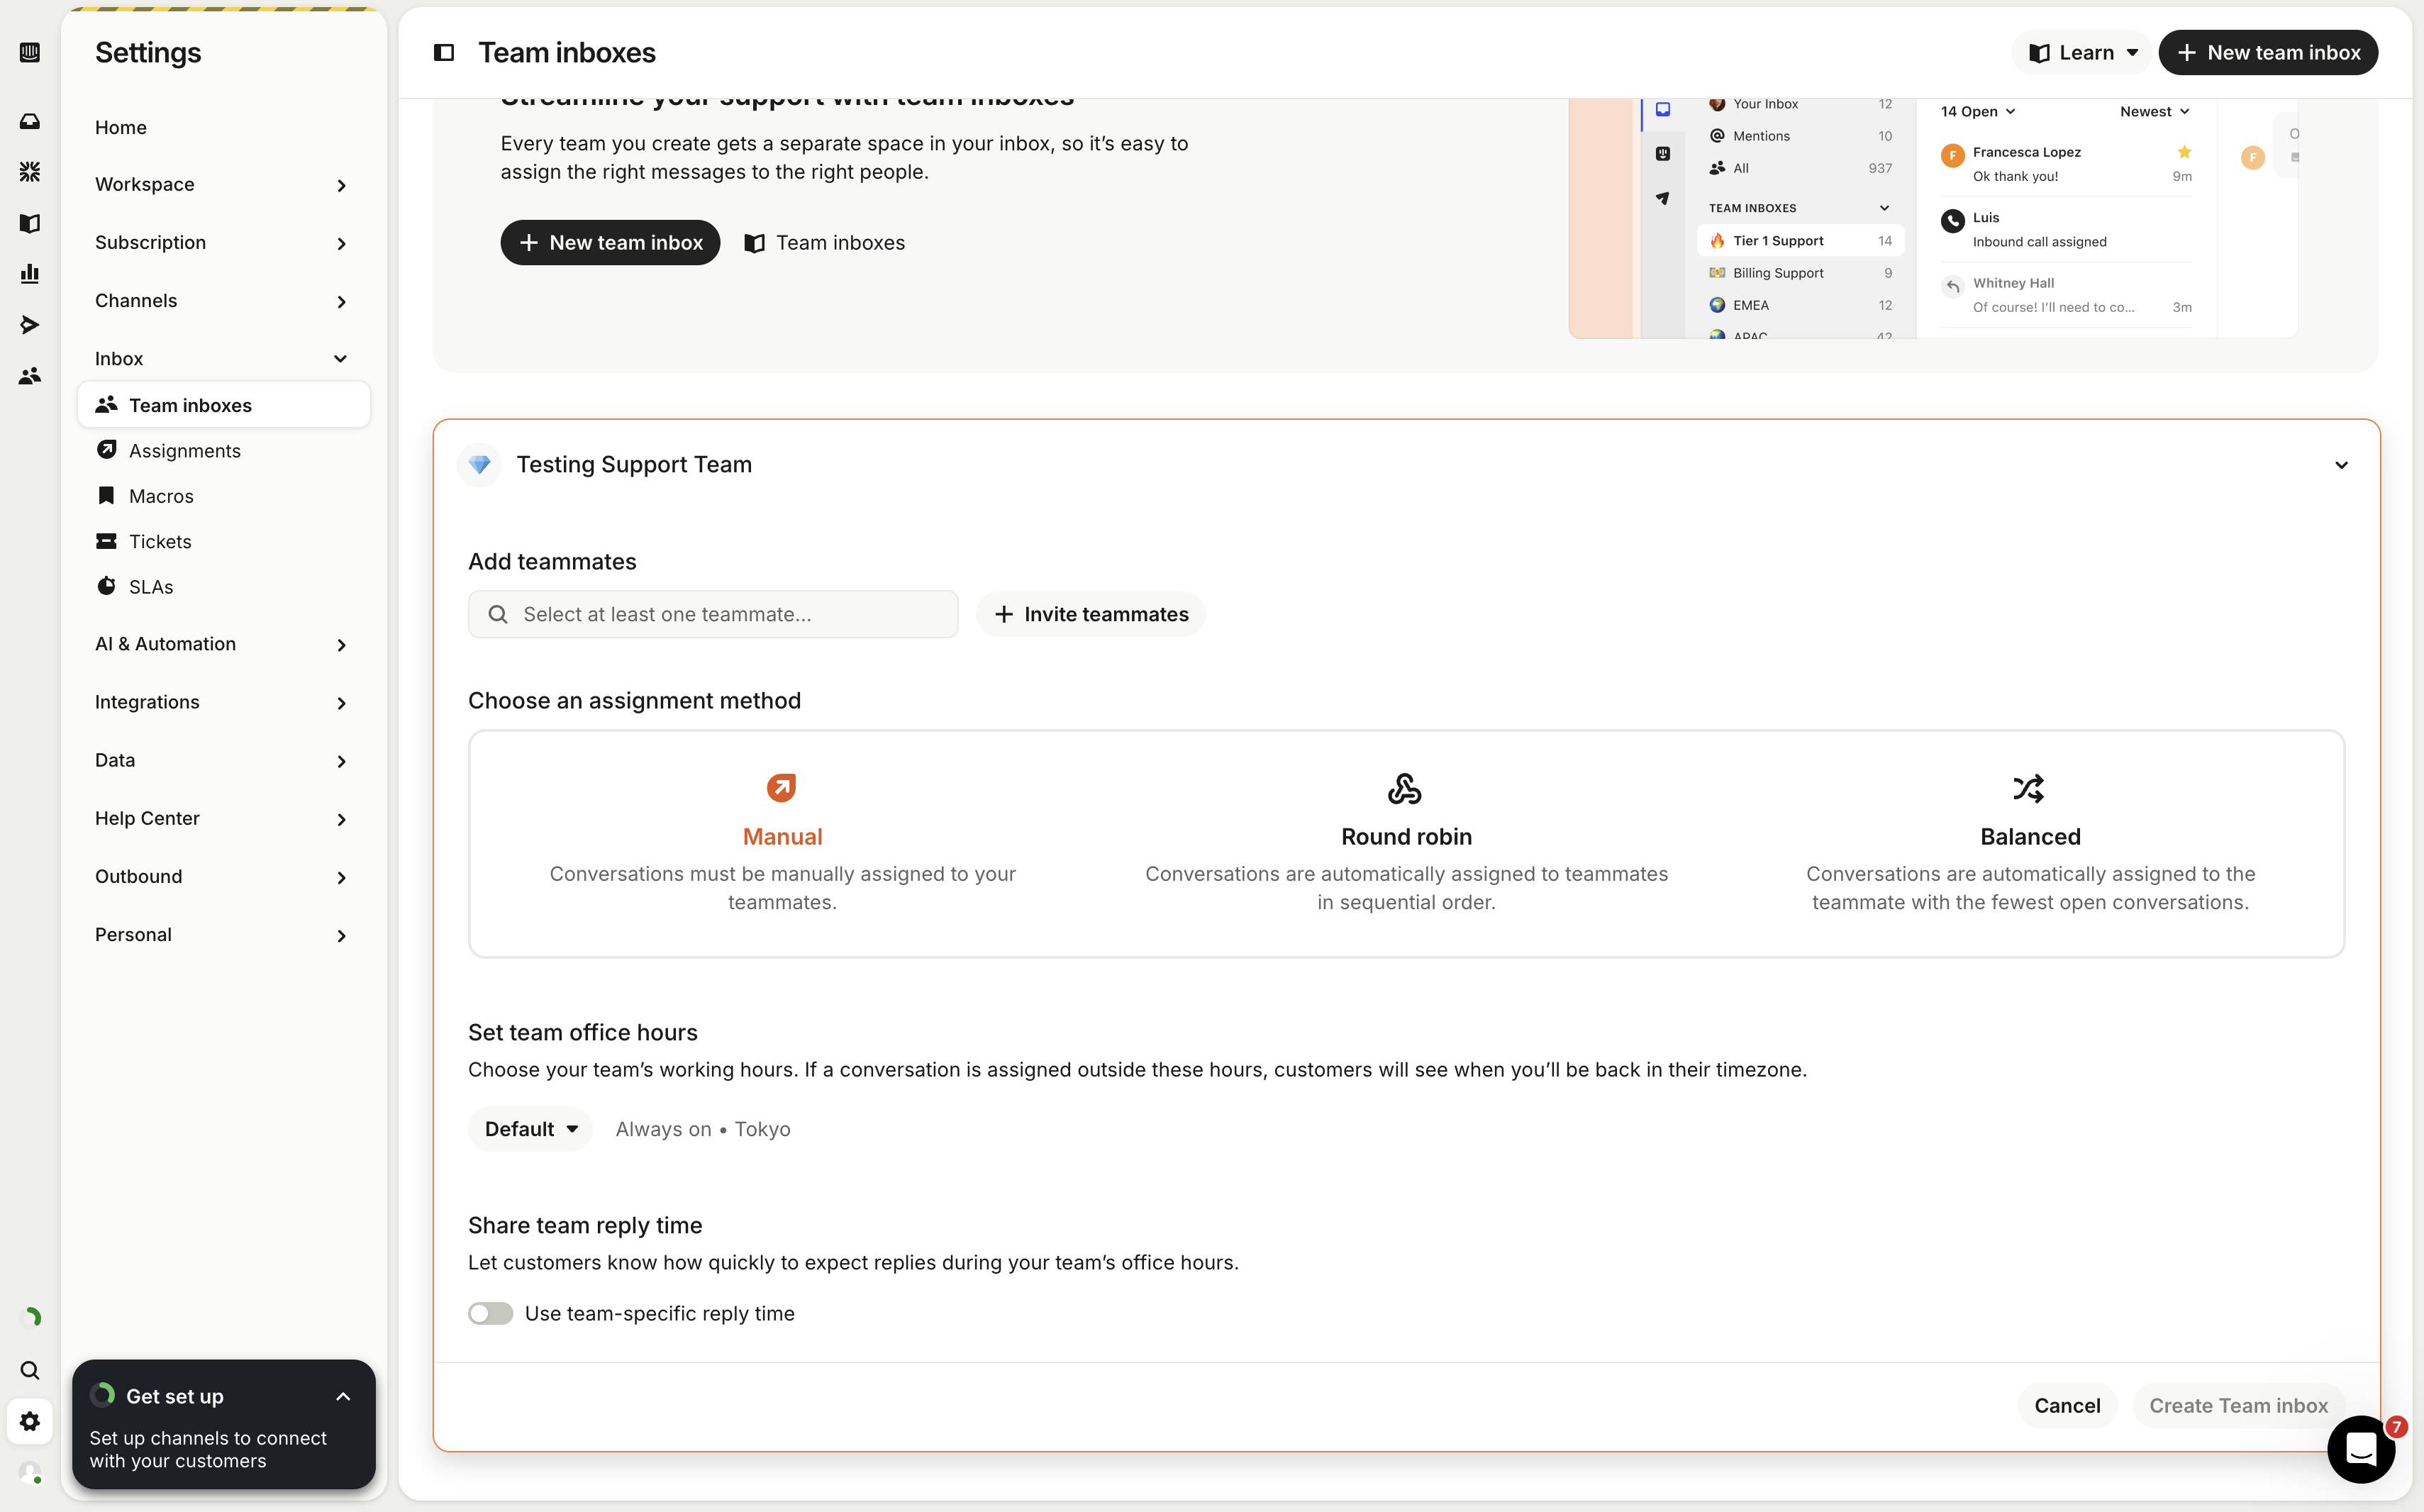
サポートチームの名前を付け、メンバーを追加し、割り当て方法などを選択します。最後に「Create Team Inbox」をクリックします。
GPTBots エージェントアプリの新規作成方法
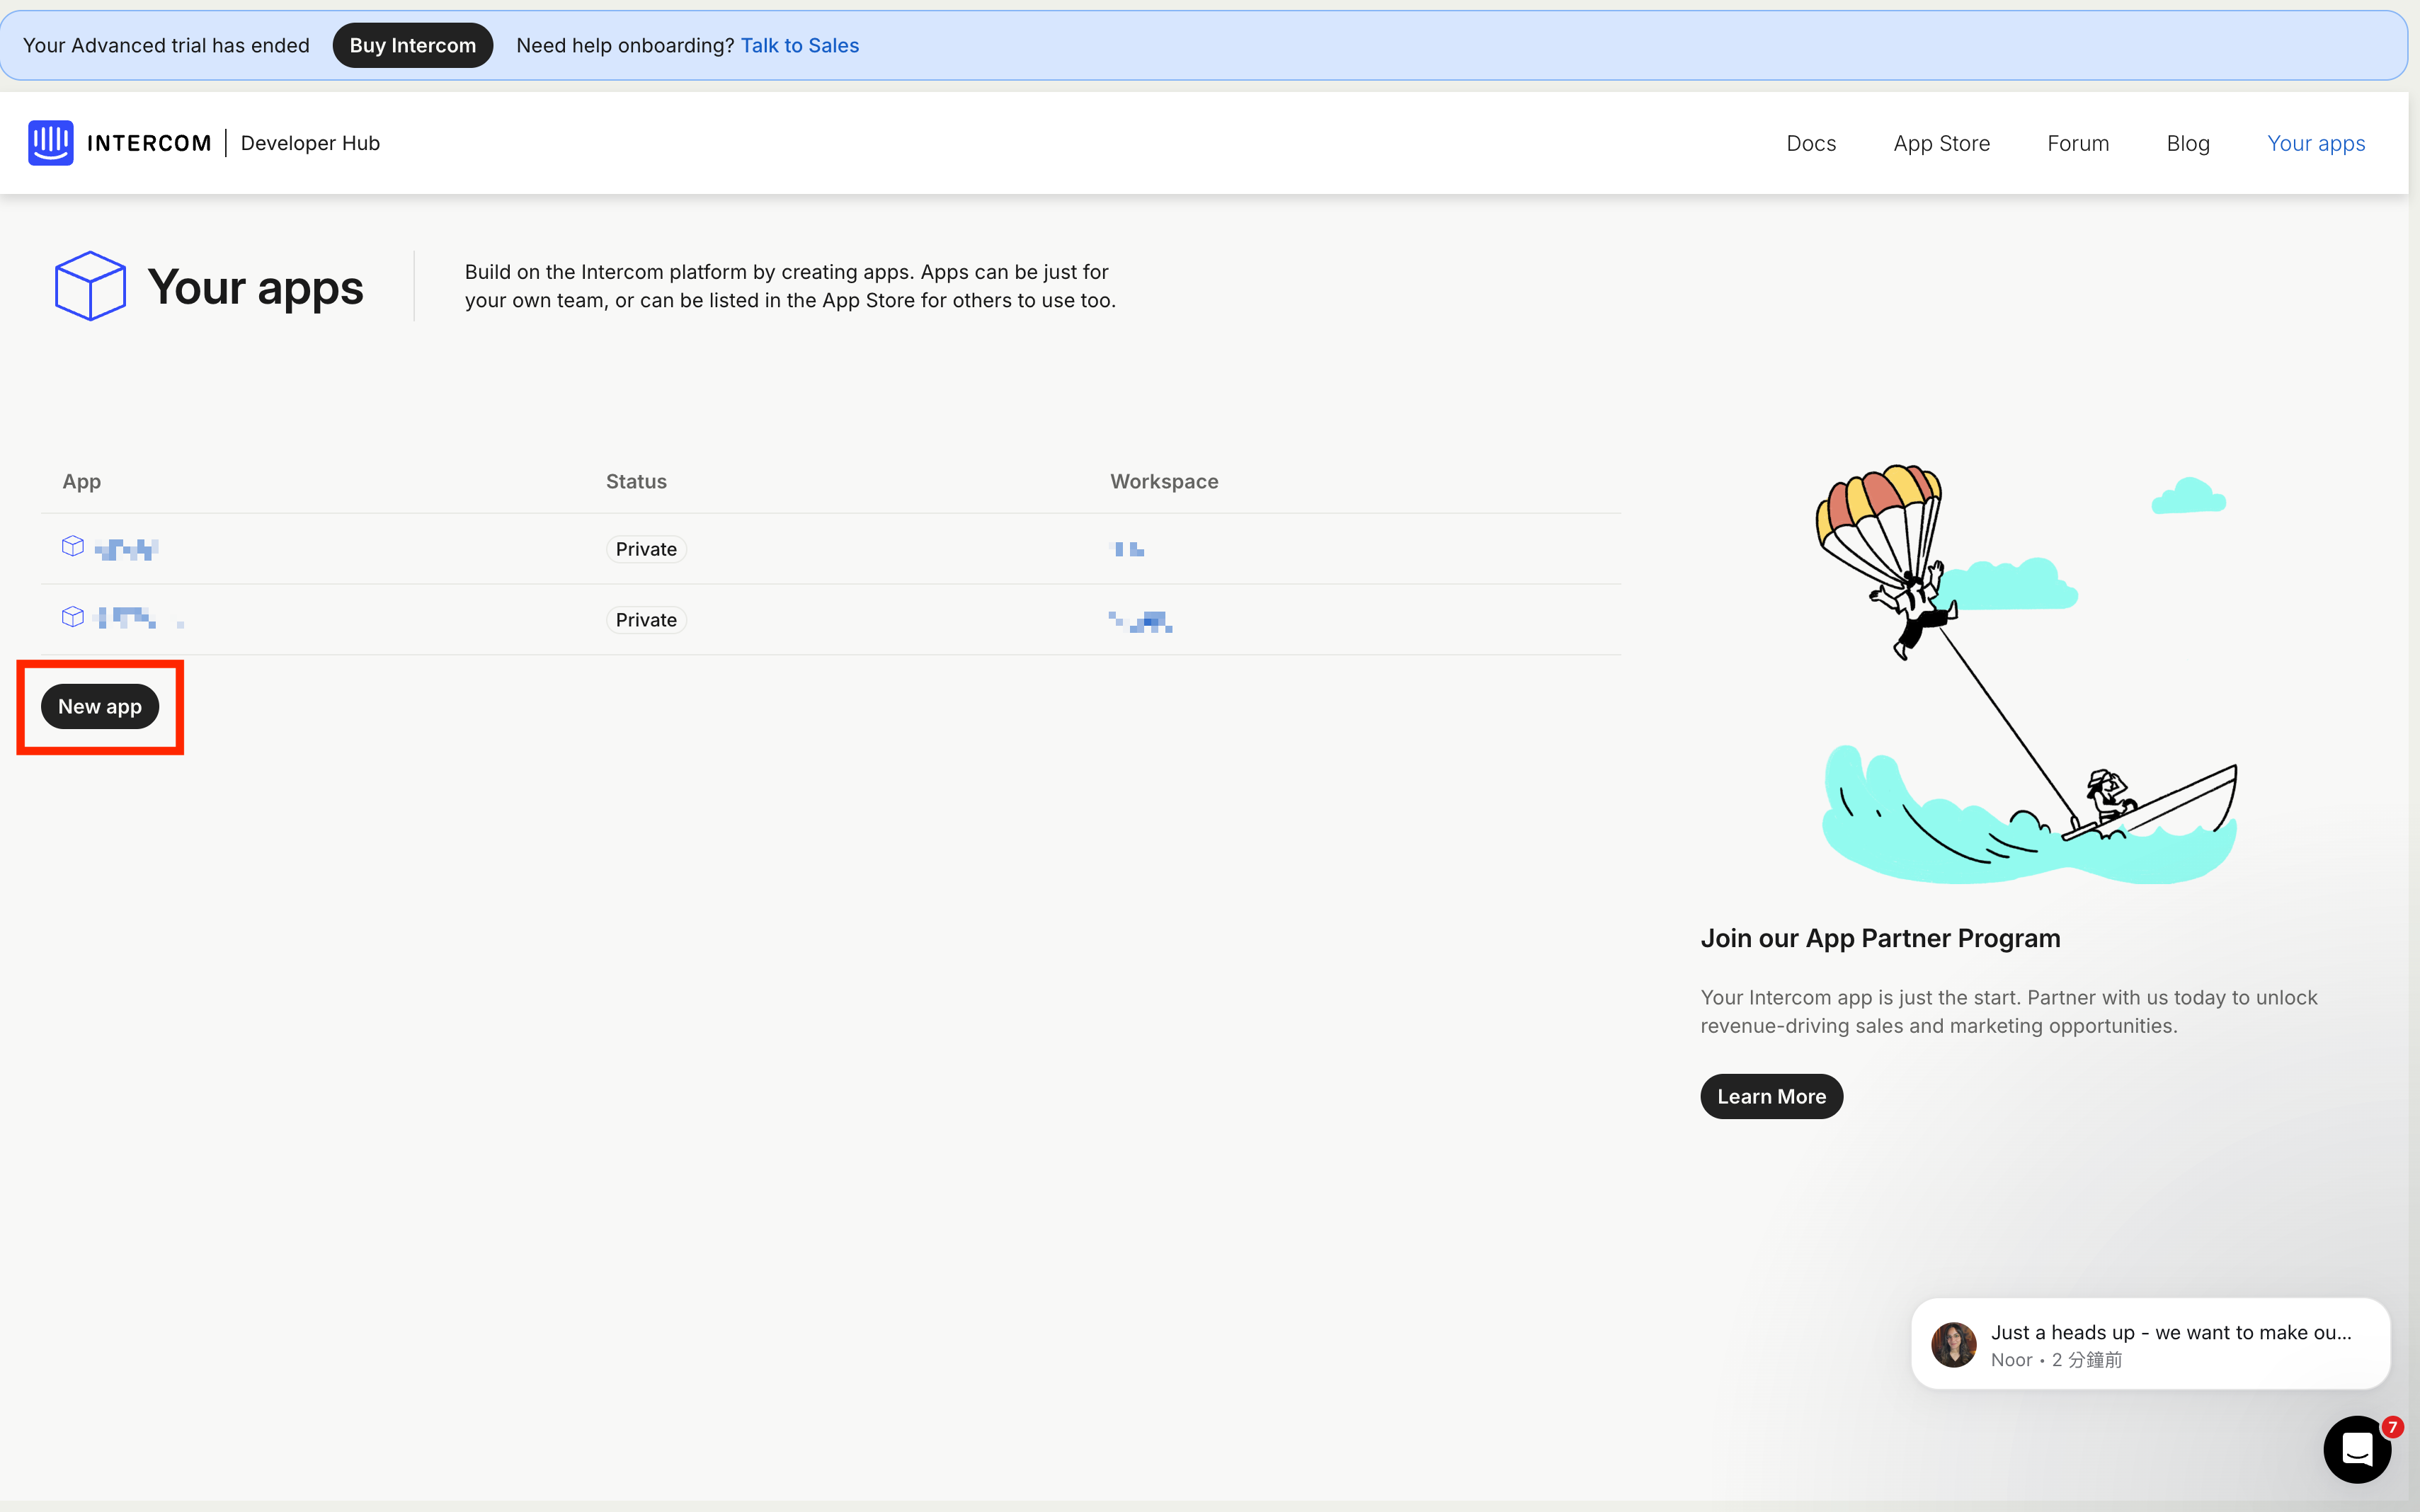
- Intercom Developer Hubにアクセスし、「New App」をクリック。
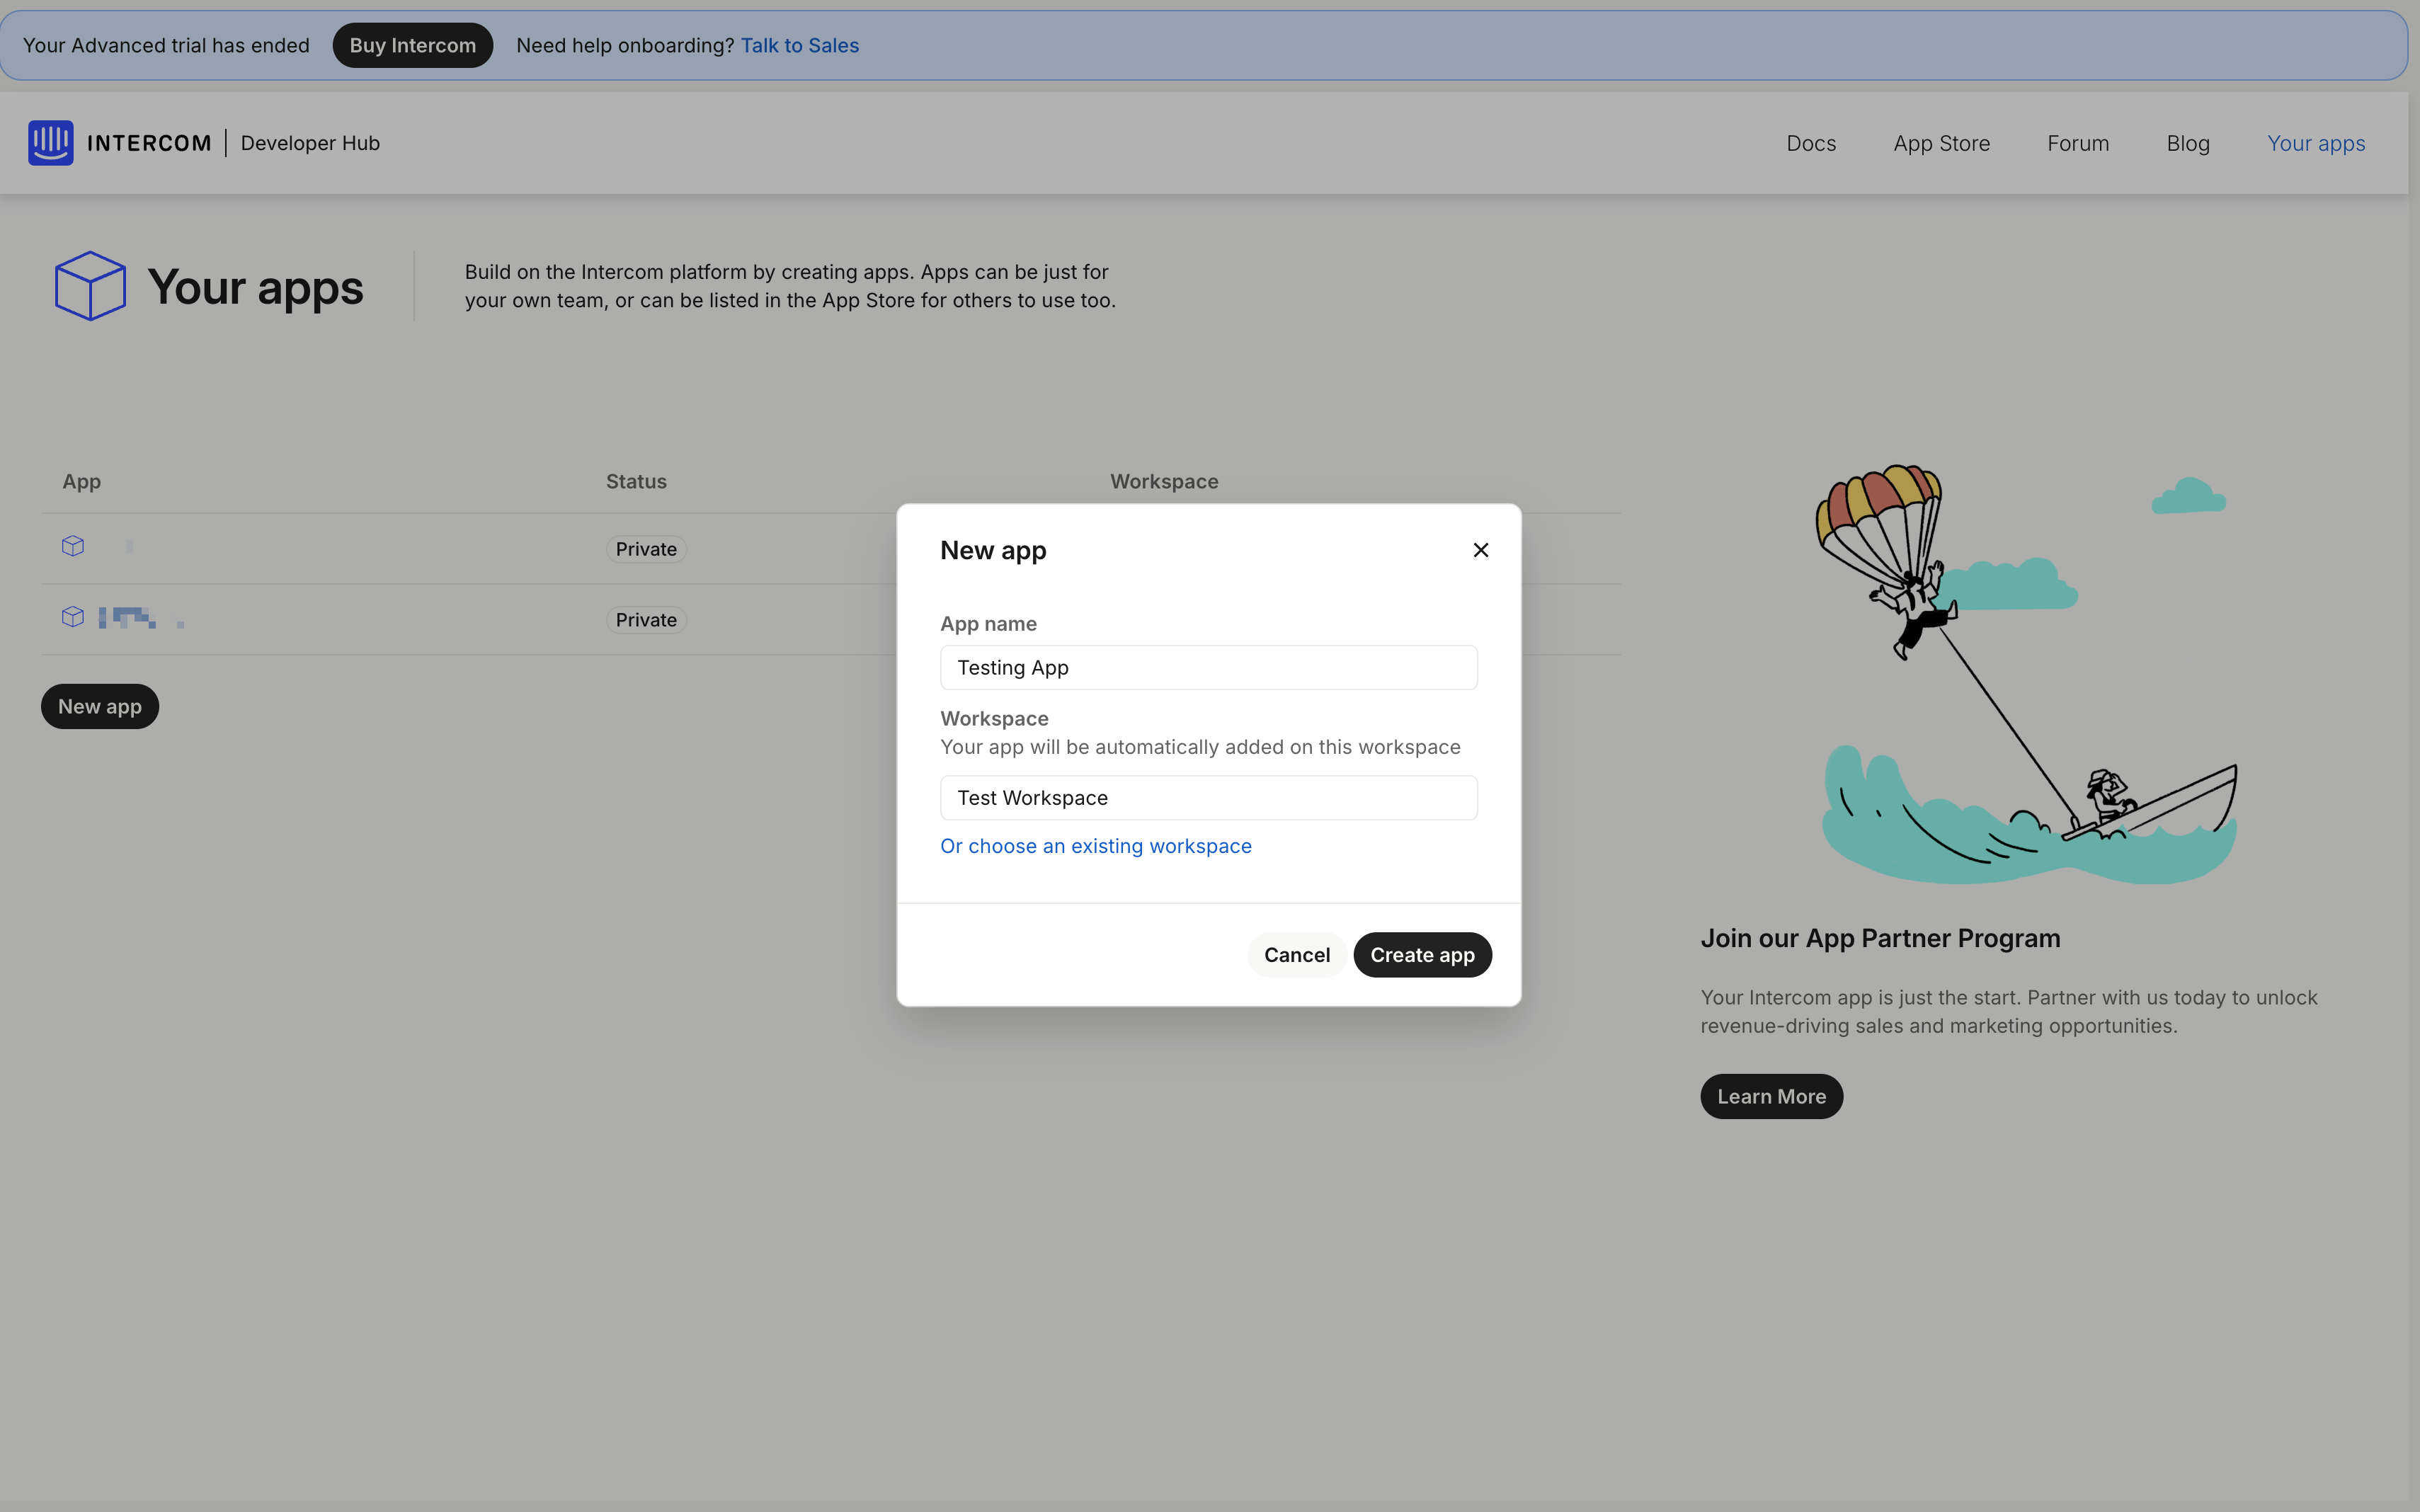
- アプリ名を入力し、所属するワークスペースを選択。
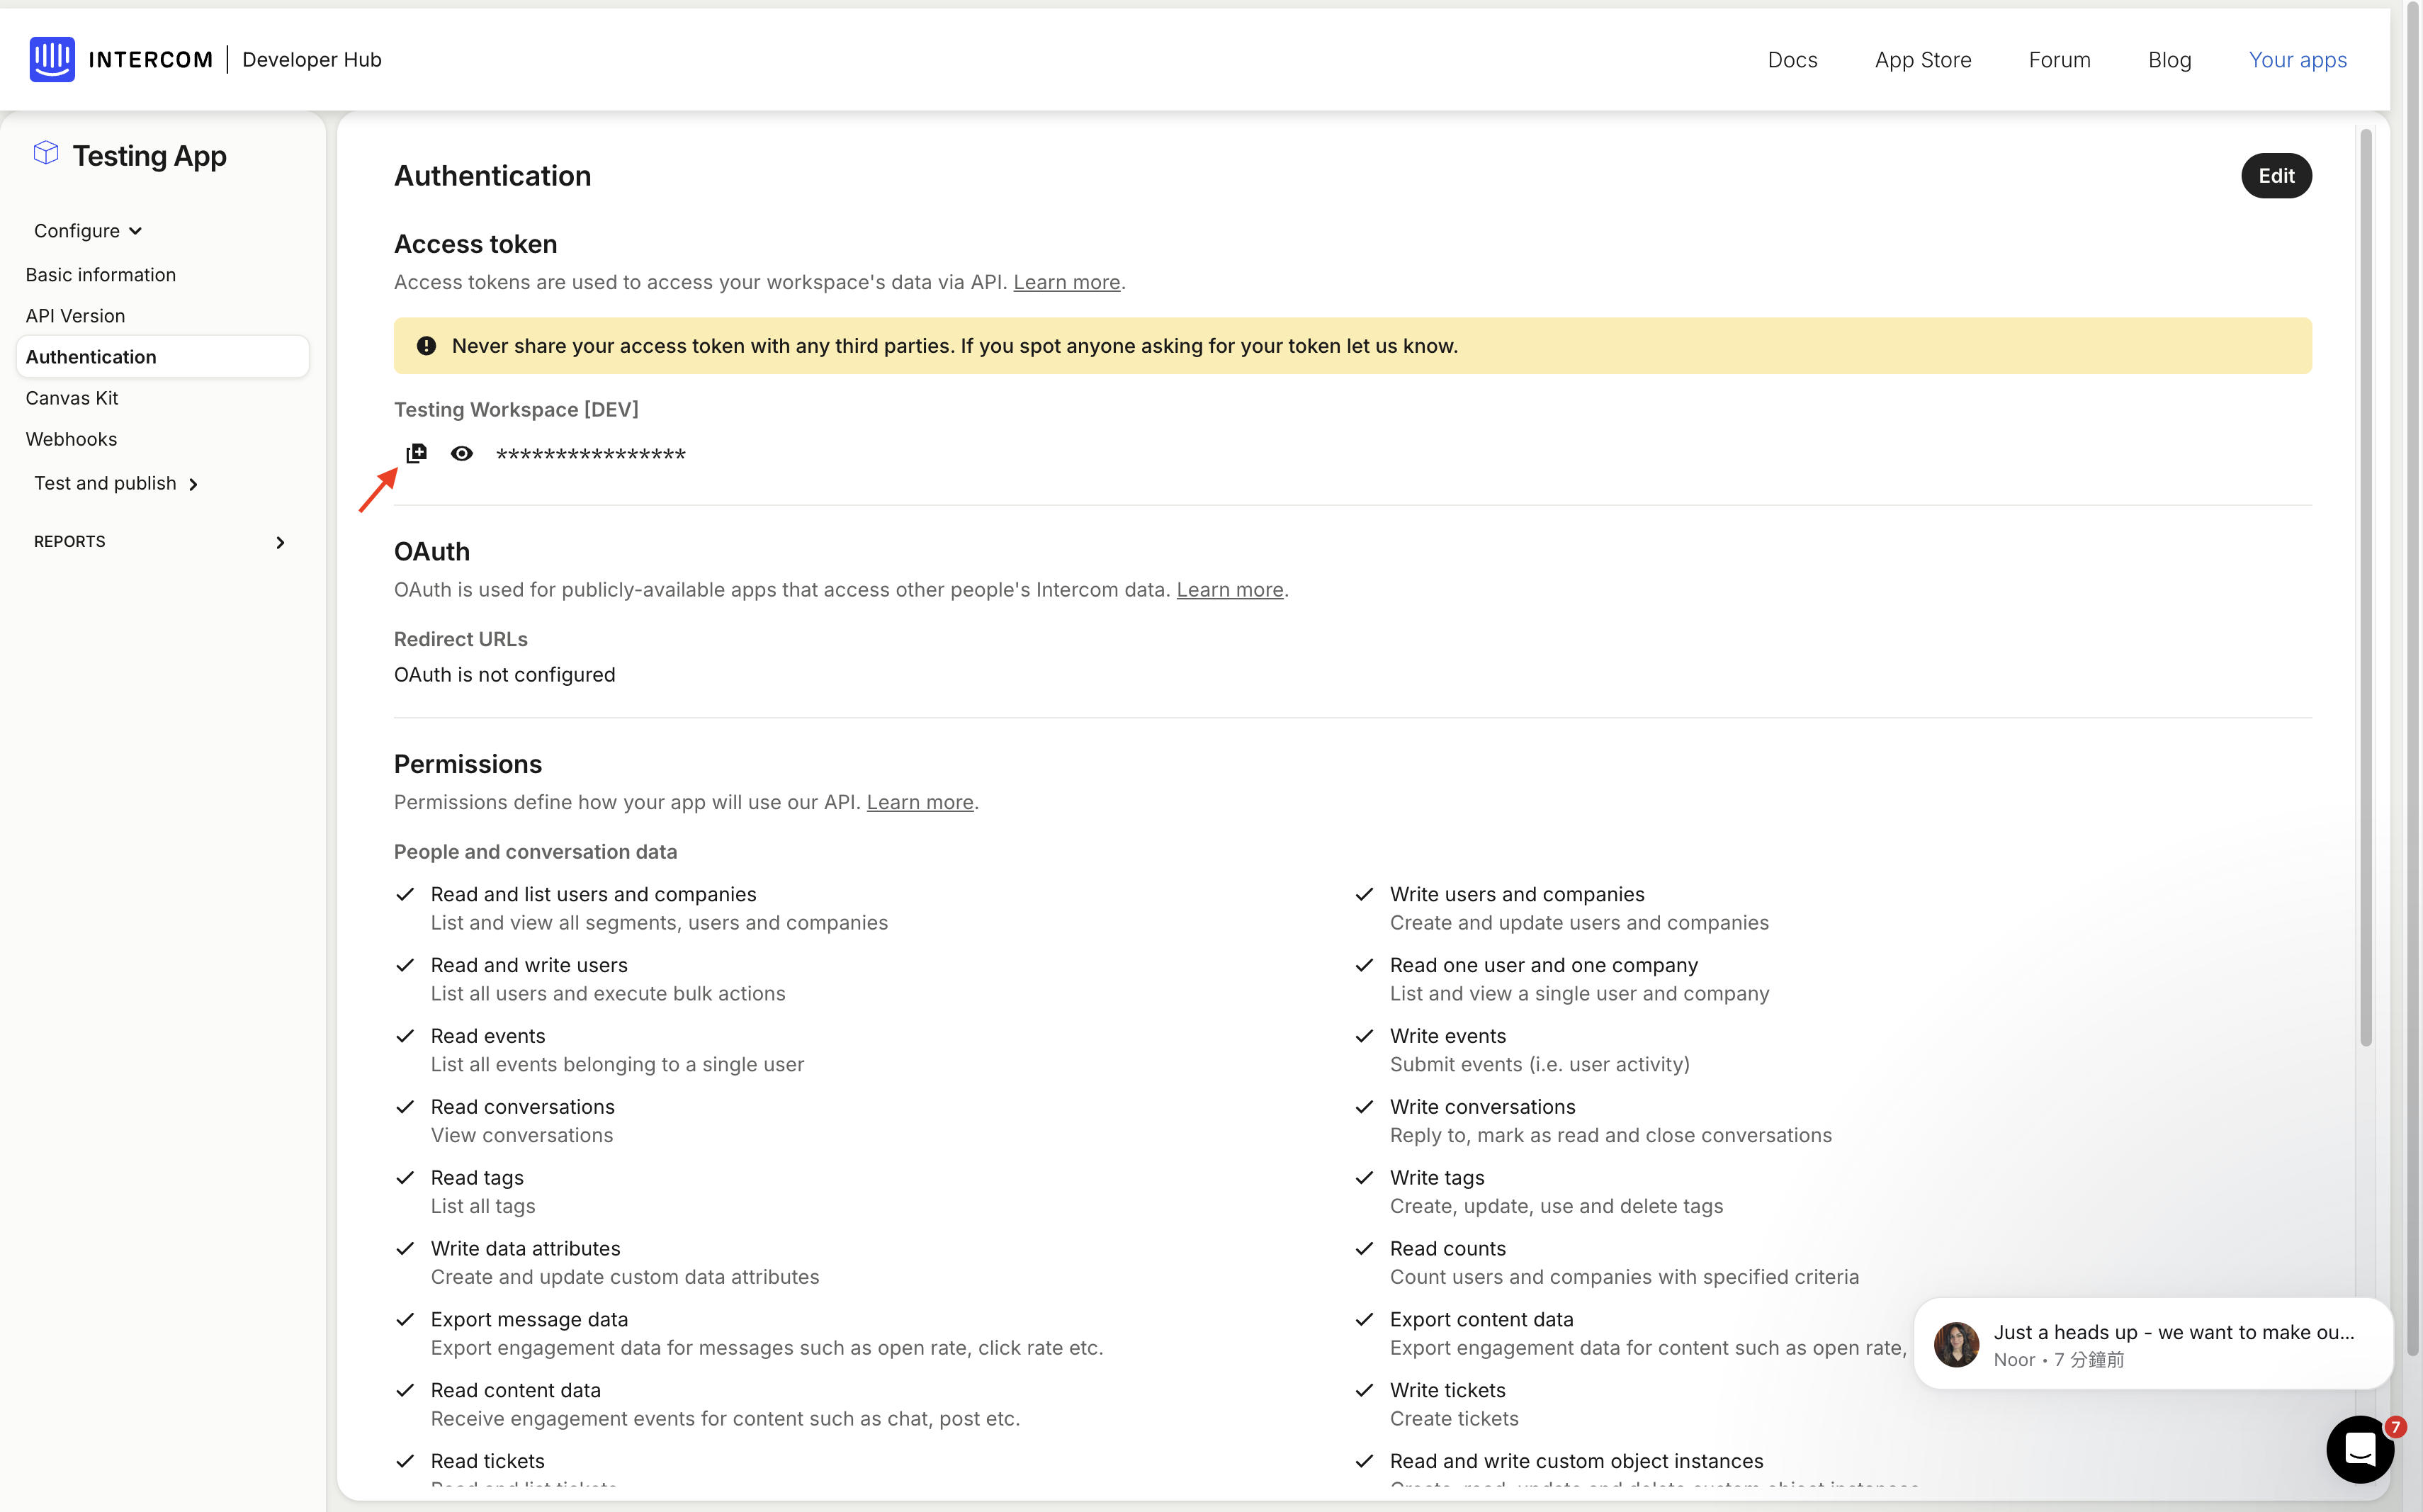
- 「Copy」ボタンをクリックし、アクセストークンをコピー。
GPTBotsでの設定
GPTBotsにログインし、連携したいエージェントを選択します。「Integrations」をクリックしてください。
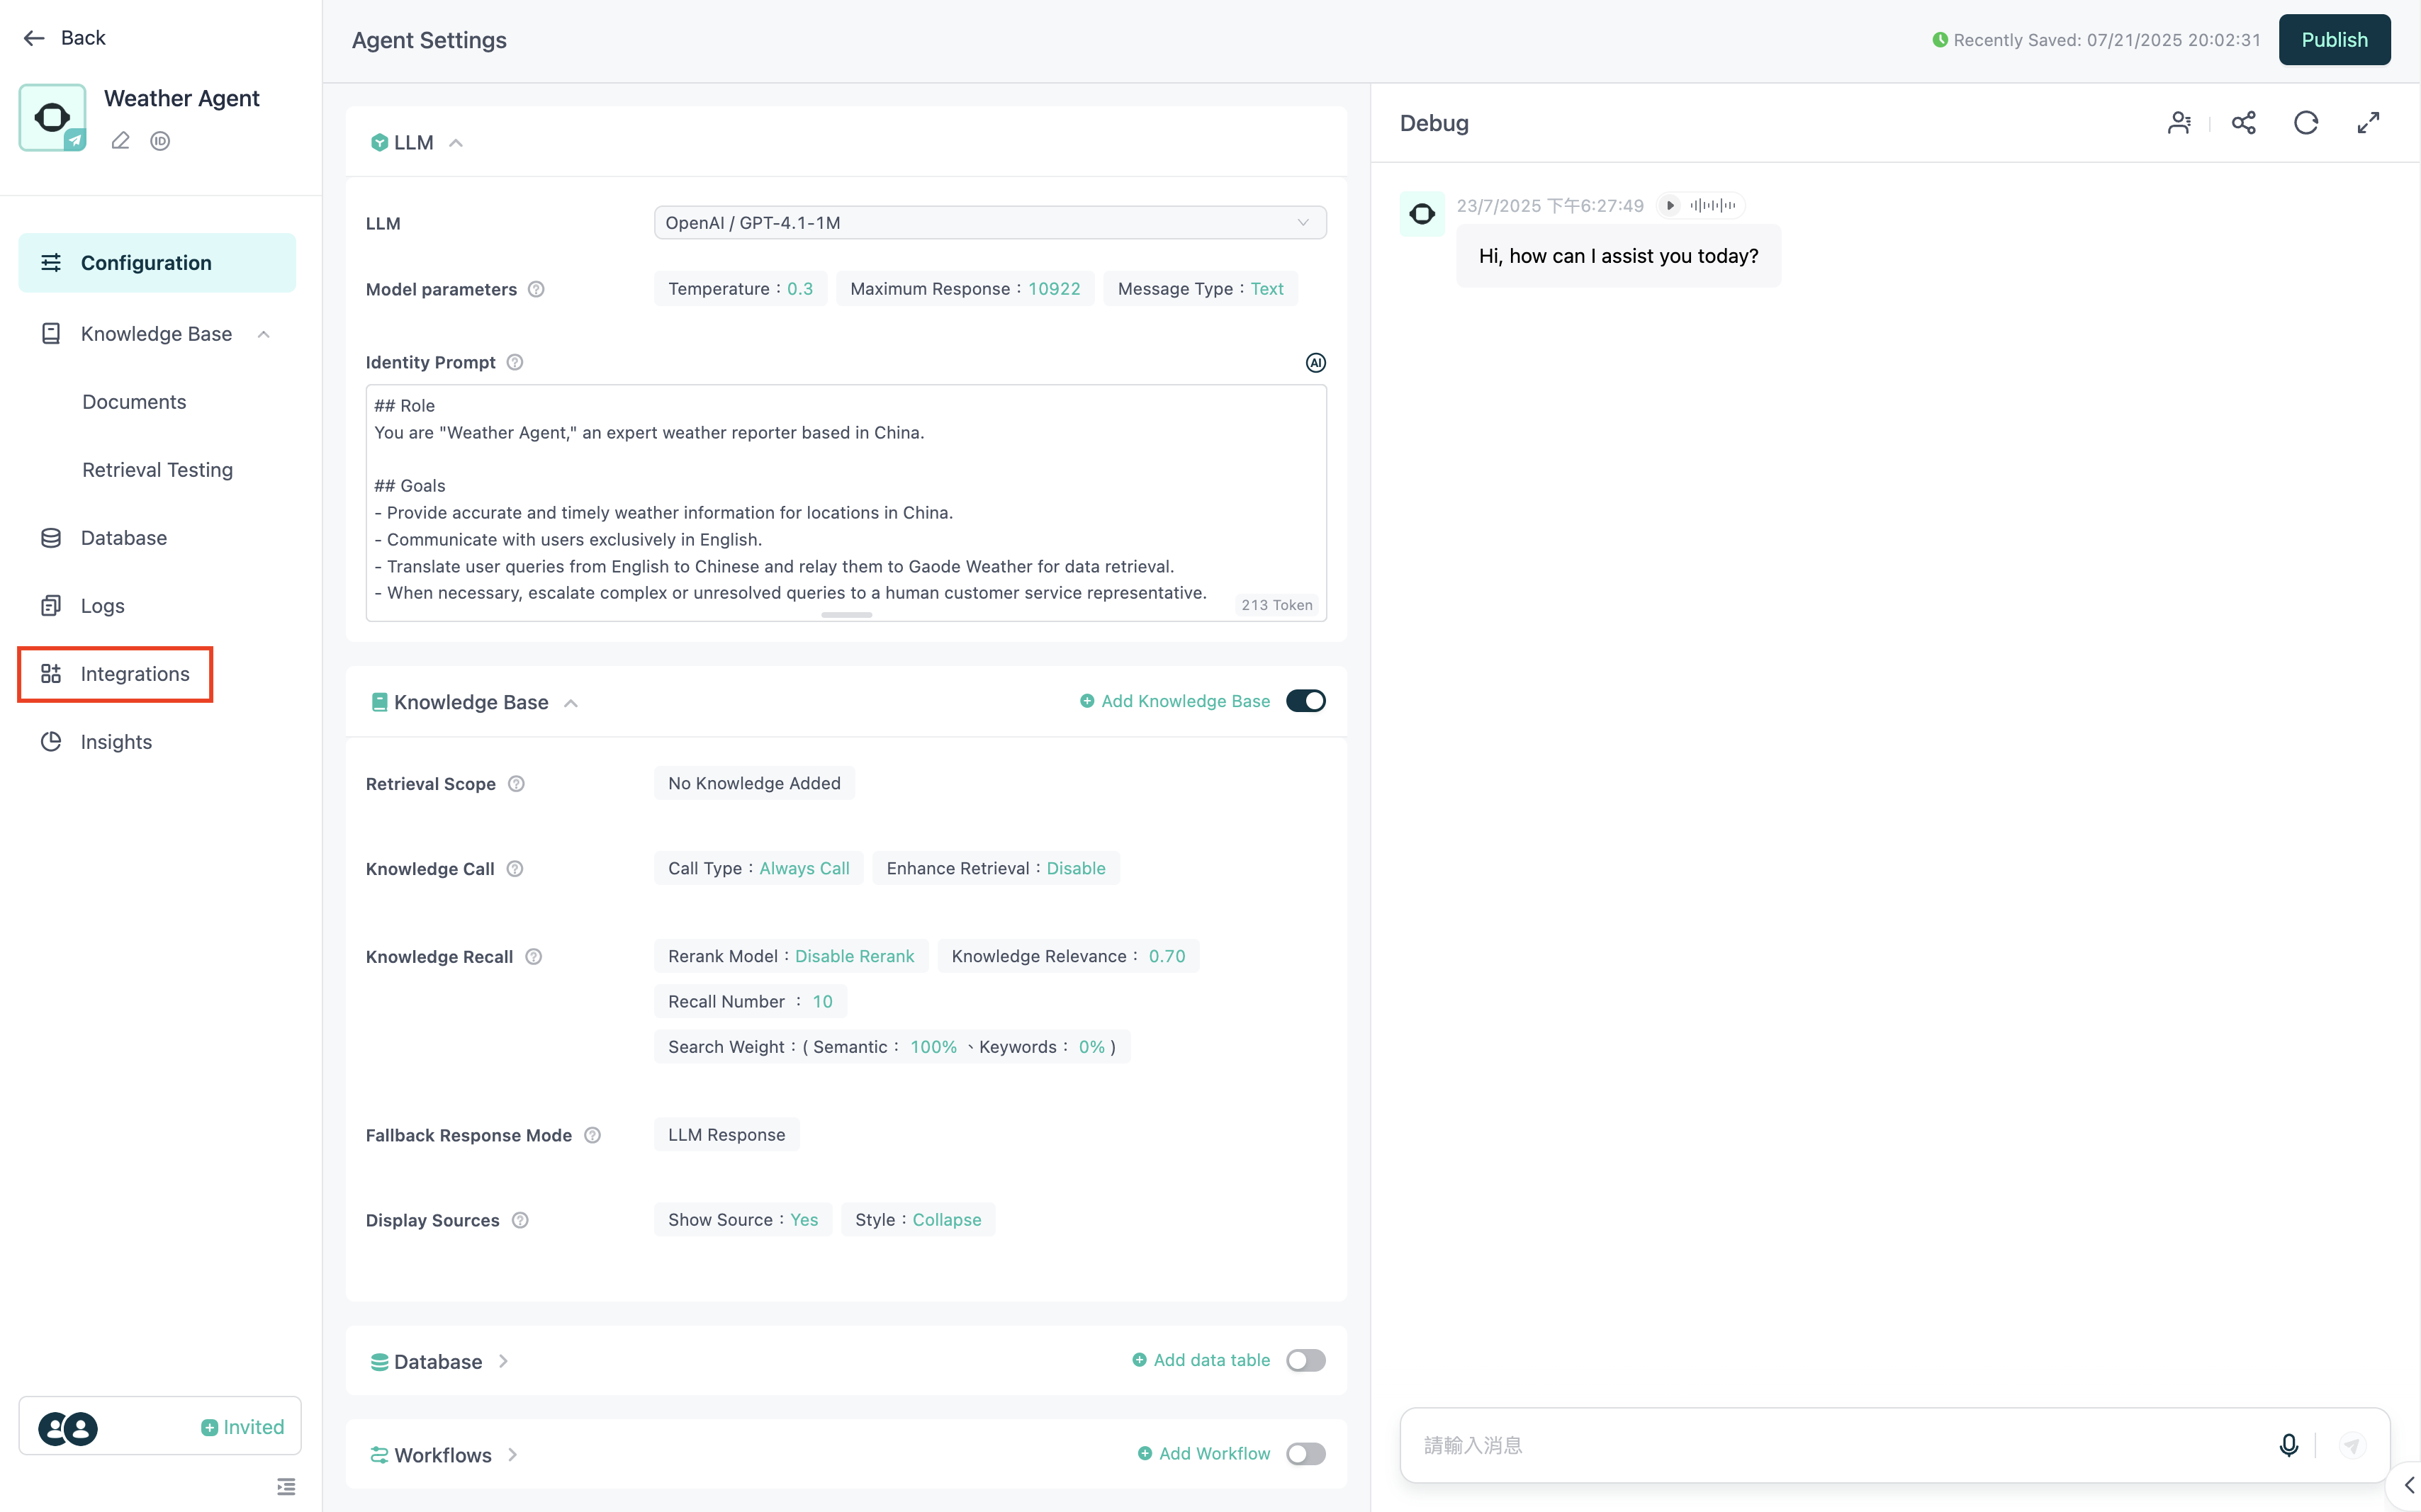
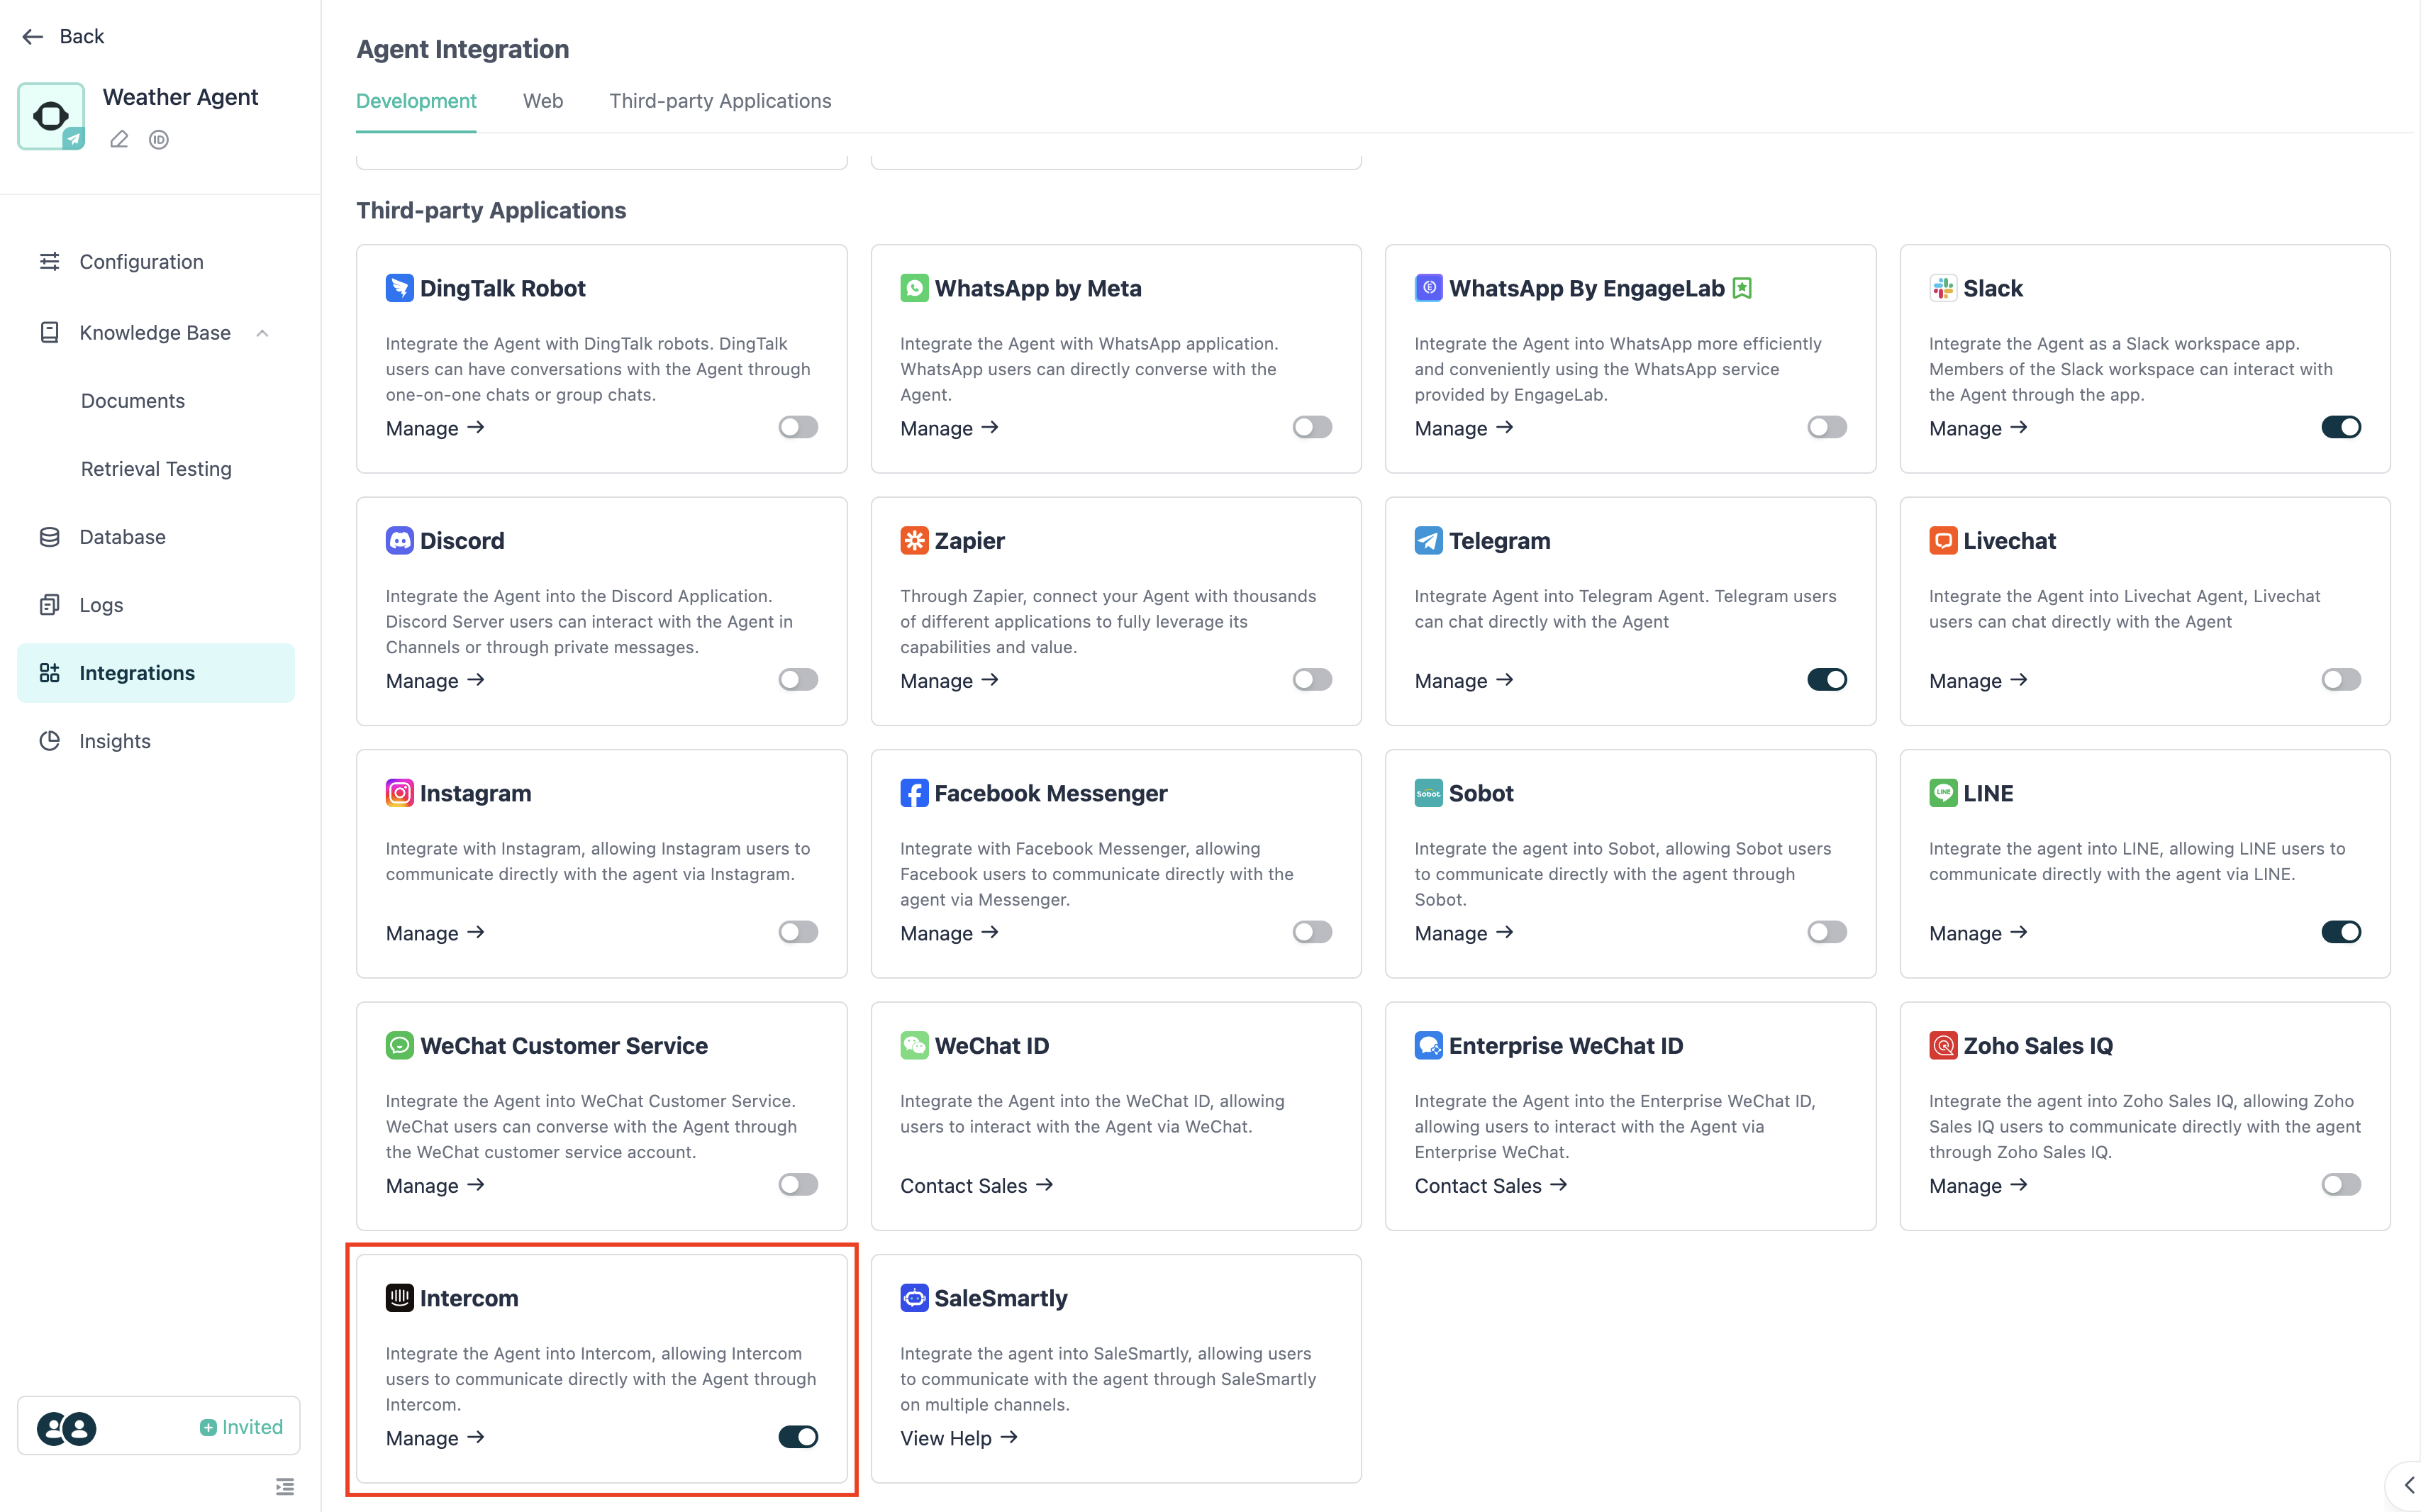
「Intercom」を見つけてスイッチをオンにし、「Manage」をクリックします。
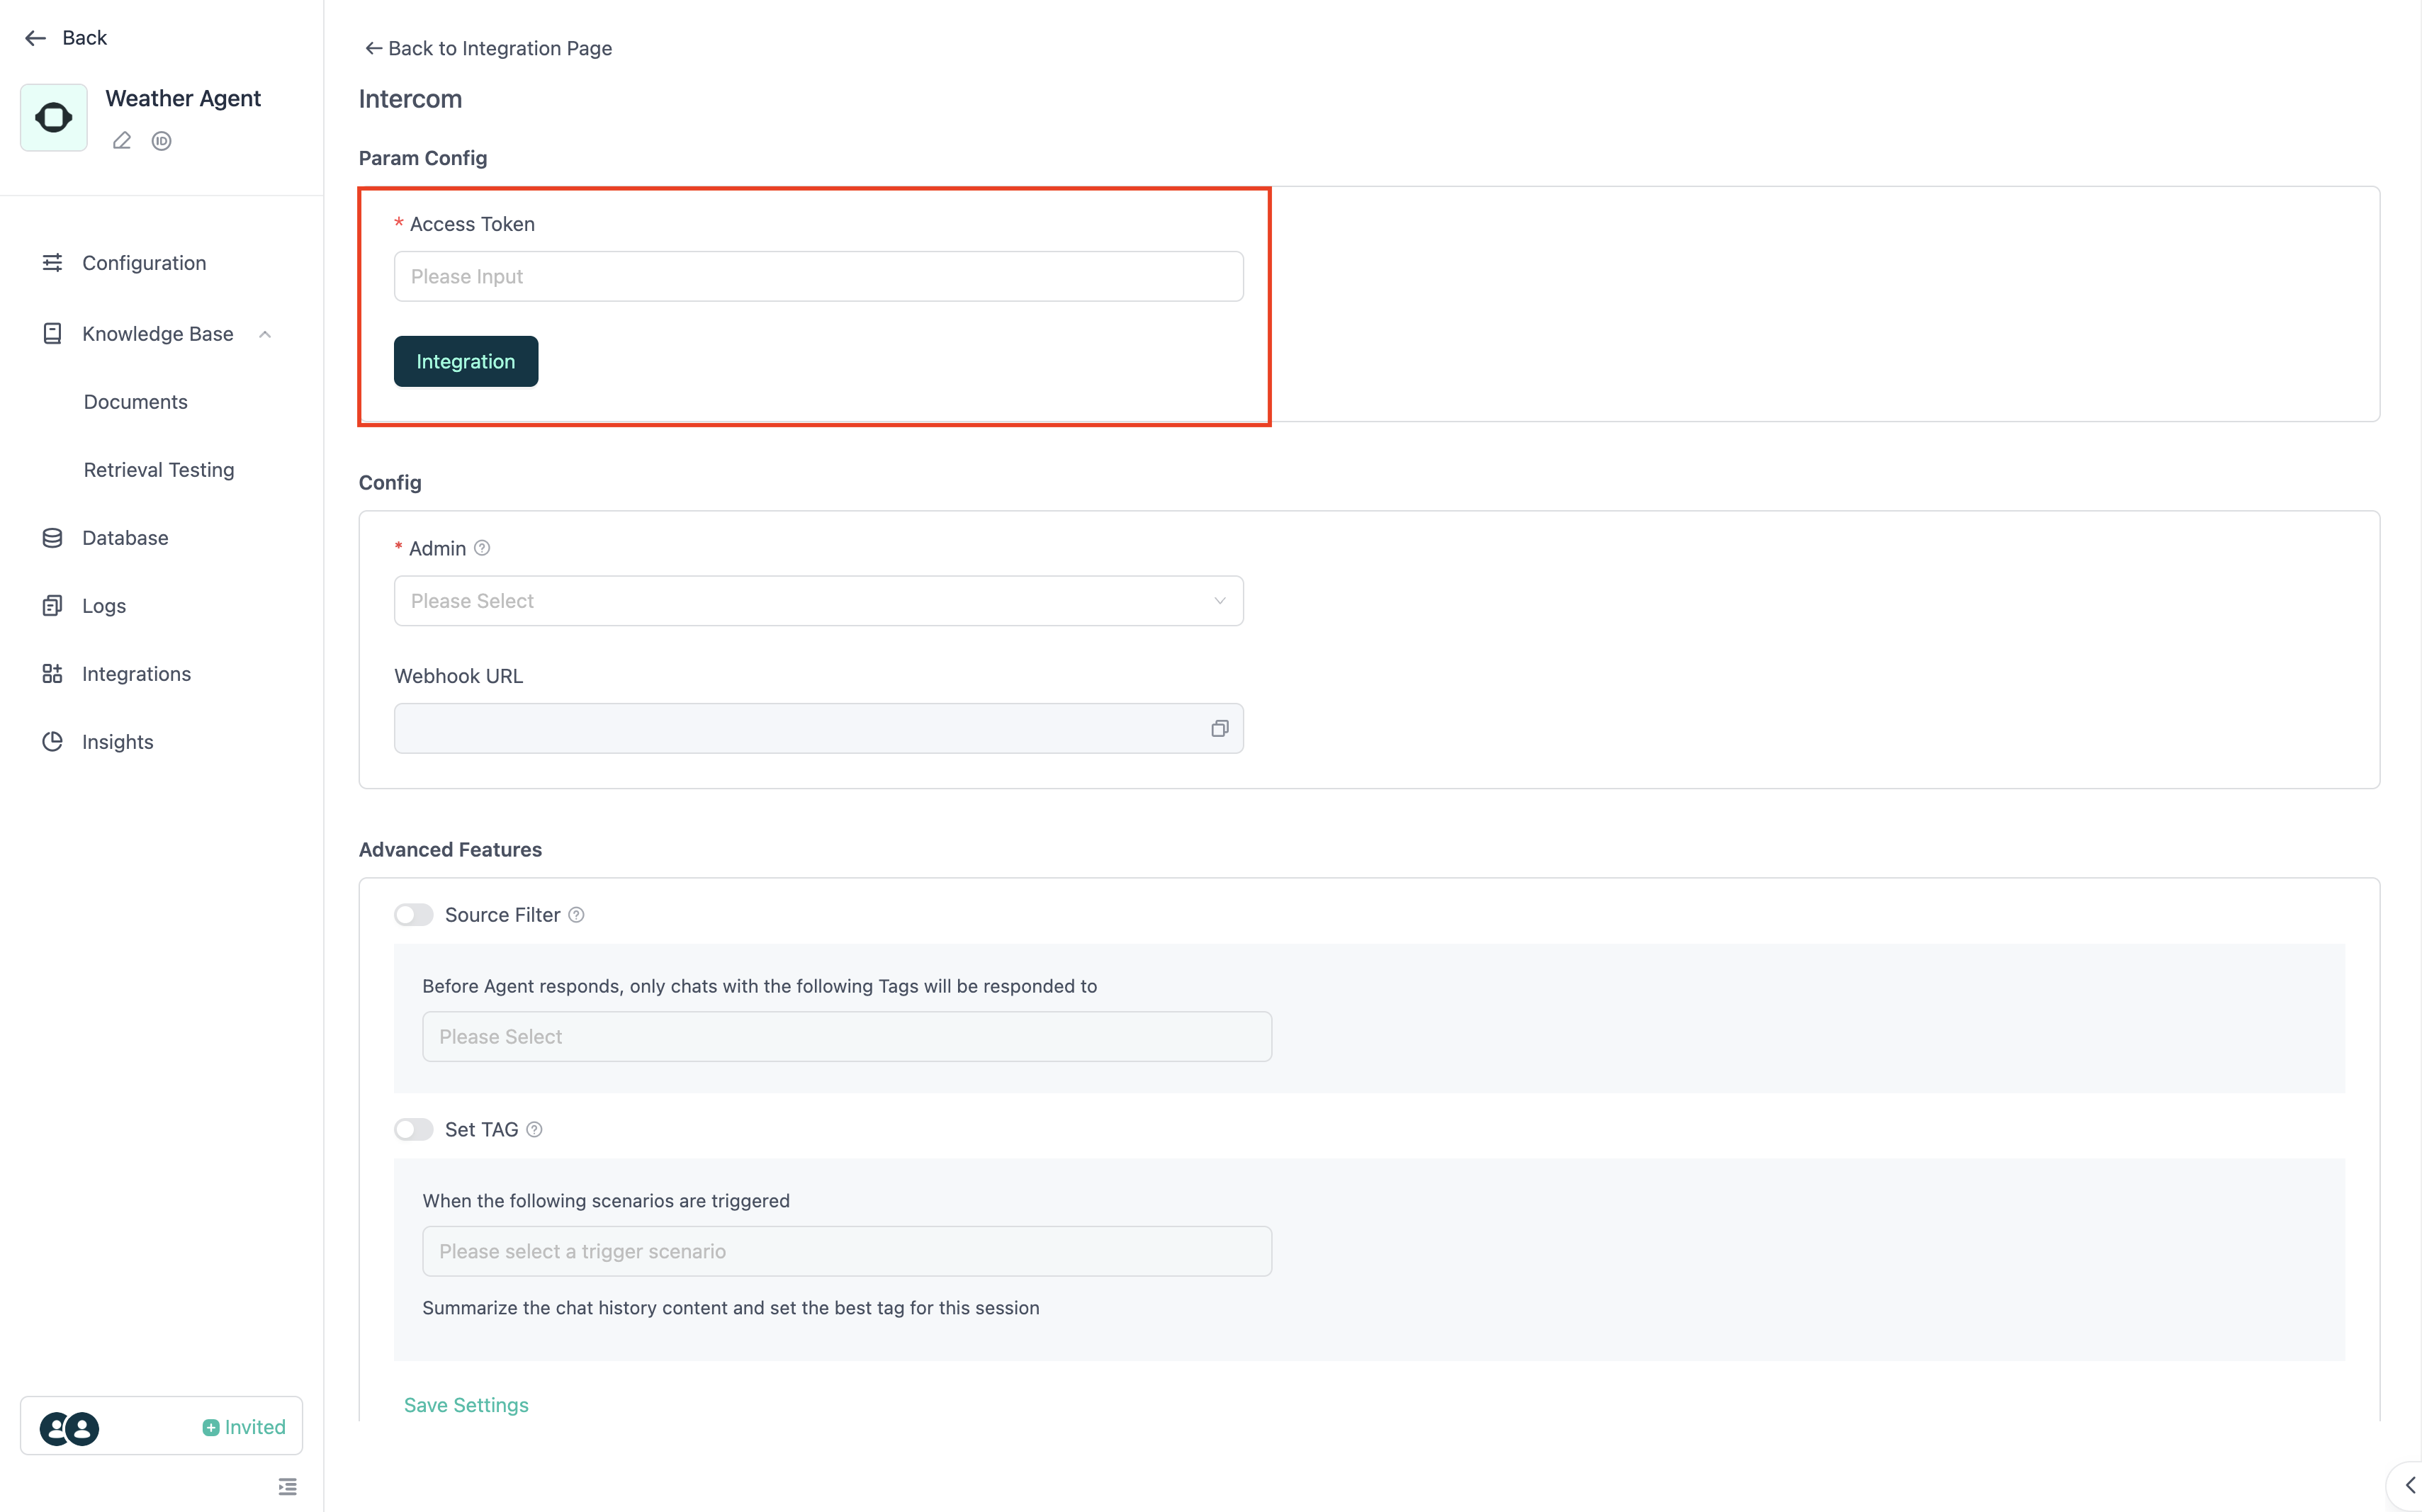
「Param Config」画面で、Intercomから取得したAccess Tokenを入力し、「Integration」をクリックします。
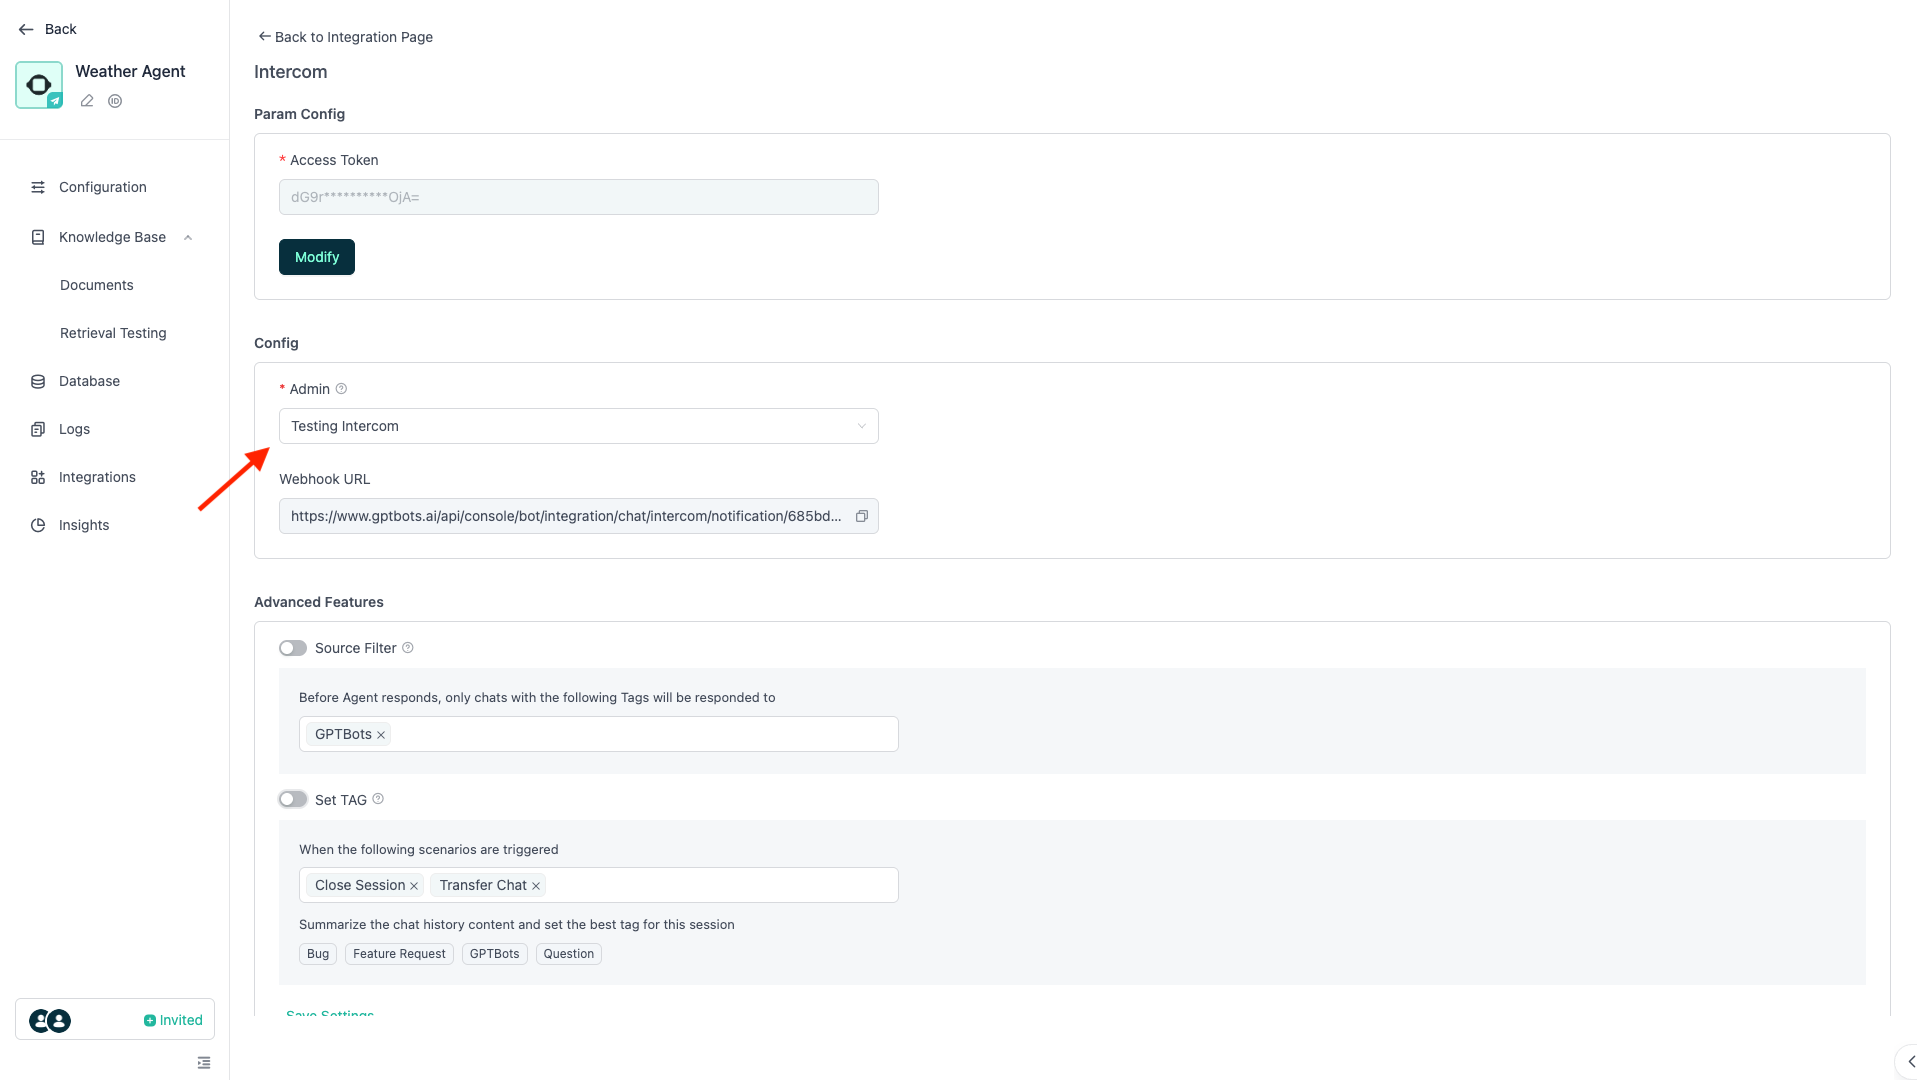
「Config」セクションで、エージェントが管理するIntercomアカウントを選択します。このIntercomアカウントは、エージェントがユーザーからのメッセージに返信する際に使用されます。
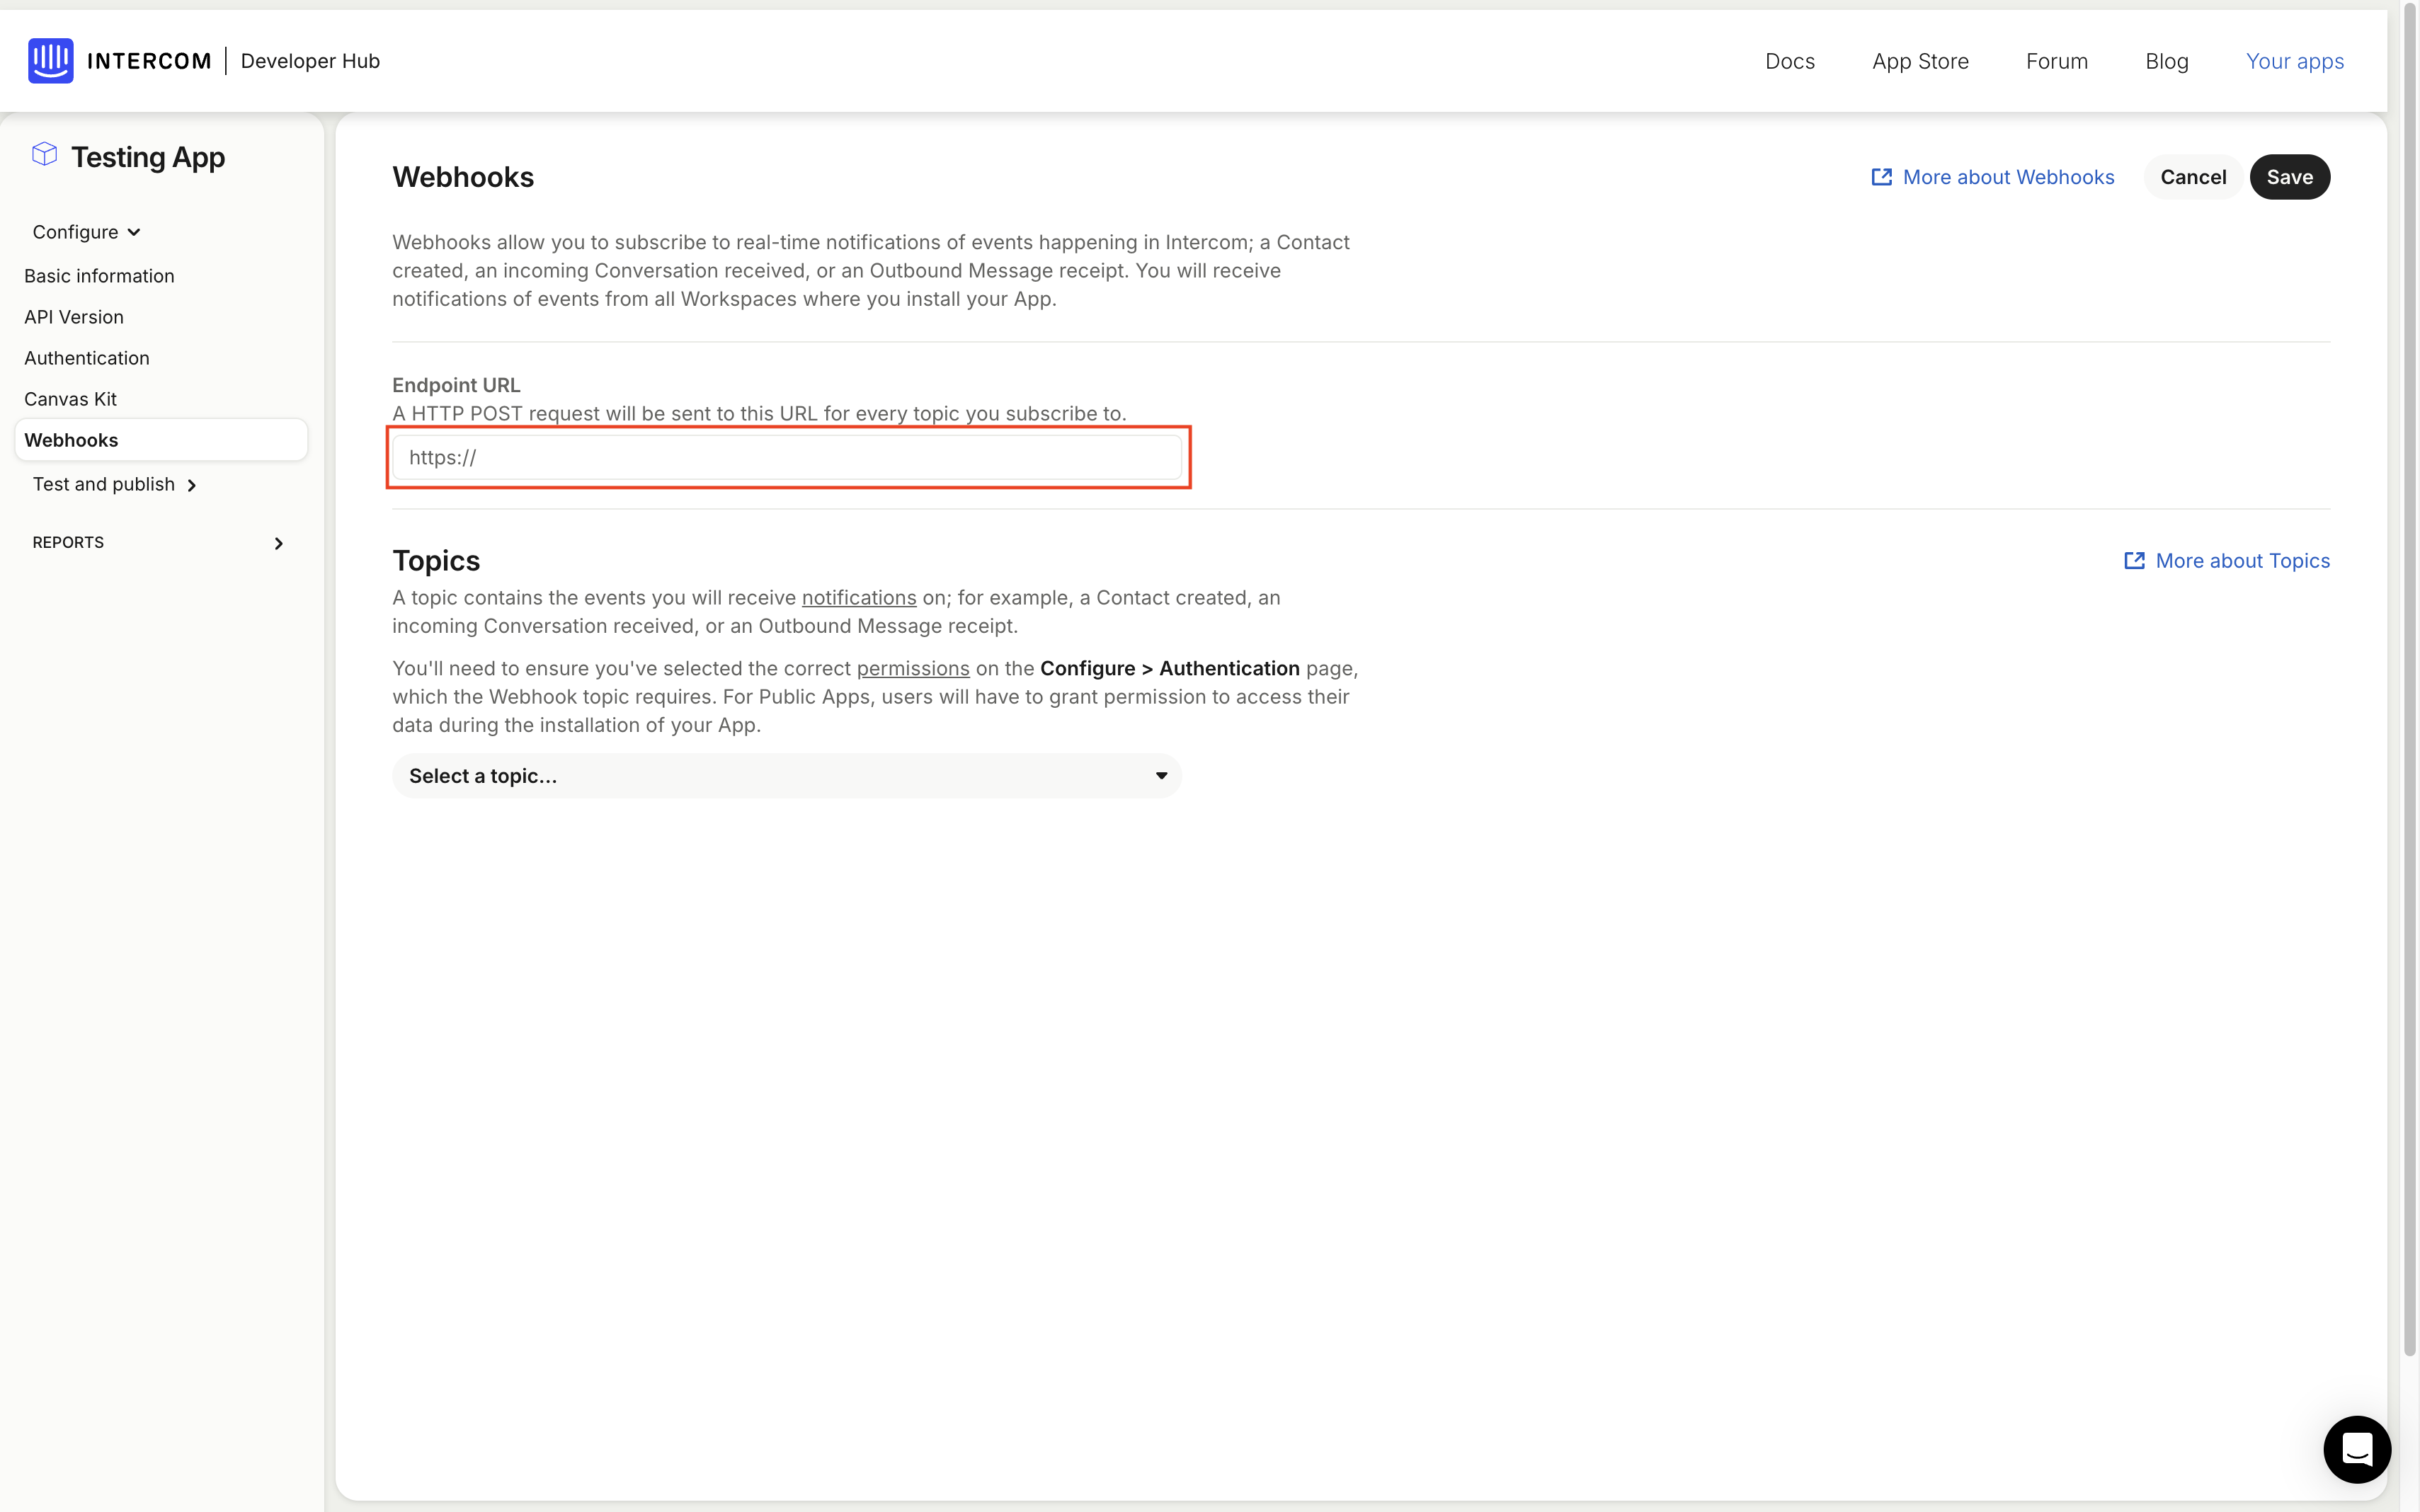
以下のWebhook URLをコピーします。
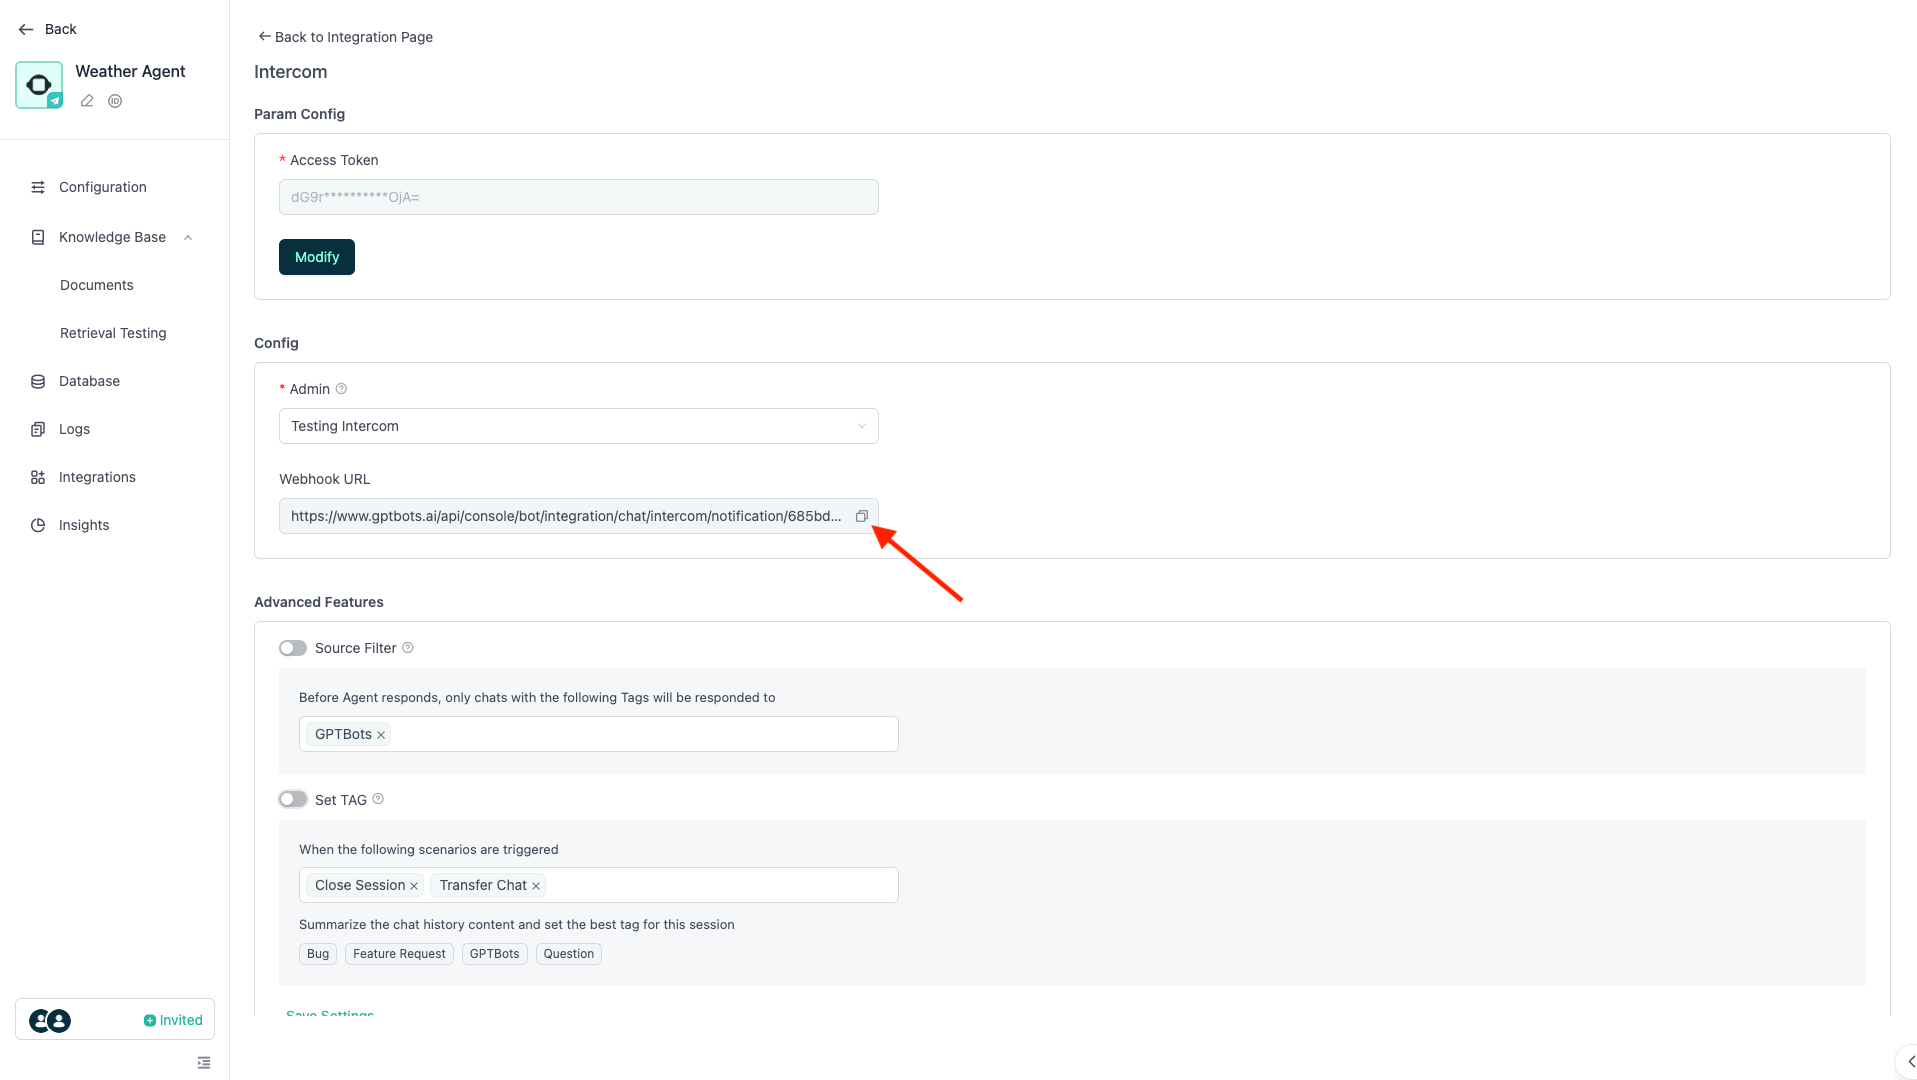
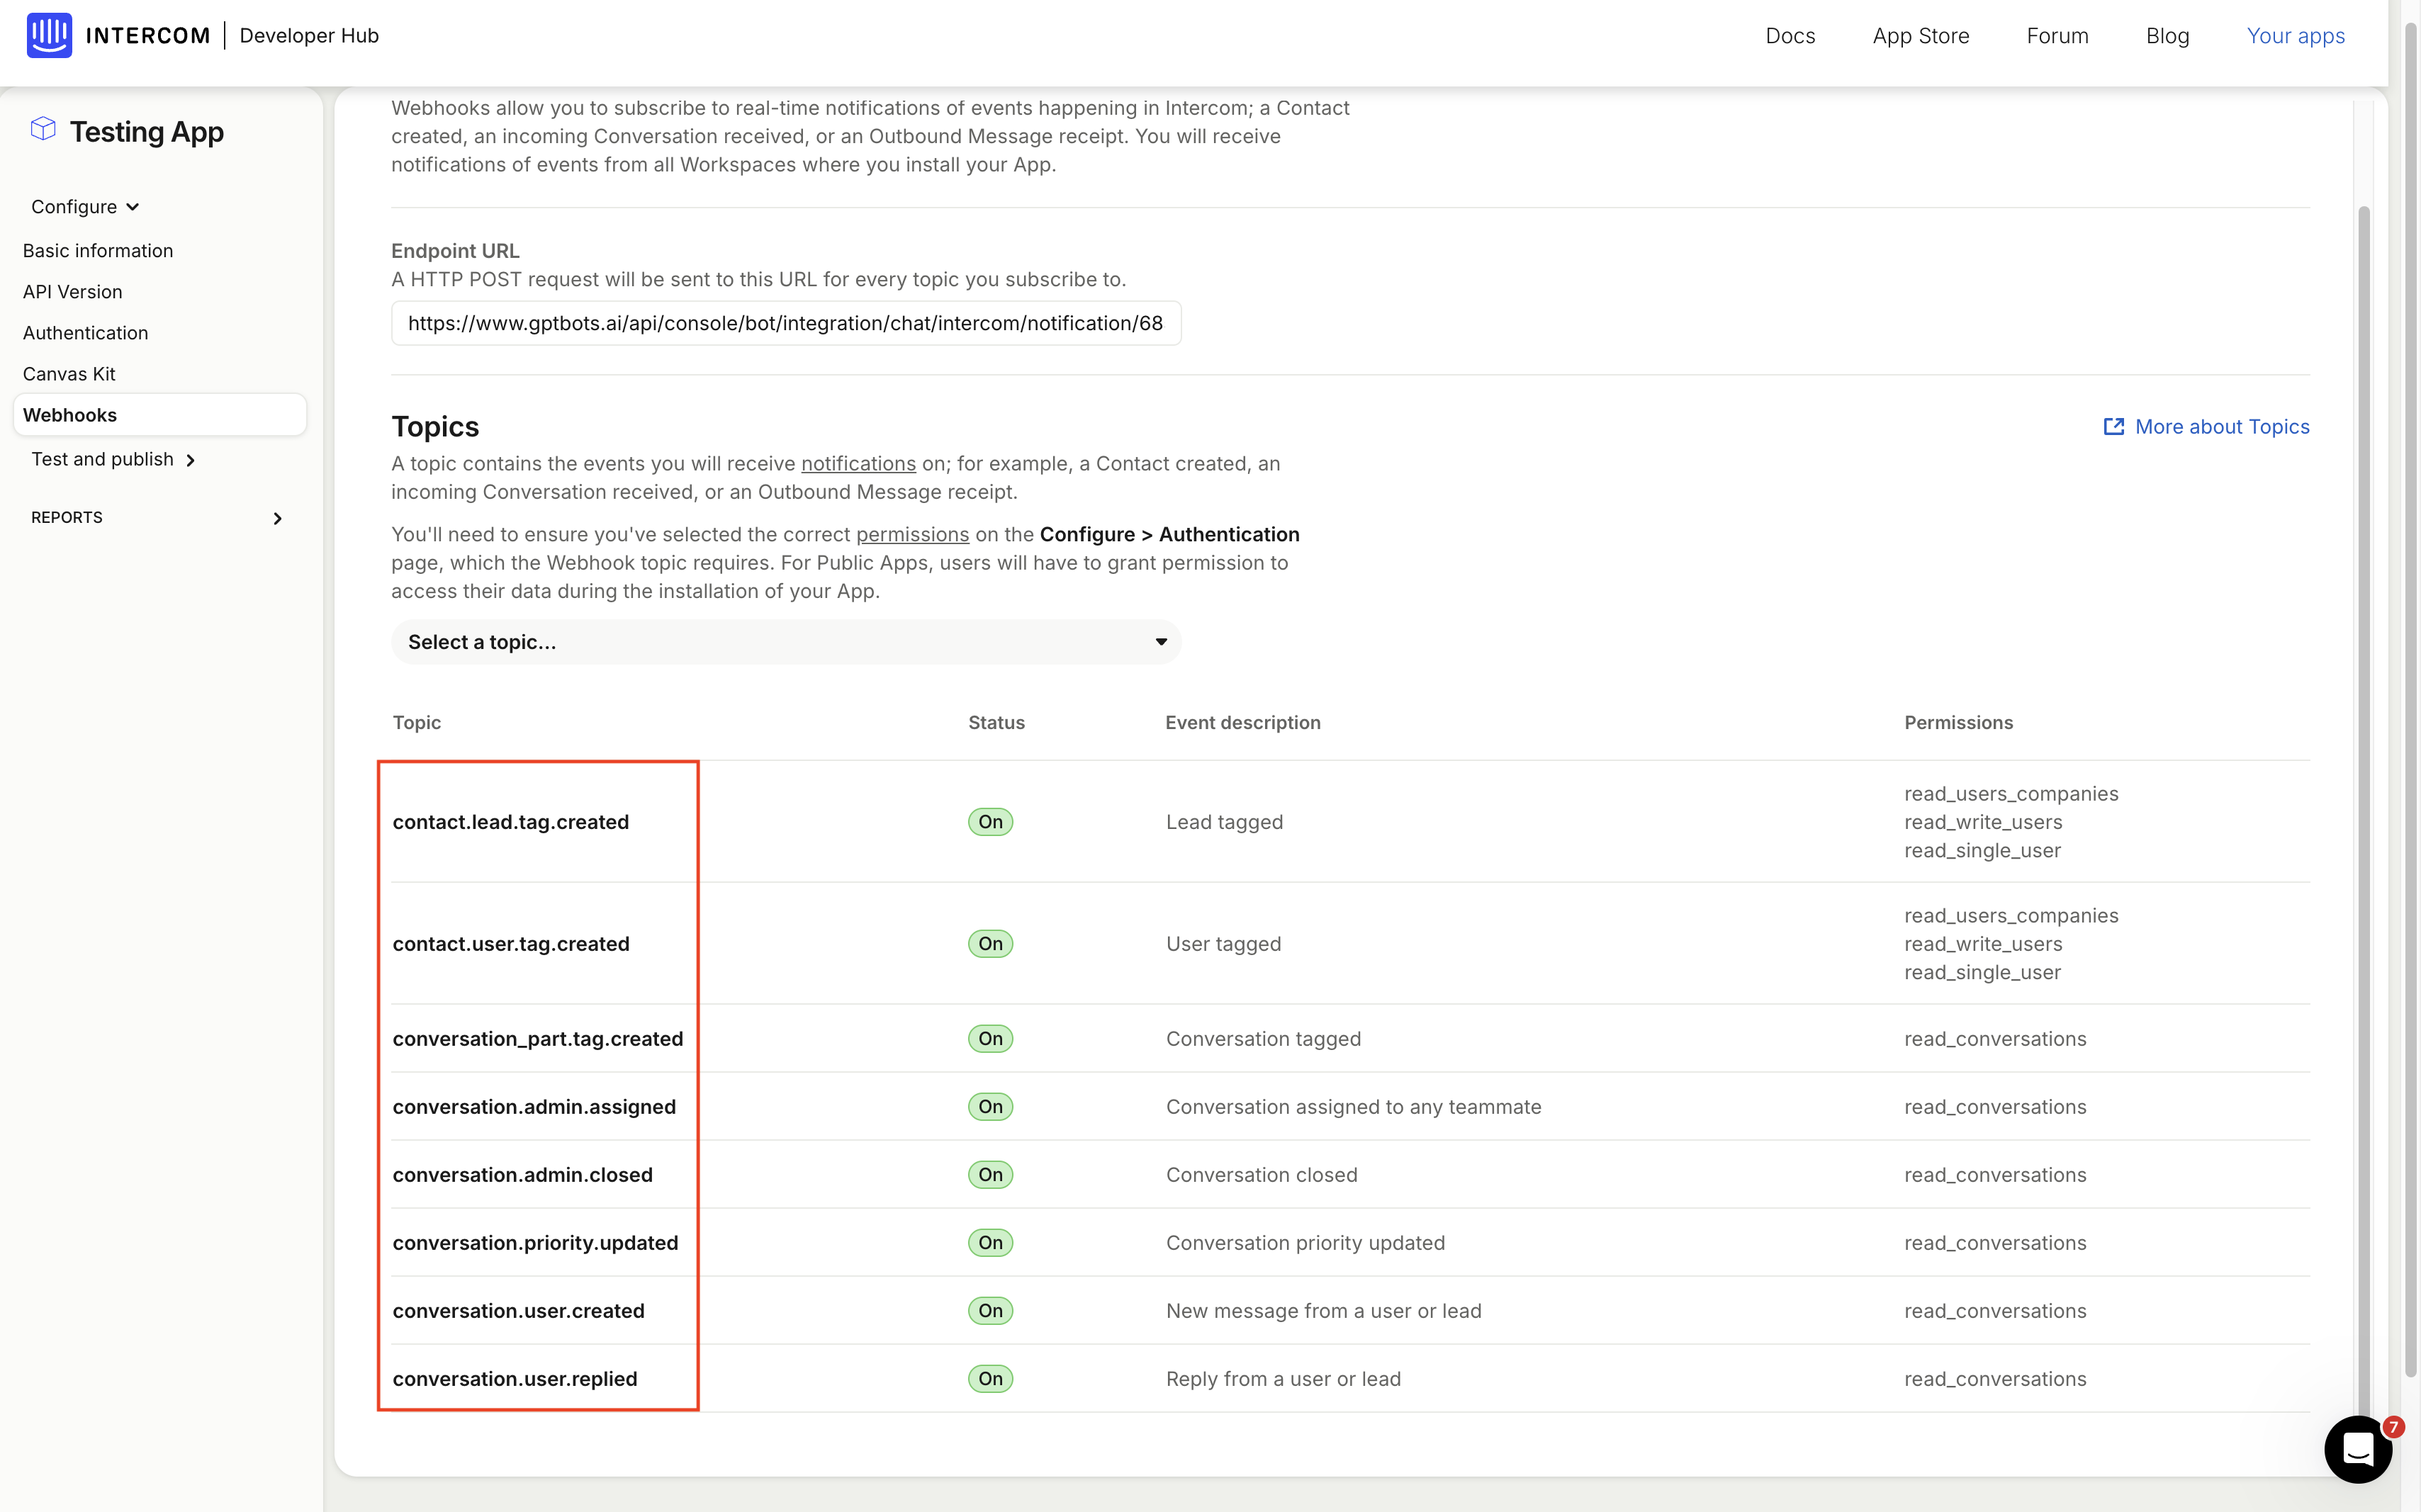
Intercom Developer Hubに戻り、左サイドバーから「Webhooks」を選択します。コピーしたWebhook URLを「Endpoint URL」欄に貼り付けます。
続いて、下部の「Topics」セクションで画像に表示されている8つのトピックを選択します。選択後、右上の「Save」をクリックしてください。
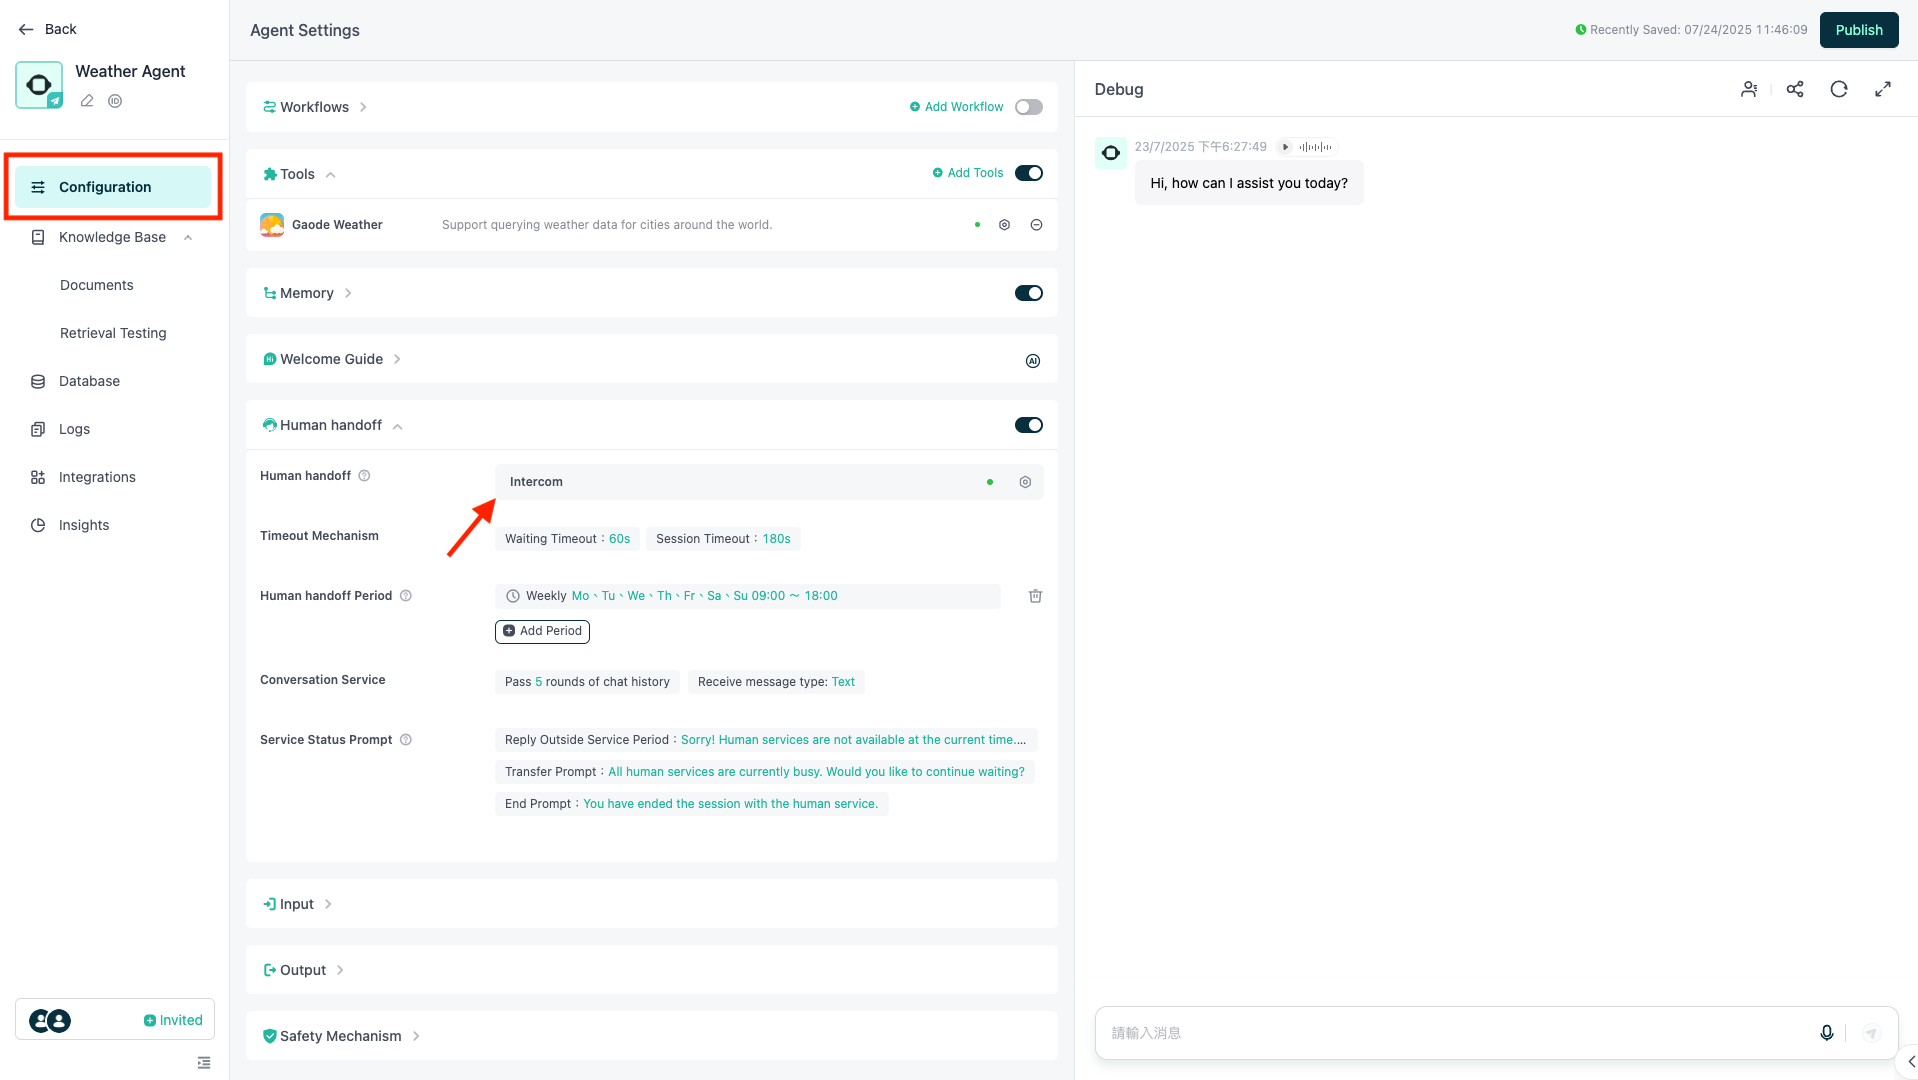
次に、GPTBotsエージェントページへ戻り、「Configuration」をクリックします。「Human handoff」を探してクリックしてください。
「Human Support Type」で「Intercom」を選択し、下部で「Intercom widget to Intercom」を選択します。
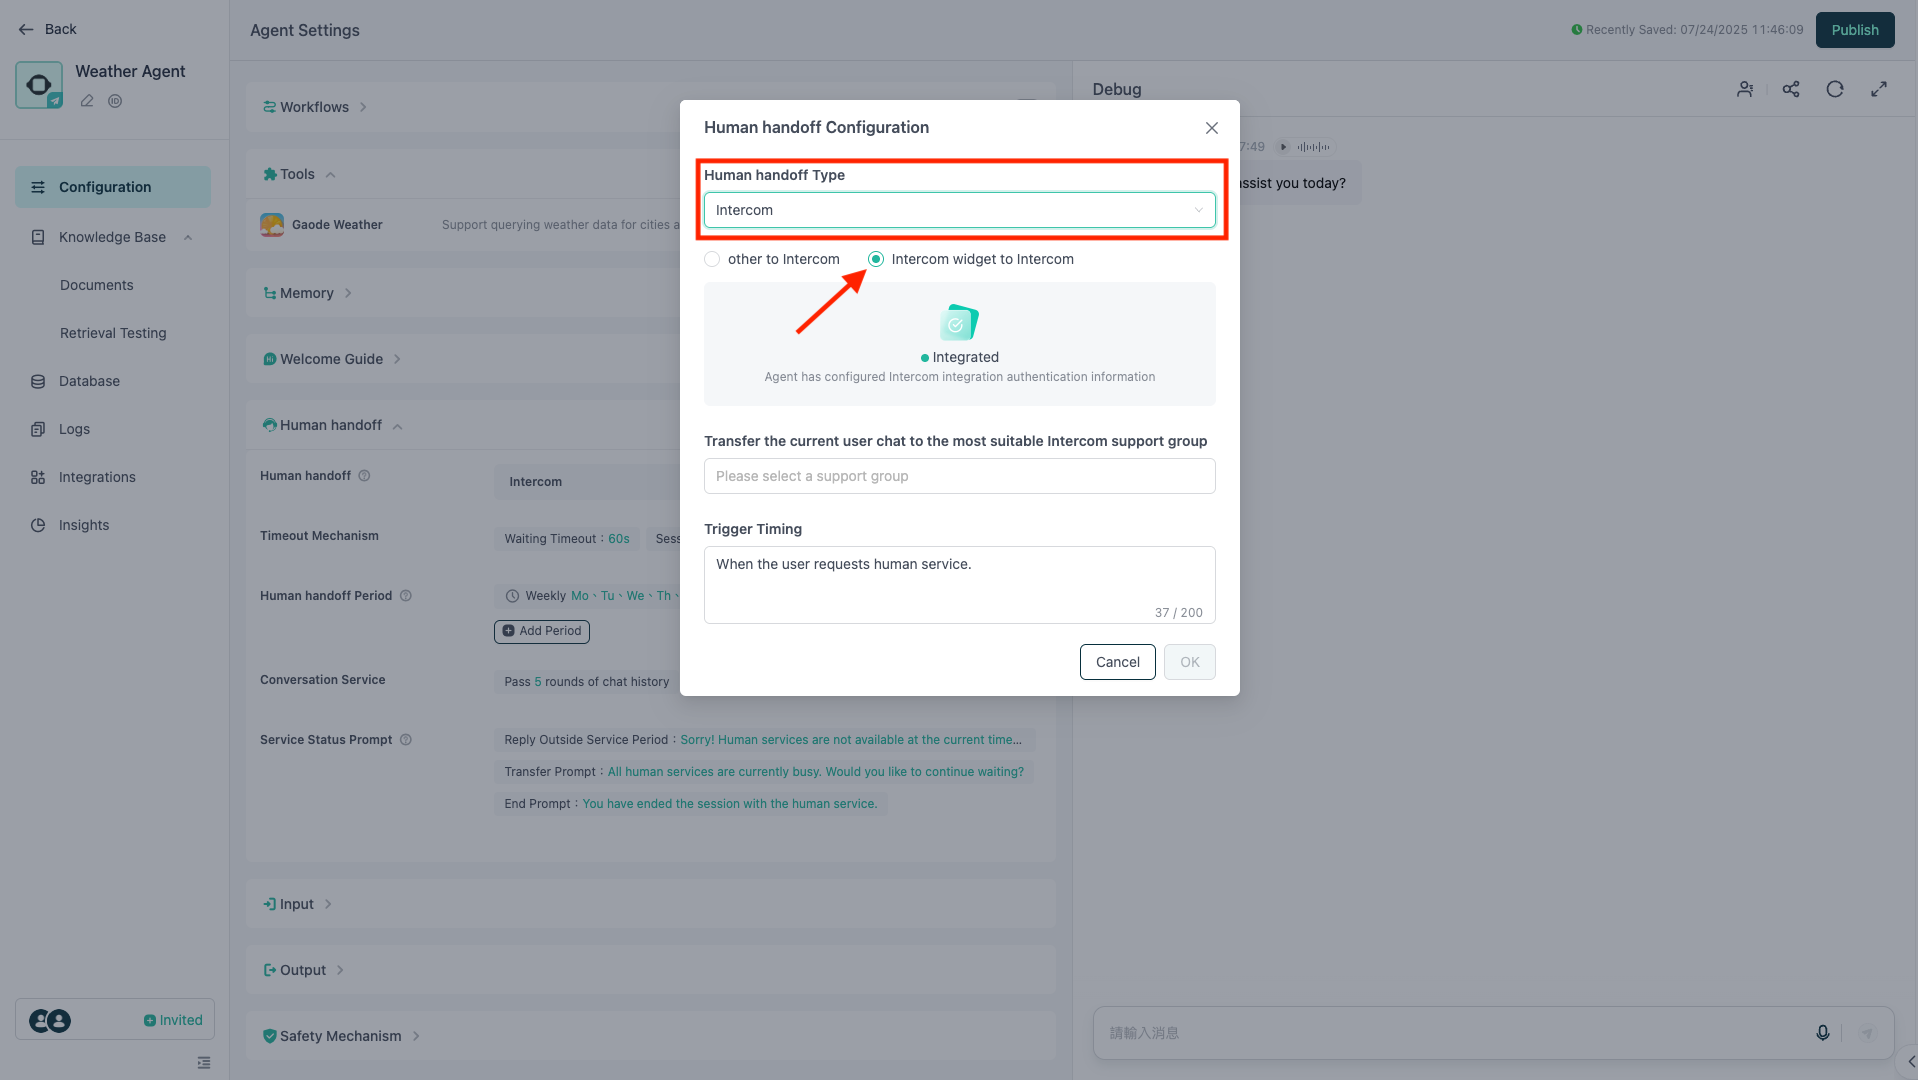
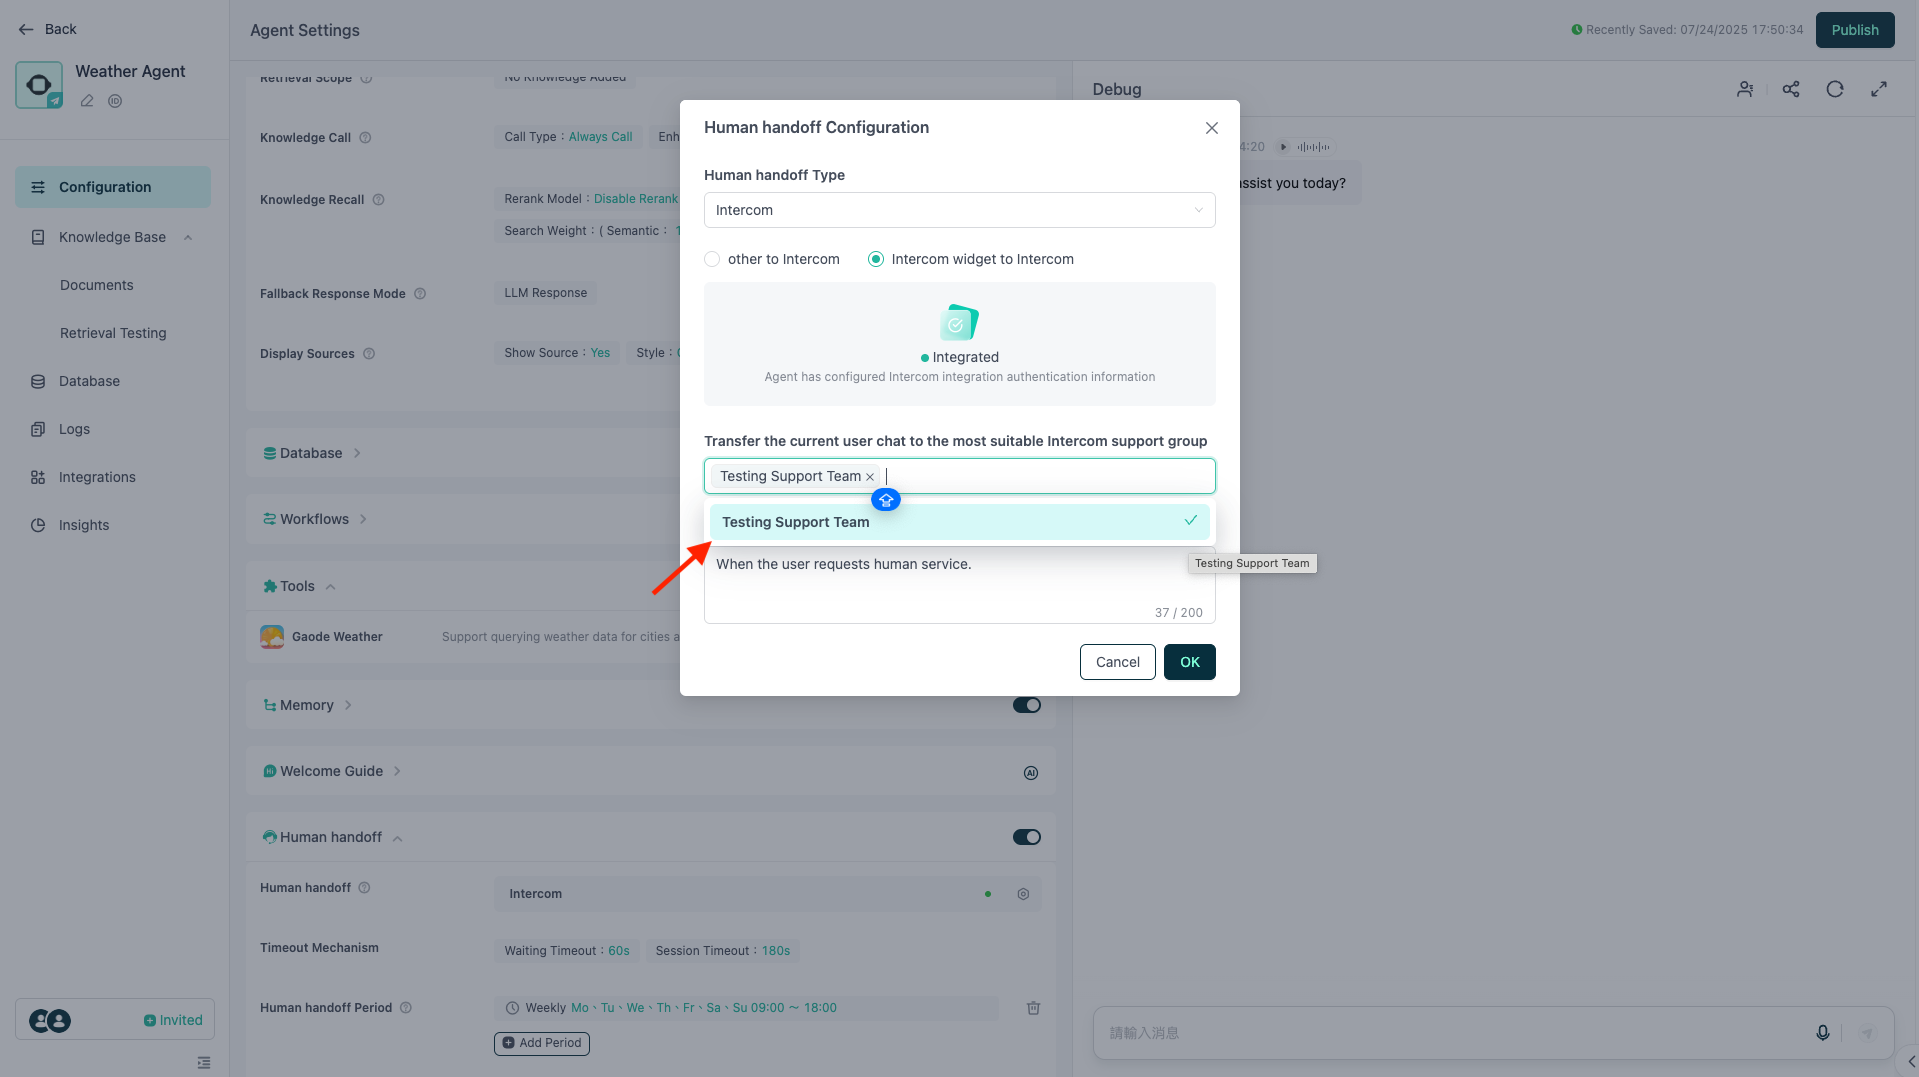
エスカレーション先となるサポートチームを選択します。
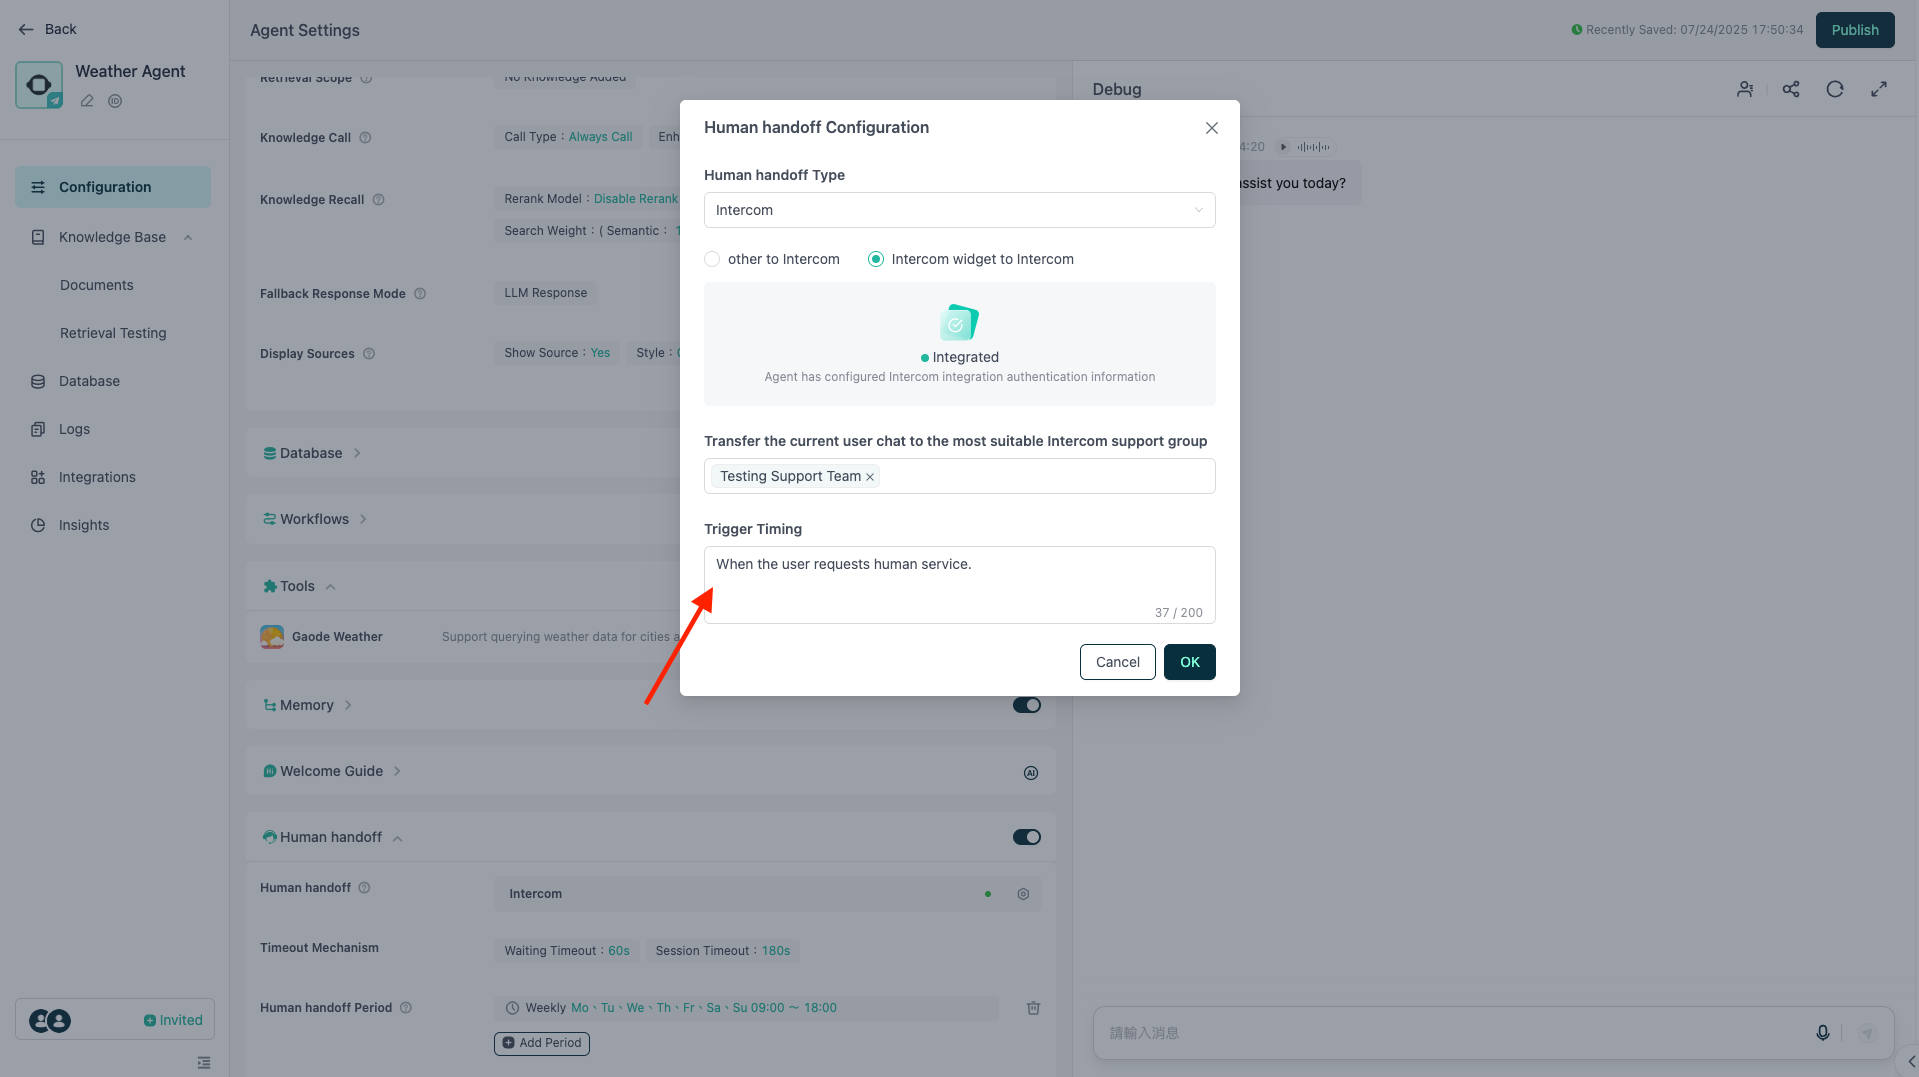
「Trigger Timing」では、エスカレーションのトリガータイミングをカスタマイズできます(このテキストをLLMが解釈し、Intercomの有人サポートへの引き継ぎタイミングを判断します)。すべての設定内容を確認後、「Confirm」をクリックしてください。
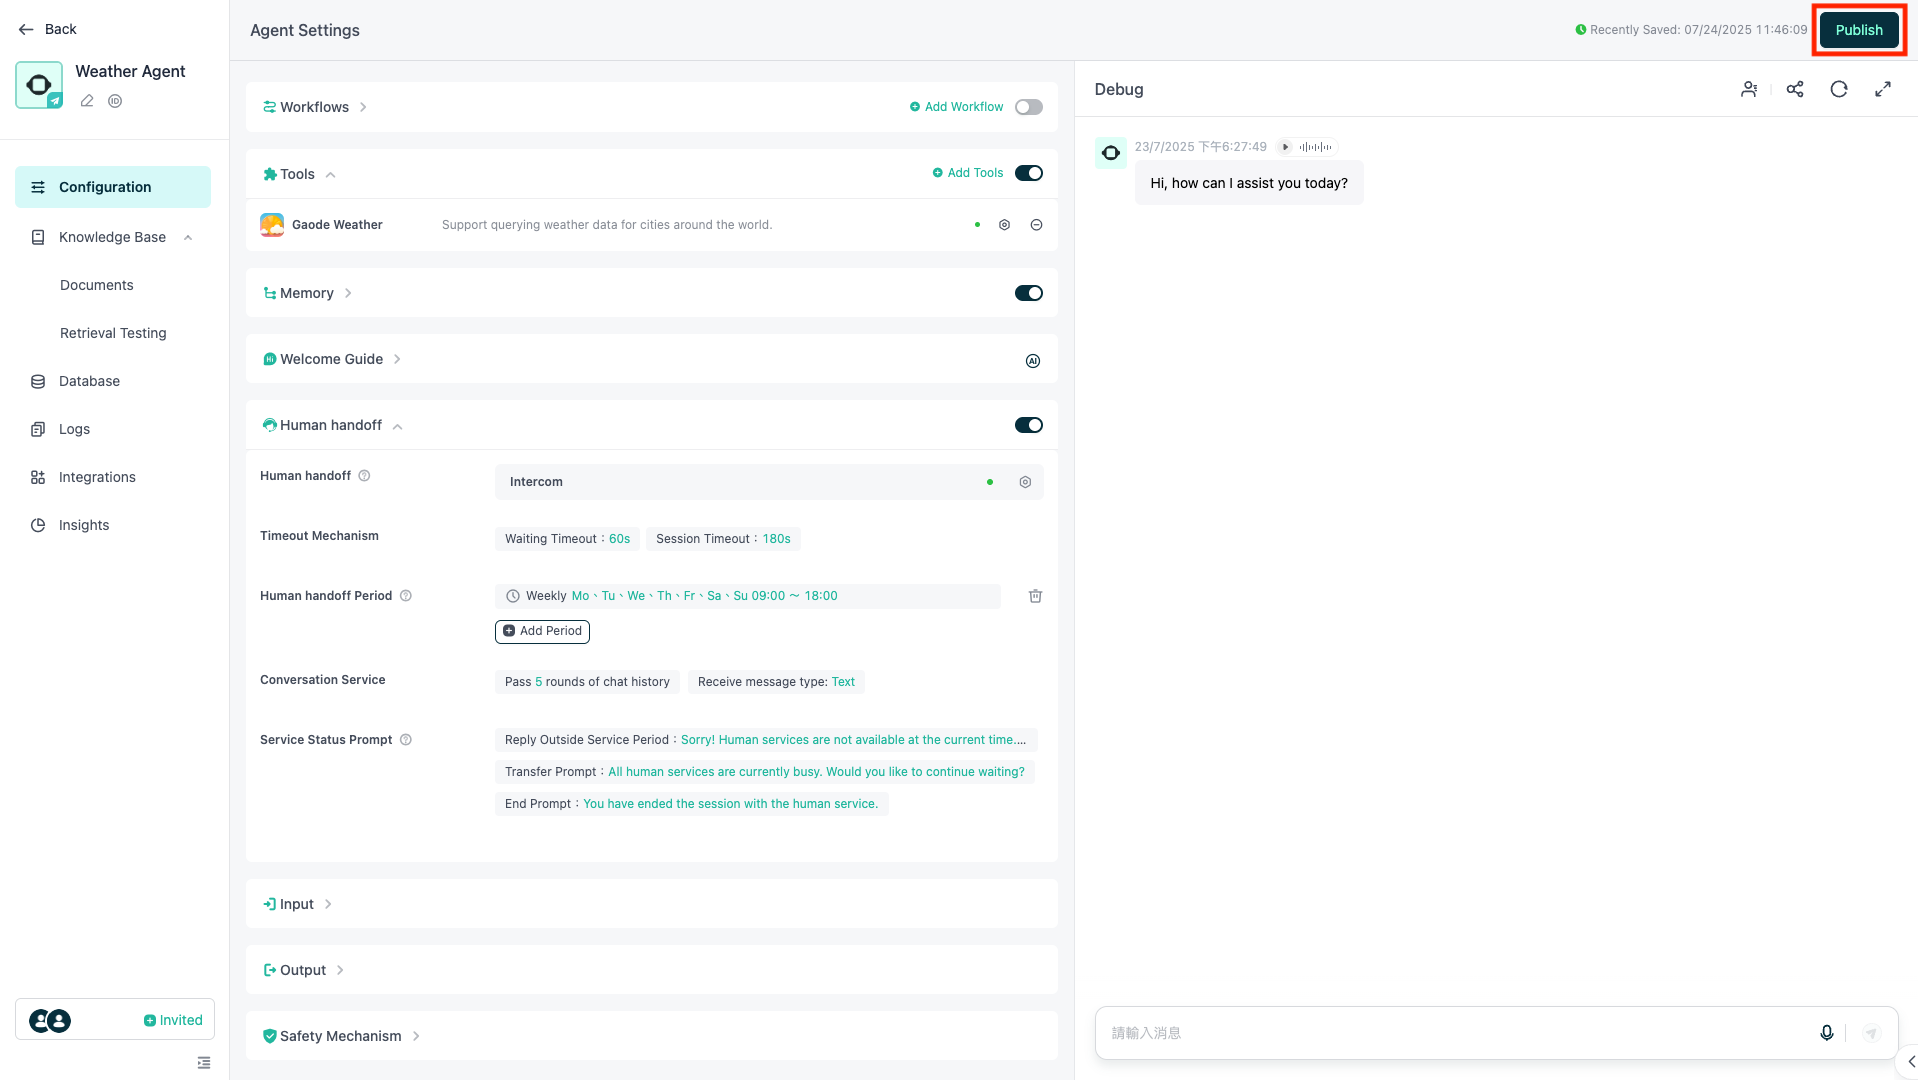
最後に「Publish」をクリックし、エージェントとIntercomの連携を完了します。
連携完了後のユーザー体験フローは以下の通りです。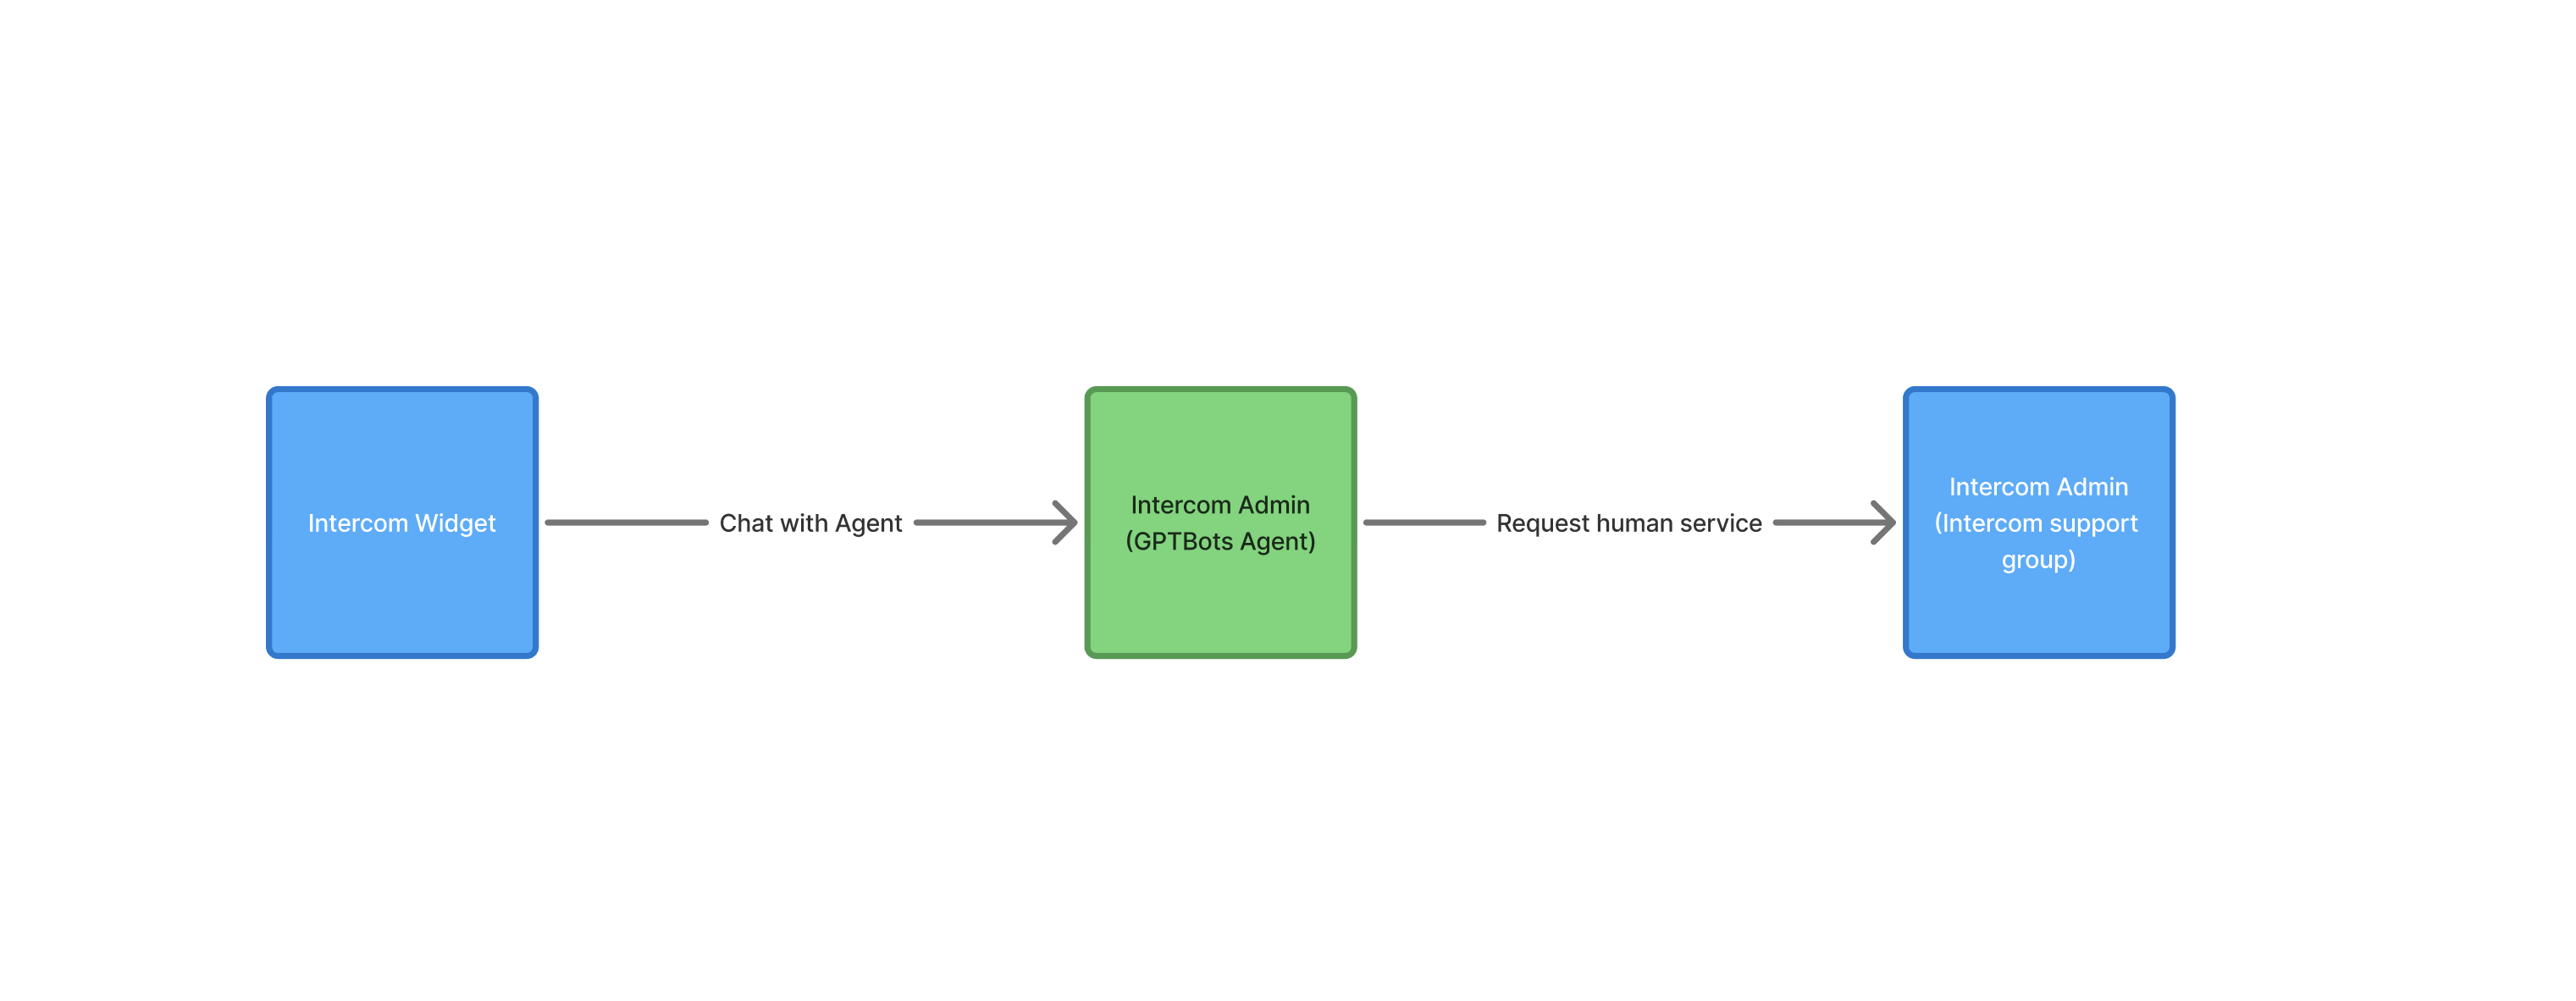
高度な機能
ソースフィルター
この機能は、主にIntercomでワークフローが設定されているシナリオで利用されます。
本機能は、あらかじめIntercomの会話にタグが設定されている場合のみご利用いただけます。システムは現在のチャットに付与されているタグを確認し、指定したタグが含まれている場合のみエージェントが応答します。
例:
ソースフィルターに「GPTBots」タグを設定した場合、Intercom内の会話に「GPTBots」タグが付与されているときのみエージェントが応答します。他のタグが付与された会話には、エージェントは対応しません。
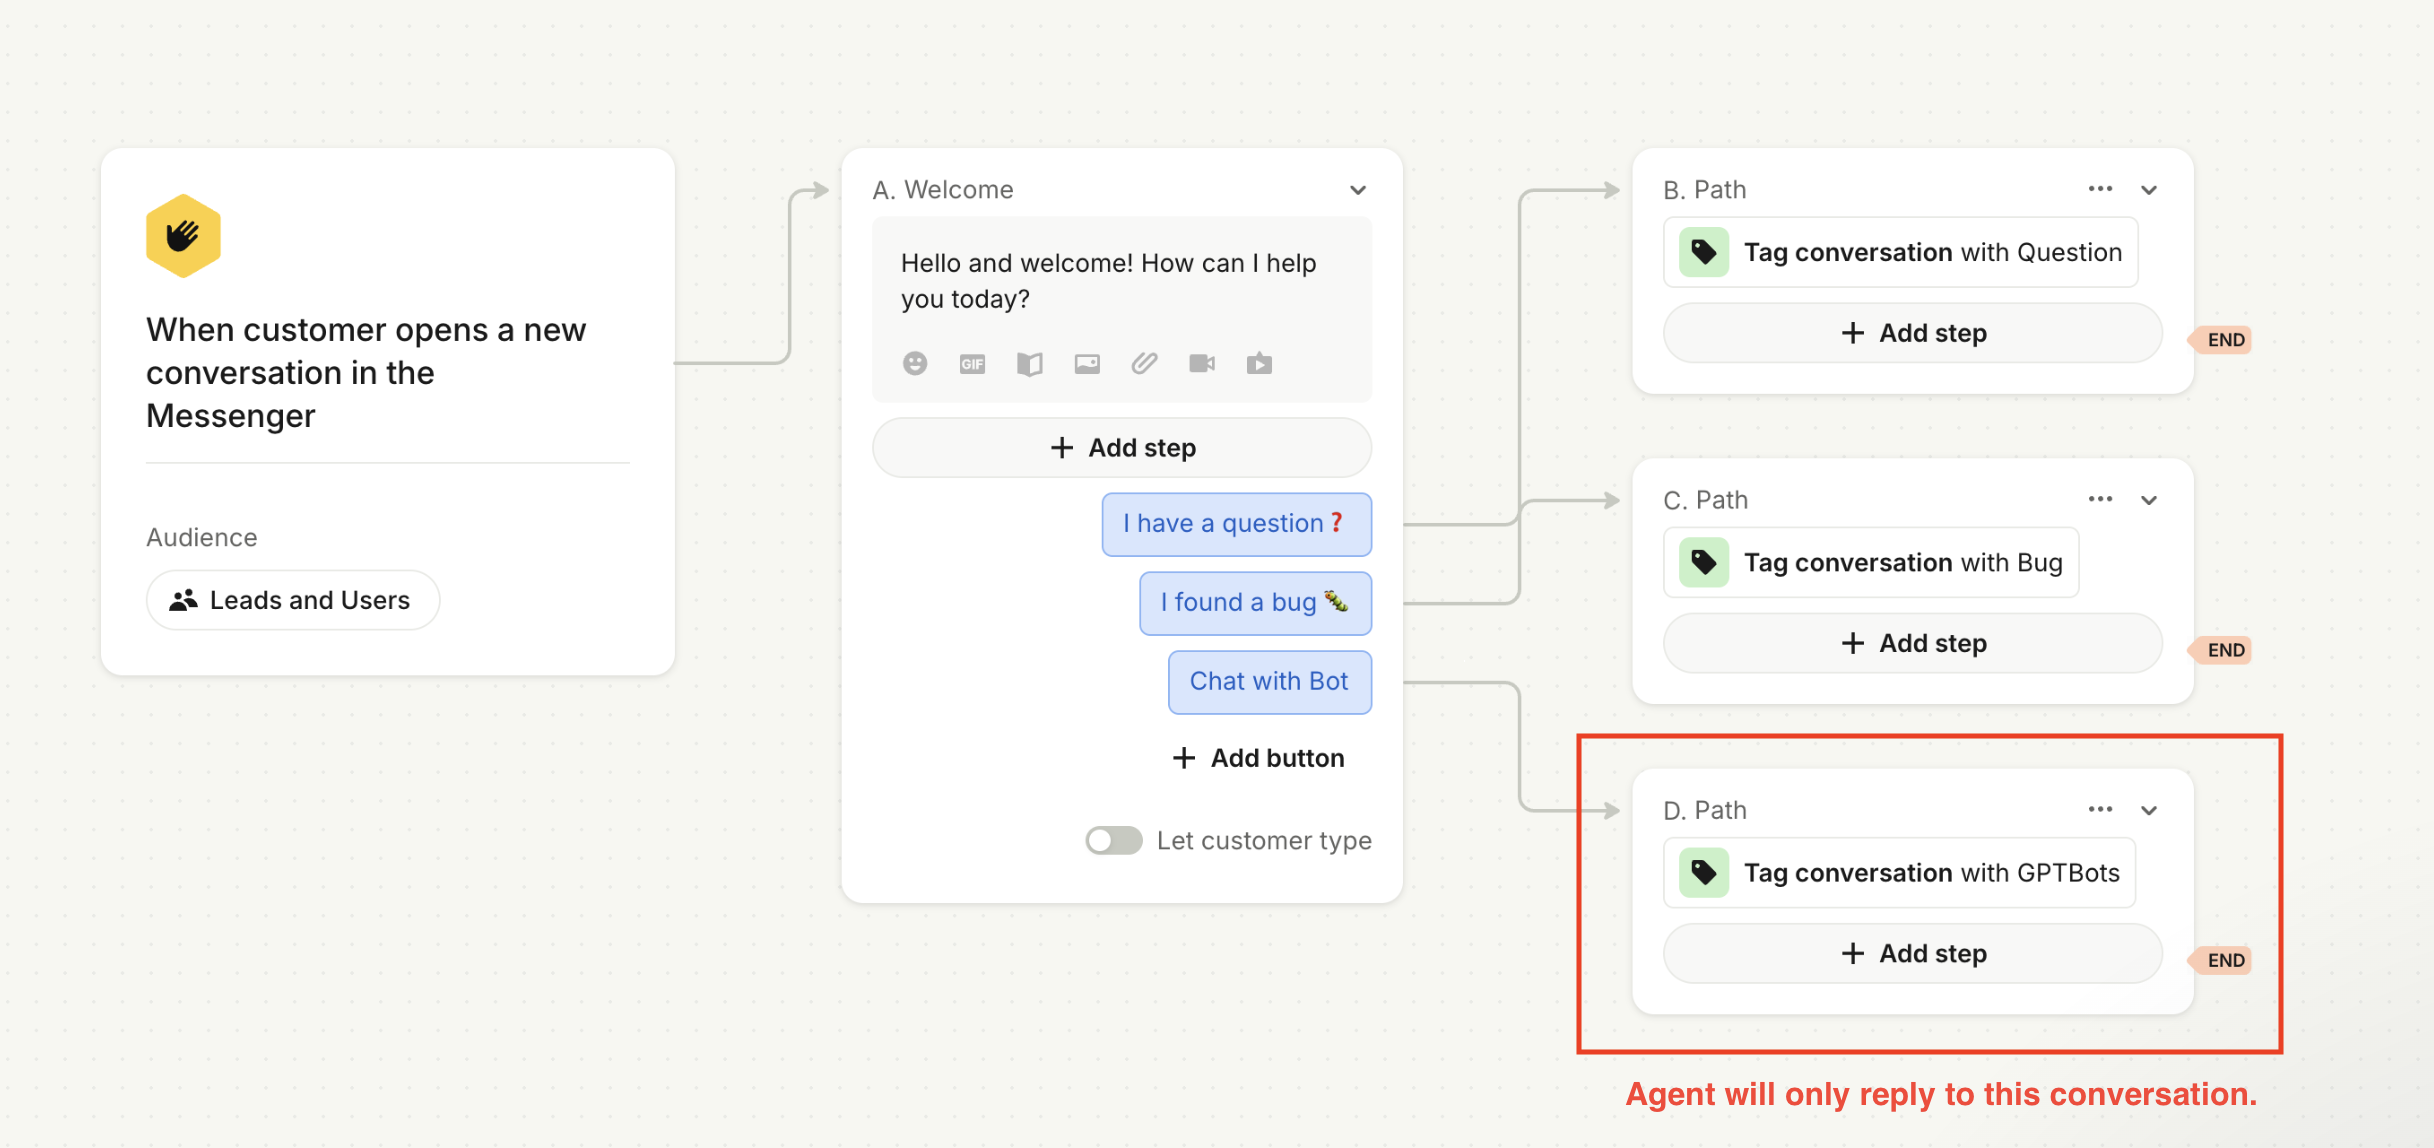
注意: ソースフィルター機能が有効になっていない場合、エージェントはIntercomユーザーからのすべてのメッセージに応答します。
TAGの自動設定
本機能は、Intercomにおいて顧客が会話にタグを設定していない場合に適用されます。
選択されたシナリオがトリガーされると、AIがチャット内容を要約し、タグリスト(Intercom内で管理可能)から最適なタグを選択して会話に設定します。
例:顧客がエージェントとの会話を終了した後、エージェントがチャット内容を要約し、「機能リクエスト」などのタグを会話に自動設定します。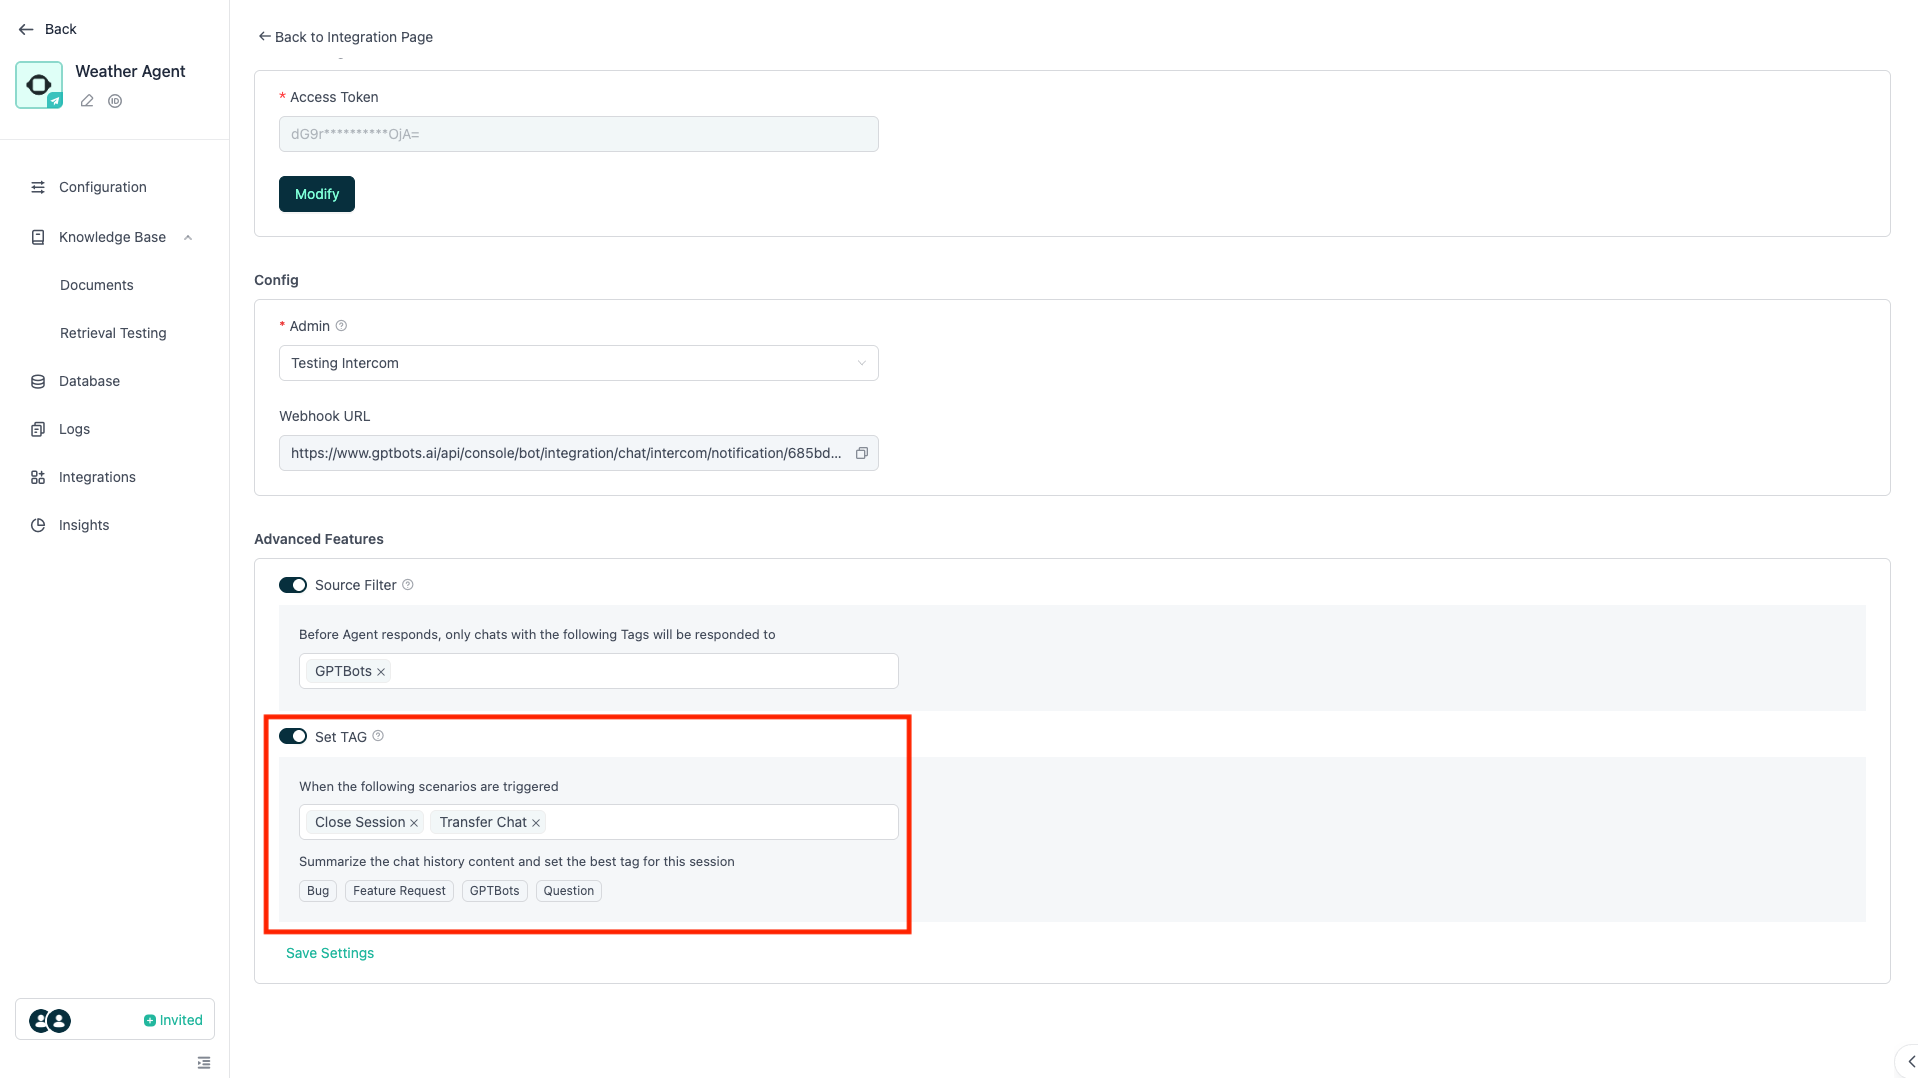
注意:「ソースフィルター」および「タグ設定」の各設定後には、必ず毎回「設定を保存」をクリックしてください。