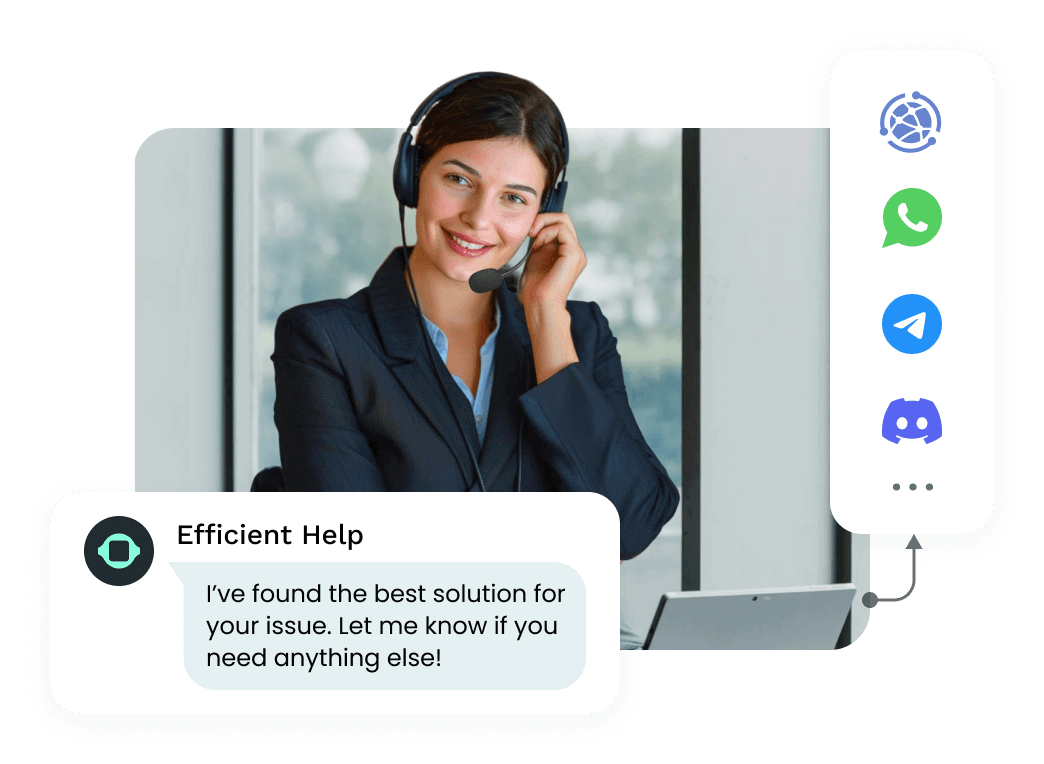
logo
การพัฒนา
ค้นหา
Livechat Configuration Tutorial

Livechat Configuration Tutorial

Create PAT Authentication in the Livechat Developer Console

Log in to the Livechat Developer Console using the LiveChat Agent account that will be taken over by the AI Agent, and follow these steps:

  • Go to the settings page, select Personal Access Tokens, and click "Create new token +"
    Create new token

  • Create PAT, select "select all" for access scopes
    access scopes

  • Copy and save the "Account ID" and "Token", which will be needed later for configuration in "GPTBots - Agent Integration - Livechat".
    Account ID / Token"

Build an app in Livechat Build app for receiving and sending messages on the livechat platform.

  • Go to the "Apps" page and click the "Build app" button to start creating the app
    Build app

  • Enter the app name, select livechat for Product, and click "Create app" to successfully create it
    Create app

  • Click the app to enter the details page, select the Blocks page, and click the "Add Building Blocks" button
    Add Building Blocks

  • In the "Add Building Blocks" popup, select the "App Authorization" option and click "Add block"
    Add block

  • Select the Server-side app option and click the "Save" button to successfully create it
    Save

  • Copy and save the "Client Id" and "Client Secret", which will be needed later for configuration in "GPTBots - Agent Integration - Livechat".
    Client Secret / Client Id

Configure Livechat Integration in GPTBots

  • On the "GPTBots - Agent Settings - Integration - Livechat" page, configure the saved information and click the "Submit" button to complete the configuration.

    • AgentEmail: Email address of the LiveChat Agent account that will be taken over by the AI Agent. This agent must be a human customer service account in the same project.
    • Account ID: The Account ID obtained when creating PAT in Livechat (for the LiveChat Agent account being taken over by the AI Agent).
    • Token: The Token obtained when creating PAT in Livechat (for the LiveChat Agent account being taken over by the AI Agent).
    • Client Id: The Client Id obtained when creating the app in Livechat.
    • Client Secret: The Client Secret obtained when creating the app in Livechat.
  • Secret key: Enter a custom key of your choice and save it for webhook authentication.
    configuration livechat

  • After completing the "Livechat Integration" configuration in GPTBots:

    • The AI Agent will take over the user conversation of the AgentEmail account, directly responding to user questions.
    • Based on the AI Agent's capabilities, it can support multi-modal information input such as text, images, and files from users.
    • The platform will generate a "Webhooks - Message and Event Reception URL" address, which can be used to create a Webhook in the Livechat backend.## Configure Chat webhooks for advanced features like chat transfer/closure

Create "incoming_event" and "incoming_chat" event

  • Return to the Blocks page, click the "Add Building Blocks" button to create webhooks
    Add Building Blocks

  • In the popup, select the "chat webhooks" option (note that it is not the app webhooks) and click the "Add block" option
    Add block

  • Copy the "GPTBots Webhook URL" address in "GPTBots - Agent Configuration - Integration - Livechat"
    Webhook URL

  • Configure the following options in "Creating Chat Webhook" and click "Save" to create successfully

    • Webhook URL: Fill in the copied "GPTBots Webhook URL" address in the input box.
    • Secret key: Enter the custom key saved earlier
    • Type: Select the "License" option
    • Webhook triggers: Select the "incoming_event" and "incoming_chat" event and check "chat_presence_user_ids"
      aCreating Chat Webhook
      Webhook triggers
      alt text

Install app and verify

Configure Livechat Agent

Select "Team" - "Group" to create a new group. Add the LiveChat Agent account that will be taken over by the AI Agent to this group. Also add a LiveChat Agent account that will be used by human customer service.

  • Set the LiveChat Agent account that will be taken over by the AI Agent as: Primary agent.
  • Set the LiveChat Agent account used by human customer service as: Backup agent.

Advanced features of Livechat integration

Setting TAG

Note: After enabling this feature, the system will monitor all target events in the Livedesk project and set TAGs, which may result in significant credit consumption.
Once the authentication configuration for Livechat is completed, the "Setting TAG" feature can be enabled. The specific configuration is as follows:

  • Select trigger scenarios: The system allows the "Setting TAG" operation to be triggered by two events: "Closing Conversation" and "Transferring Chat."
    • Closing Conversation: When the user actively closes the conversation in the Livechat chat window.
    • Transferring Chat: When the conversation in the Livechat chat window is transferred to another customer service account.
  • TAG: The system will automatically retrieve the list of TAGs already set in the Livechat project.
    When the selected trigger scenario occurs, the AI Agent will choose the most appropriate TAG based on the conversation record and automatically call the "Livechat TAG Setting API" to assign a TAG to the conversation. This aids customer service in swiftly identifying user needs and enhances operational efficiency.
    Advanced Livechat Integration - Setting TAG

Replying Status

Once the authentication configuration for Livechat is completed, the "Replying Status" feature can be enabled. After enabling this feature, when a user sends a message in the Livechat chat window, they will see a "replying animation," which improves the overall user experience.

Pre-Chat Form

When the "Pre-Chat Form" feature is enabled in the Livechat Widget, users will be prompted to fill out a pre-chat form after sending a message in the Livechat chat window. This allows for the collection of user information.
Once the Pre-Chat Form feature is enabled on the GPTBots - Settings - Integrations - Livechat page, the AI Agent will be able to receive the information submitted by the user in the Pre-Chat Form. This information will be used as conversational context, helping the AI Agent better understand user needs and provide more accurate responses.
Enable Pre-Chat Form on Livechat page

Setting User ID

When developers use the Livechat Widget to provide services to website users, they can achieve identity synchronization between the Agent user and the website's logged-in user by setting a user ID. When a website user is logged in, by calling the API interface provided by the LiveChat Widget SDK to set the user ID, this user ID can then be utilized by the GPTBots Agent. This helps the AI Agent quickly identify the user, thereby enhancing service efficiency.

LiveChatWidget.call("set_session_variables",{user_id: "your_user_id"});
                      
                      LiveChatWidget.call("set_session_variables",{user_id: "your_user_id"});

                    
บล็อกโค้ดนี้ในหน้าต่างลอย