Live Speechly
Developed by GPTBots, Live Speechly is an AI application designed for enterprise multilingual meeting scenarios, providing capabilities such as real-time translation, smart summaries, and automatic action plan generation, so that every meeting delivers results efficiently.
Client
Live Speechly currently supports macOS and Windows. After logging in to GPTBots, go to Workspace - Marketplace to download the client.
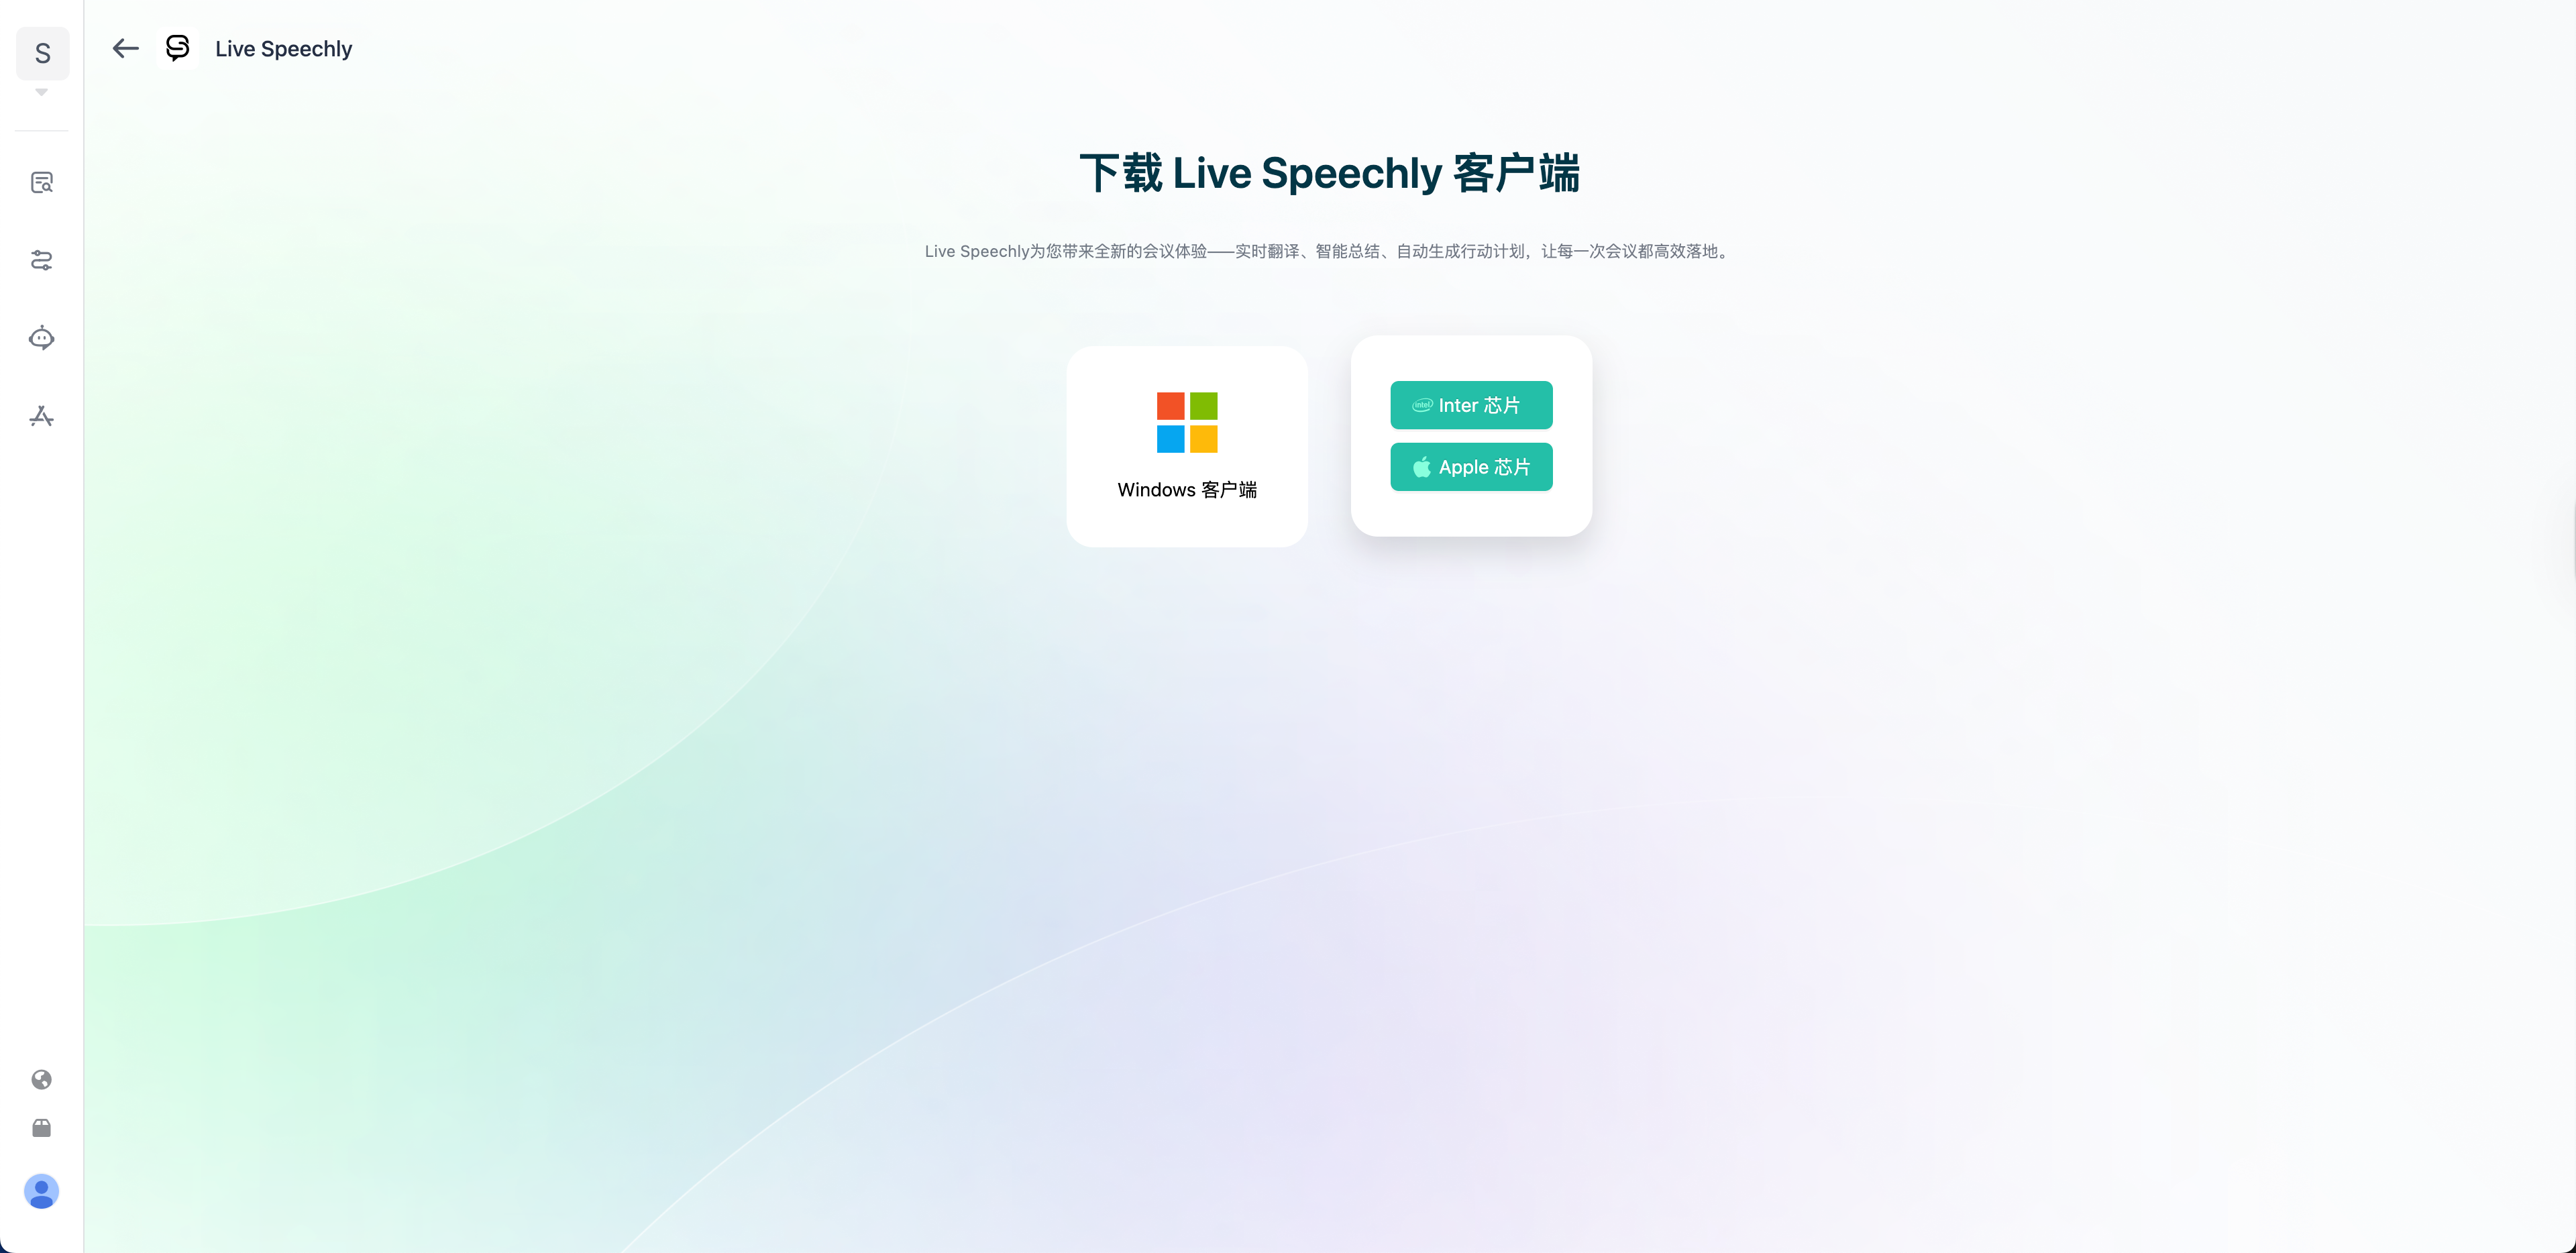
On Windows, simply unzip after downloading and open it directly. On macOS, download the corresponding dmg file based on your device's chip. On the first launch after a successful macOS installation, you need to allow Live Speechly to open in "Settings - Privacy & Security - Security".
After launching Live Speechly, click the "Start Now" button, follow the instructions to complete login and select your target organization, then choose
Open Live Speechlyto enter the main interface of the application. After selecting the target translation language, click the "Start" button to begin using it.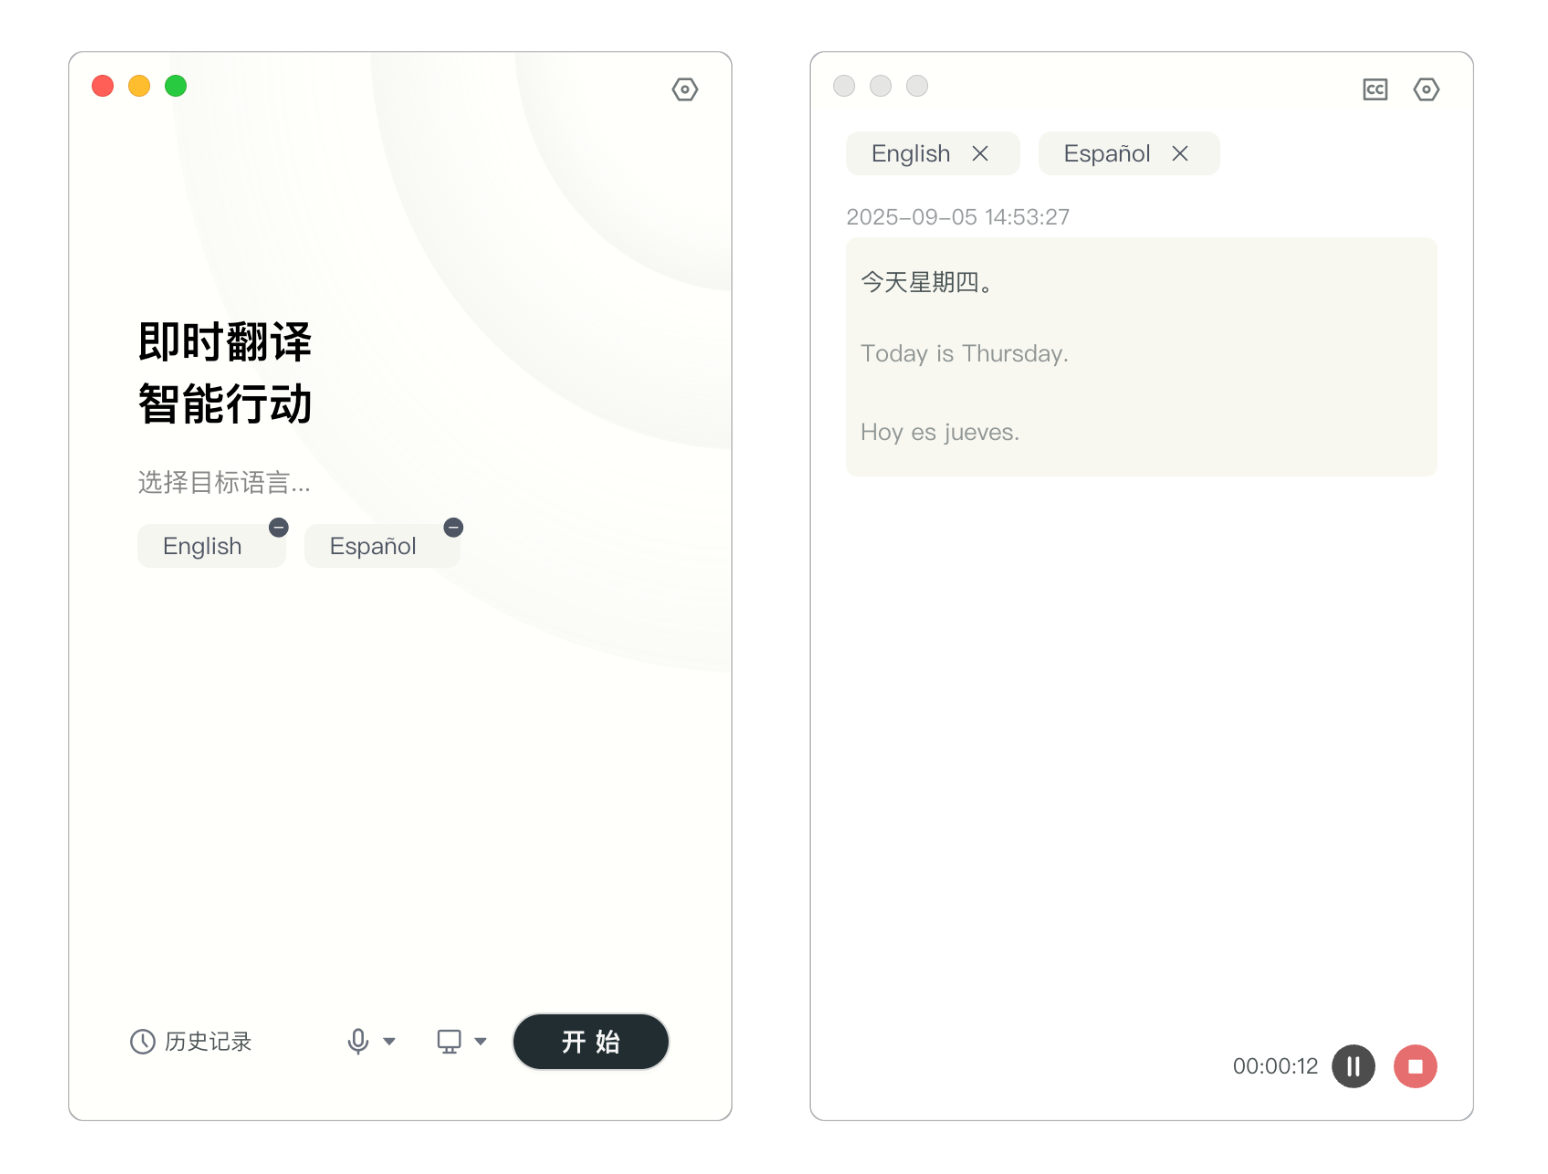
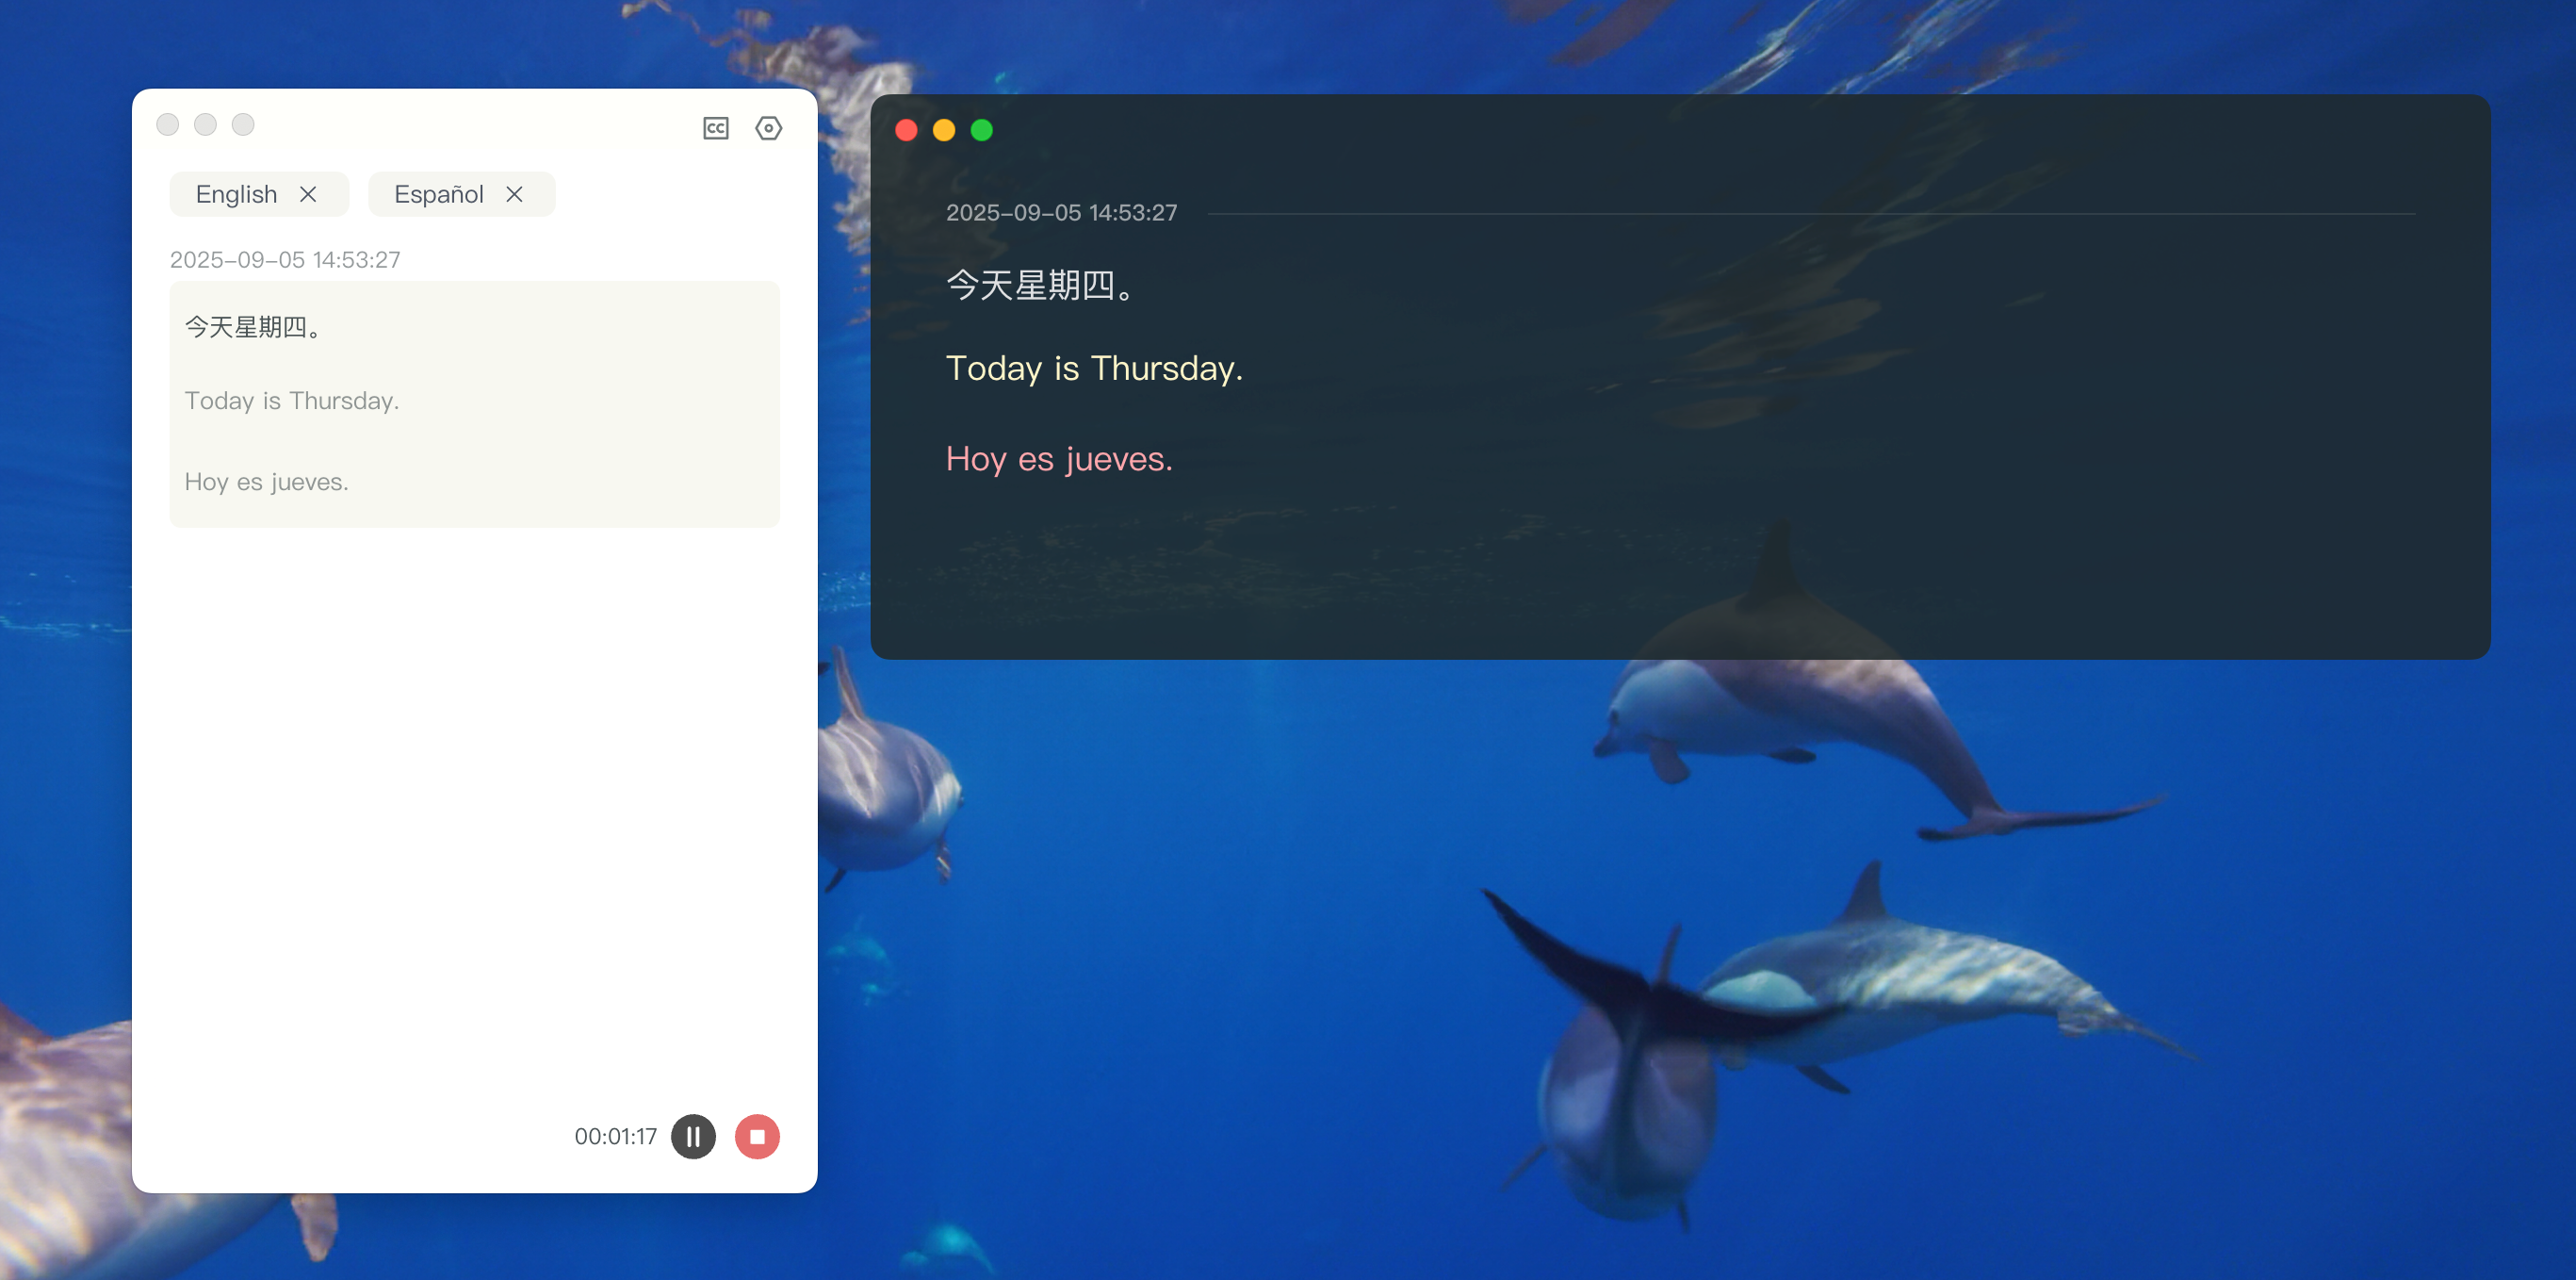
Click the "Subtitles" button to bring up the subtitle window, which supports dragging, full-screen, and custom window sizing. You can choose different colors, font sizes, and more for both the subtitles and the translation.
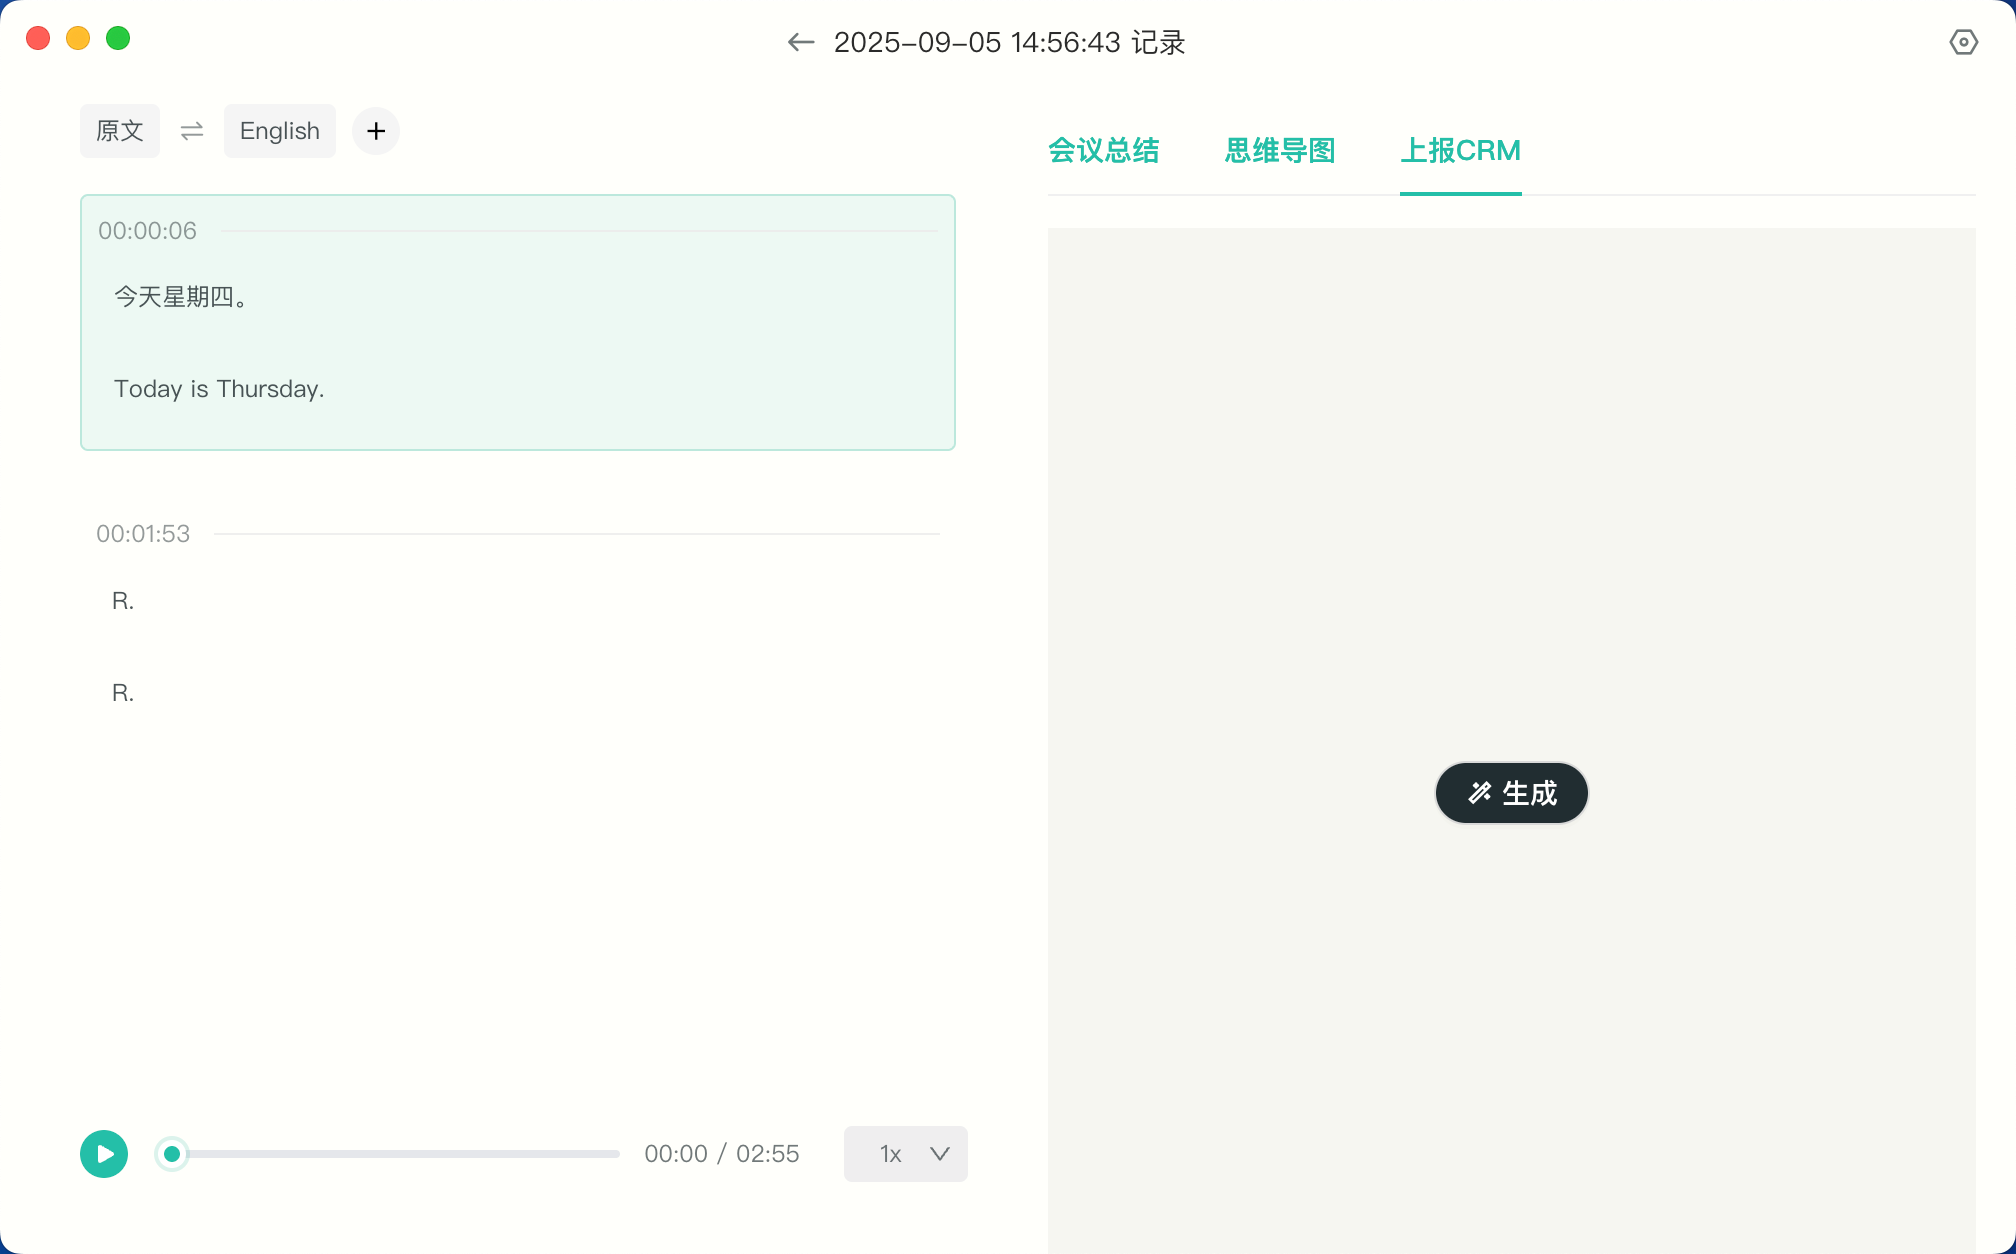
After the meeting ends, click the "Meeting Memory" button to view historical meeting data. On the meeting record page, you can view the original text, the translation, and replay the audio, and use the various AI extension capabilities configured by the enterprise administrator.
Management Configuration
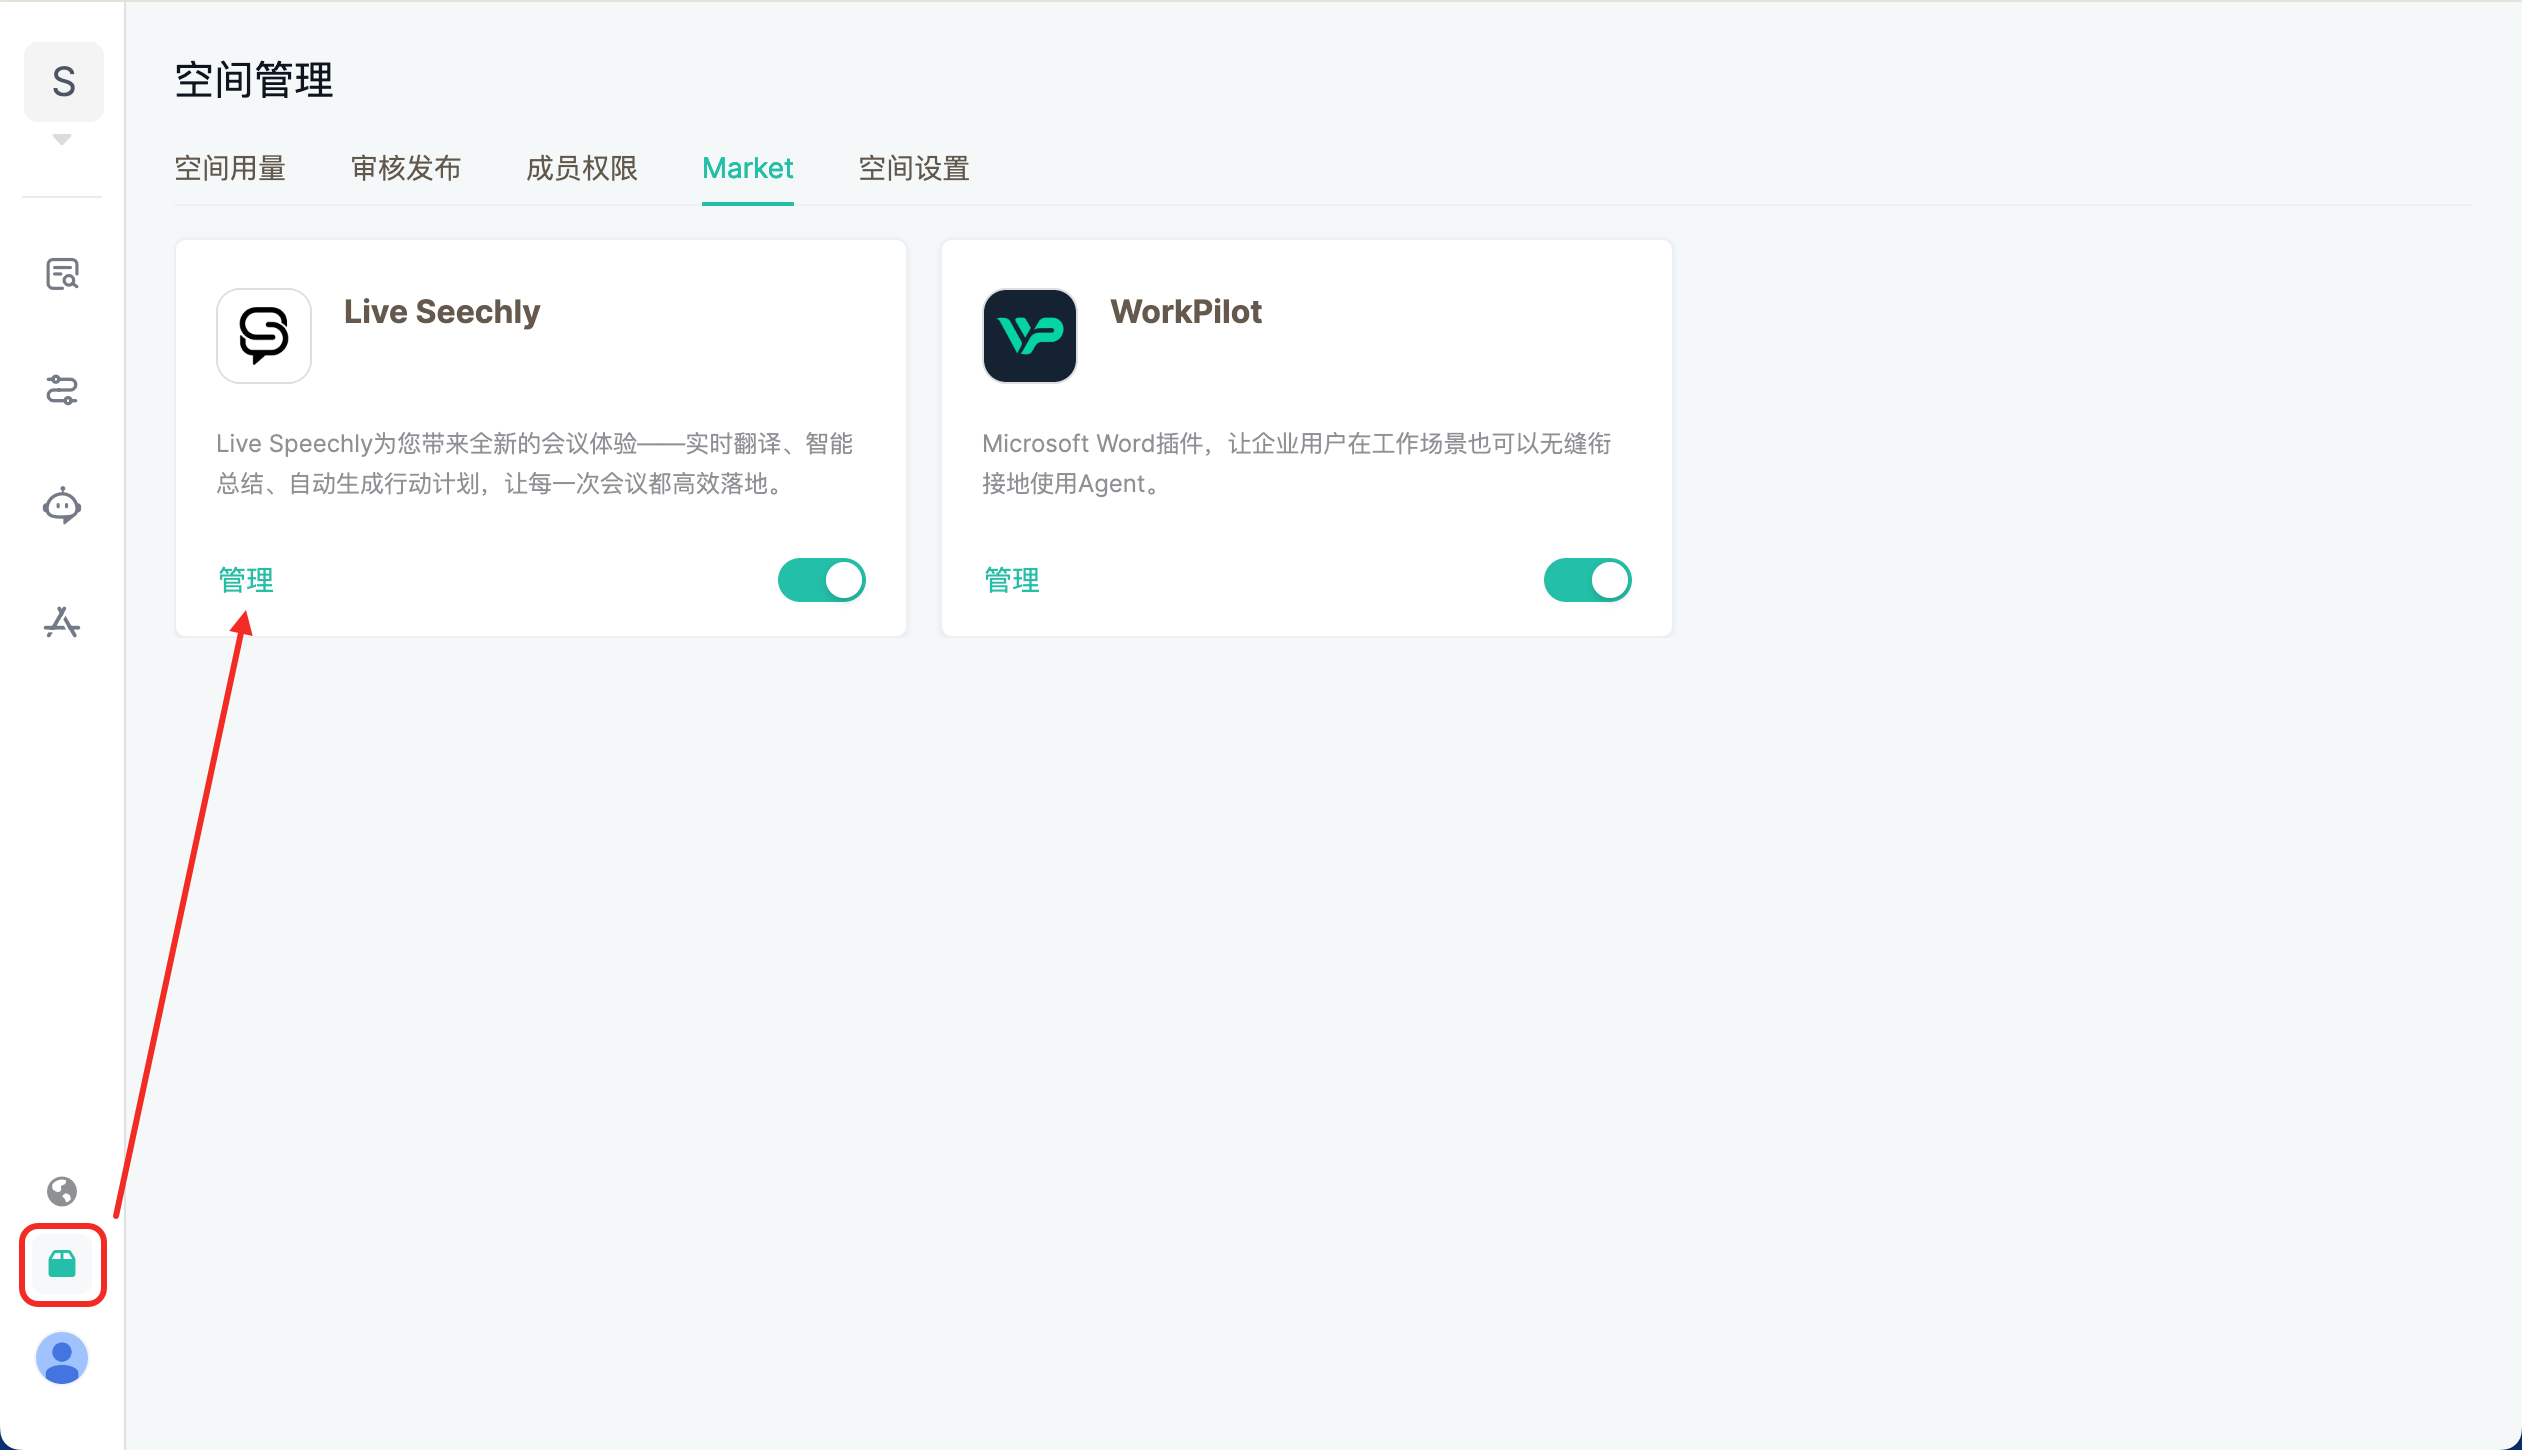
The enterprise administrator enters the workspace and clicks "Space Management - Market" to view all published AI applications, then clicks "Manage" to enter the application configuration page.
After entering the configuration page, the enterprise administrator can customize AI extension capabilities based on enterprise needs. Simply associate an Agent already published in the workspace, select the trigger timing, and define a custom skill name to complete the configuration.
If there is no available Agent in the workspace, please first build an Agent in the Development Space and publish it to the Workspace.