WorkPilot
WorkPilot
WorkPilot is a Microsoft Word add-in developed by GPTBots, enabling seamless integration of GPTBots Agent capabilities directly within Word for enhanced productivity.
User Guide
How to Enable the WorkPilot Add-in in Word
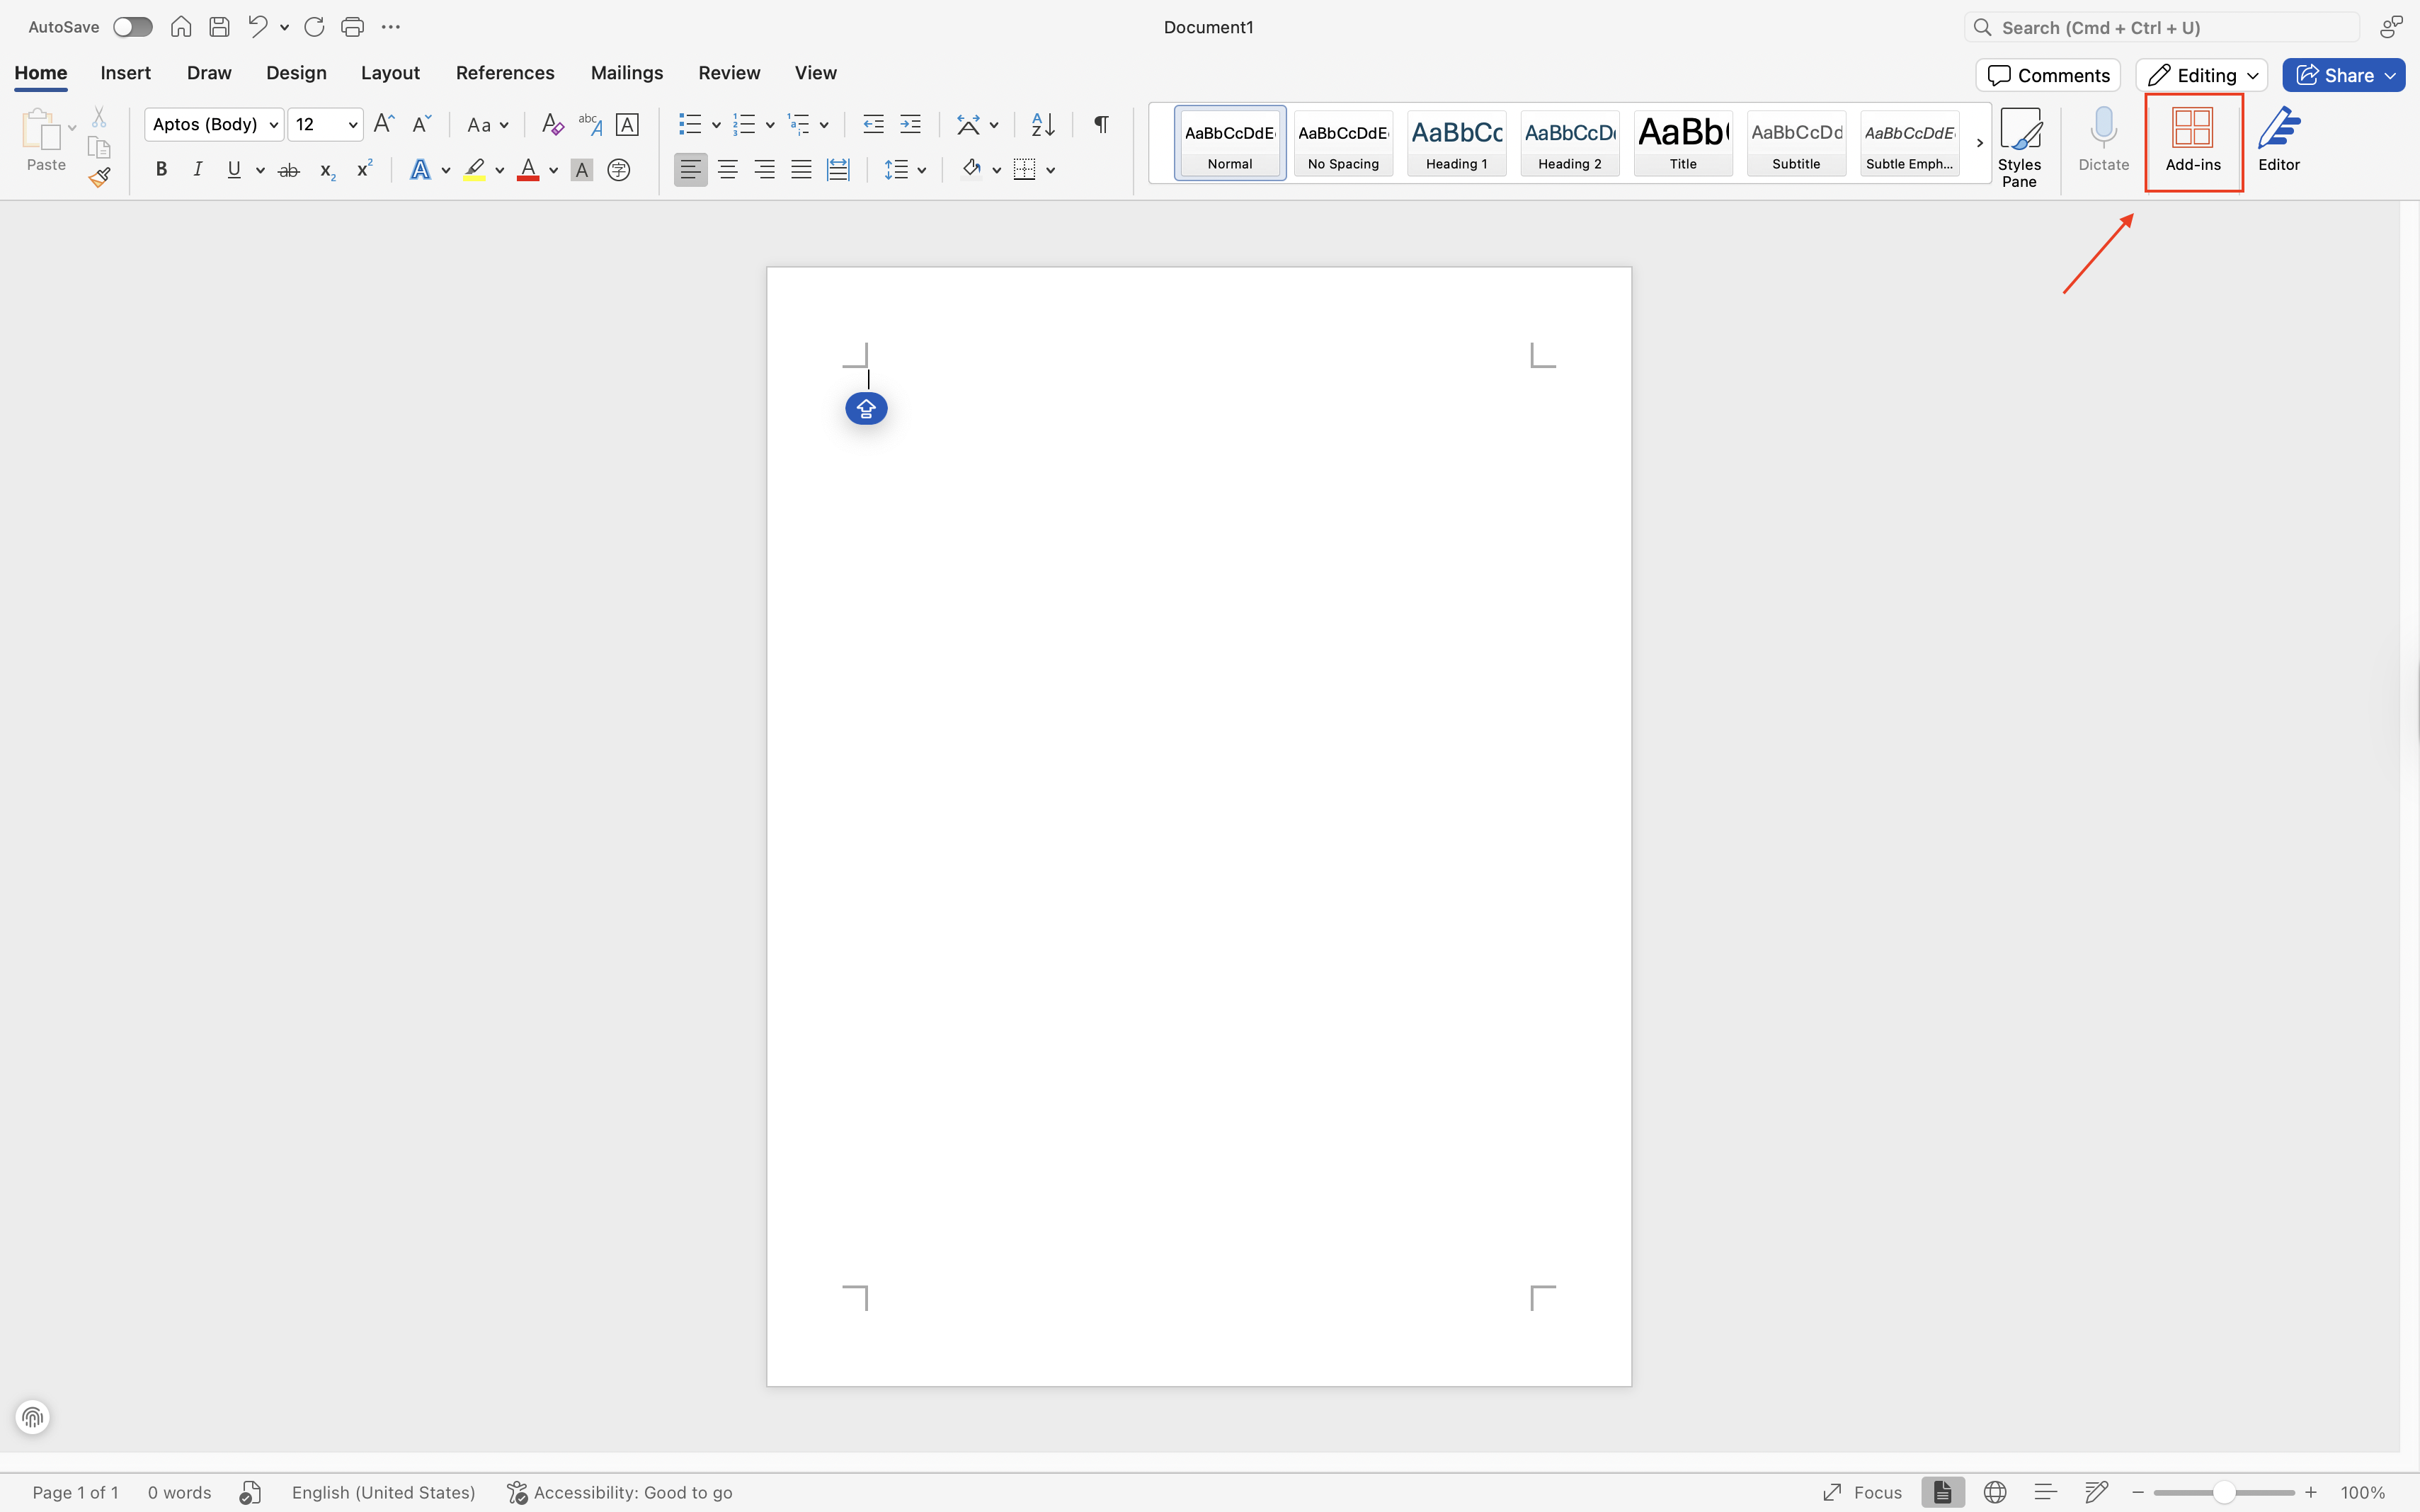
- Open Word and click on "Add-ins".
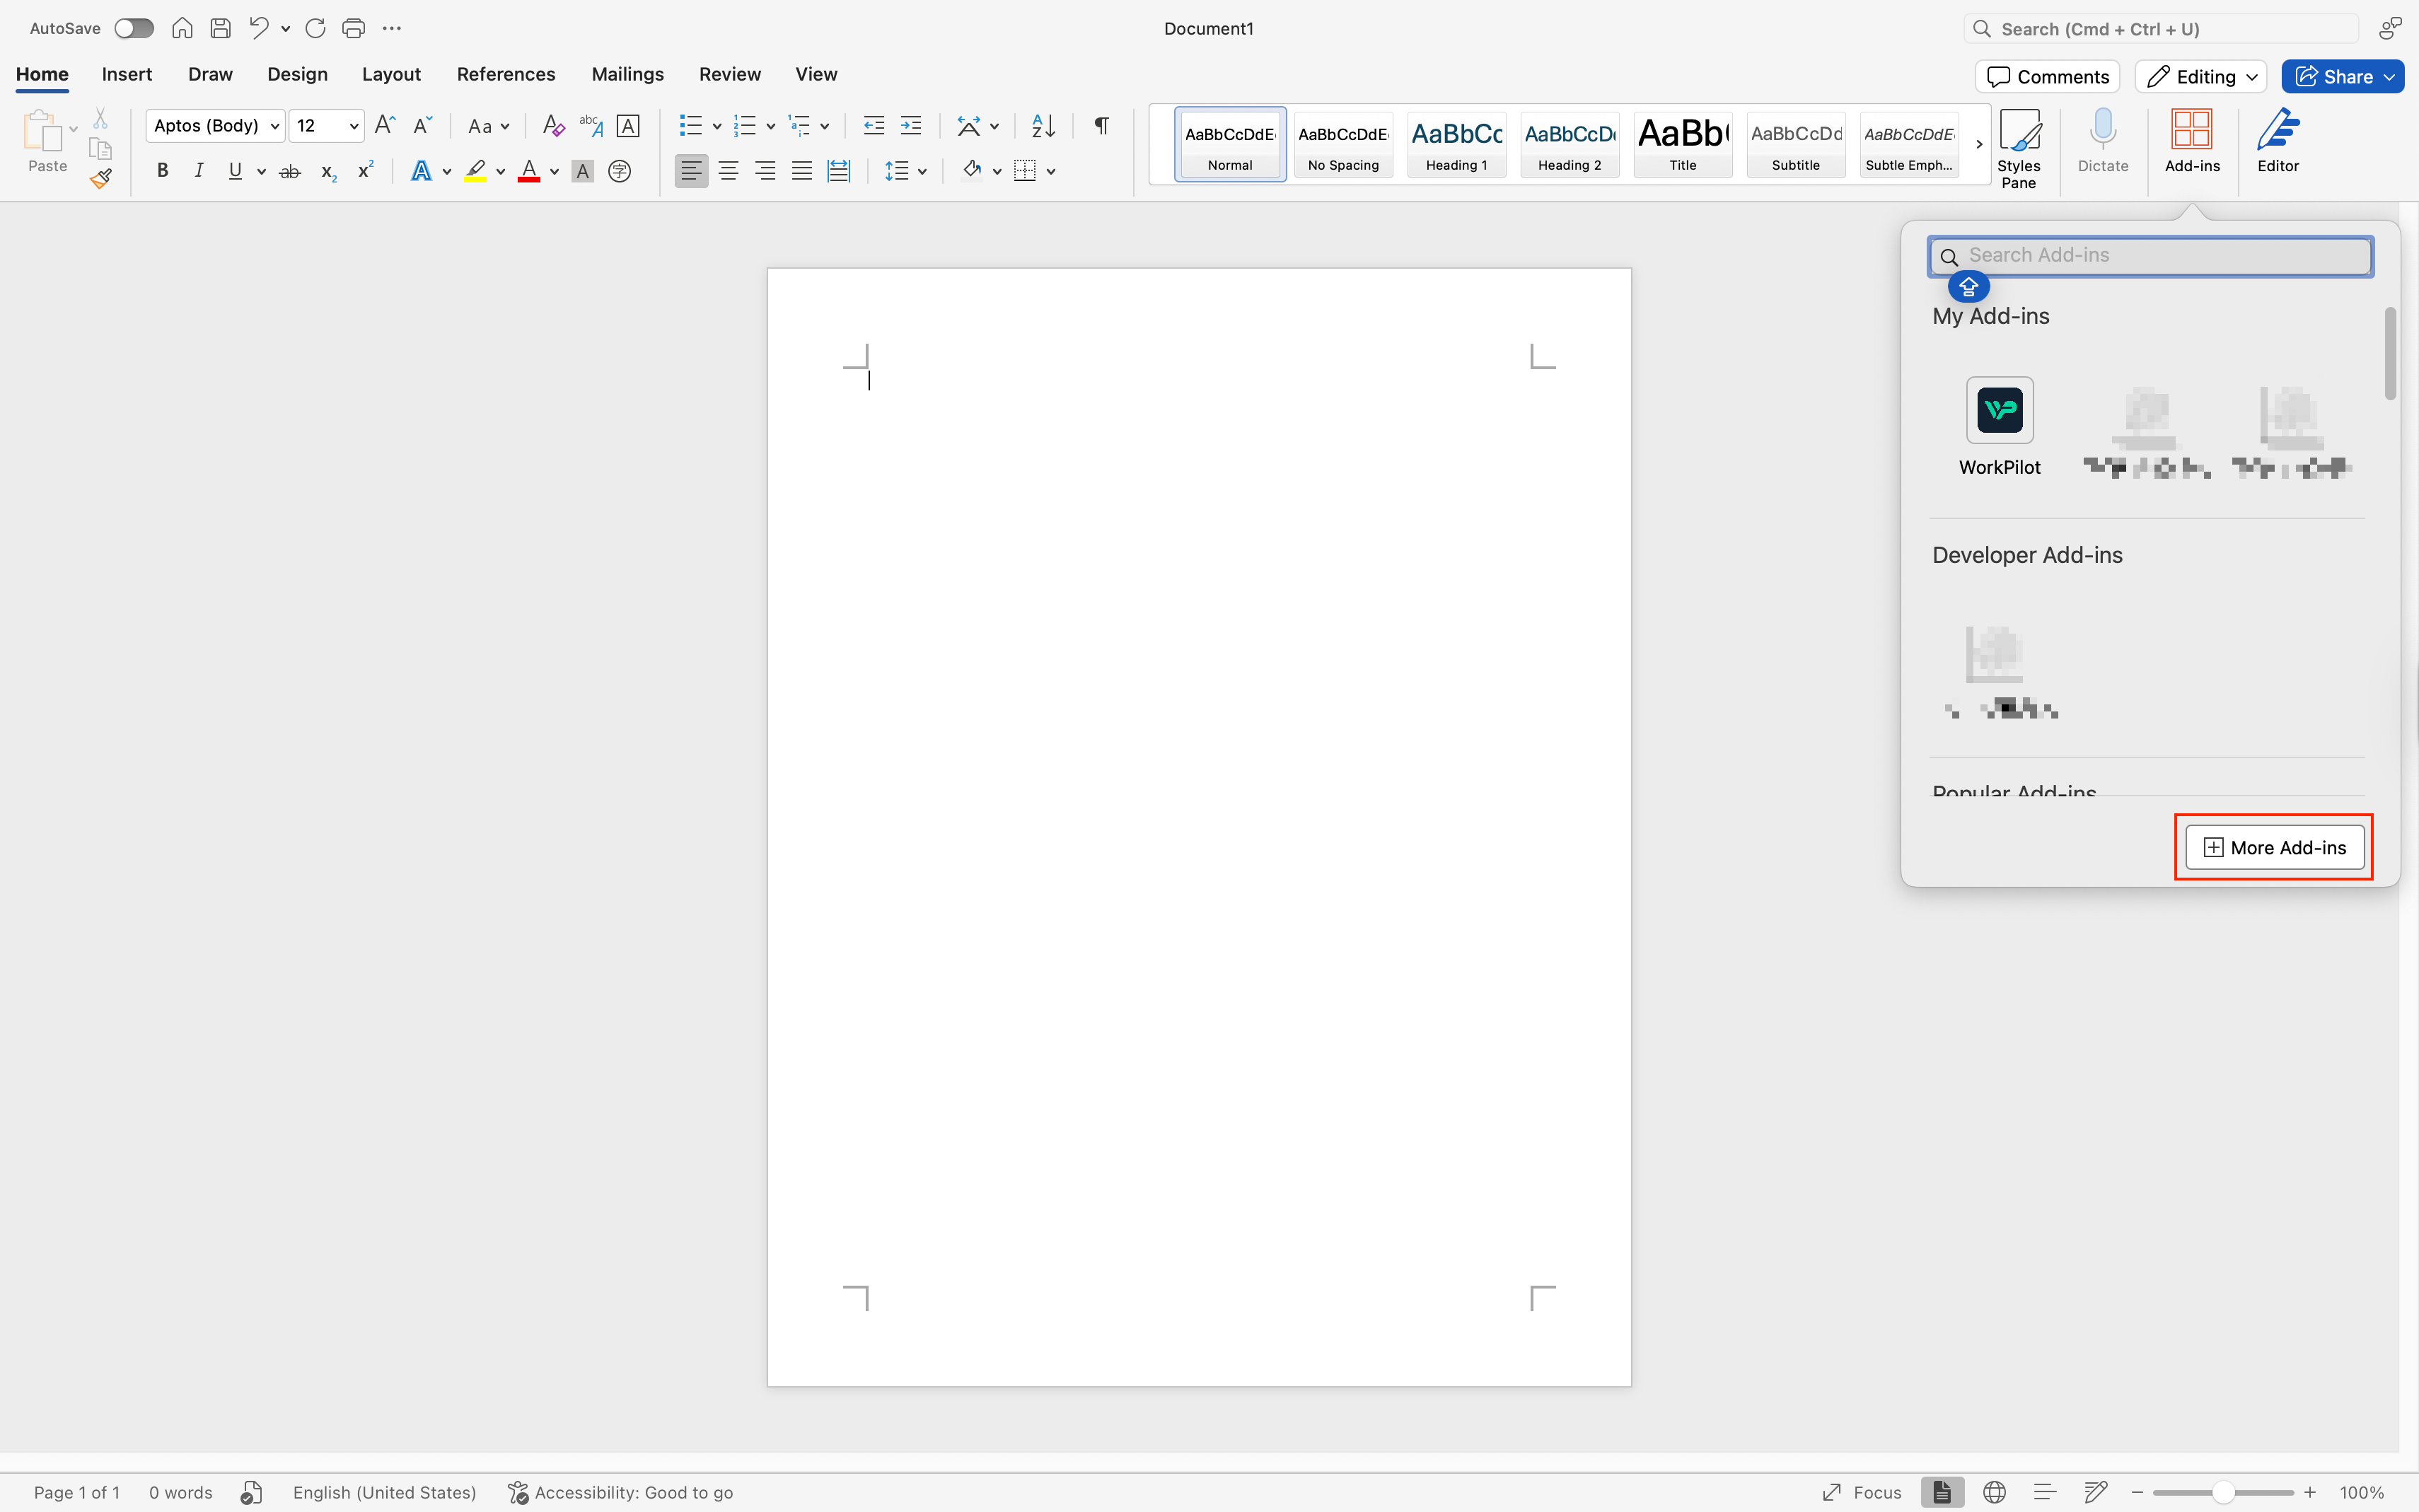
- Click on "More Add-ins".
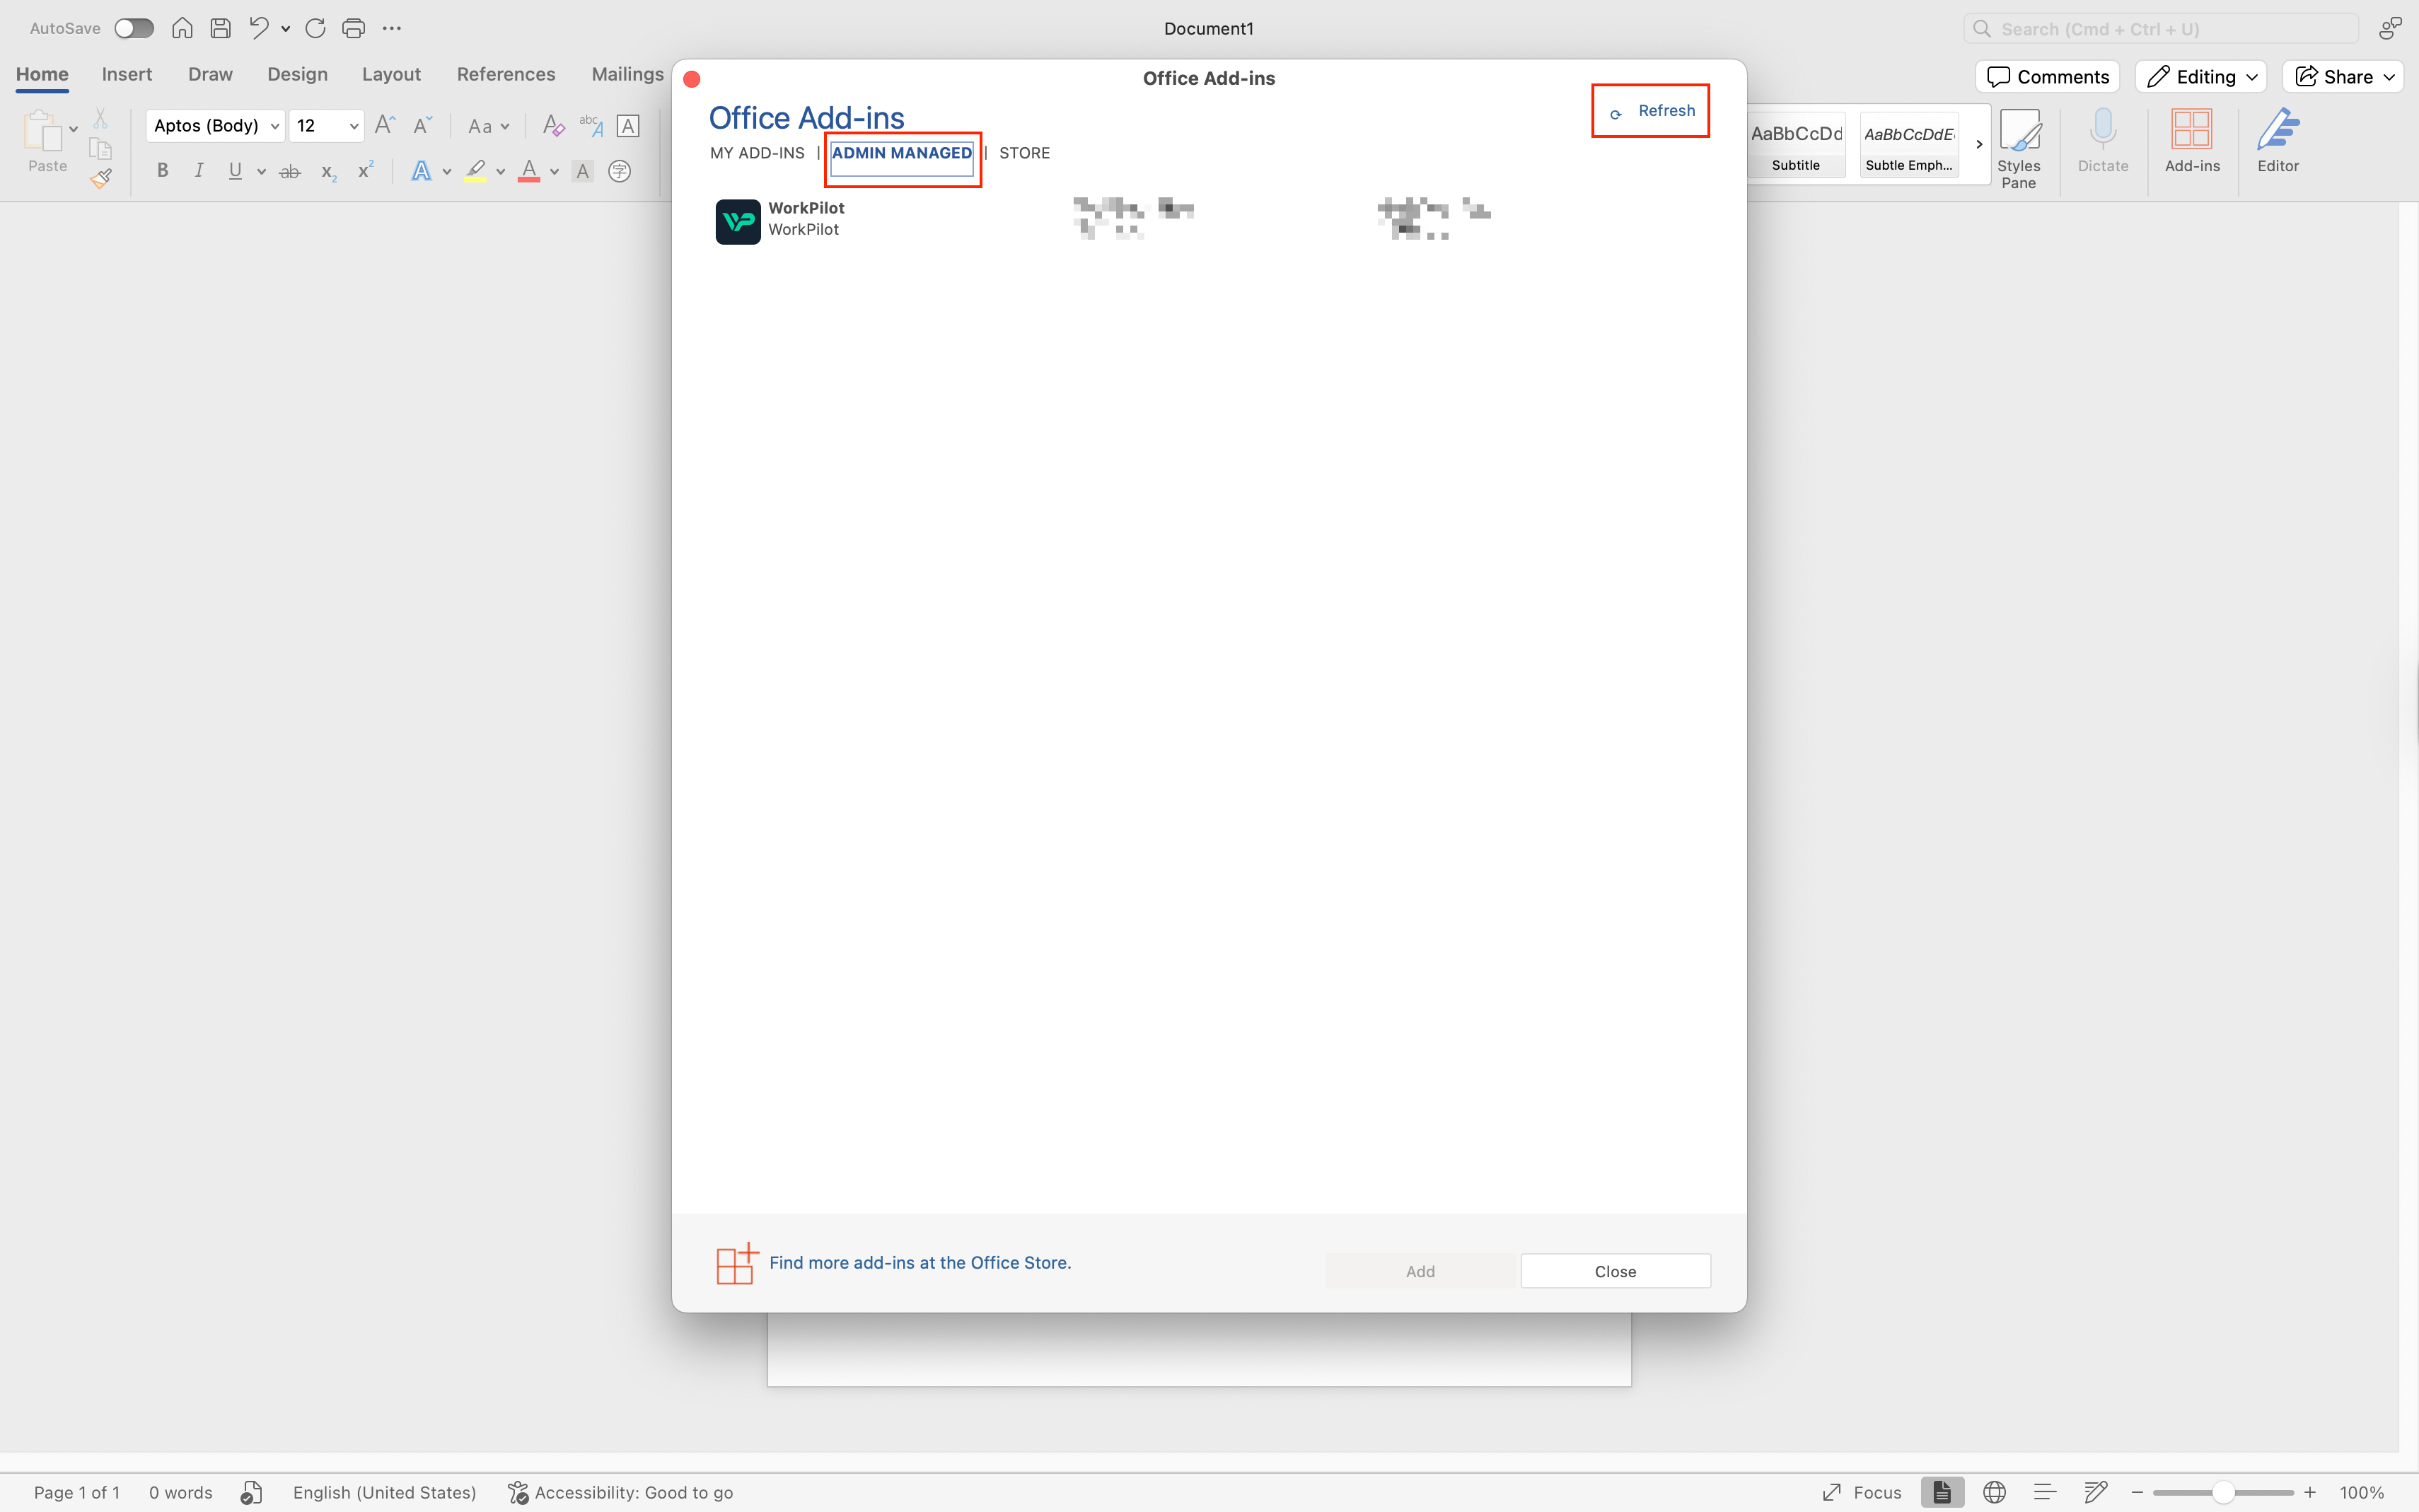
- Find "Admin Managed", click "Refresh", and you should see WorkPilot. Click "Add" to complete the installation.
Note: If WorkPilot does not appear after refreshing, Mac users can clear the local cache by running the following command in Terminal:
rm -rf ~/Library/Containers/com.microsoft.Word/Data/Library/Application\ Support/Microsoft/Office/16.0/Wef/
rm -rf ~/Library/Containers/com.microsoft.Word/Data/Library/Application\ Support/Microsoft/Office/16.0/Wef/
This code block in the floating window
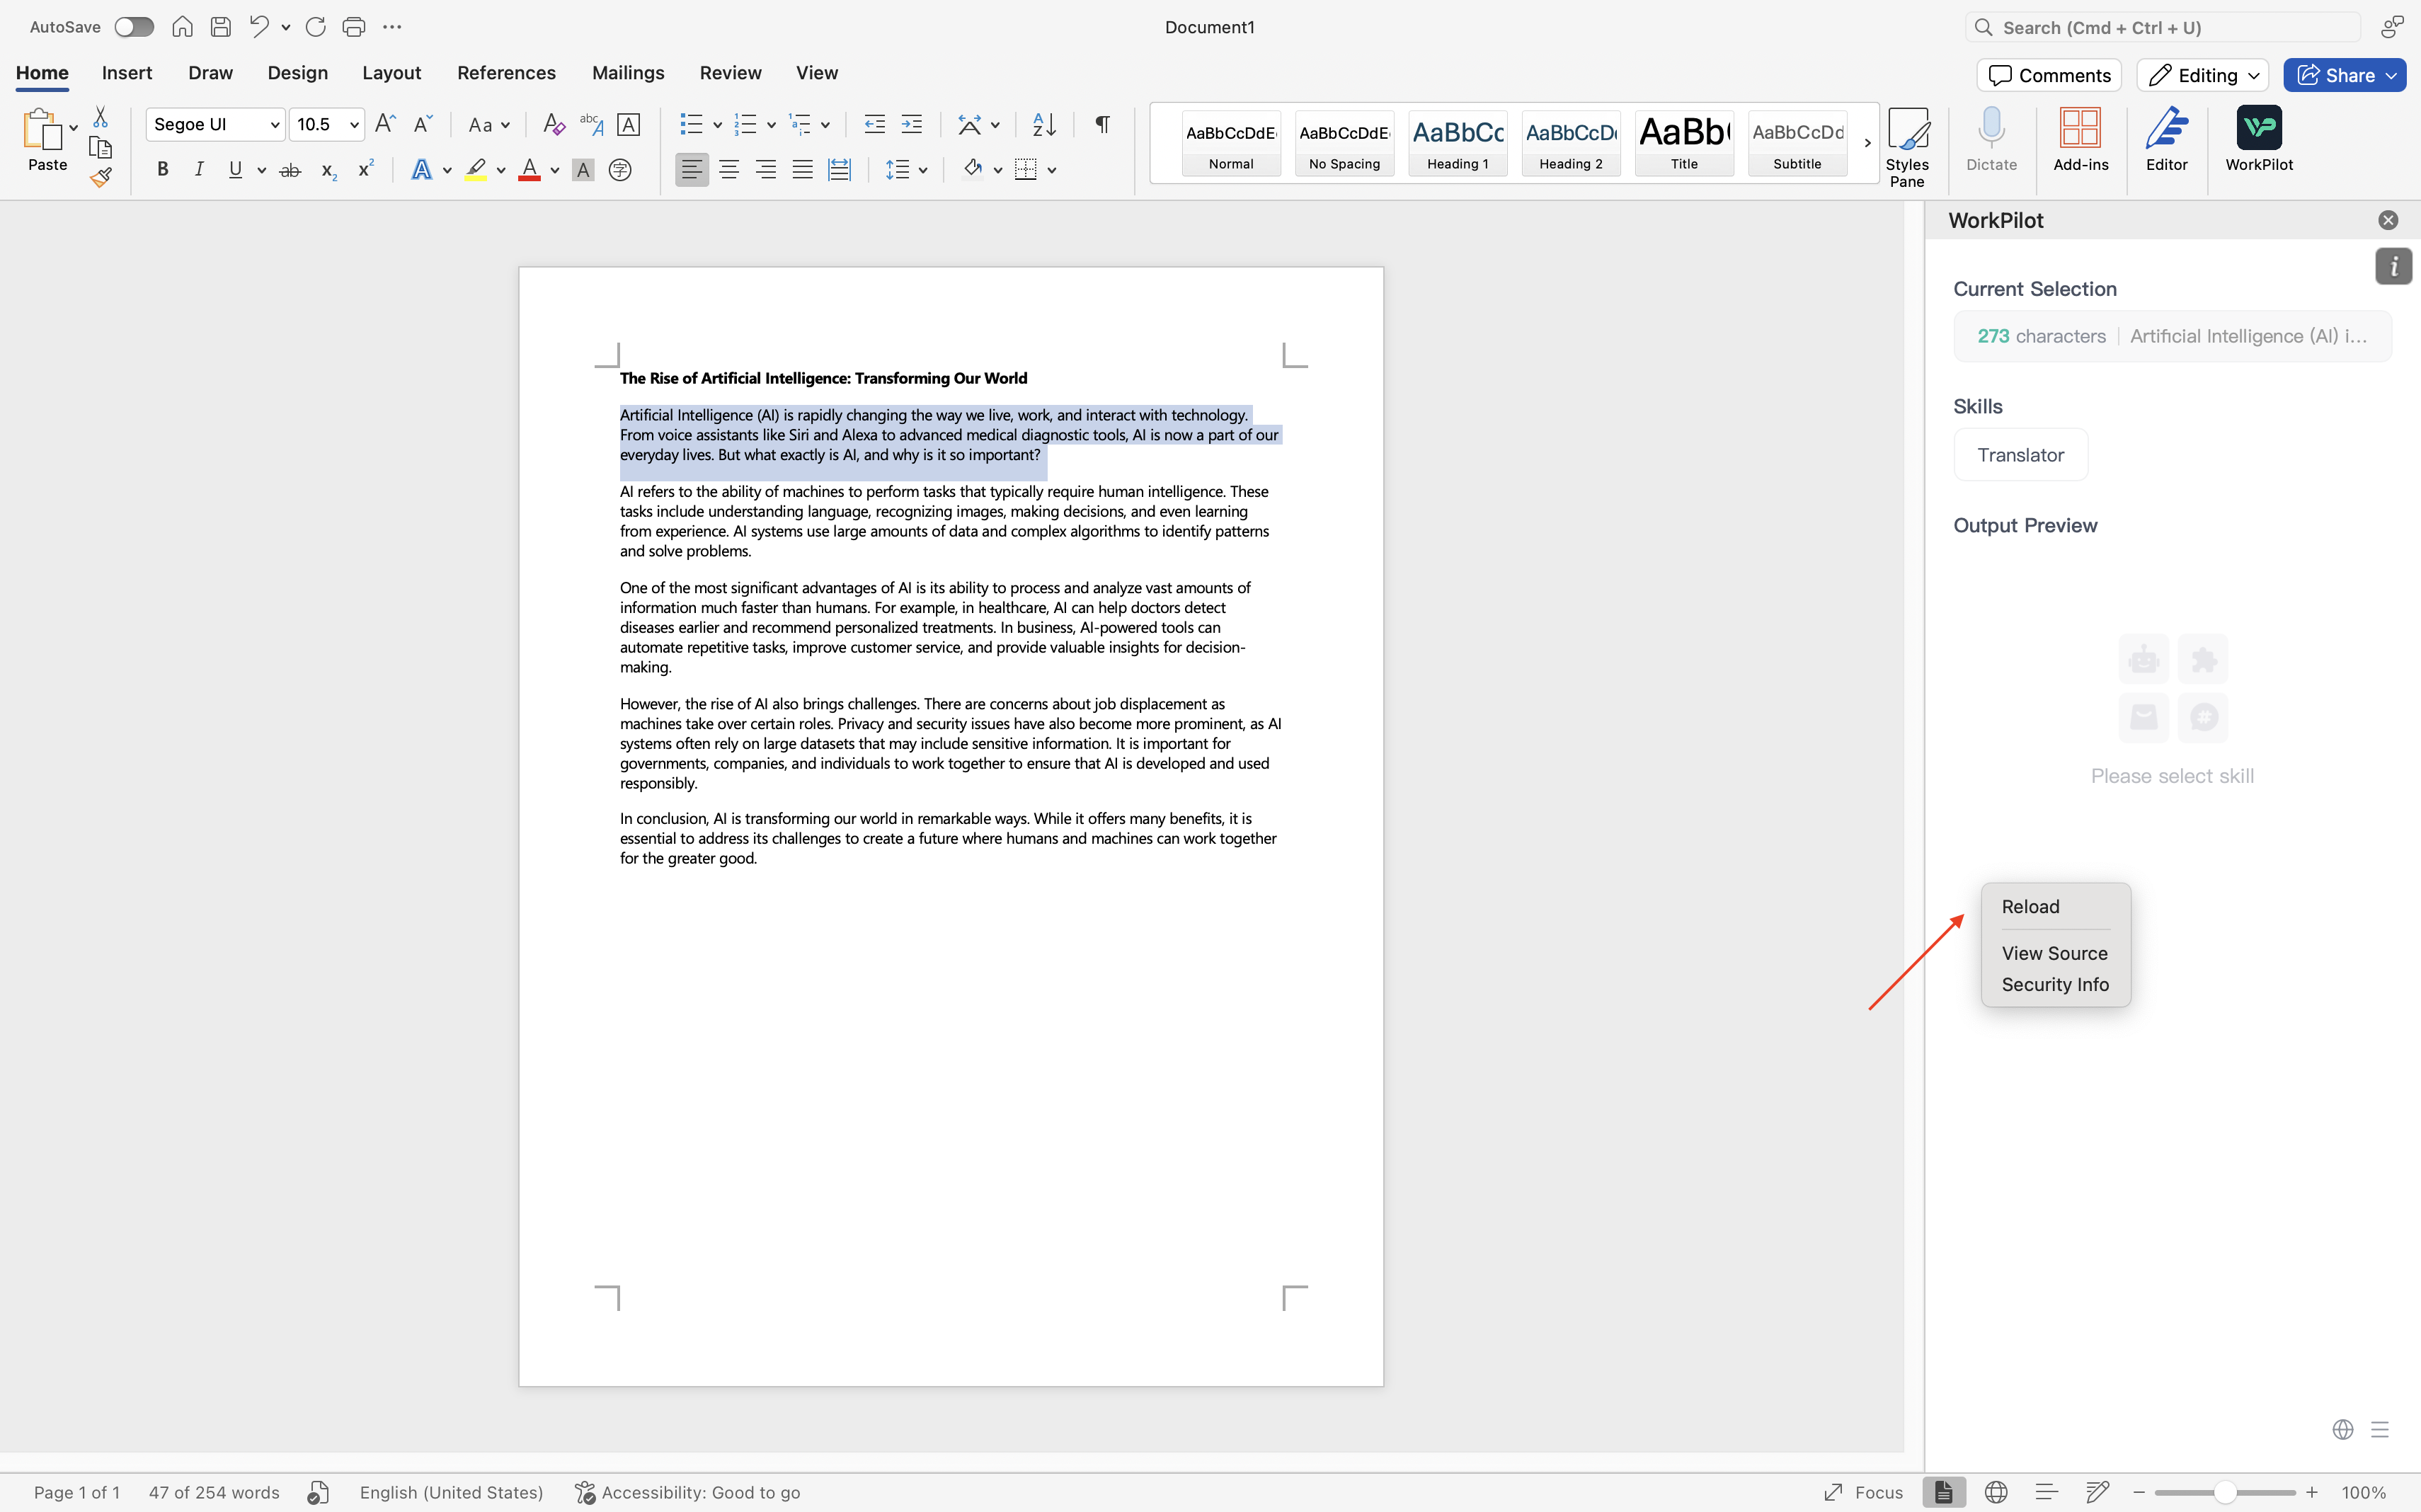
How to Use WorkPilot
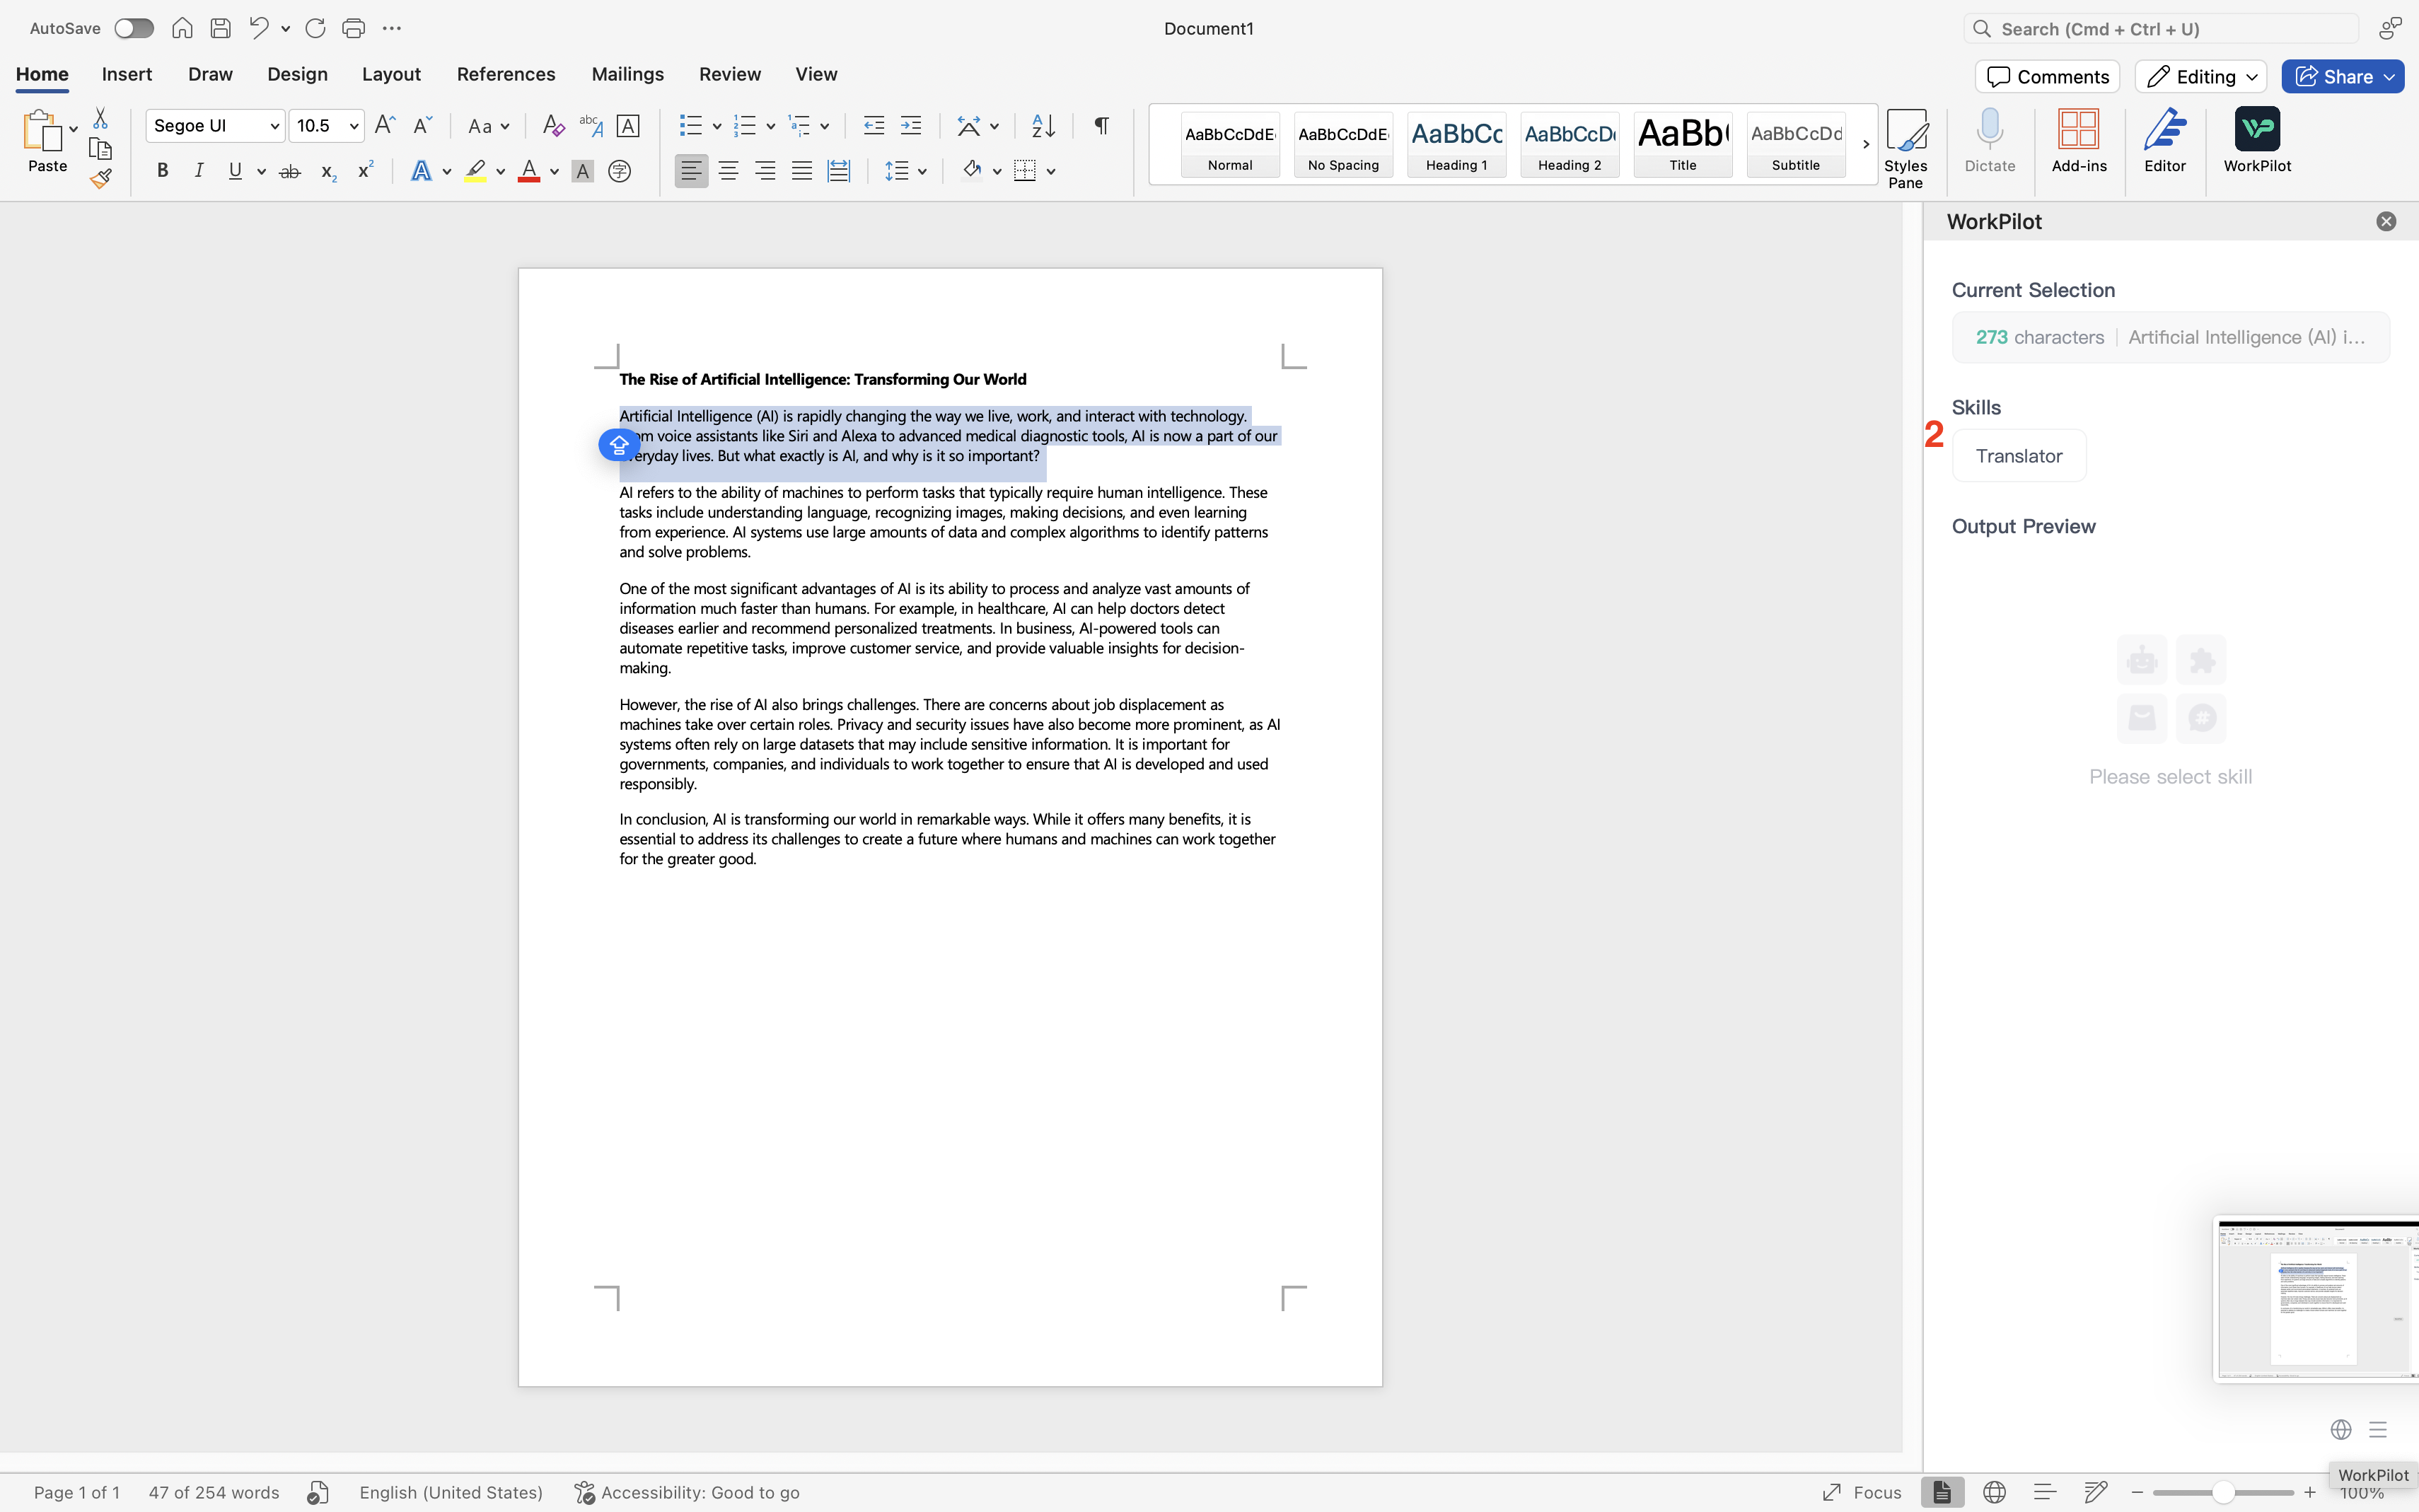
- Select the text you want to process.
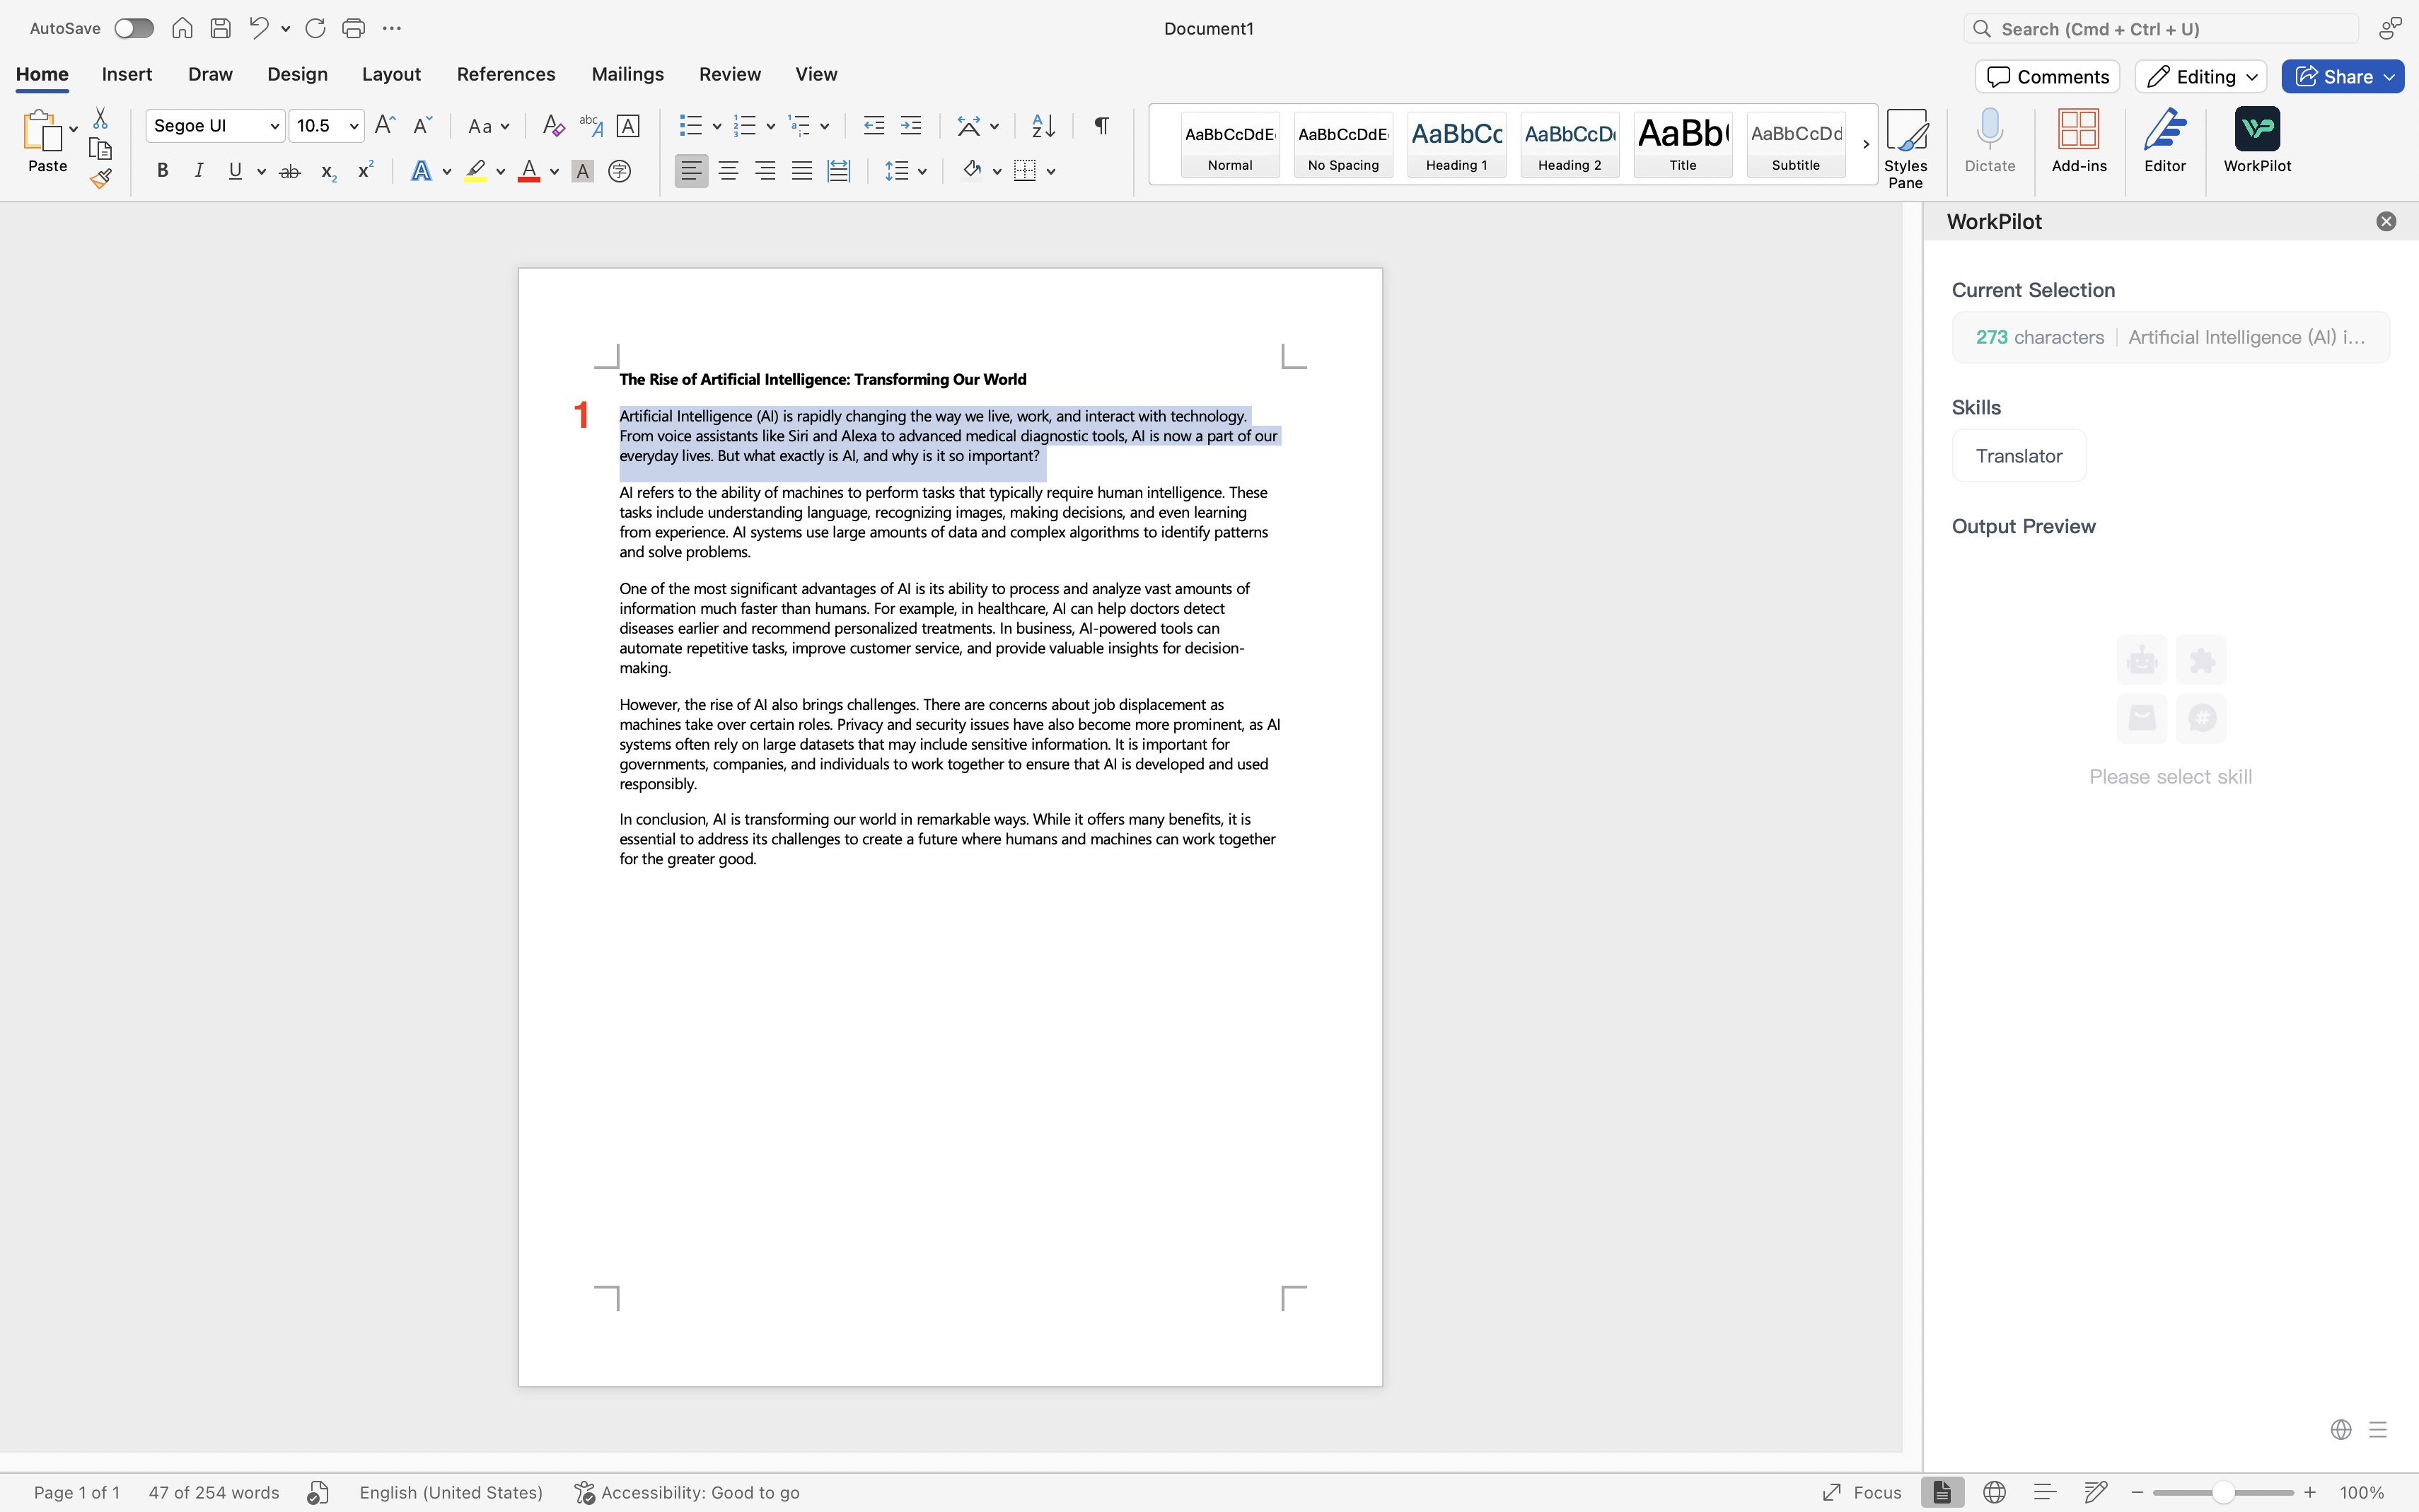
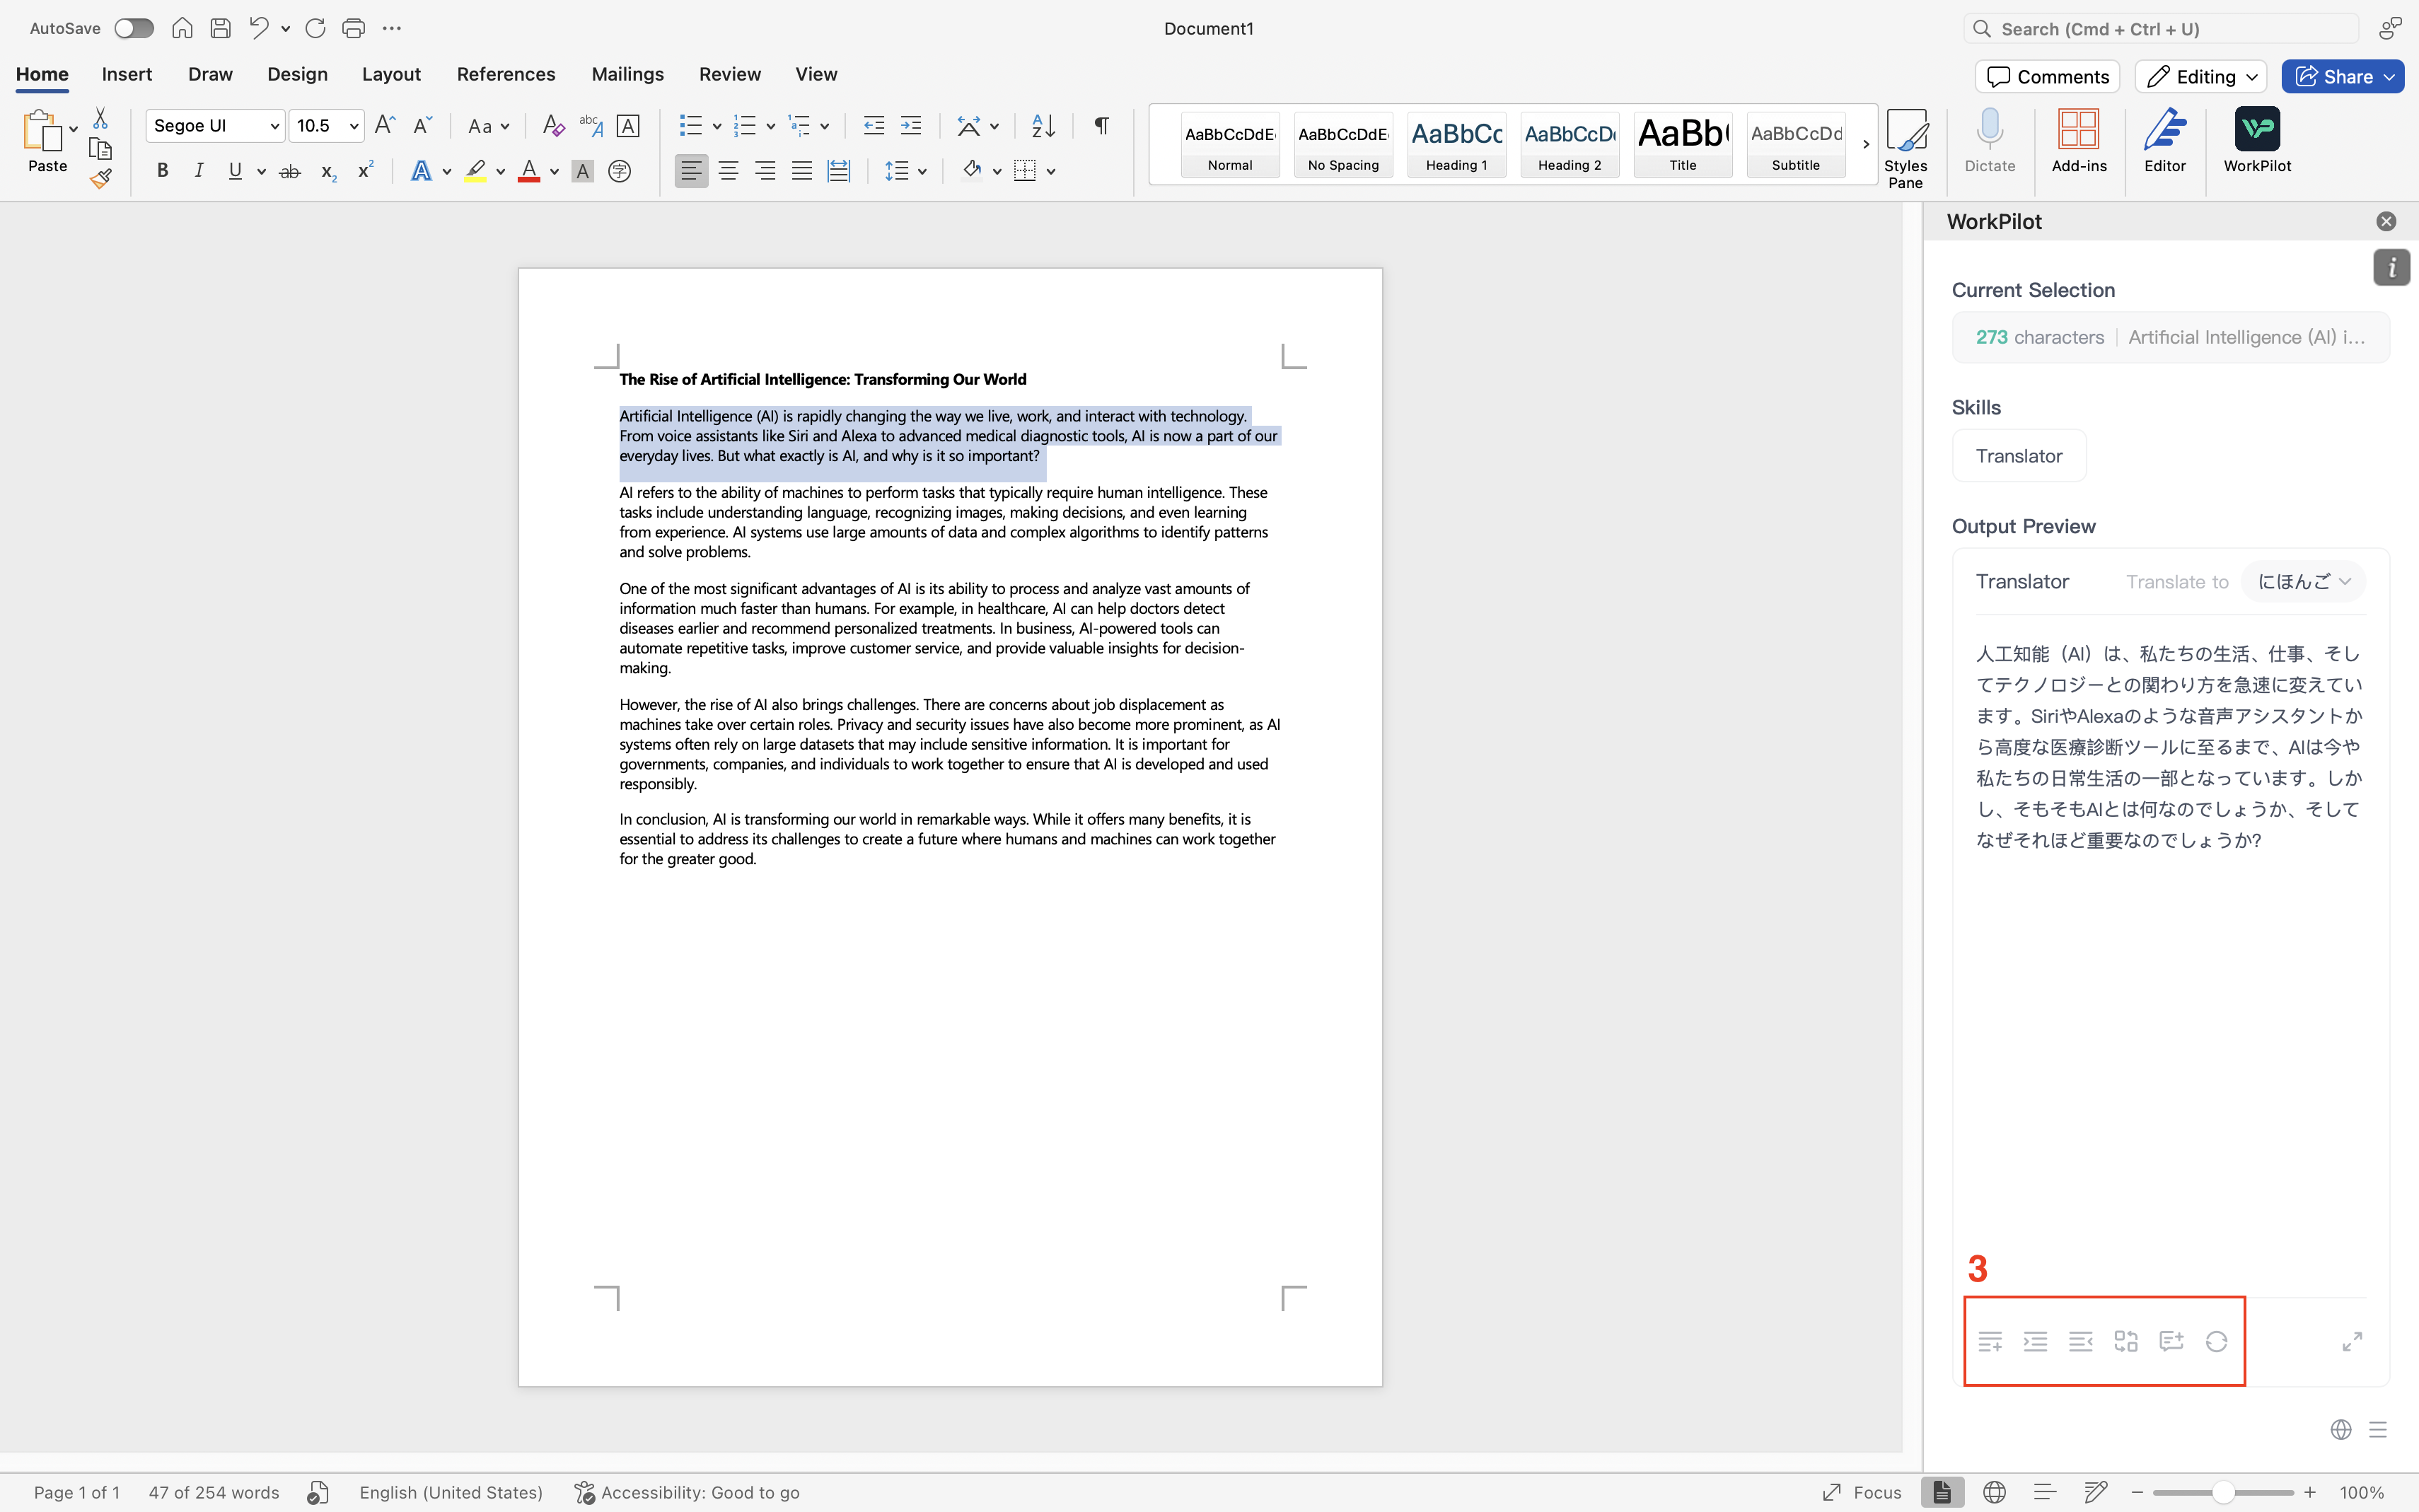
- Choose the desired skill.
- Click the corresponding action button to interact with your document.
Installation Guide
Office Word Enterprise Account (Mac OS, Windows)
Installation requires Office enterprise admin privileges. Once installed by the admin, regular users can access WorkPilot without further setup.
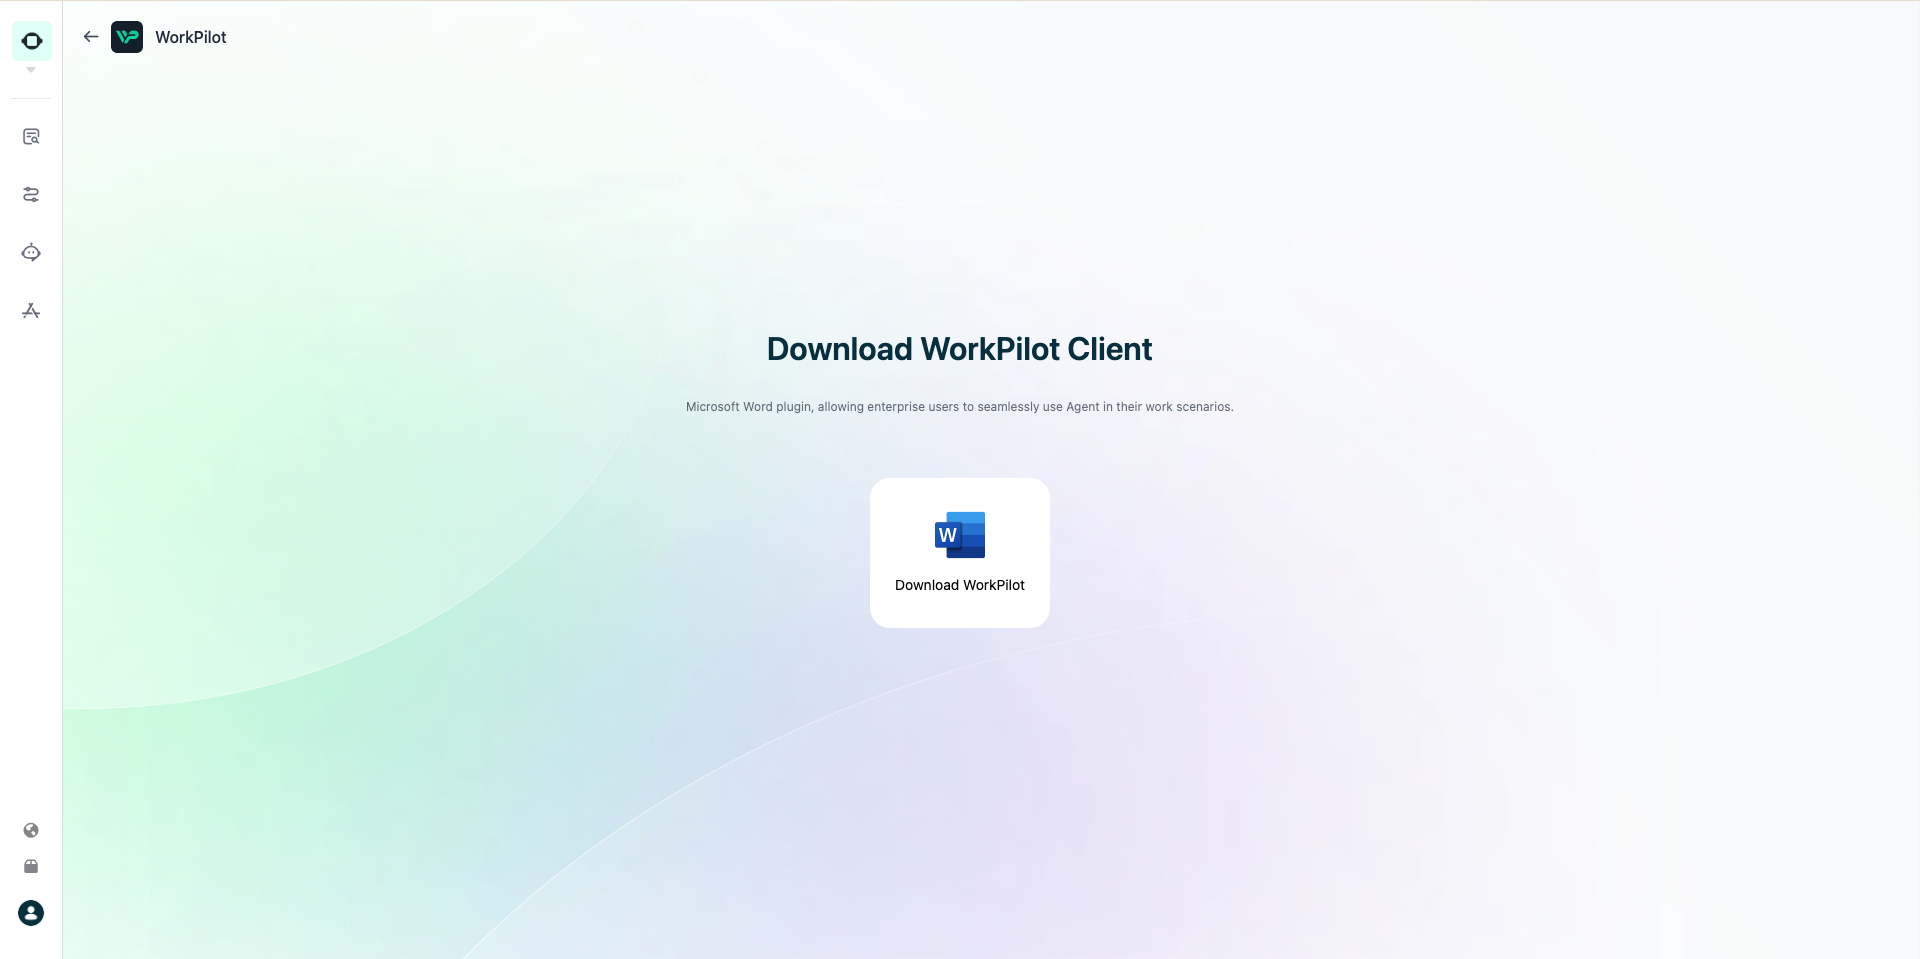
- Log in to your GPTBots workspace and find WorkPilot in the Marketplace.

- Download the Manifest file.
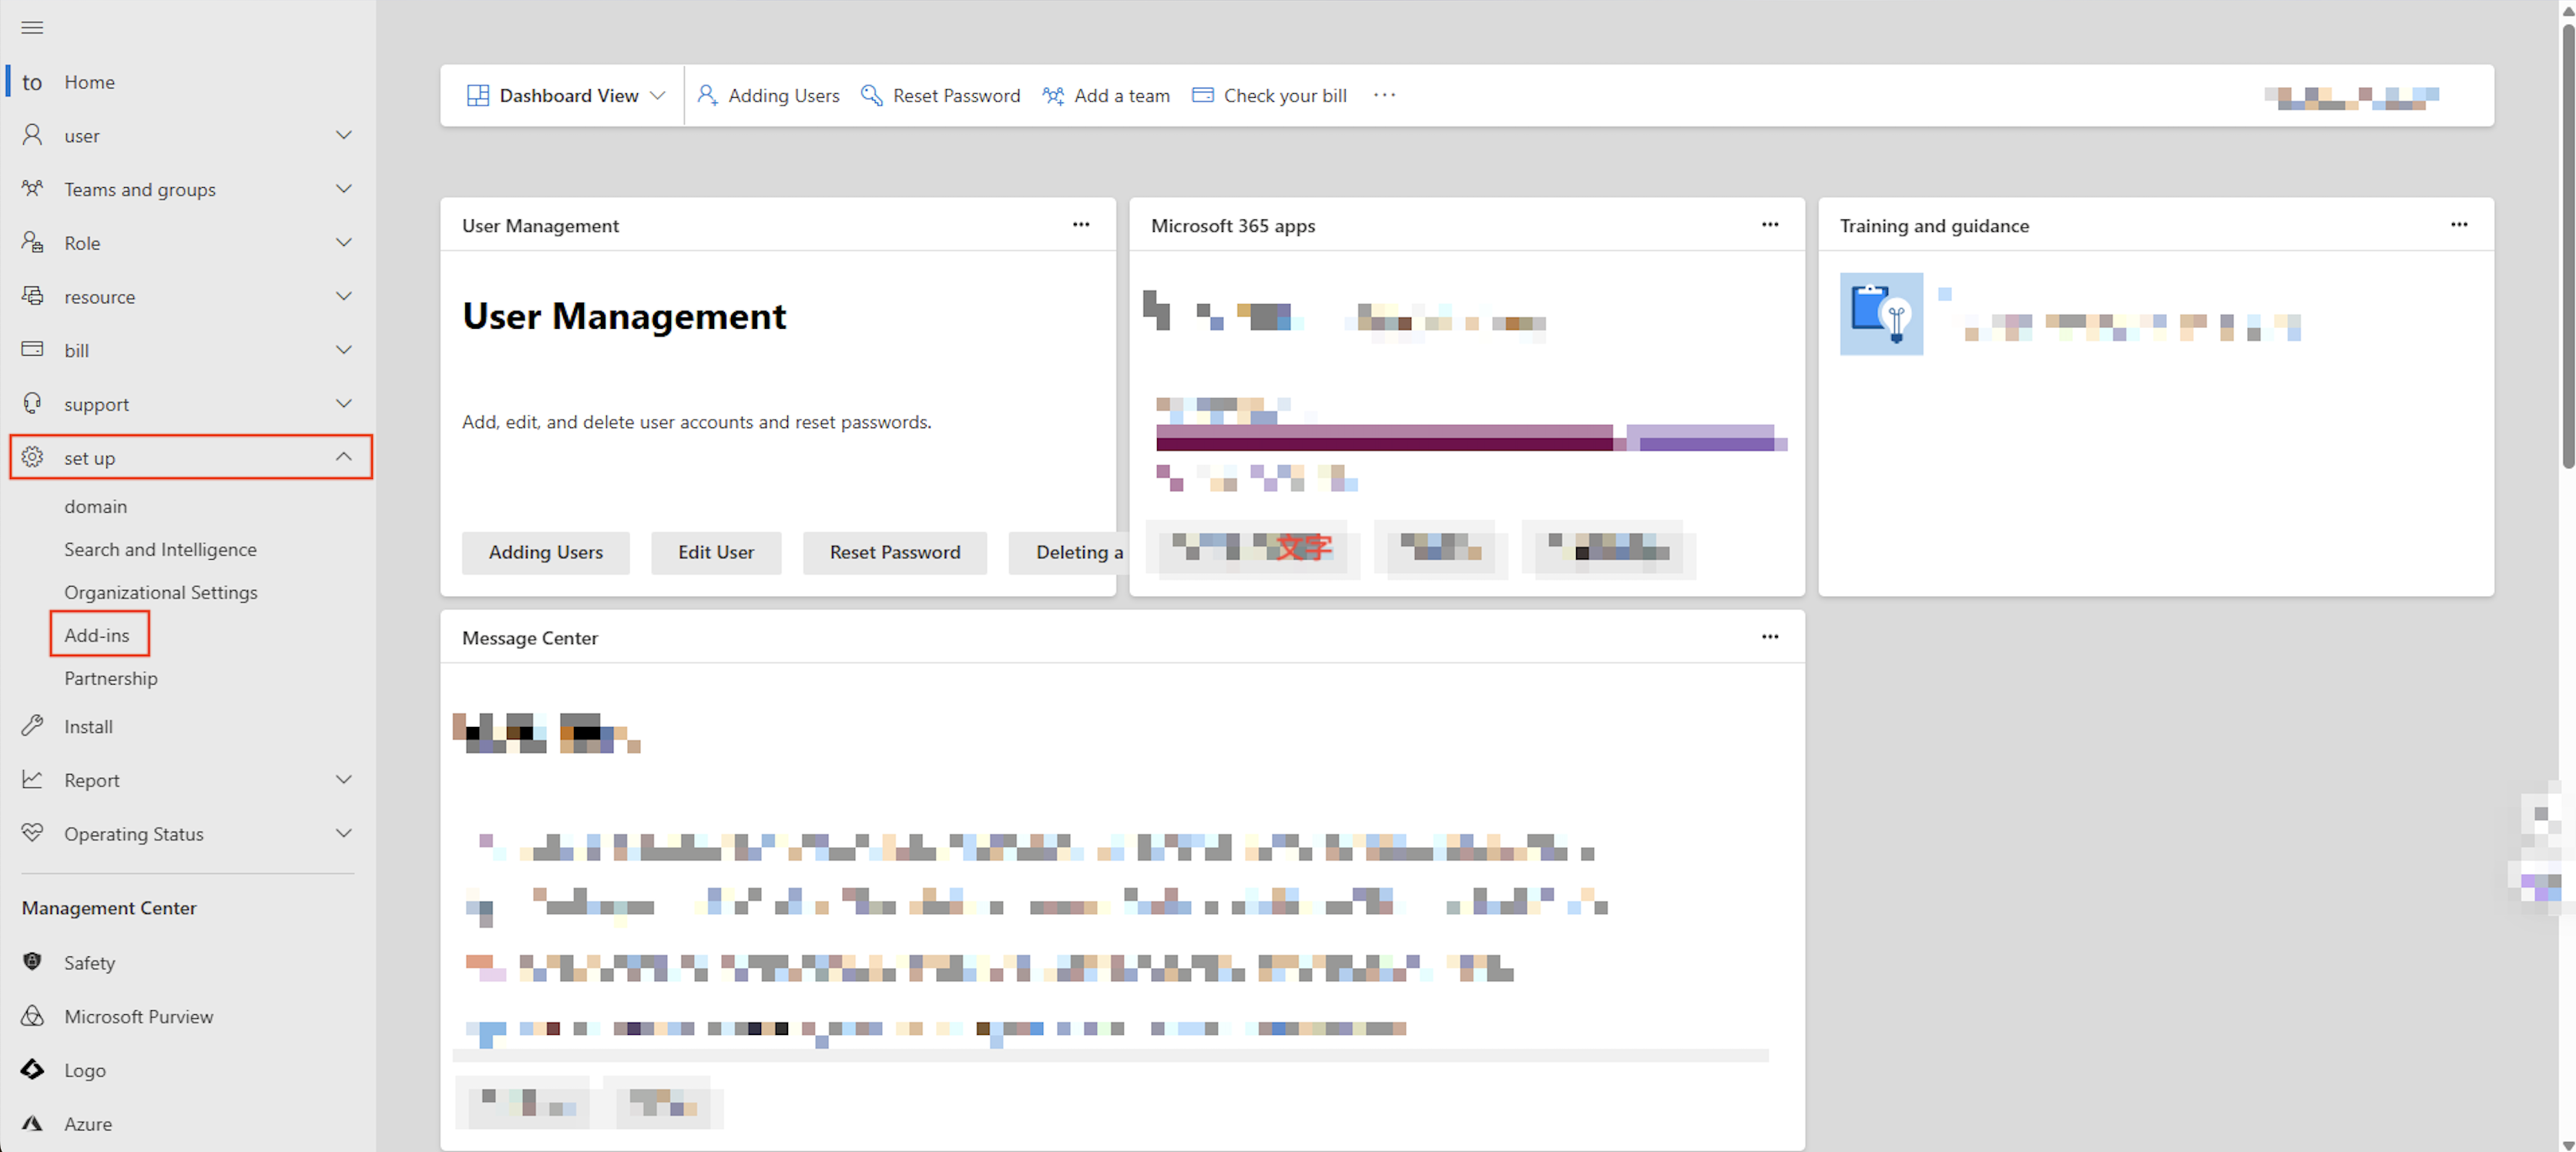
- Go to the Microsoft 365 Admin Center and navigate to "set up". Click "Add-ins".
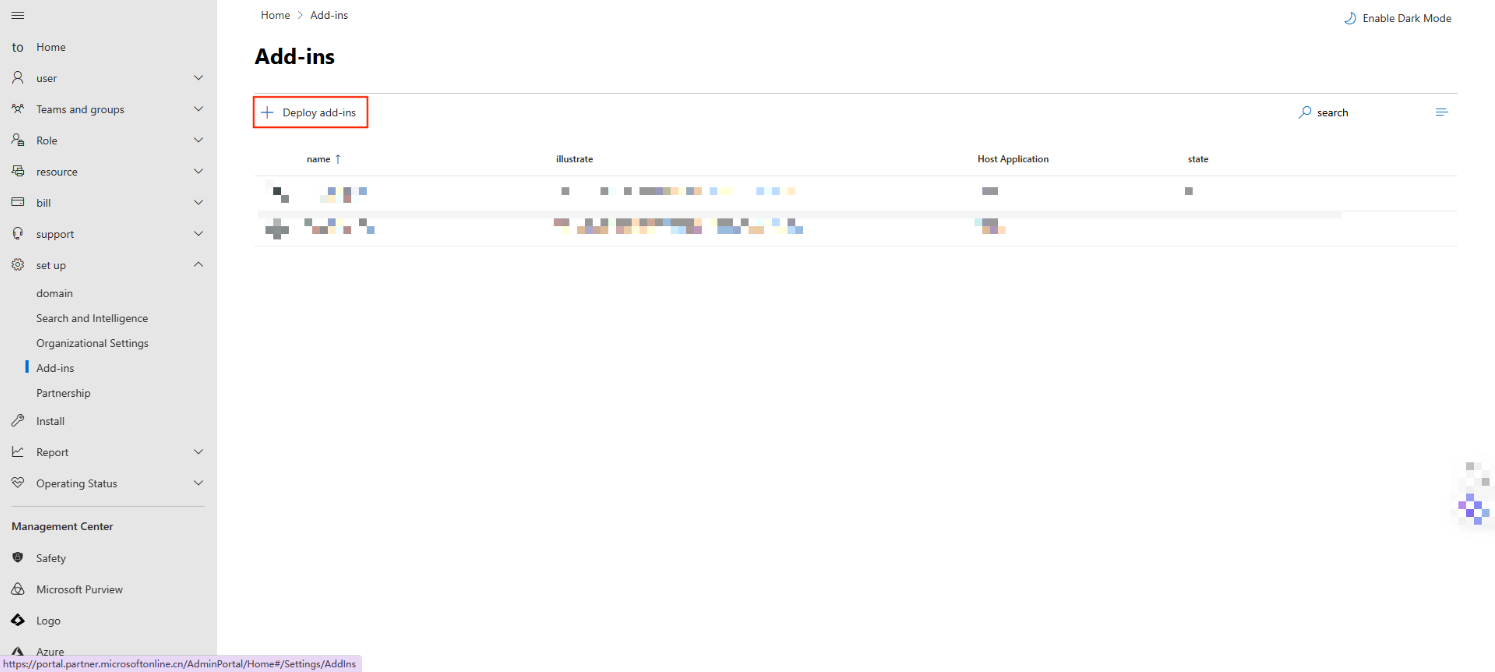
- Click "Deploy Add-ins".
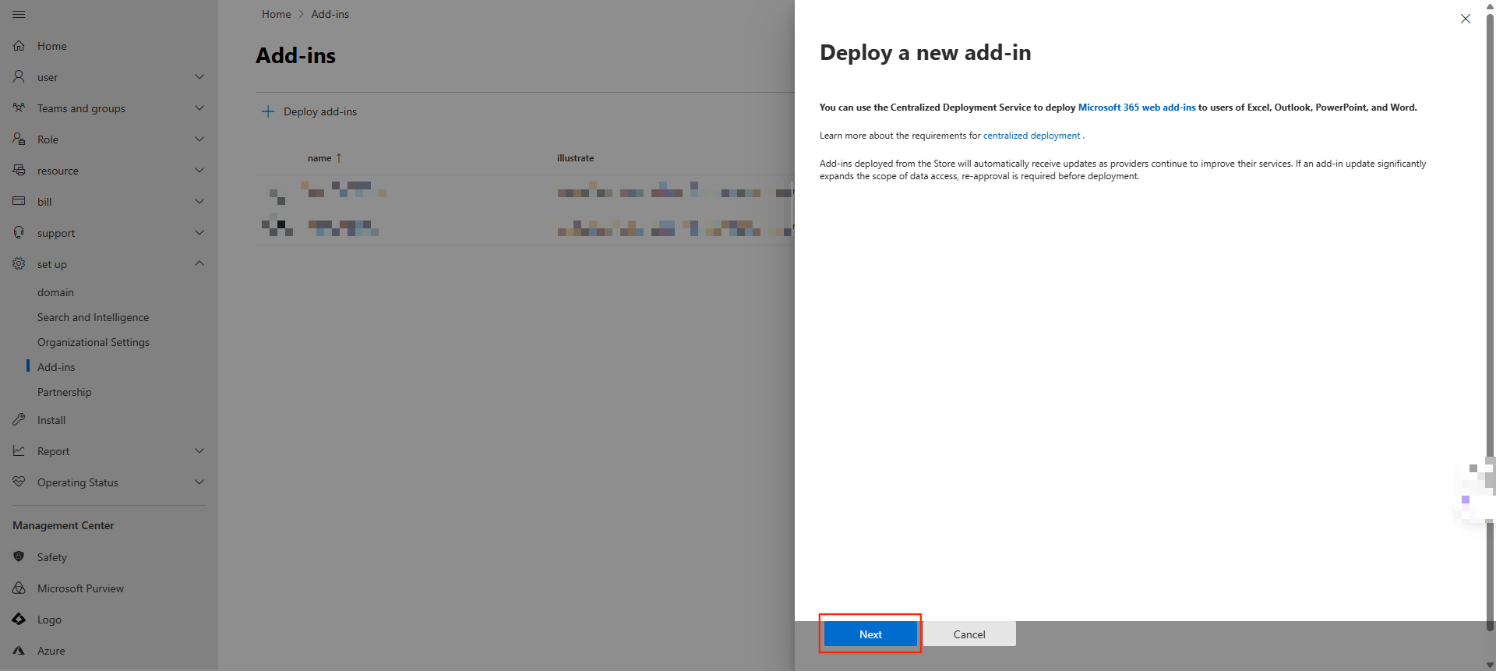
- Click "Next".
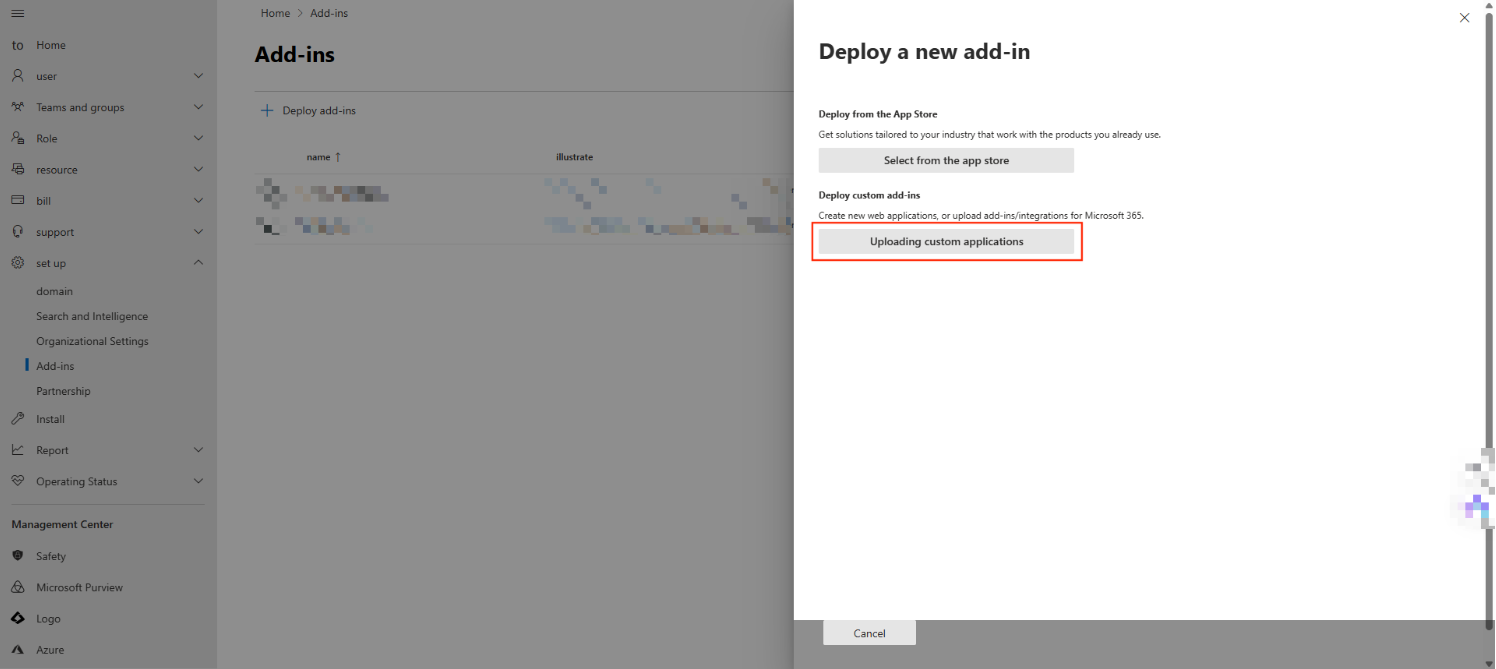
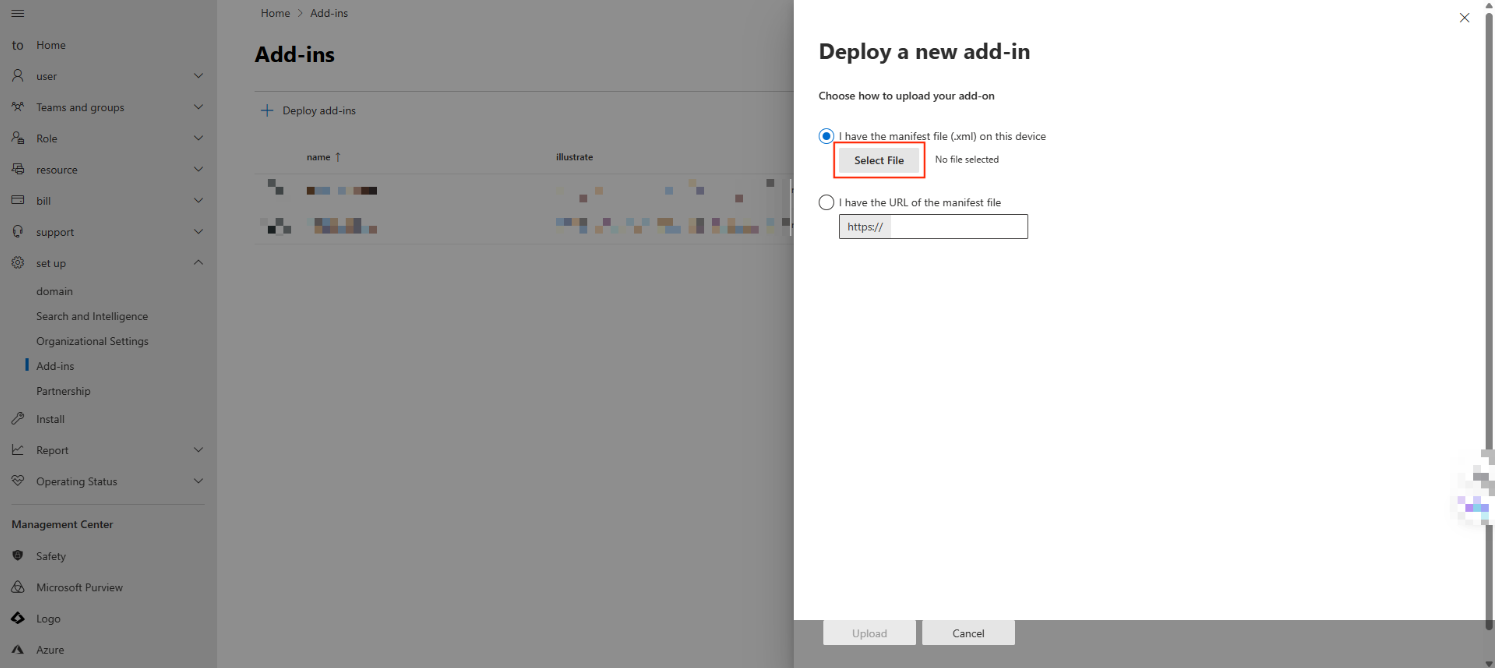
- Click "Uploading Custom applications".
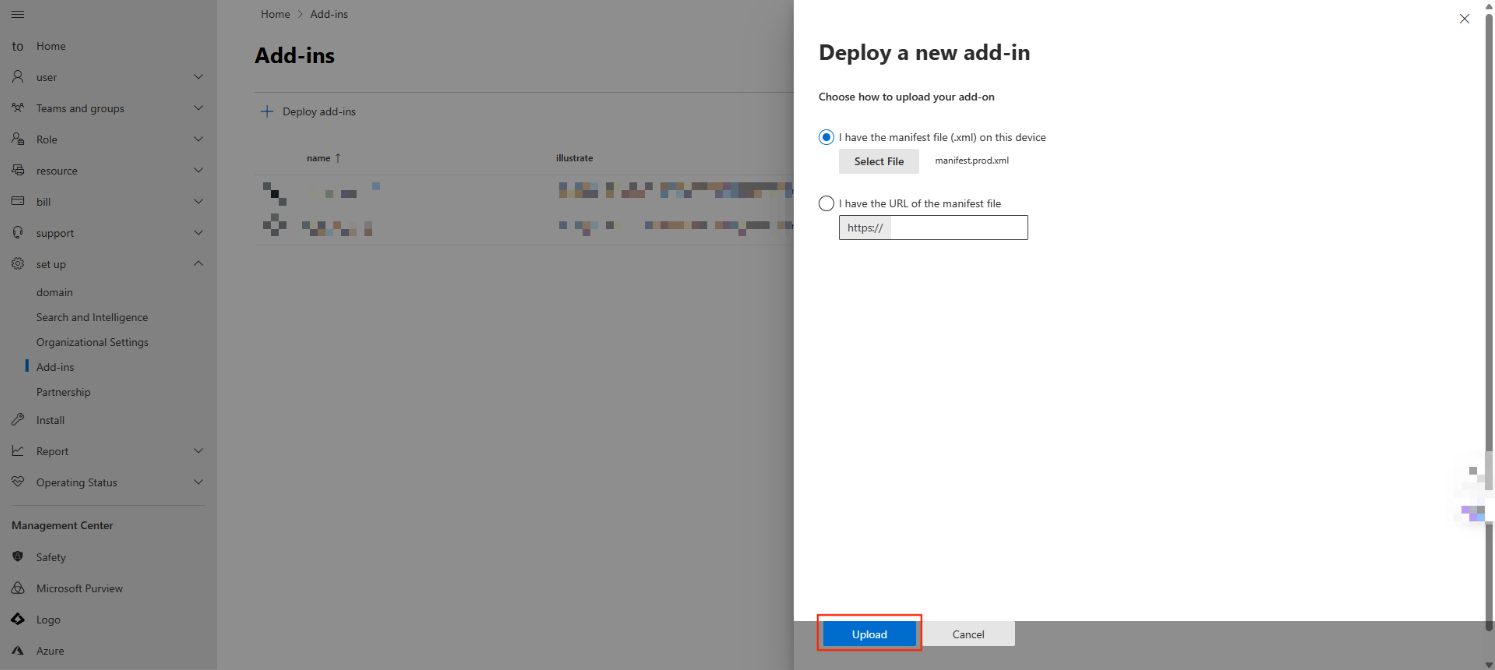
- Select the manifest file you just downloaded.
- Click "Upload".
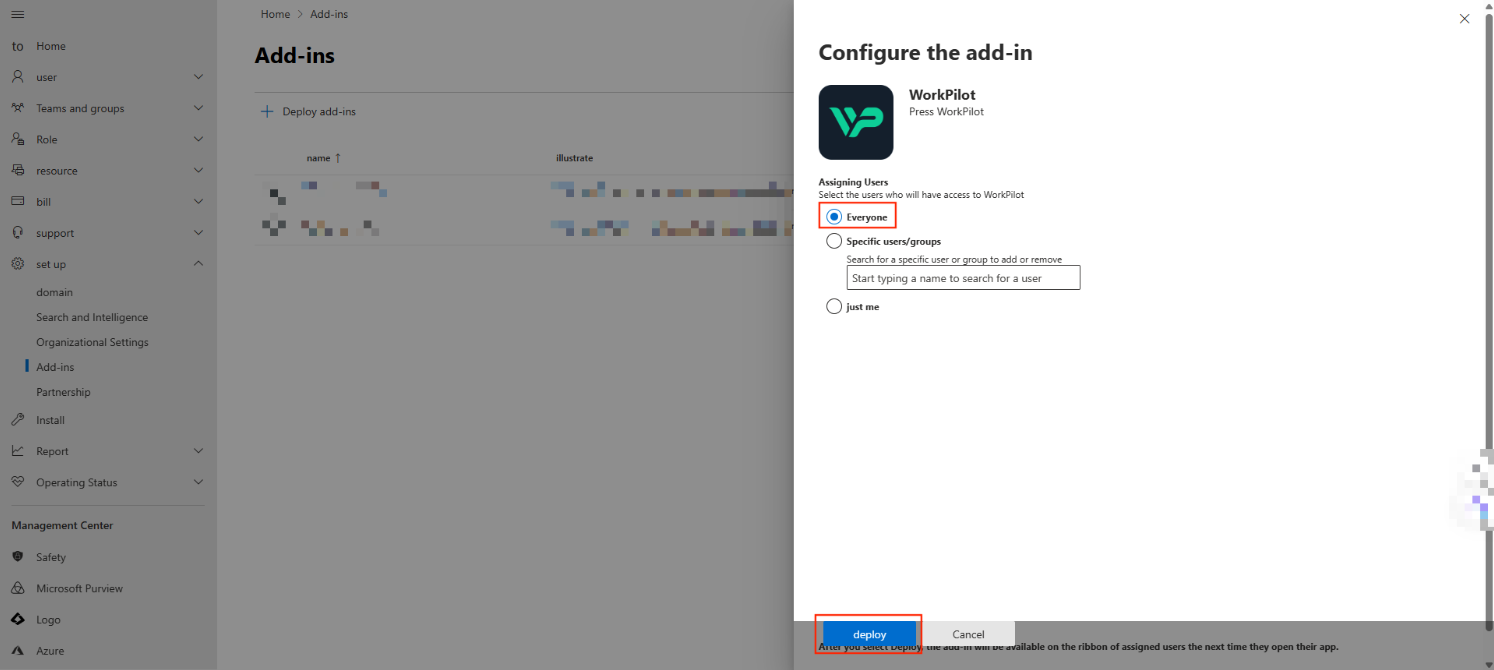
- Under the Assigning Users, select "Everyone" and click "Deploy".
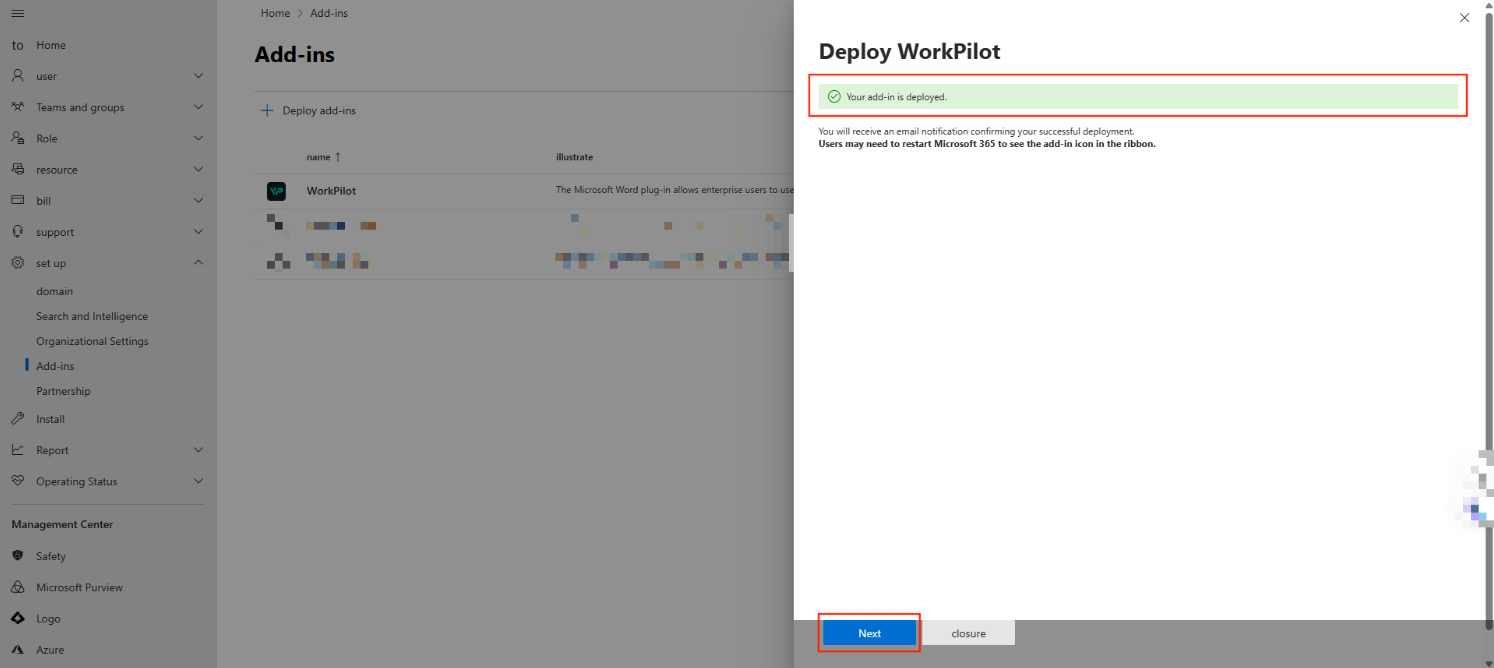
- This shows the deployment has been finished!
Configuration Guide
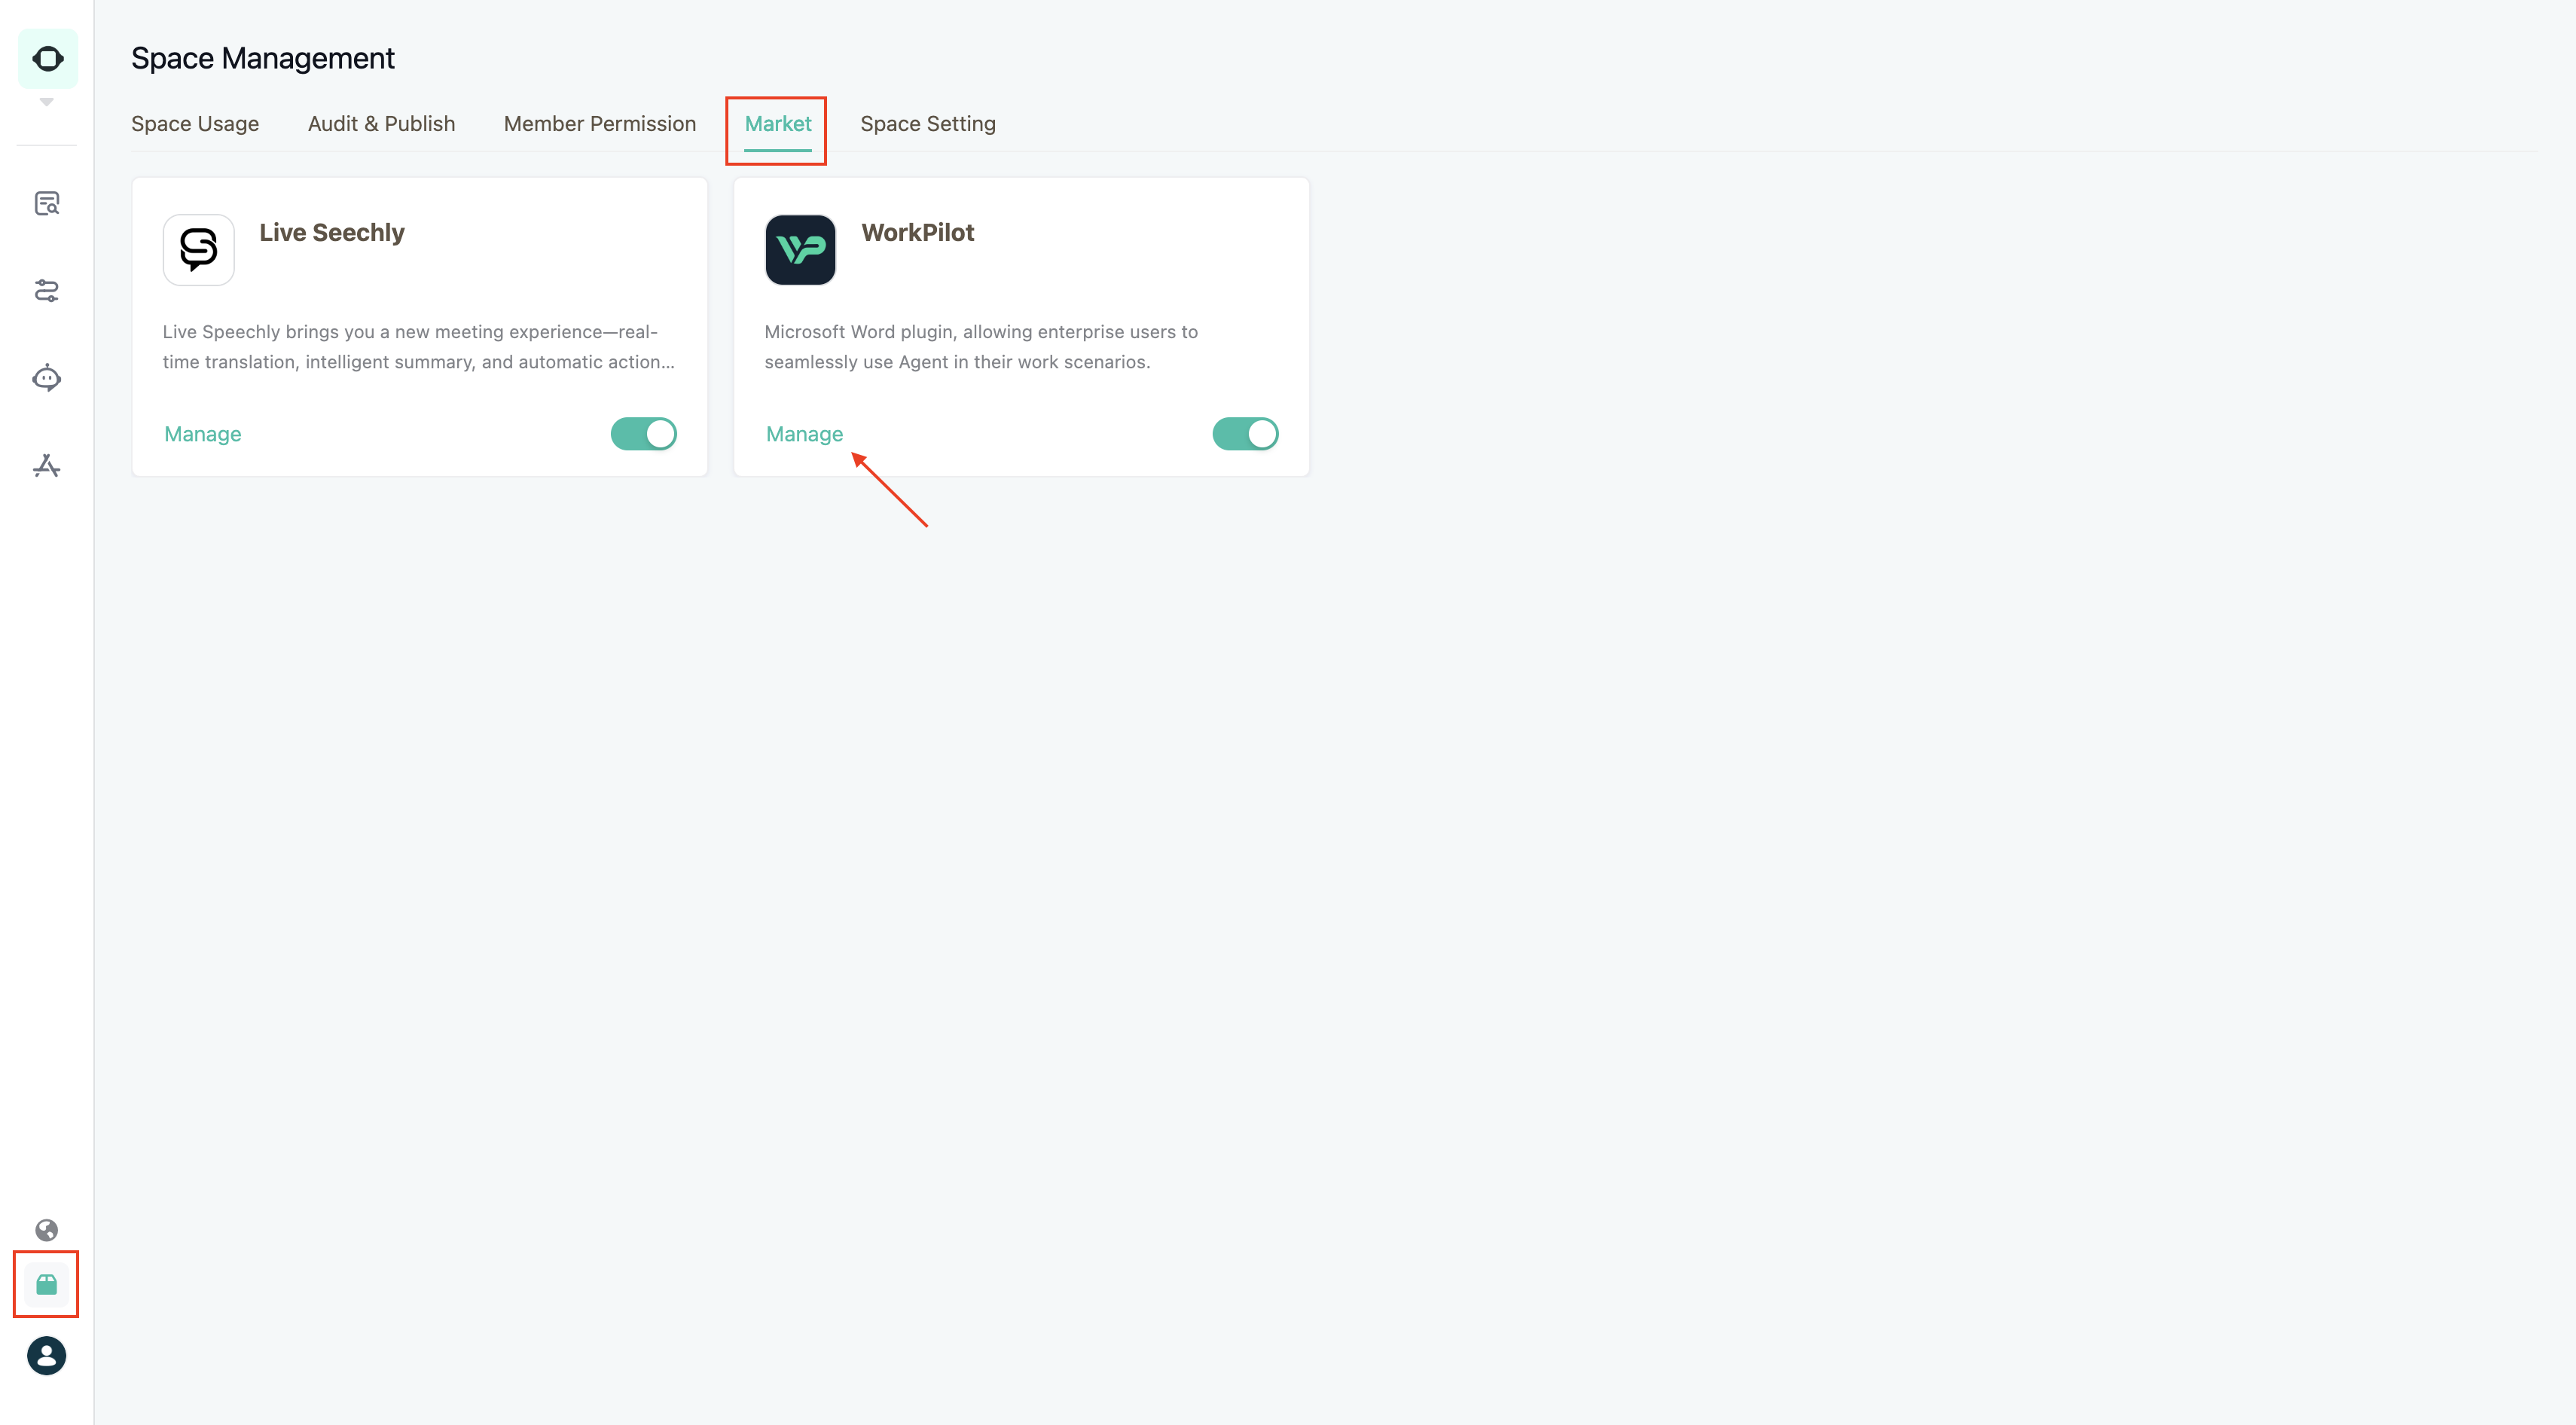
- In GPTBots Workspace > Space Management > Market > WorkPilot, toggle the switch on and click "Manage".
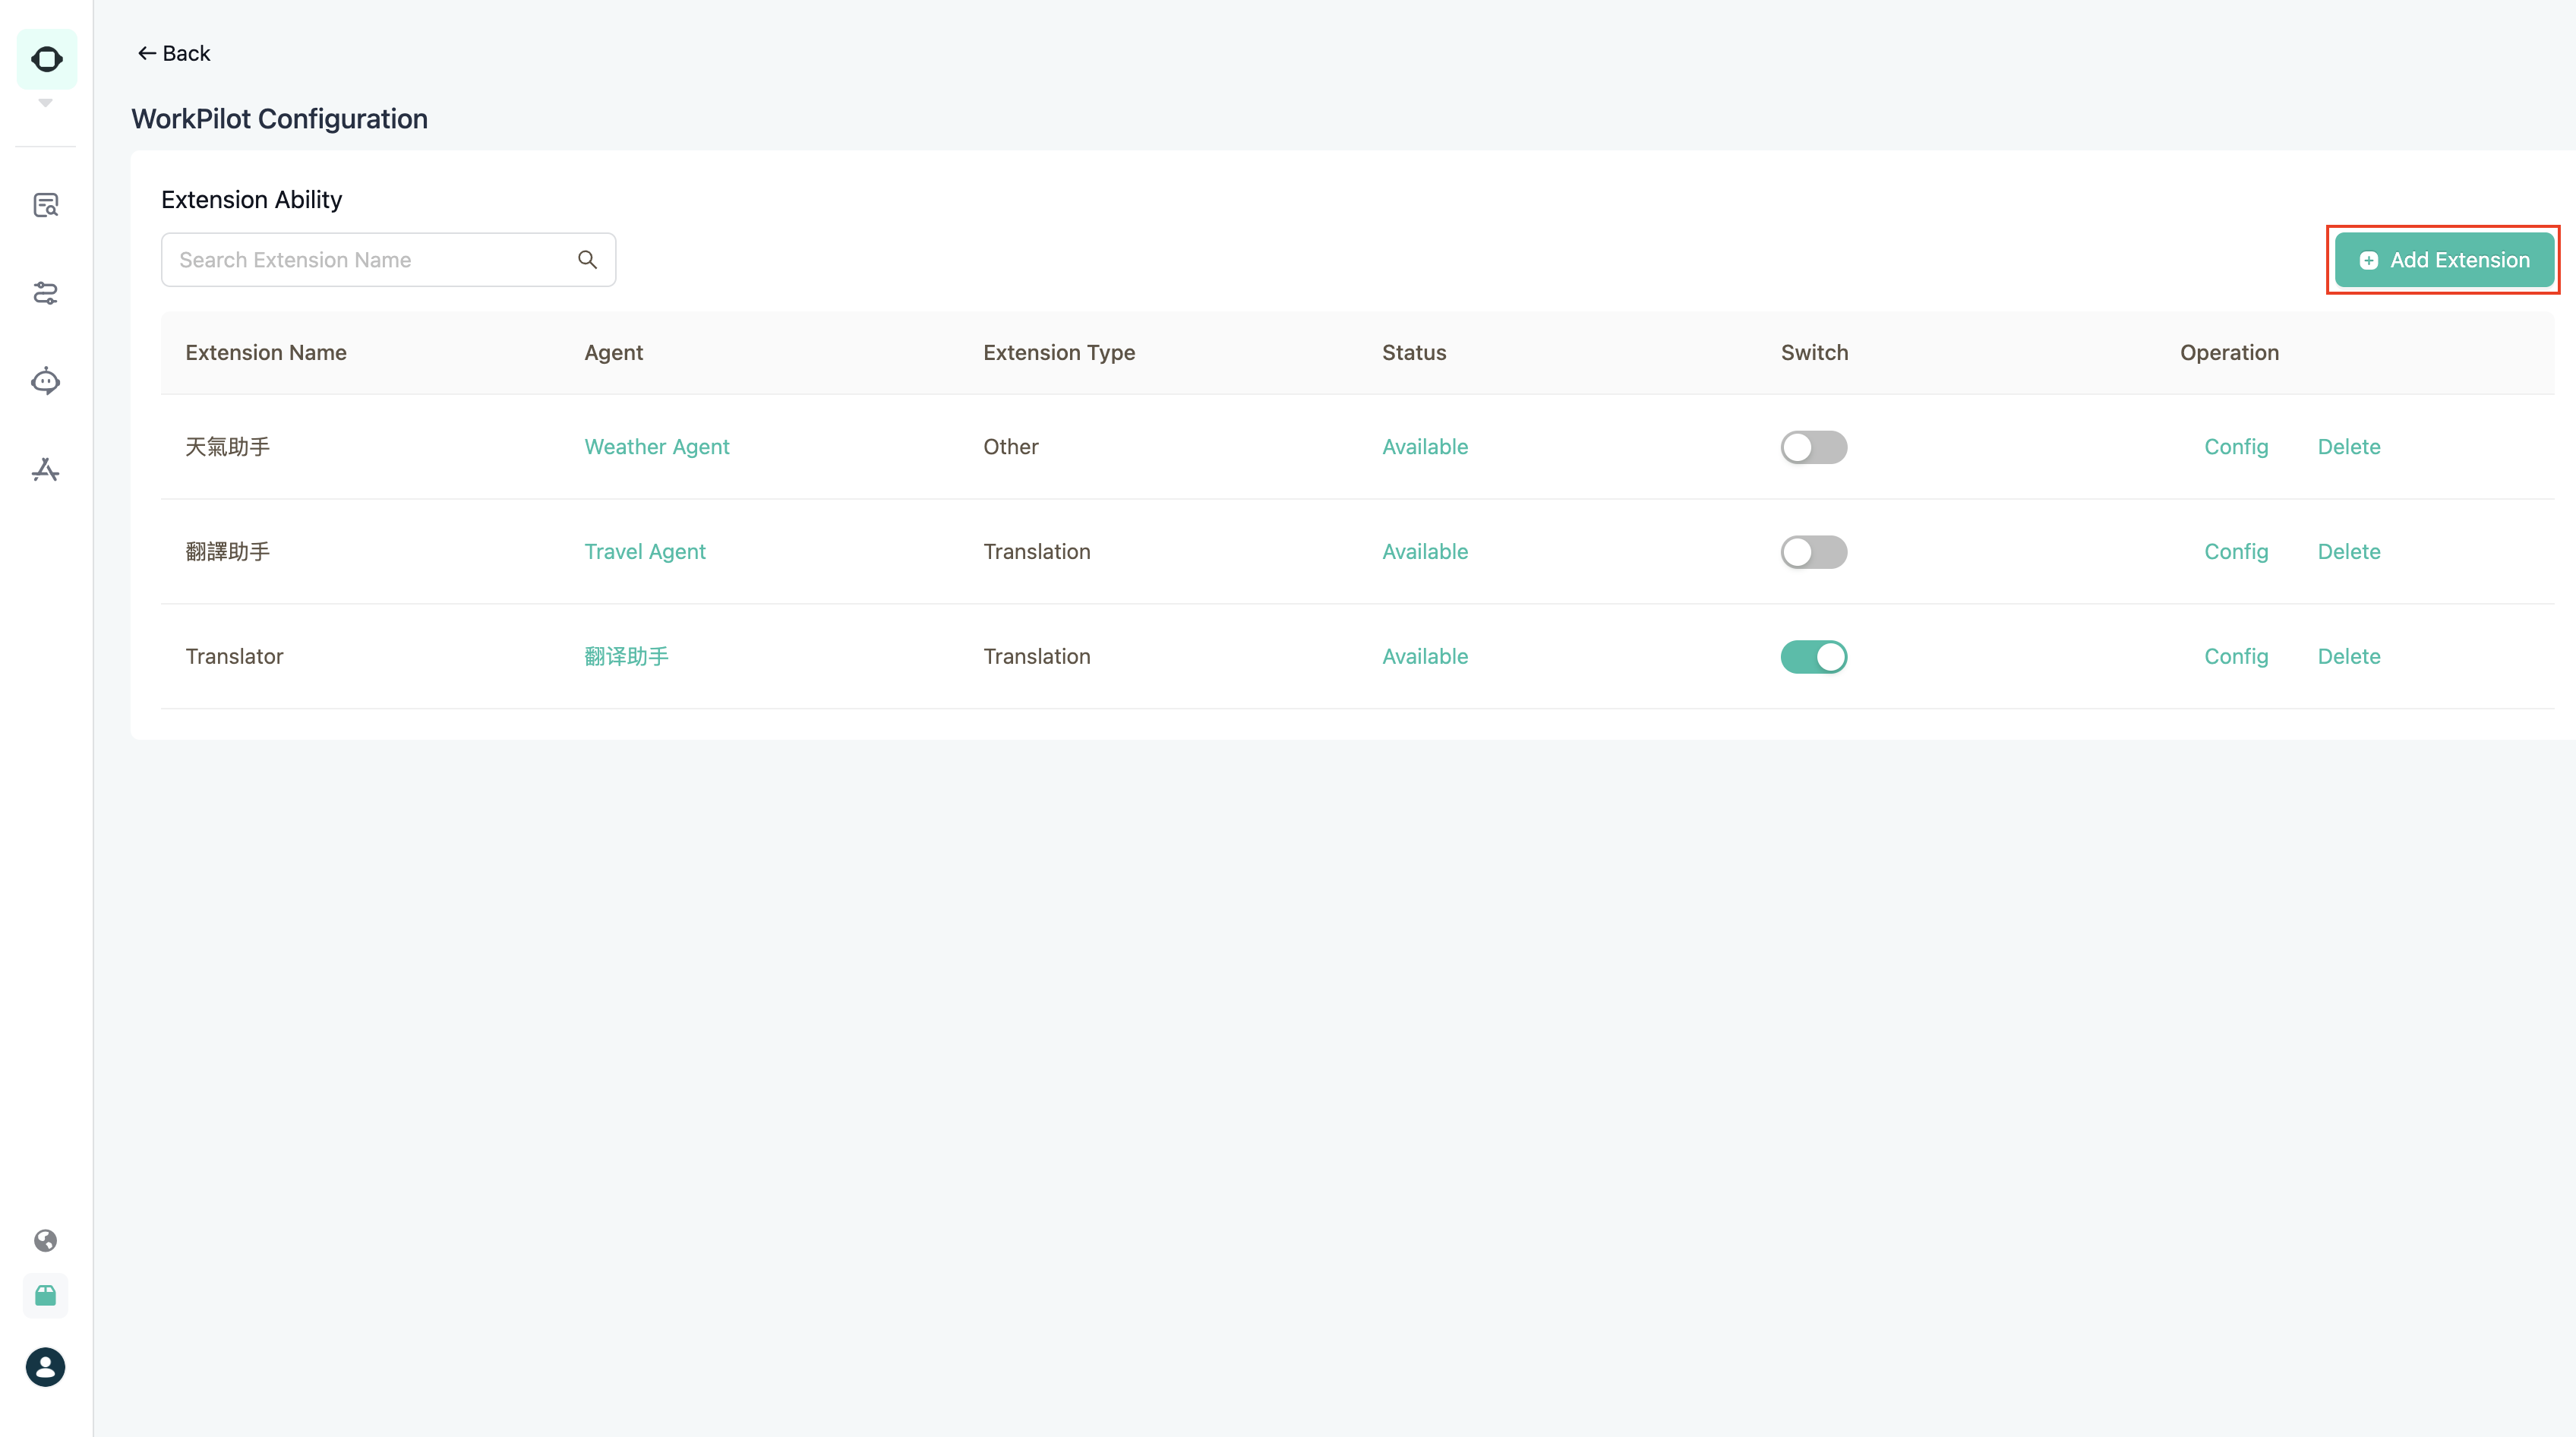
- Click "Add Extension" in the top right corner.
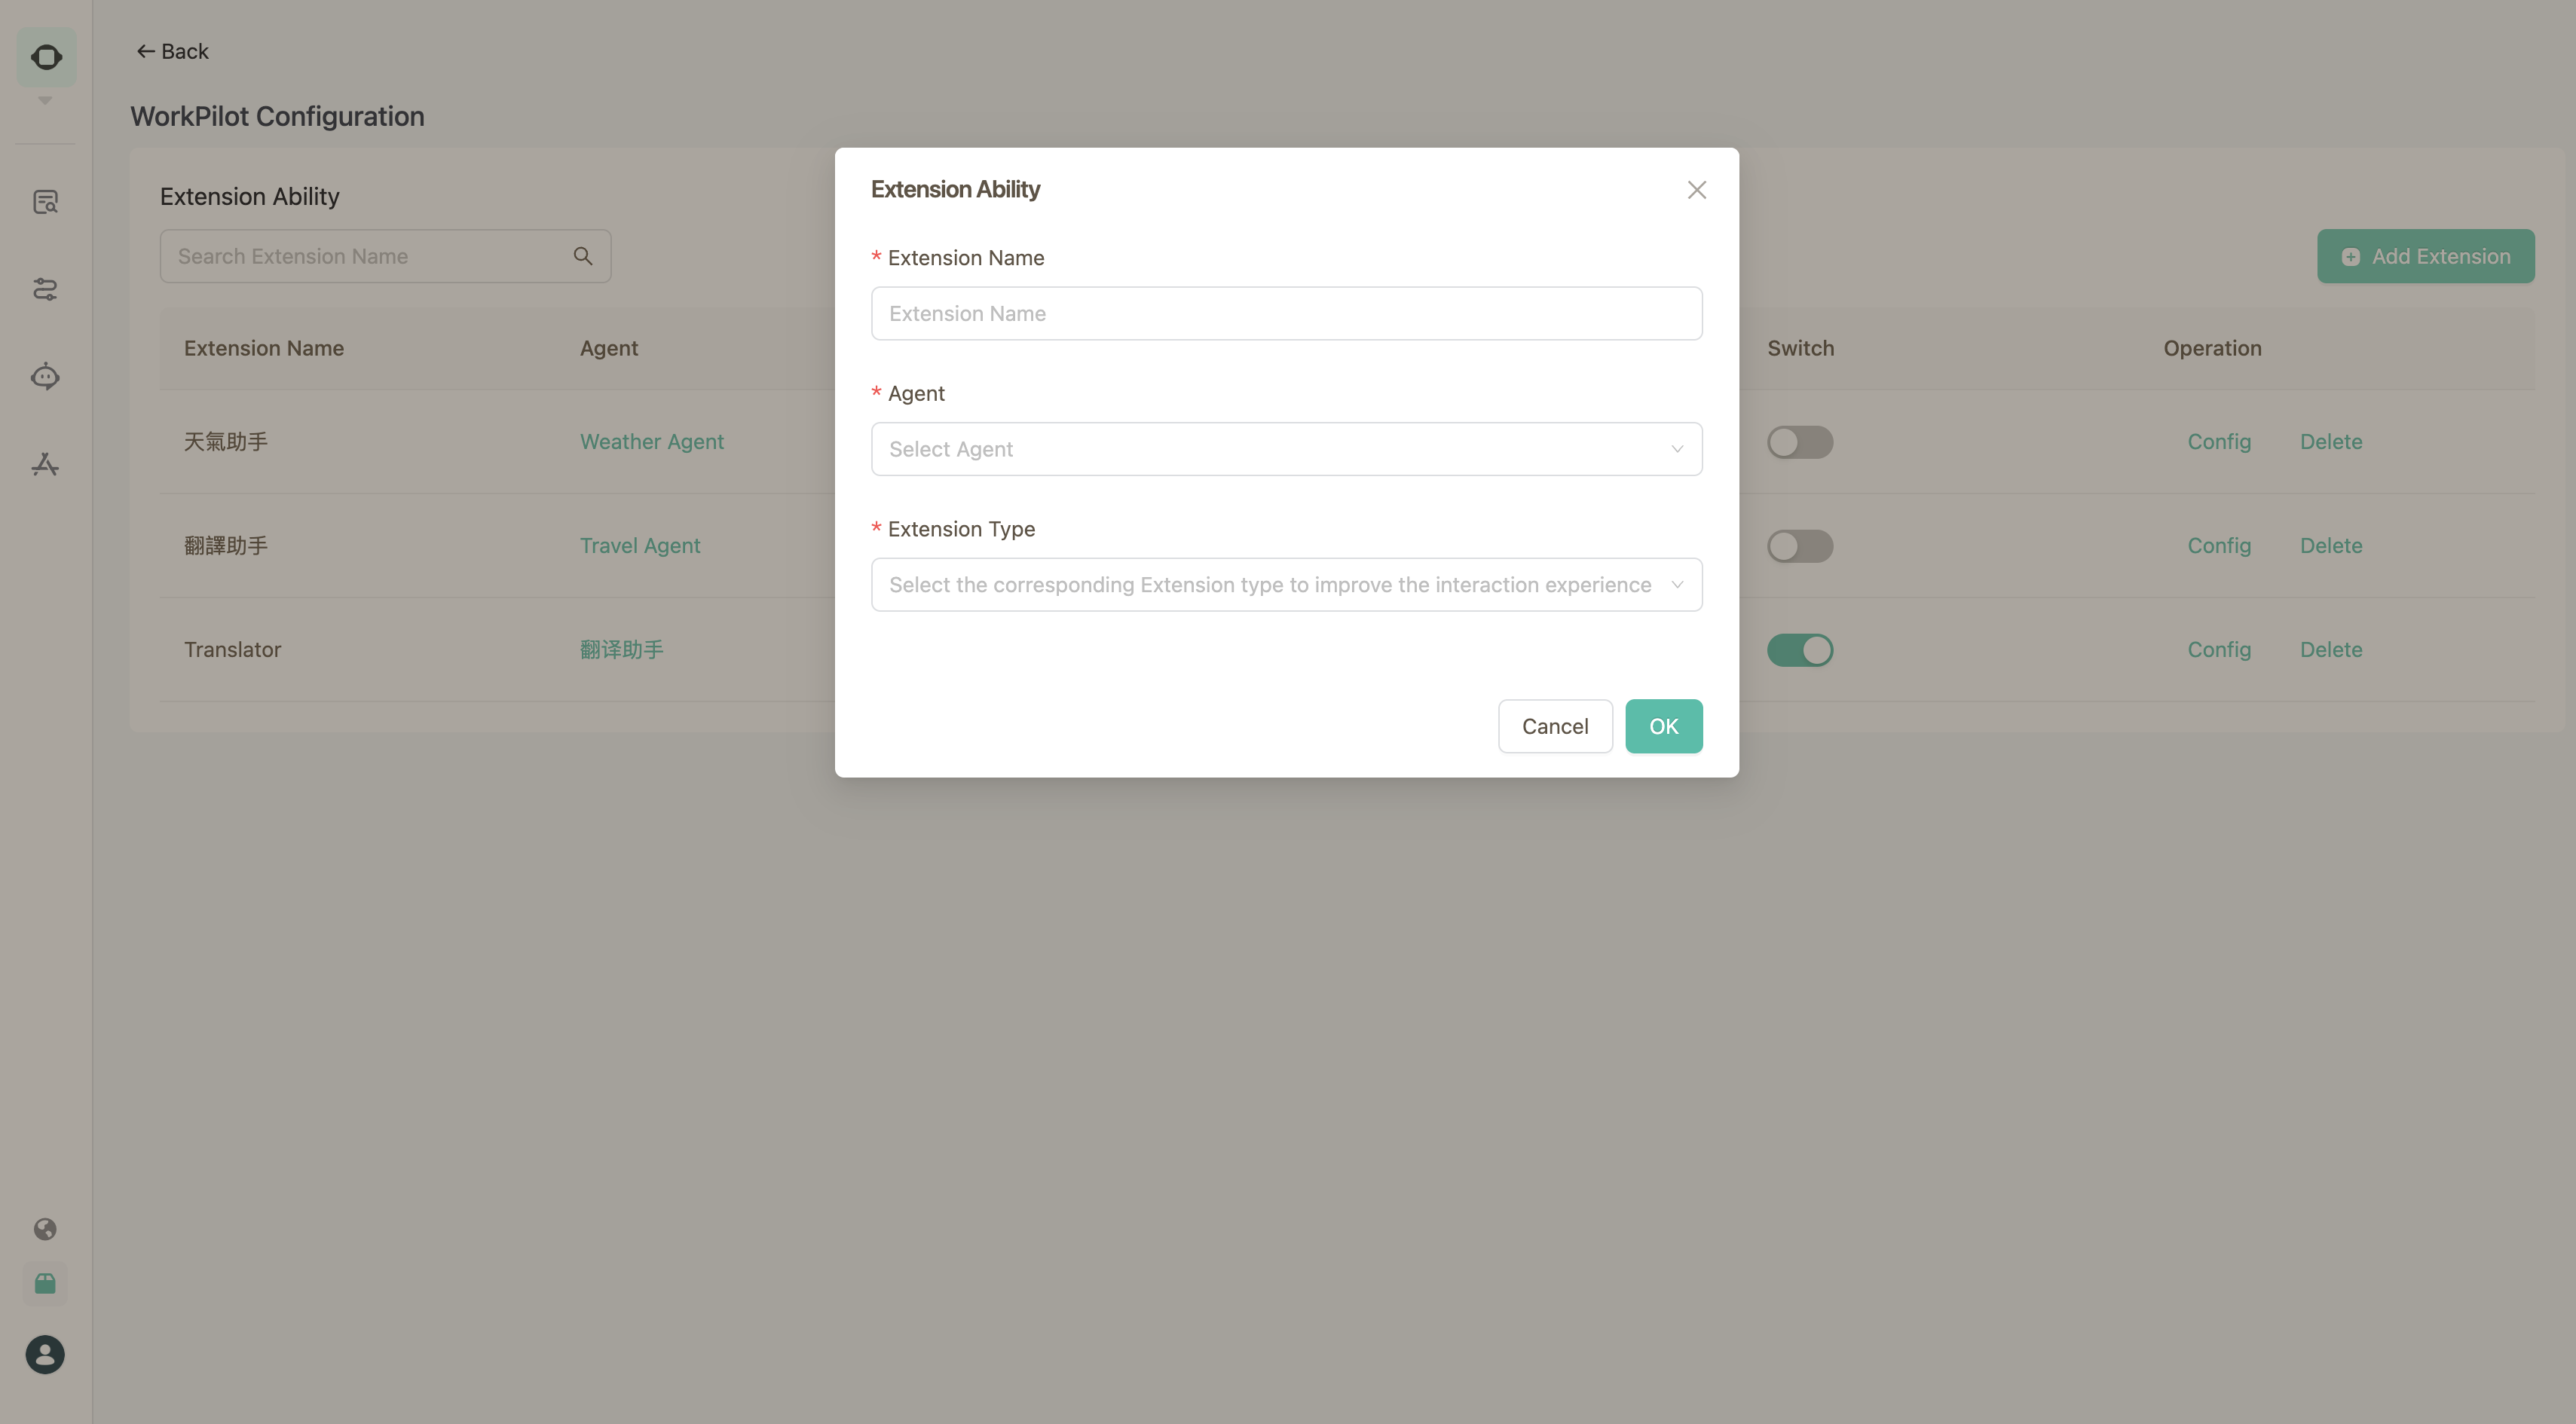
- Fill in the following fields:
- Extension Name: The skill name displayed in WorkPilot
- Agent: Select an Agent that has been published to the workspace
- Extension Type: Choose the corresponding Agent type to enhance the interaction experience. Currently, "Translation" and "Other" types are supported.
Note: If the Agent you want to extend does not appear in the dropdown, please ensure it has been published and approved in the workspace.
- After adding, turn on the extension capability switch.

- Word users can right-click "Reload" in WorkPilot to see the latest skill list.