Building efficient AI automation requires a structured approach. This guide walks you through the practical steps of creating, setting up, testing, and publishing a workflow in GPTBots. Whether you are building a simple bot or a complex multi-agent system, GPTBots provides the infrastructure to scale your AI logic.
Workflow Architecture Overview
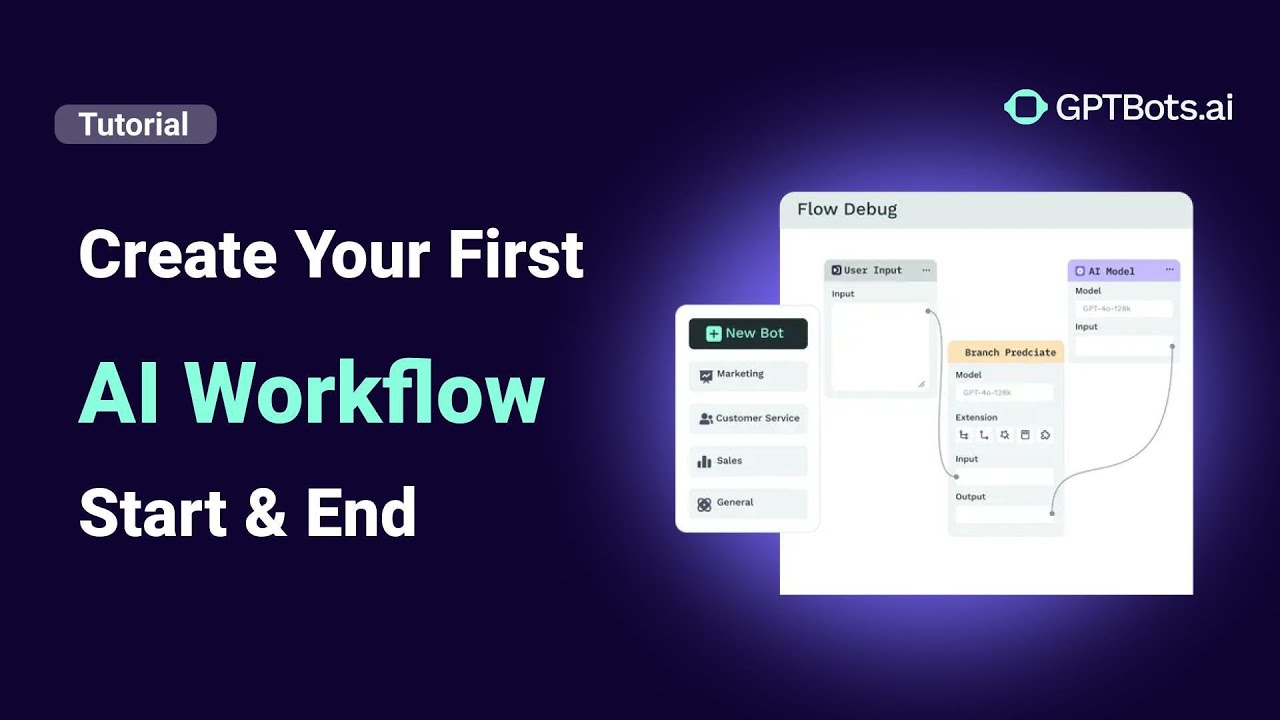
Before diving into the steps, it is important to understand where Workflows sit within the GPTBots DevSpace. The following flowchart illustrates the relationship between Agents, Workflows, and the broader development environment.
---
config:
  layout: dagre
  look: handDrawn
---
flowchart TB
    C["Agents"] --> n2["Agent"] & D["FlowAgent"] & n1["MultiAgent"]
    n4["DevSpace"] --> C & n3["Workflows"]
    n3 --> n5["Workflow"]
    n2@{ shape: rect}
    n1@{ shape: rect}
    n4@{ shape: rect}
    n3@{ shape: rect}
    style n2 color:#000000
    style D color:#000000
    style n1 color:#000000
    style n3 color:#000000
    style n5 color:#D50000
Step 1: Create a New Workflow
To begin, log in to your GPTBots dashboard, navigate to the Workflows section, and click Create Workflow. You will be prompted to enter a name and a short description. Once filled, click Create.
Optimization Tips for Workflow Configuration:
- Naming Conventions: Workflow names can only include letters, numbers, or underscores, as they serve as API endpoints. Using
camelCase(e.g.,newsArticleGenerator) helps keep names clear, professional, and consistent. - Description Best Practices: Keep it concise. A well-written description helps the LLM (Large Language Model) understand exactly when to trigger this specific workflow.
- Example: “Generates a formatted news article based on a provided keyword or topic.”
Step 2: Build Your Workflow Logic
After creation, you will enter the workflow canvas. This visual editor allows you to design the logic of your AI Agent.
- Drag and Drop: Move components onto the canvas from the node library.
- Define Flow: Connect components with lines to establish the data path from the Start node to the End node.
- Configure Nodes: Click any node card to open its settings panel and adjust specific parameters.
Note: All changes are auto-saved automatically, ensuring no progress is lost during the design phase.
Step 3: Test Your Workflow for Accuracy
Testing is a critical phase of the B2B AI lifecycle. GPTBots allows for modular testing as you build:
1. Single Node Test
If you want to verify a specific step, click Node Debug, enter a test value, and verify the output. This is essential for debugging complex logic or custom scripts.
2. Full Workflow Test
To see the entire process in action, click Test Run. Provide the necessary test inputs to the Start node and watch the data flow through the canvas in real-time.
After the test concludes, you can inspect the input and output data for every individual node, allowing you to fine-tune the workflow for maximum performance.
Step 4: Publish and Integrate Your Workflow
When your workflow performs as expected, click Publish and include a brief changelog note for version control. Your workflow is now live and production-ready.
Deployment Options:
- API Integration: Visit the Integrations tab to retrieve your unique API endpoint.
- Direct Sharing: Generate a share link for quick access.
- Workspace Use: Publish the workflow directly to your Workspace to enable immediate use within your team’s environment.

Build an AI Workflow to Analyze Meeting Minutes with GPTBots & Notion
Deploy an AI Chatbot for Customer Support on Your Website

Connect GPTBots Agent with LiveChat for Automated Customer Support
How to Use Tools in GPTBots: Complete Step-by-Step Guide
How to Integrate on Telegram (Full Guide)