The Model Context Protocol (MCP) is revolutionizing how AI agents interact with external data environments. By acting as a universal connector—much like a USB-C port—MCP allows your AI to access local files, databases, and specialized tools through a standardized interface.
In this guide, we will walk through the technical process of adding an MCP Server to your GPTBots AI Agent, ensuring your assistant is equipped with the most modular and scalable connectivity available today.
Visualizing the MCP Integration Layer
In the GPTBots ecosystem, MCP sits within the Tools configuration. It serves as the bridge between the reasoning engine (LLM) and your specific data sources.
---
config:
  layout: dagre
  look: handDrawn
---
flowchart TB
    n2["Agent"] --> n6["Configuration"]
    n6 --> n12["LLM"] & n13["Knowledge Base"] & n14["Database"] & n15["Workflows"] & n16["Tools"] & n17["Memory"] & n21["Safety Mechanism"]

    n16 --> n30["Custom APIs"]
    n16 --> n31["MCP Servers"]

    n2@{ shape: rect}
    style n2 color:#000000
    style n16 color:#D50000
    style n31 color:#D50000
Step 1: Access the MCP Configuration Portal
To begin the integration, navigate to your GPTBots Dashboard.
- Select "Tools" from the primary sidebar.
- Look for the "MCP" tab or the "Add MCP Server" button.
- Unlike traditional APIs, MCP servers provide a pre-defined set of capabilities that the agent can "discover" automatically once connected.
Step 2: Define Your MCP Server Details
Once you initiate the creation process, you will need to provide the connection parameters for your server.
1. Server Metadata
- Server Name: Use a recognizable name (e.g.,
Enterprise_SQL_ConnectororLocal_File_Browser). - Description: Provide a clear summary of the data or tools this server exposes. This helps the Agent's "Router" logic understand when to call this specific server.
2. Connection Setup
- Server URL/Endpoint: Enter the endpoint where your MCP server is hosted.
- Transport Type: Specify the communication protocol (usually SSE - Server-Sent Events or Stdio for local environments).
- Environment Variables: If your MCP server requires specific keys or paths to operate, define them in the configuration fields provided.
Step 3: Authorize and Link to Your AI Agent
After the MCP server is registered in your GPTBots account, you must grant your specific agent permission to use it.
- Navigate to the Agent Configuration page for your chosen bot.
- Go to the "Tools" section.
- Toggle the switch for your newly created MCP Server.
- Save Changes: The agent will now perform a "handshake" with the MCP server to identify available functions and data resources.
Step 4: Verification and Real-Time Testing
Testing an MCP integration is different from standard API testing because of its dynamic nature.
- Capability Discovery: Check if the Agent identifies the "Tools" or "Resources" provided by the MCP server.
- Live Debugging: Use the GPTBots Debug Console. Issue a prompt that requires data from the MCP server (e.g., "Query the local database for the last 5 sales") and monitor the logs to ensure the server responds correctly.
Benefits of Using MCP in GPTBots
- Standardization: No need to write custom "glue code" for every new data source.
- Interoperability: Easily swap out LLMs or servers without rebuilding the entire integration.
- Scalability: One MCP server can provide dozens of specialized functions to multiple agents simultaneously.
Conclusion
Adding an MCP server is the most efficient way to future-proof your AI architecture. By following these steps, you transform your GPTBots agent from a simple text processor into a sophisticated, data-aware assistant capable of navigating complex enterprise ecosystems.

Build an AI Workflow to Analyze Meeting Minutes with GPTBots & Notion
Deploy an AI Chatbot for Customer Support on Your Website

Connect GPTBots Agent with LiveChat for Automated Customer Support
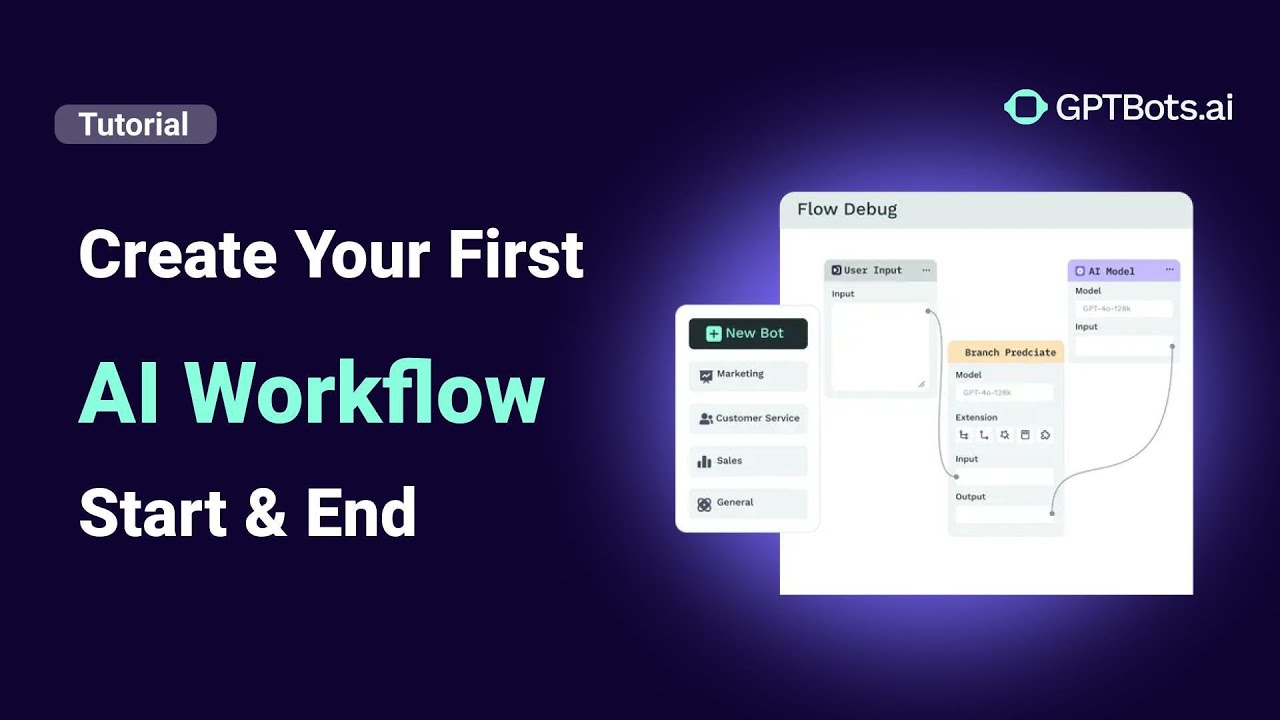
How to Use Tools in GPTBots: Complete Step-by-Step Guide
How to Integrate on Telegram (Full Guide)