Introduction
Once the Agent is integrated into Teams, Teams users can chat with the Agent in one-to-one chats, group chats, and channels, with support for images, files, and other formats. In addition, the Agent’s responses support streaming output and can display knowledge-base citations.
Feature Support
Basic Configuration
| Feature | One-to-One Chat | Group Chat | Channel | Notes |
|---|---|---|---|---|
| Upload Attachments | Supported | Supported | Not Supported | - Agents in one-to-one and group chats can receive and send attachments - Agents in channels can only send attachments; they cannot receive them |
| Display Knowledge Source | Supported | Supported | Supported | Enable "Display Sources" in the Agent's configuration |
| User Feedback | Supported | Supported | Supported | Likes and dislikes on messages are recorded in the Agent's logs |
| Welcome Message | Supported | Supported | Supported | - One-to-one: triggered when the user starts a conversation - Group chat and channel: triggered when the Agent is invited into the group |
| Preset Questions | Supported | Supported | Supported | - One-to-one: triggered when the user starts a conversation - Group chat and channel: triggered when the Agent is invited into the group |
| User Question Suggestions | Supported | Supported | Supported | Appear after the Agent's response message |
| Content generated by AI | Supported | Supported | Supported | When enabled, an "AI Generated" label appears next to the Agent's name |
Advanced Configuration
| Feature | One-to-One Chat | Group Chat | Channel | Notes |
|---|---|---|---|---|
| Streaming Response | Supported | Not Supported | Not Supported | To enable segmented output, turn off streaming response |
| "Replying" Animation | Supported | Supported | Not Supported | None |
| "Sensitive Information" Indicator | Supported | Supported | Supported | When enabled, a "Sensitive Information" label appears next to the Agent's name |
Integration Tutorial
Preparation
Enable Services
- Azure Bot Services
- Microsoft 365
Required Websites
- Teams
- Microsoft Azure Bot services (create and configure the bot)
- Developer Portal (publish the bot)
- Microsoft Teams admin center (review the bot after it is published)
Integration Steps
1. Create an Azure Bot
Log in to Microsoft Teams Admin Center, click Add Bot Services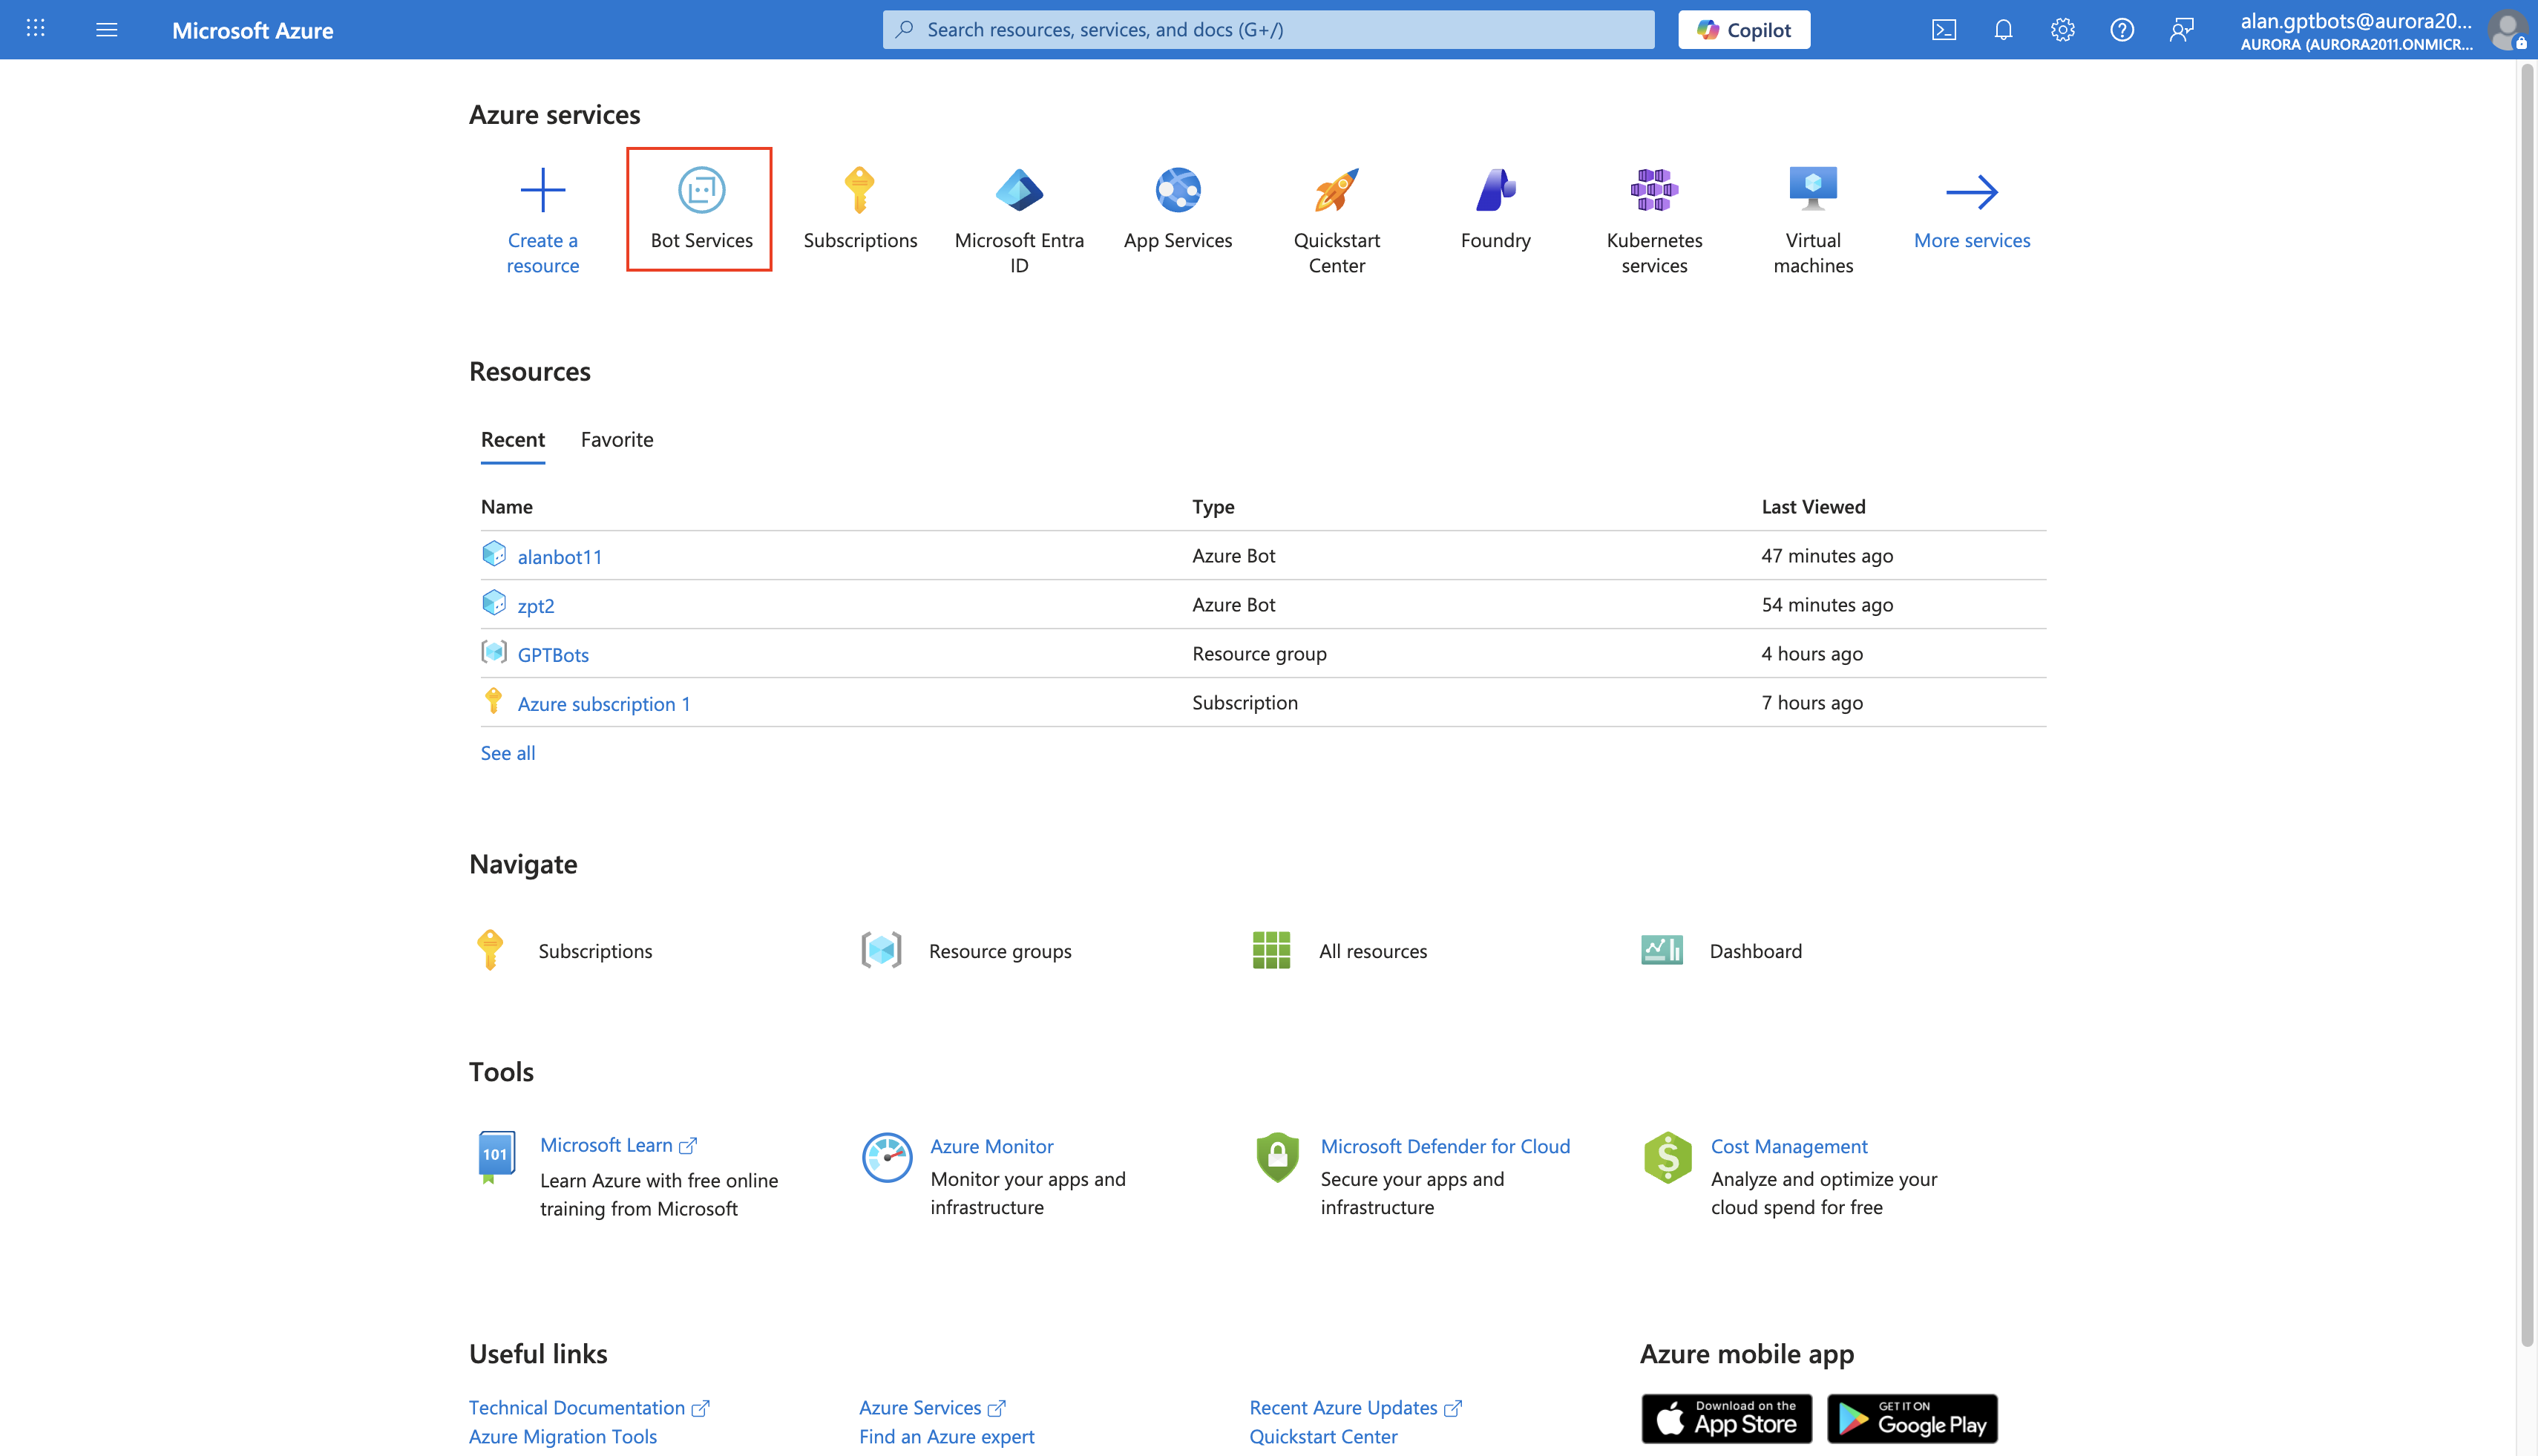
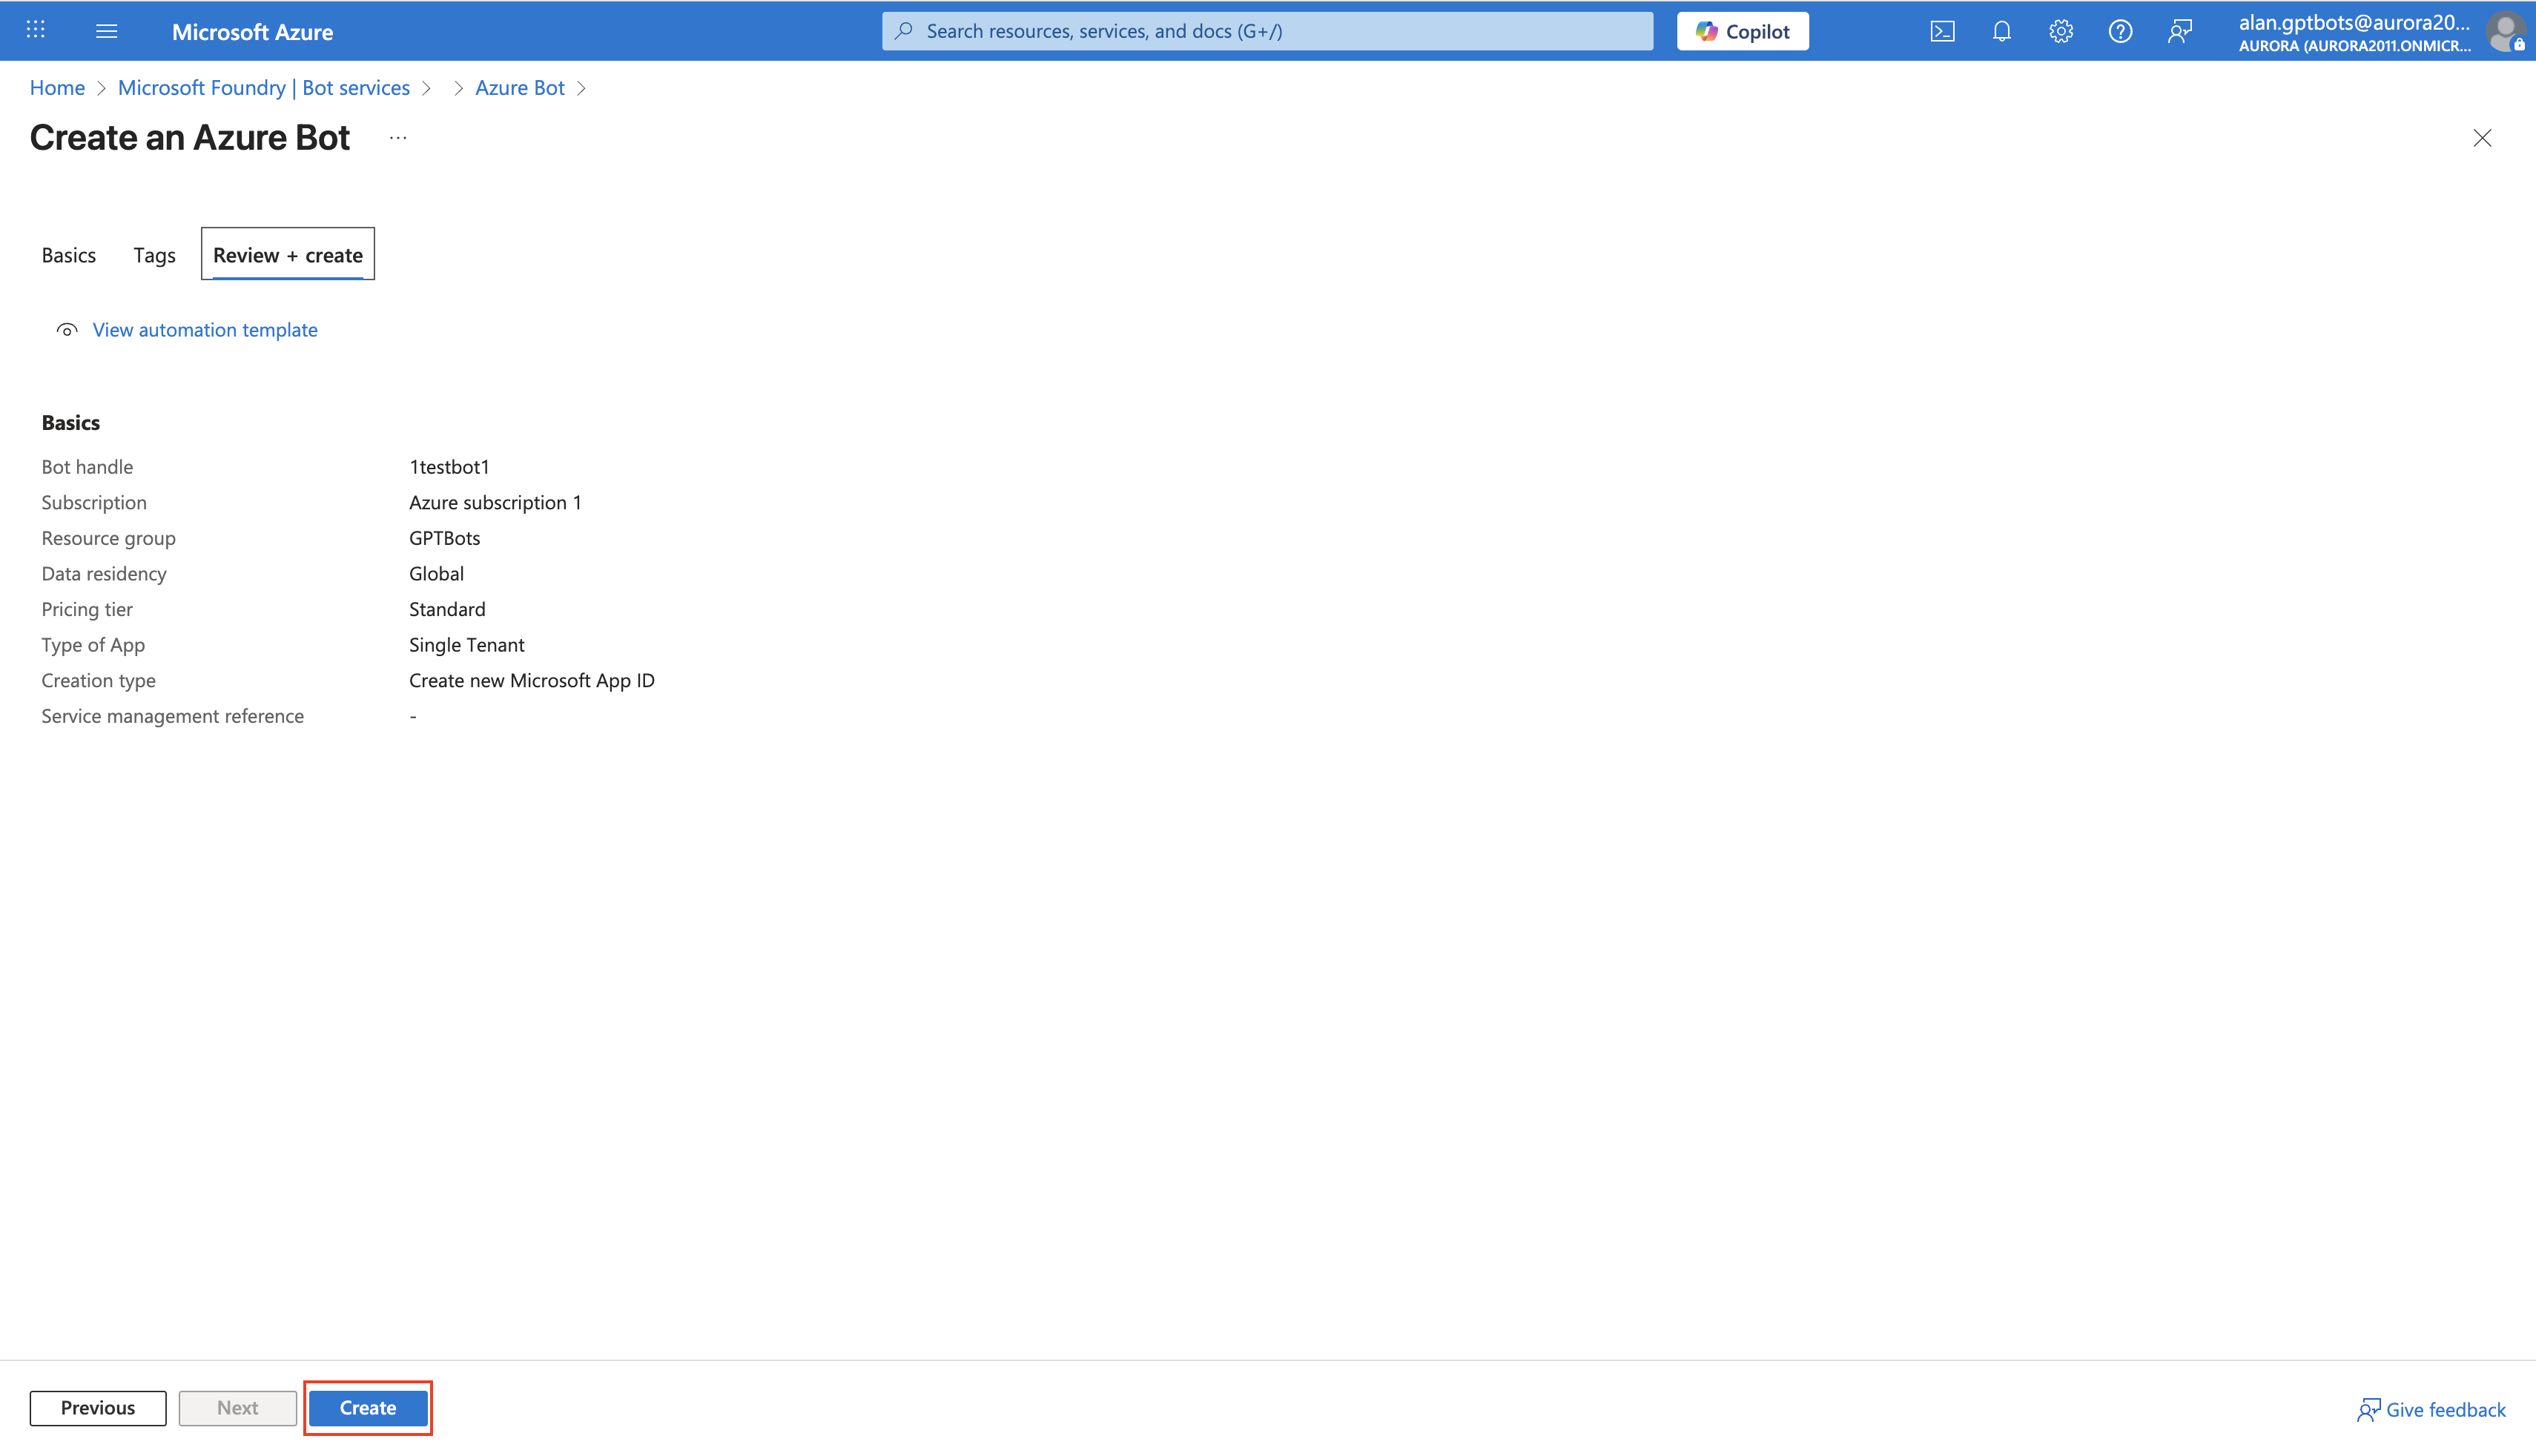
Click Create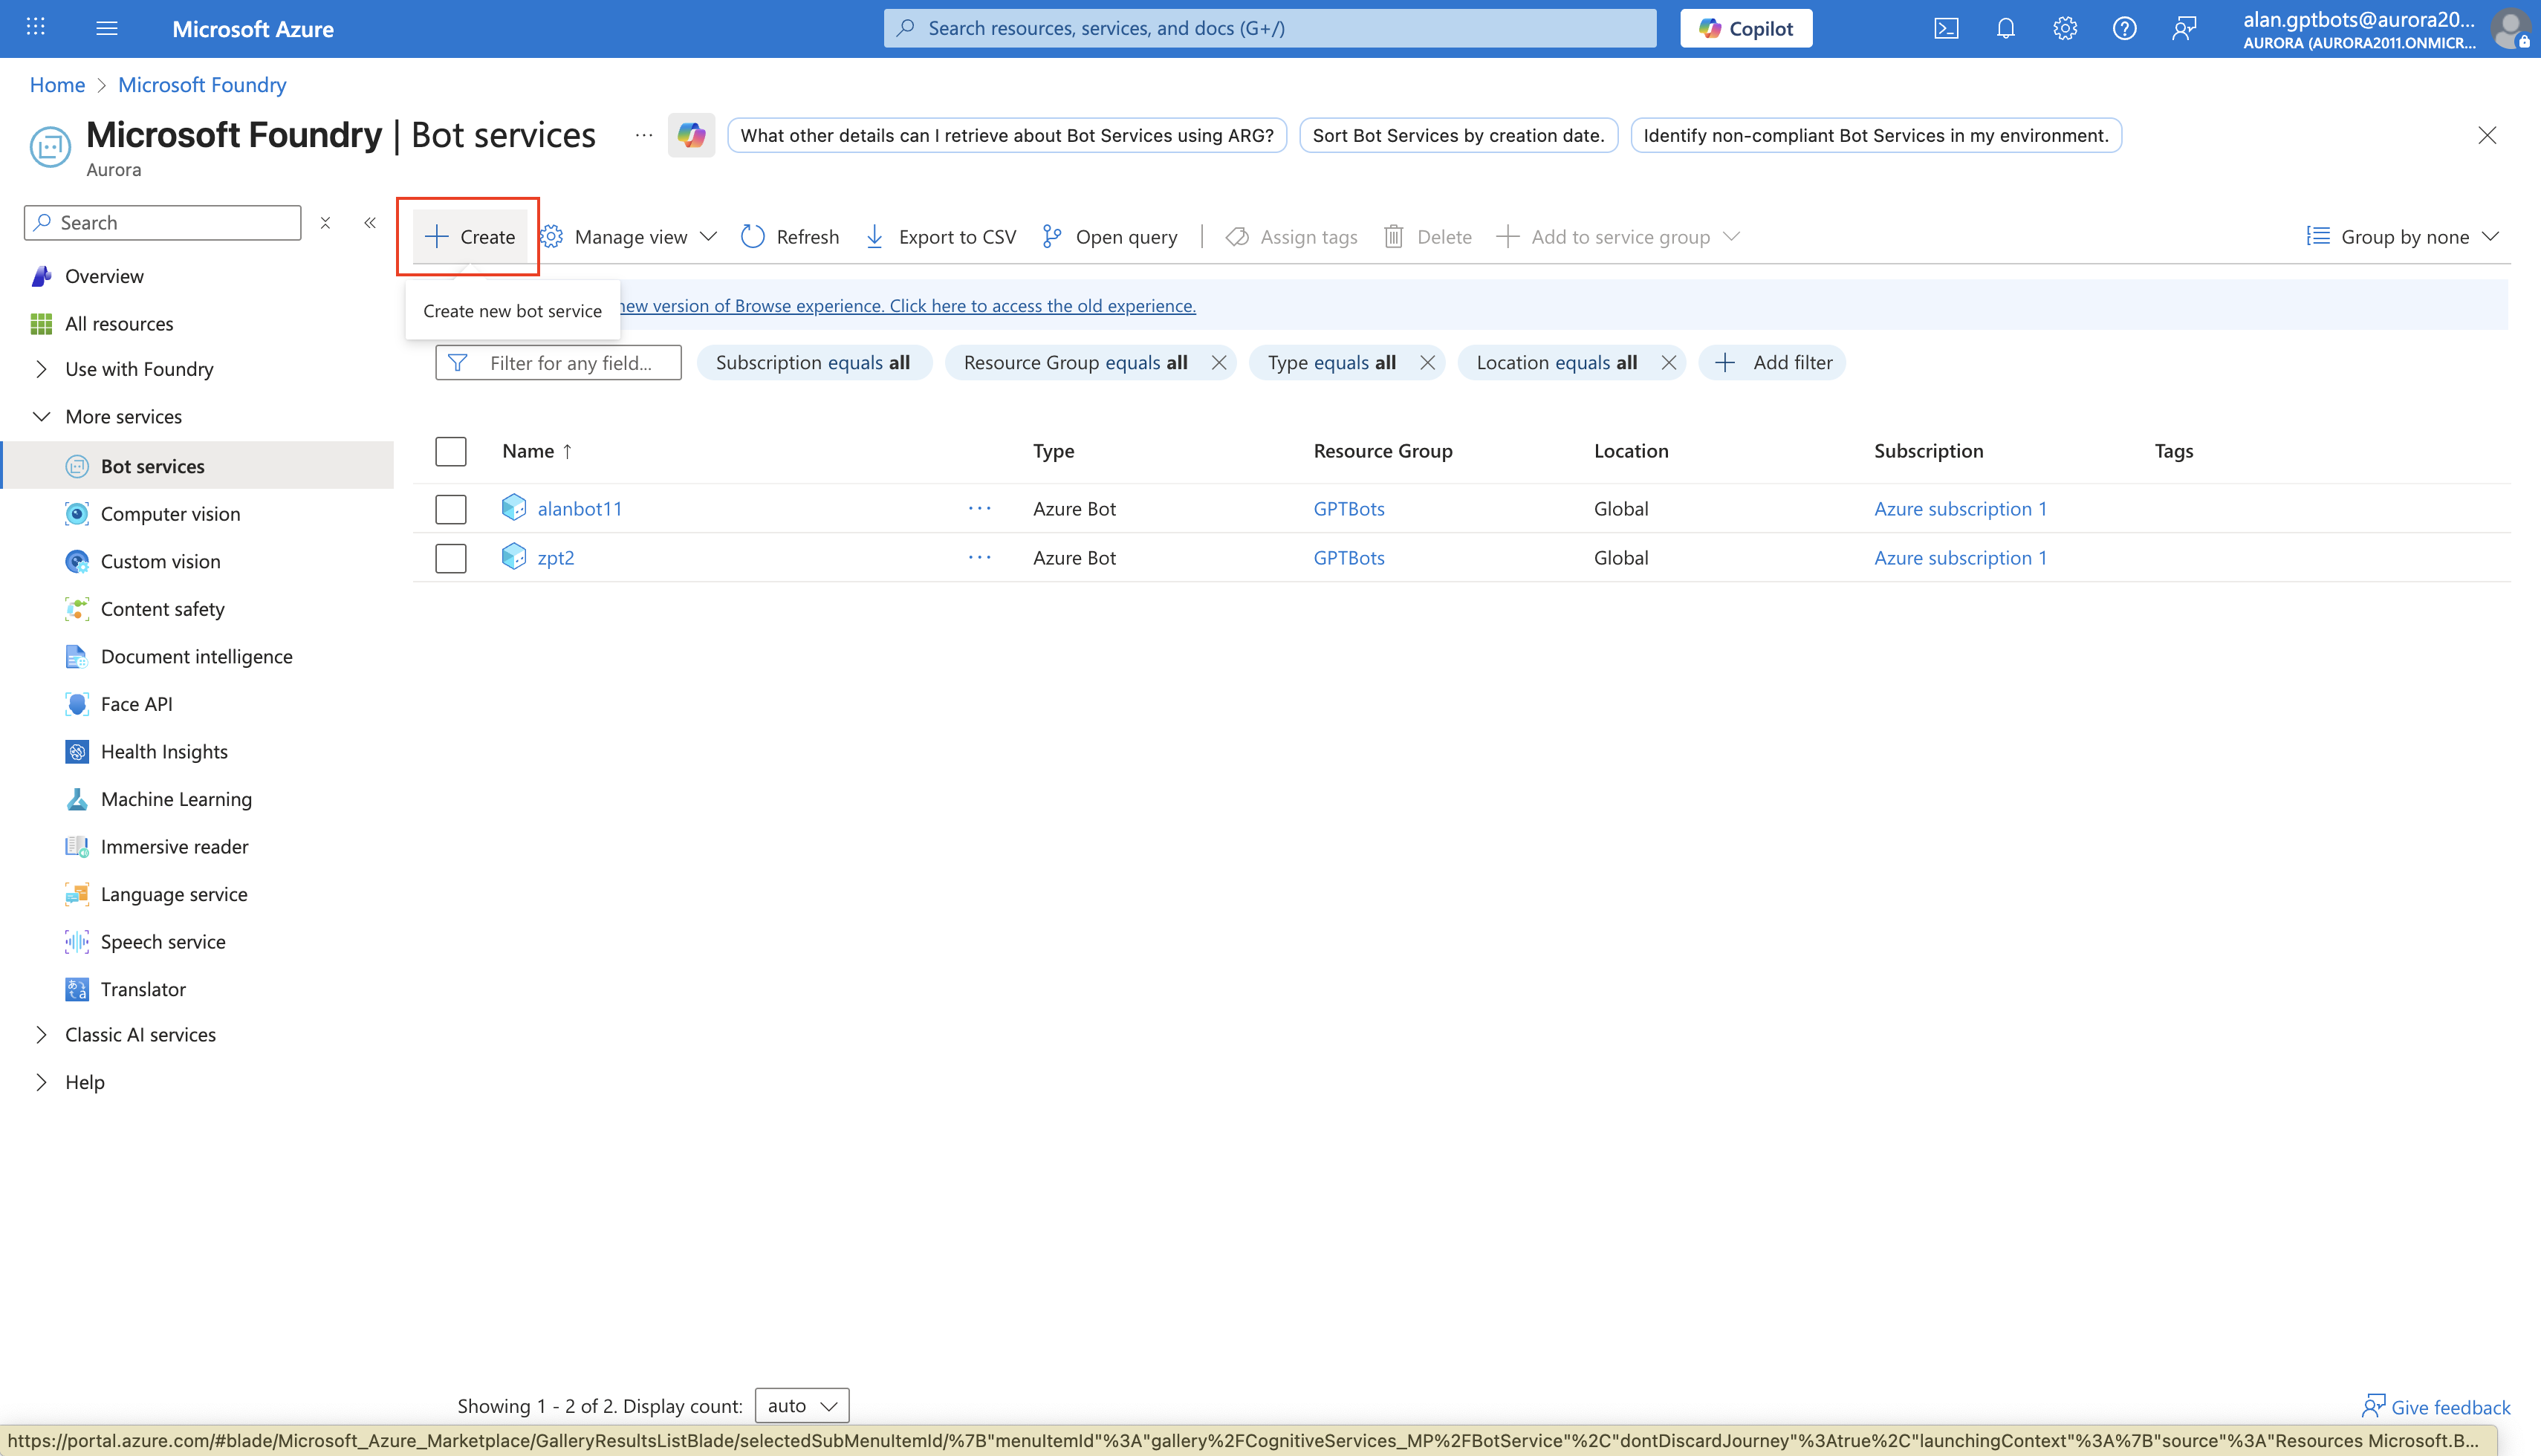
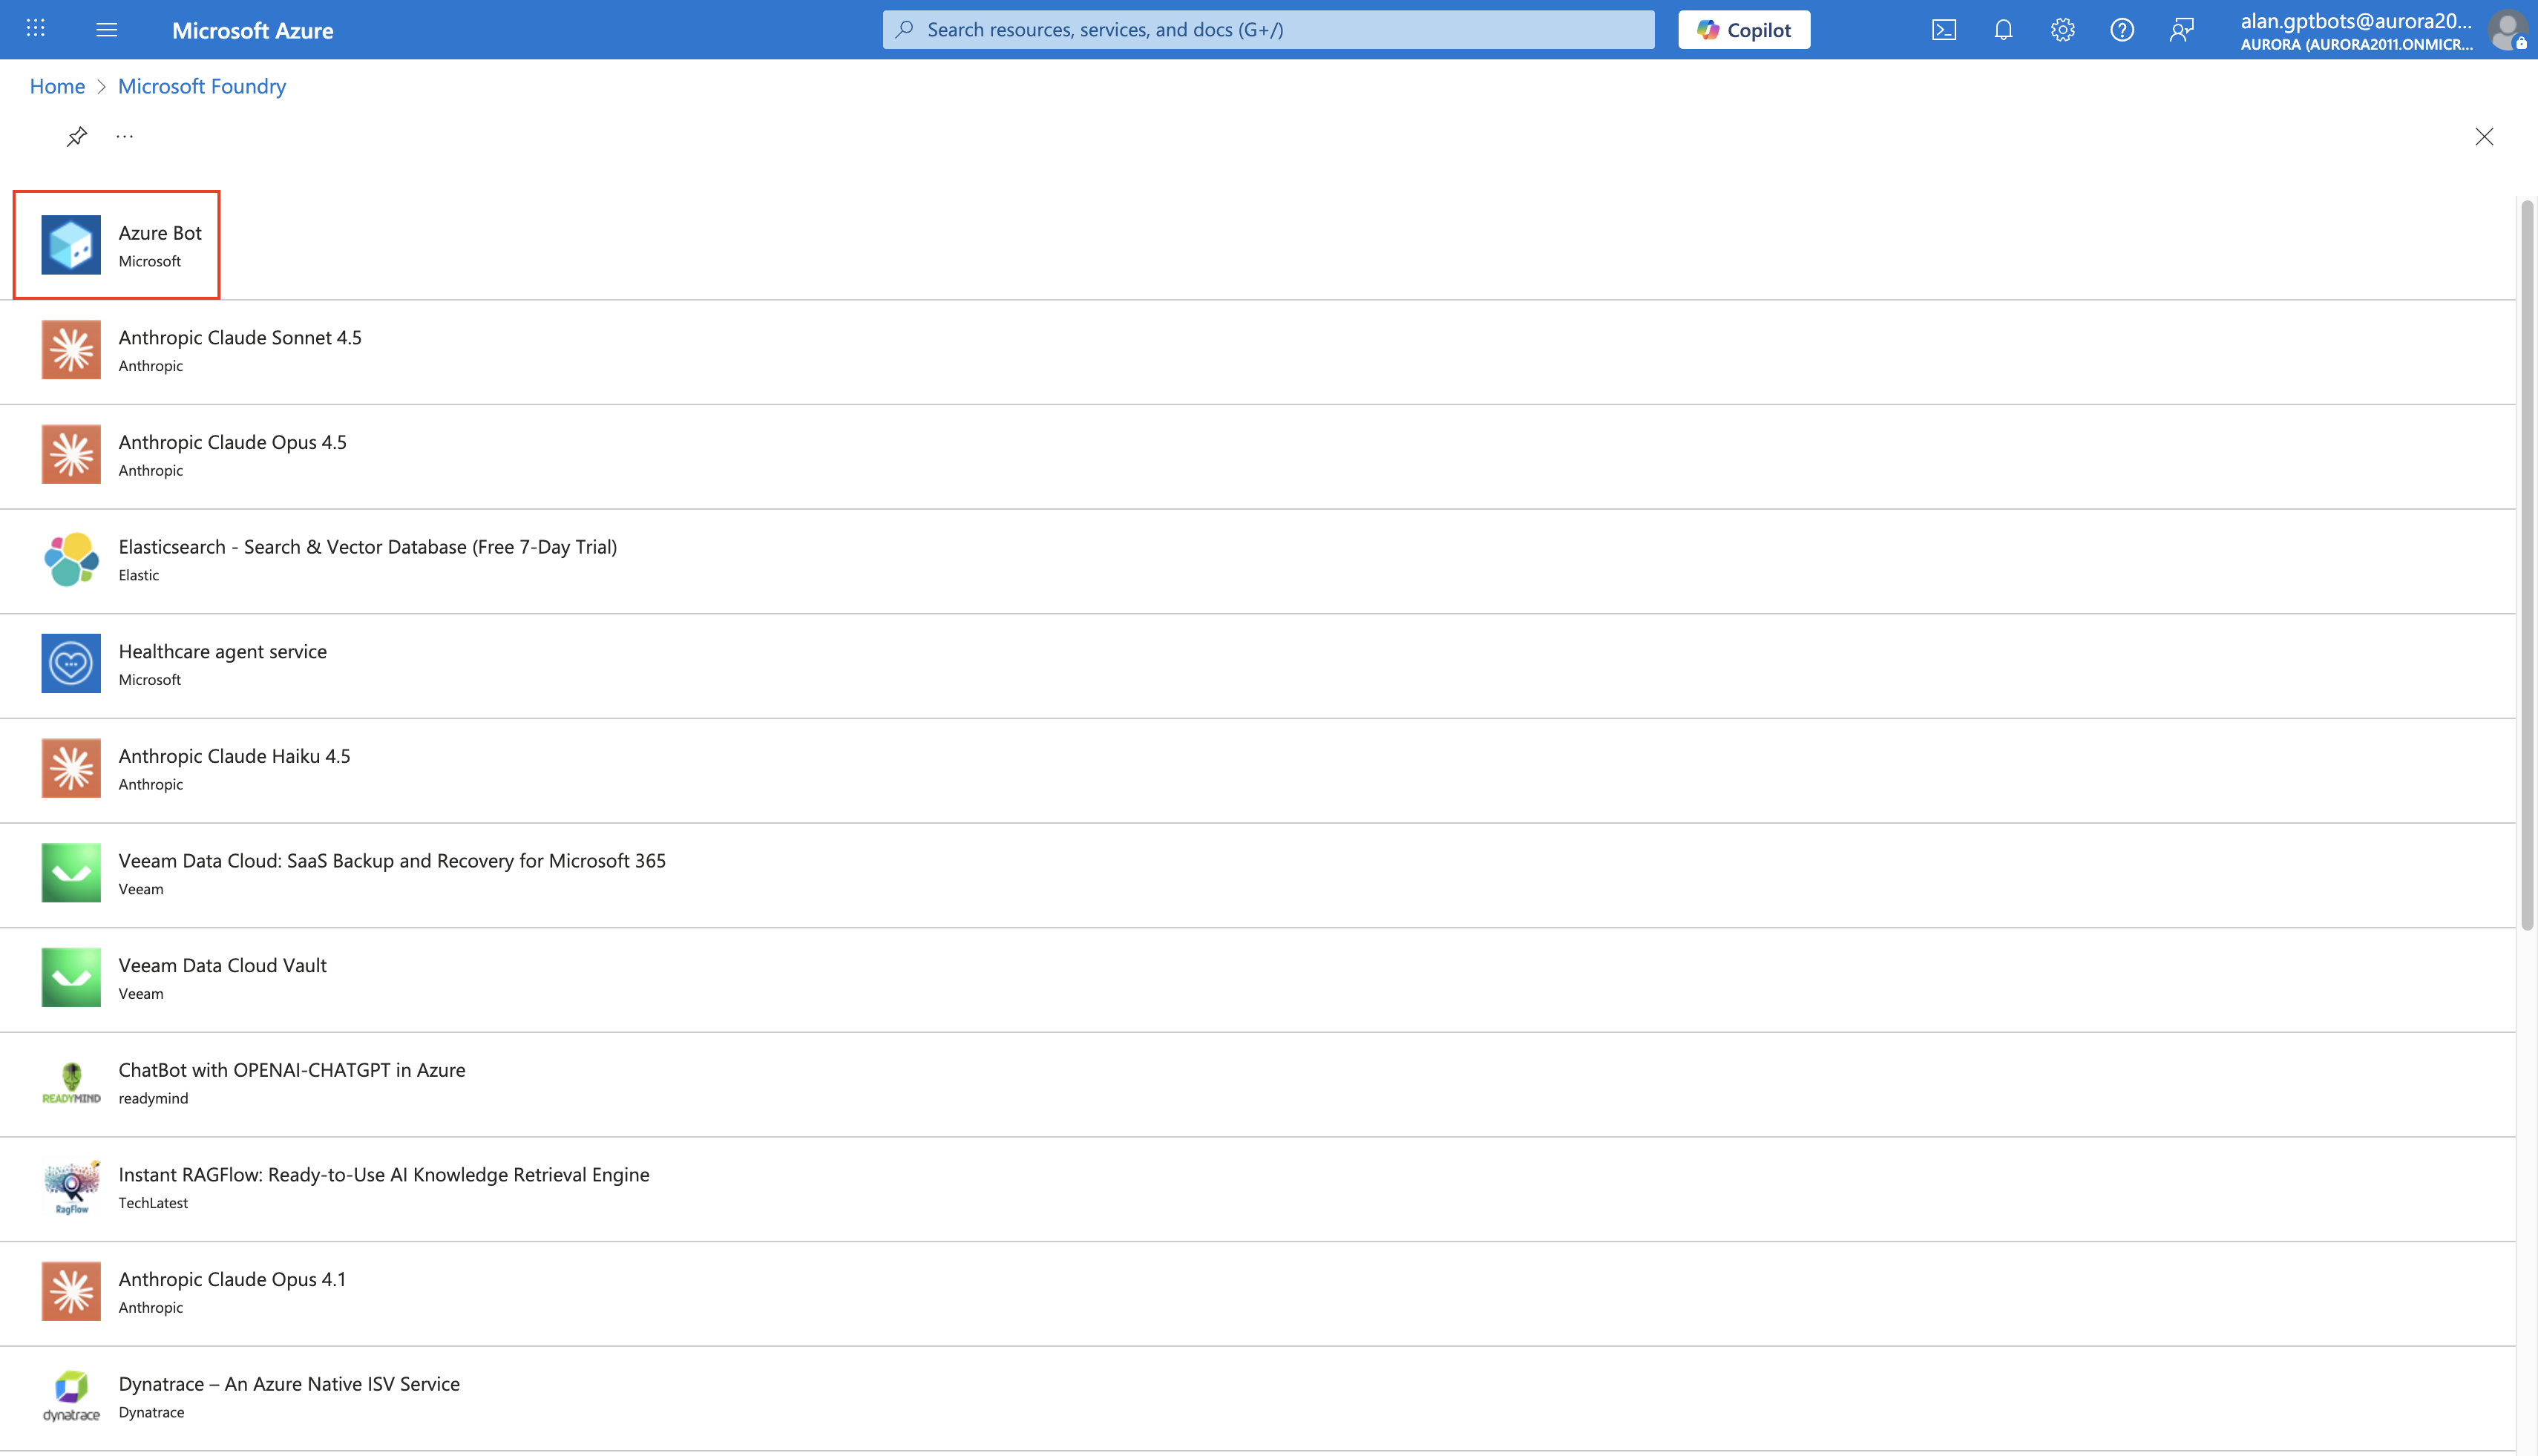
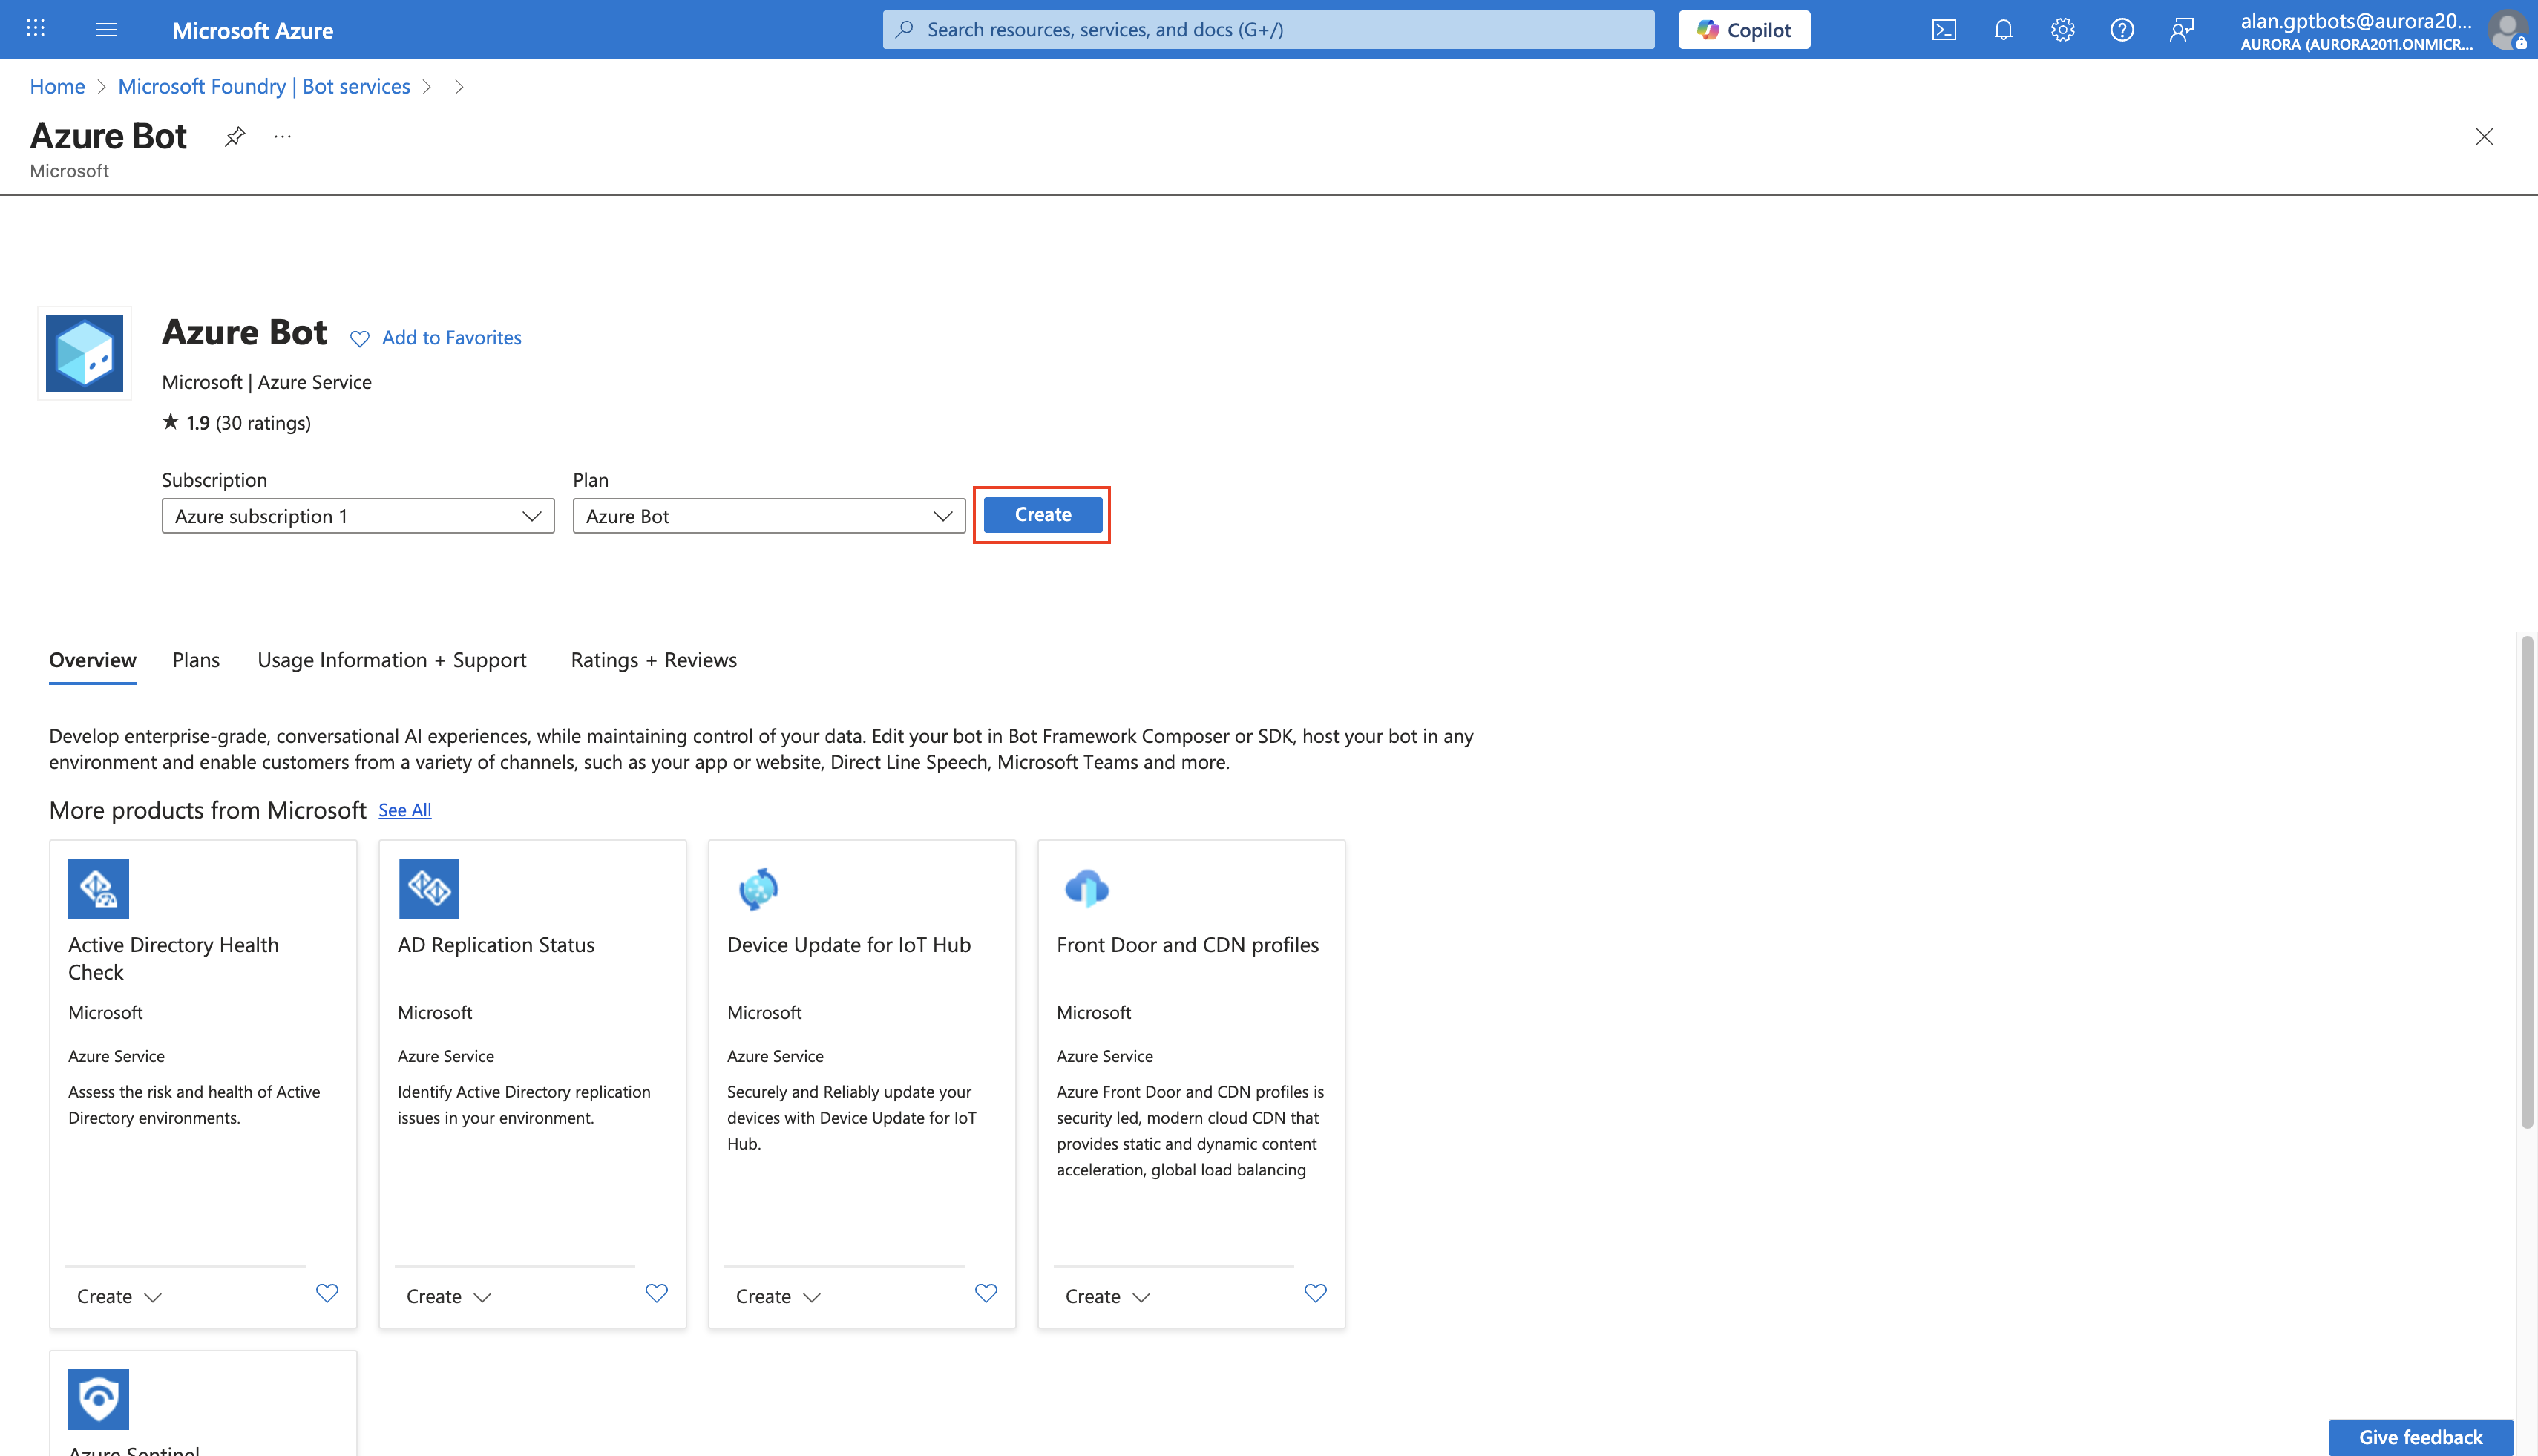
Select Single Tenant for Type of App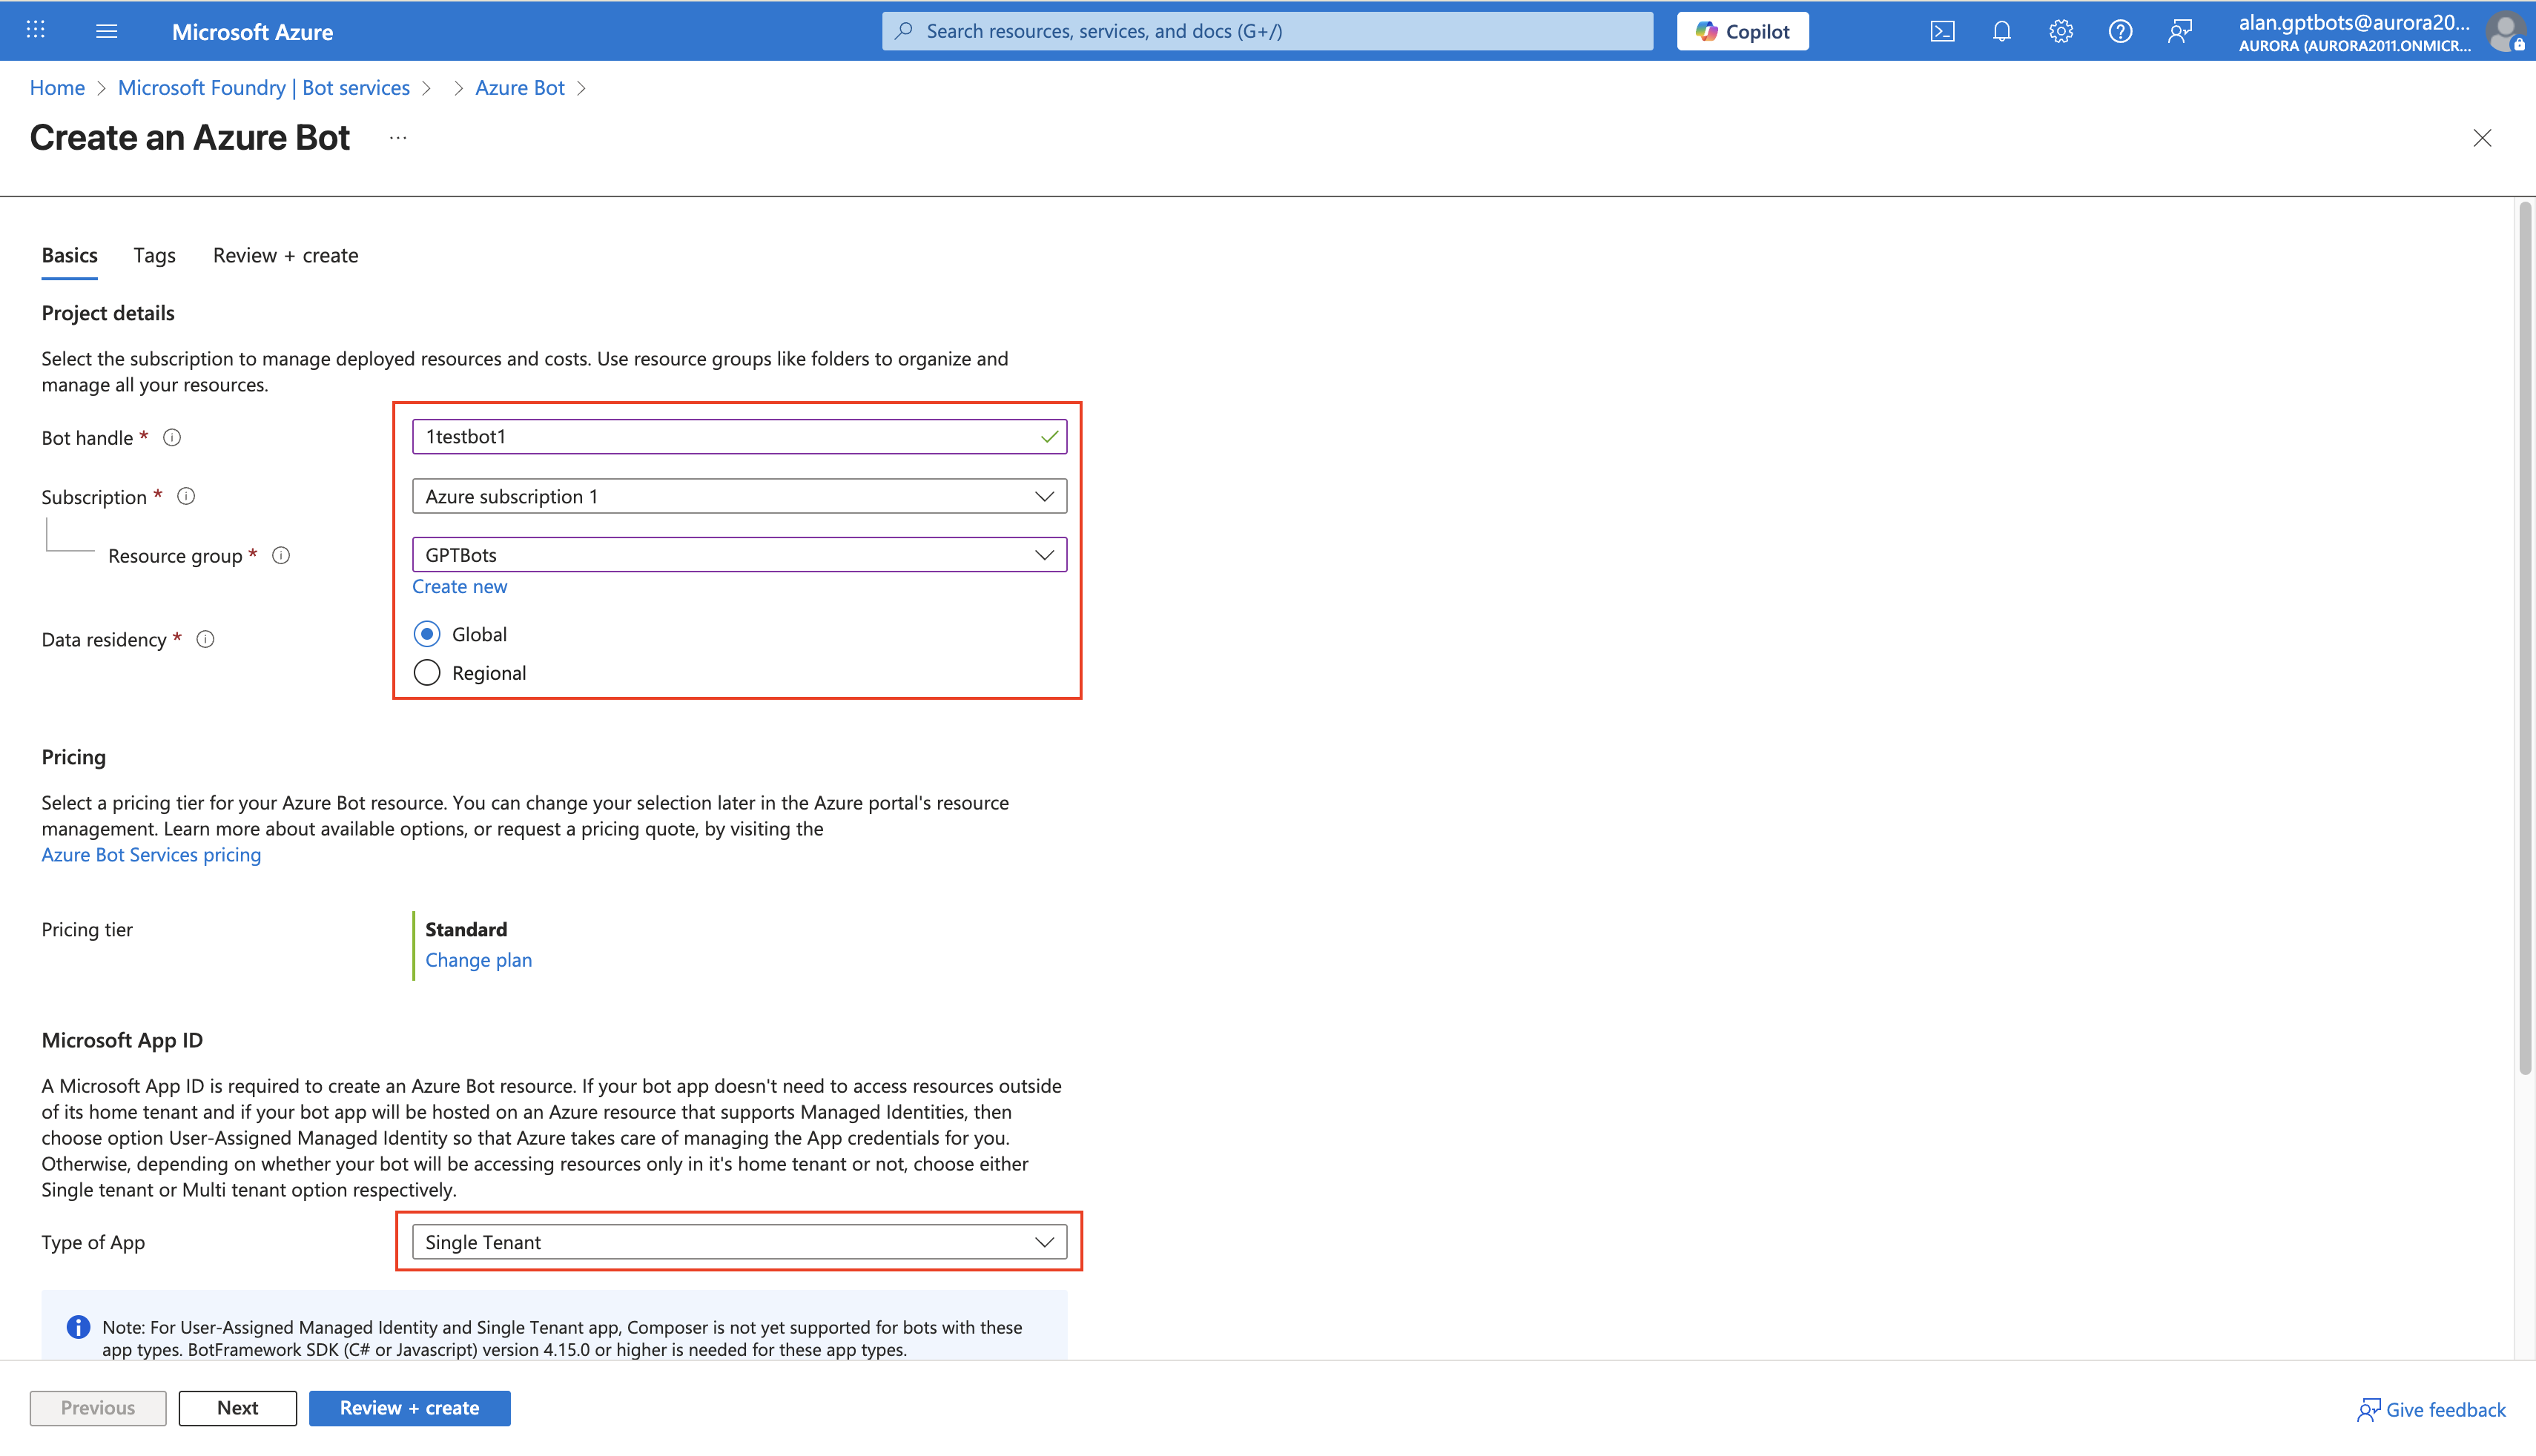
Choose Create new Microsoft App ID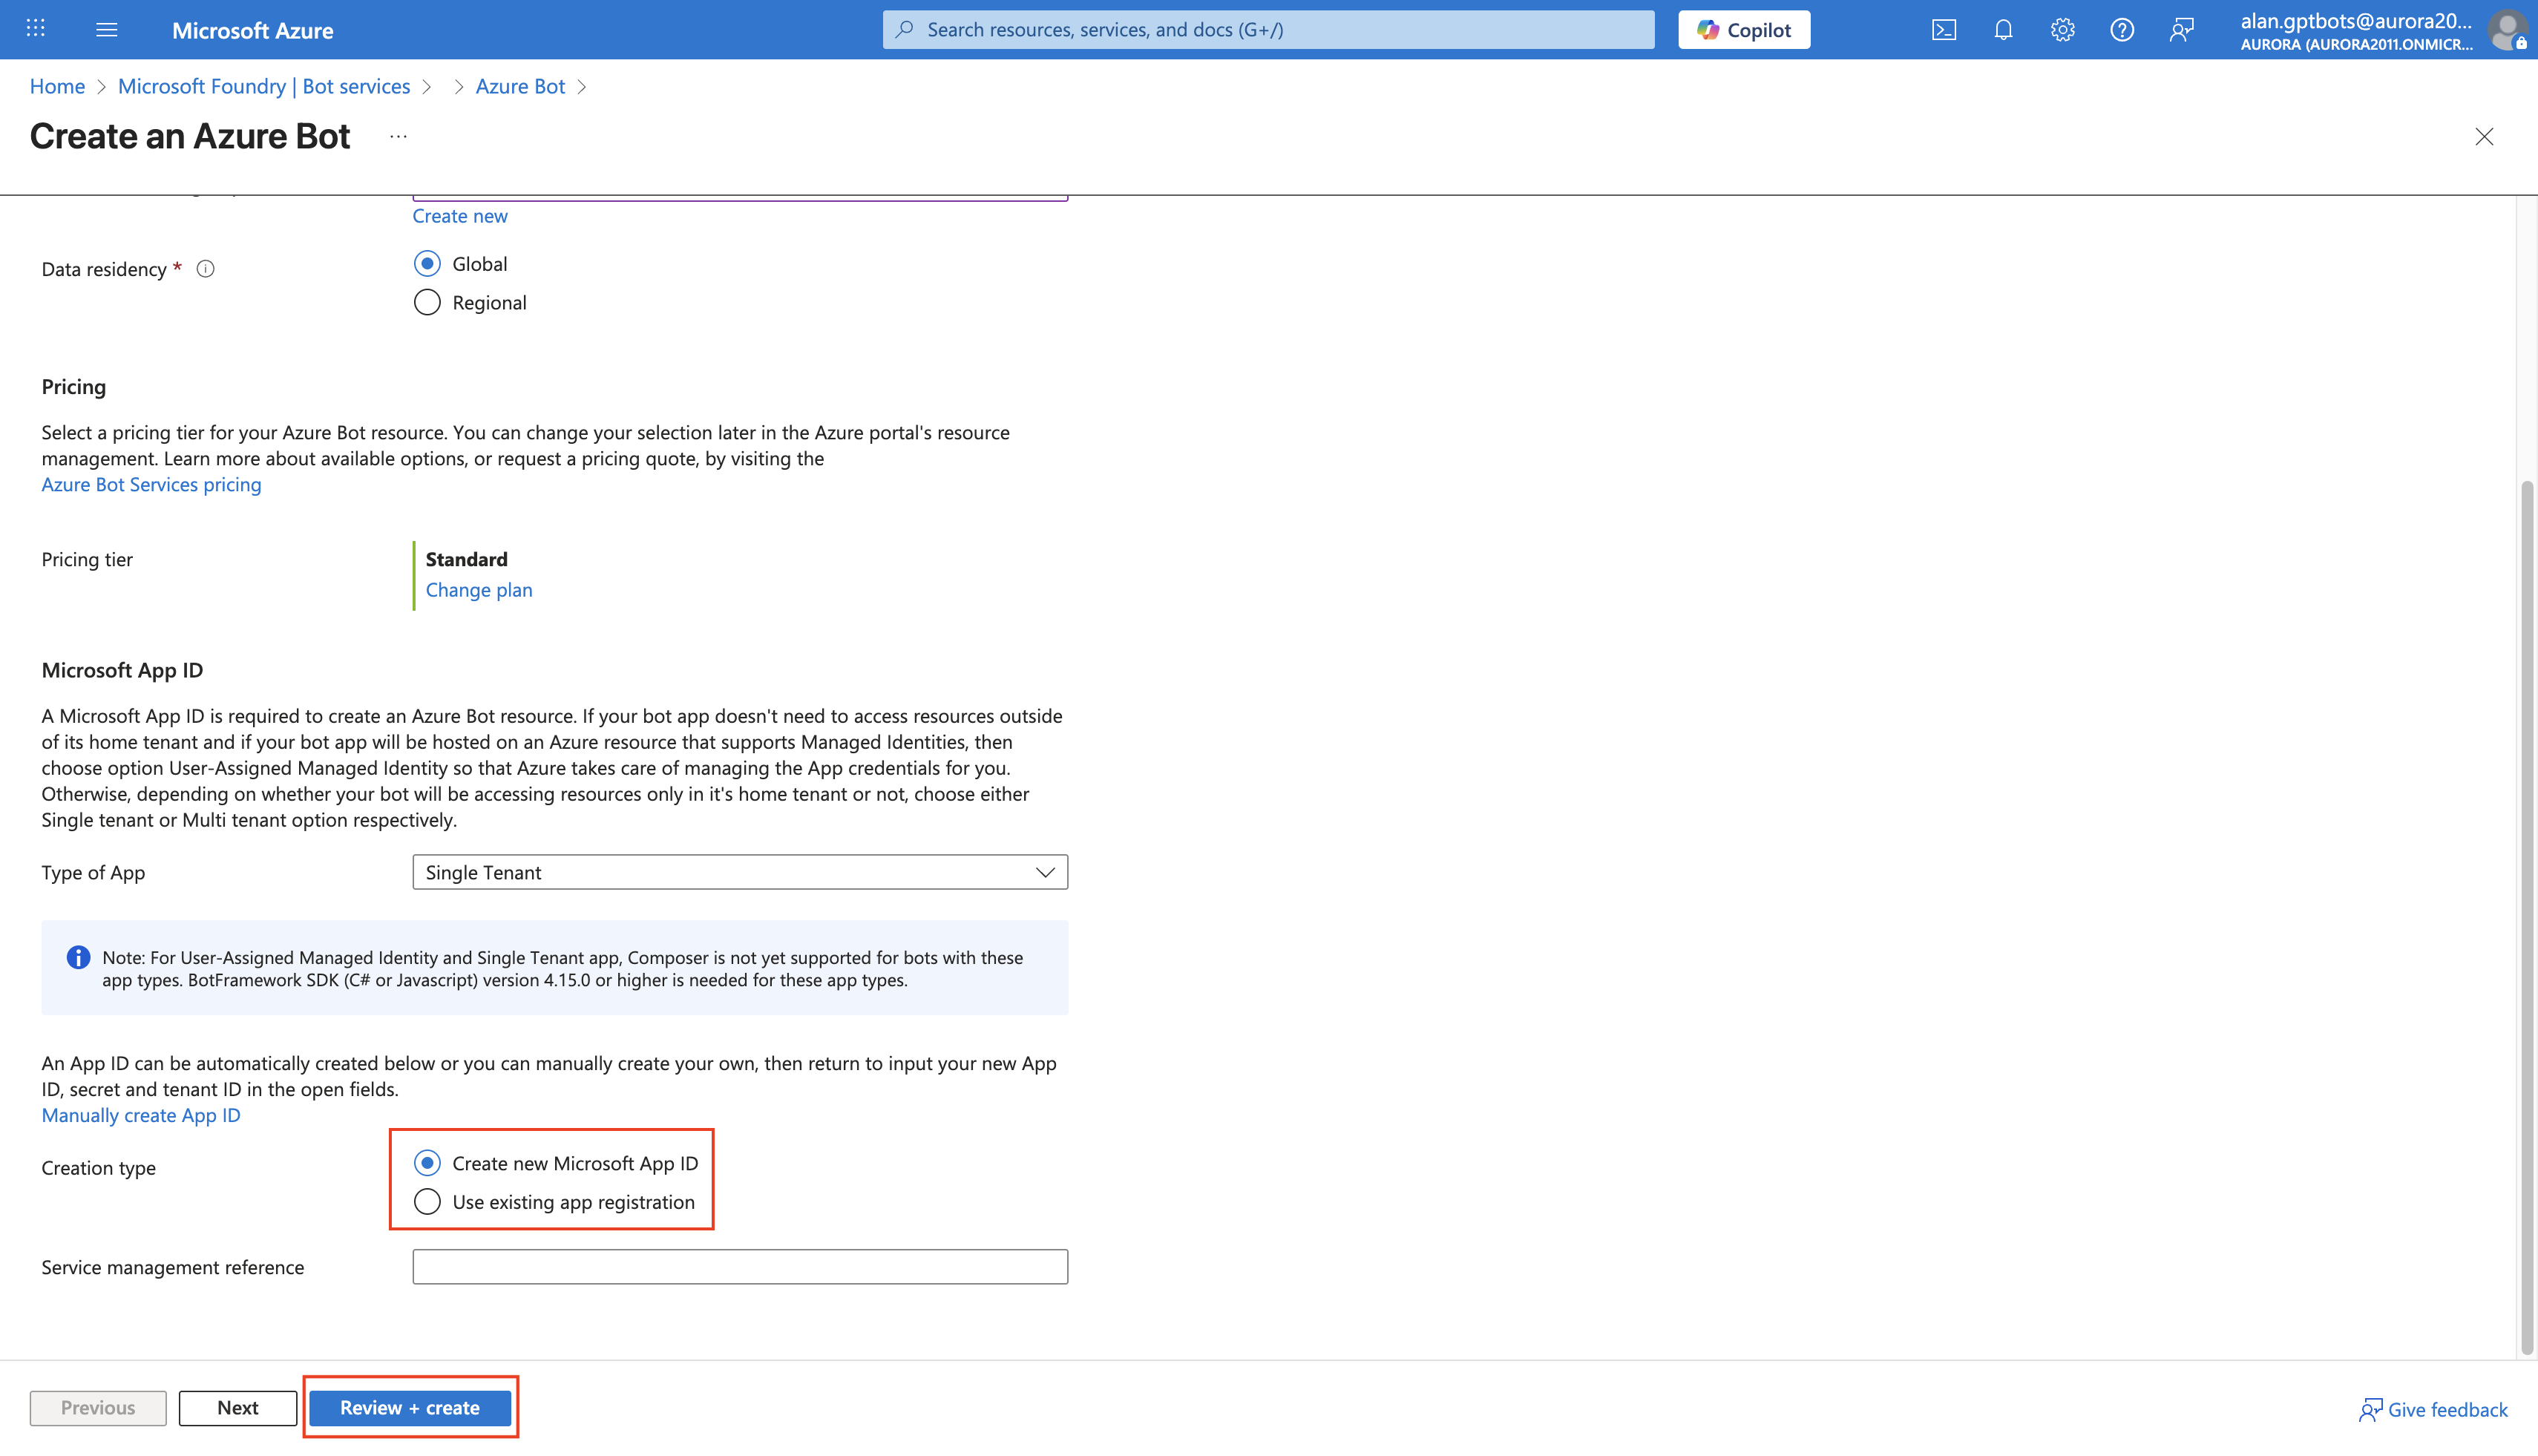


Switch to GPTBots, turn on the Teams toggle in the Agent integration interface, then click Manage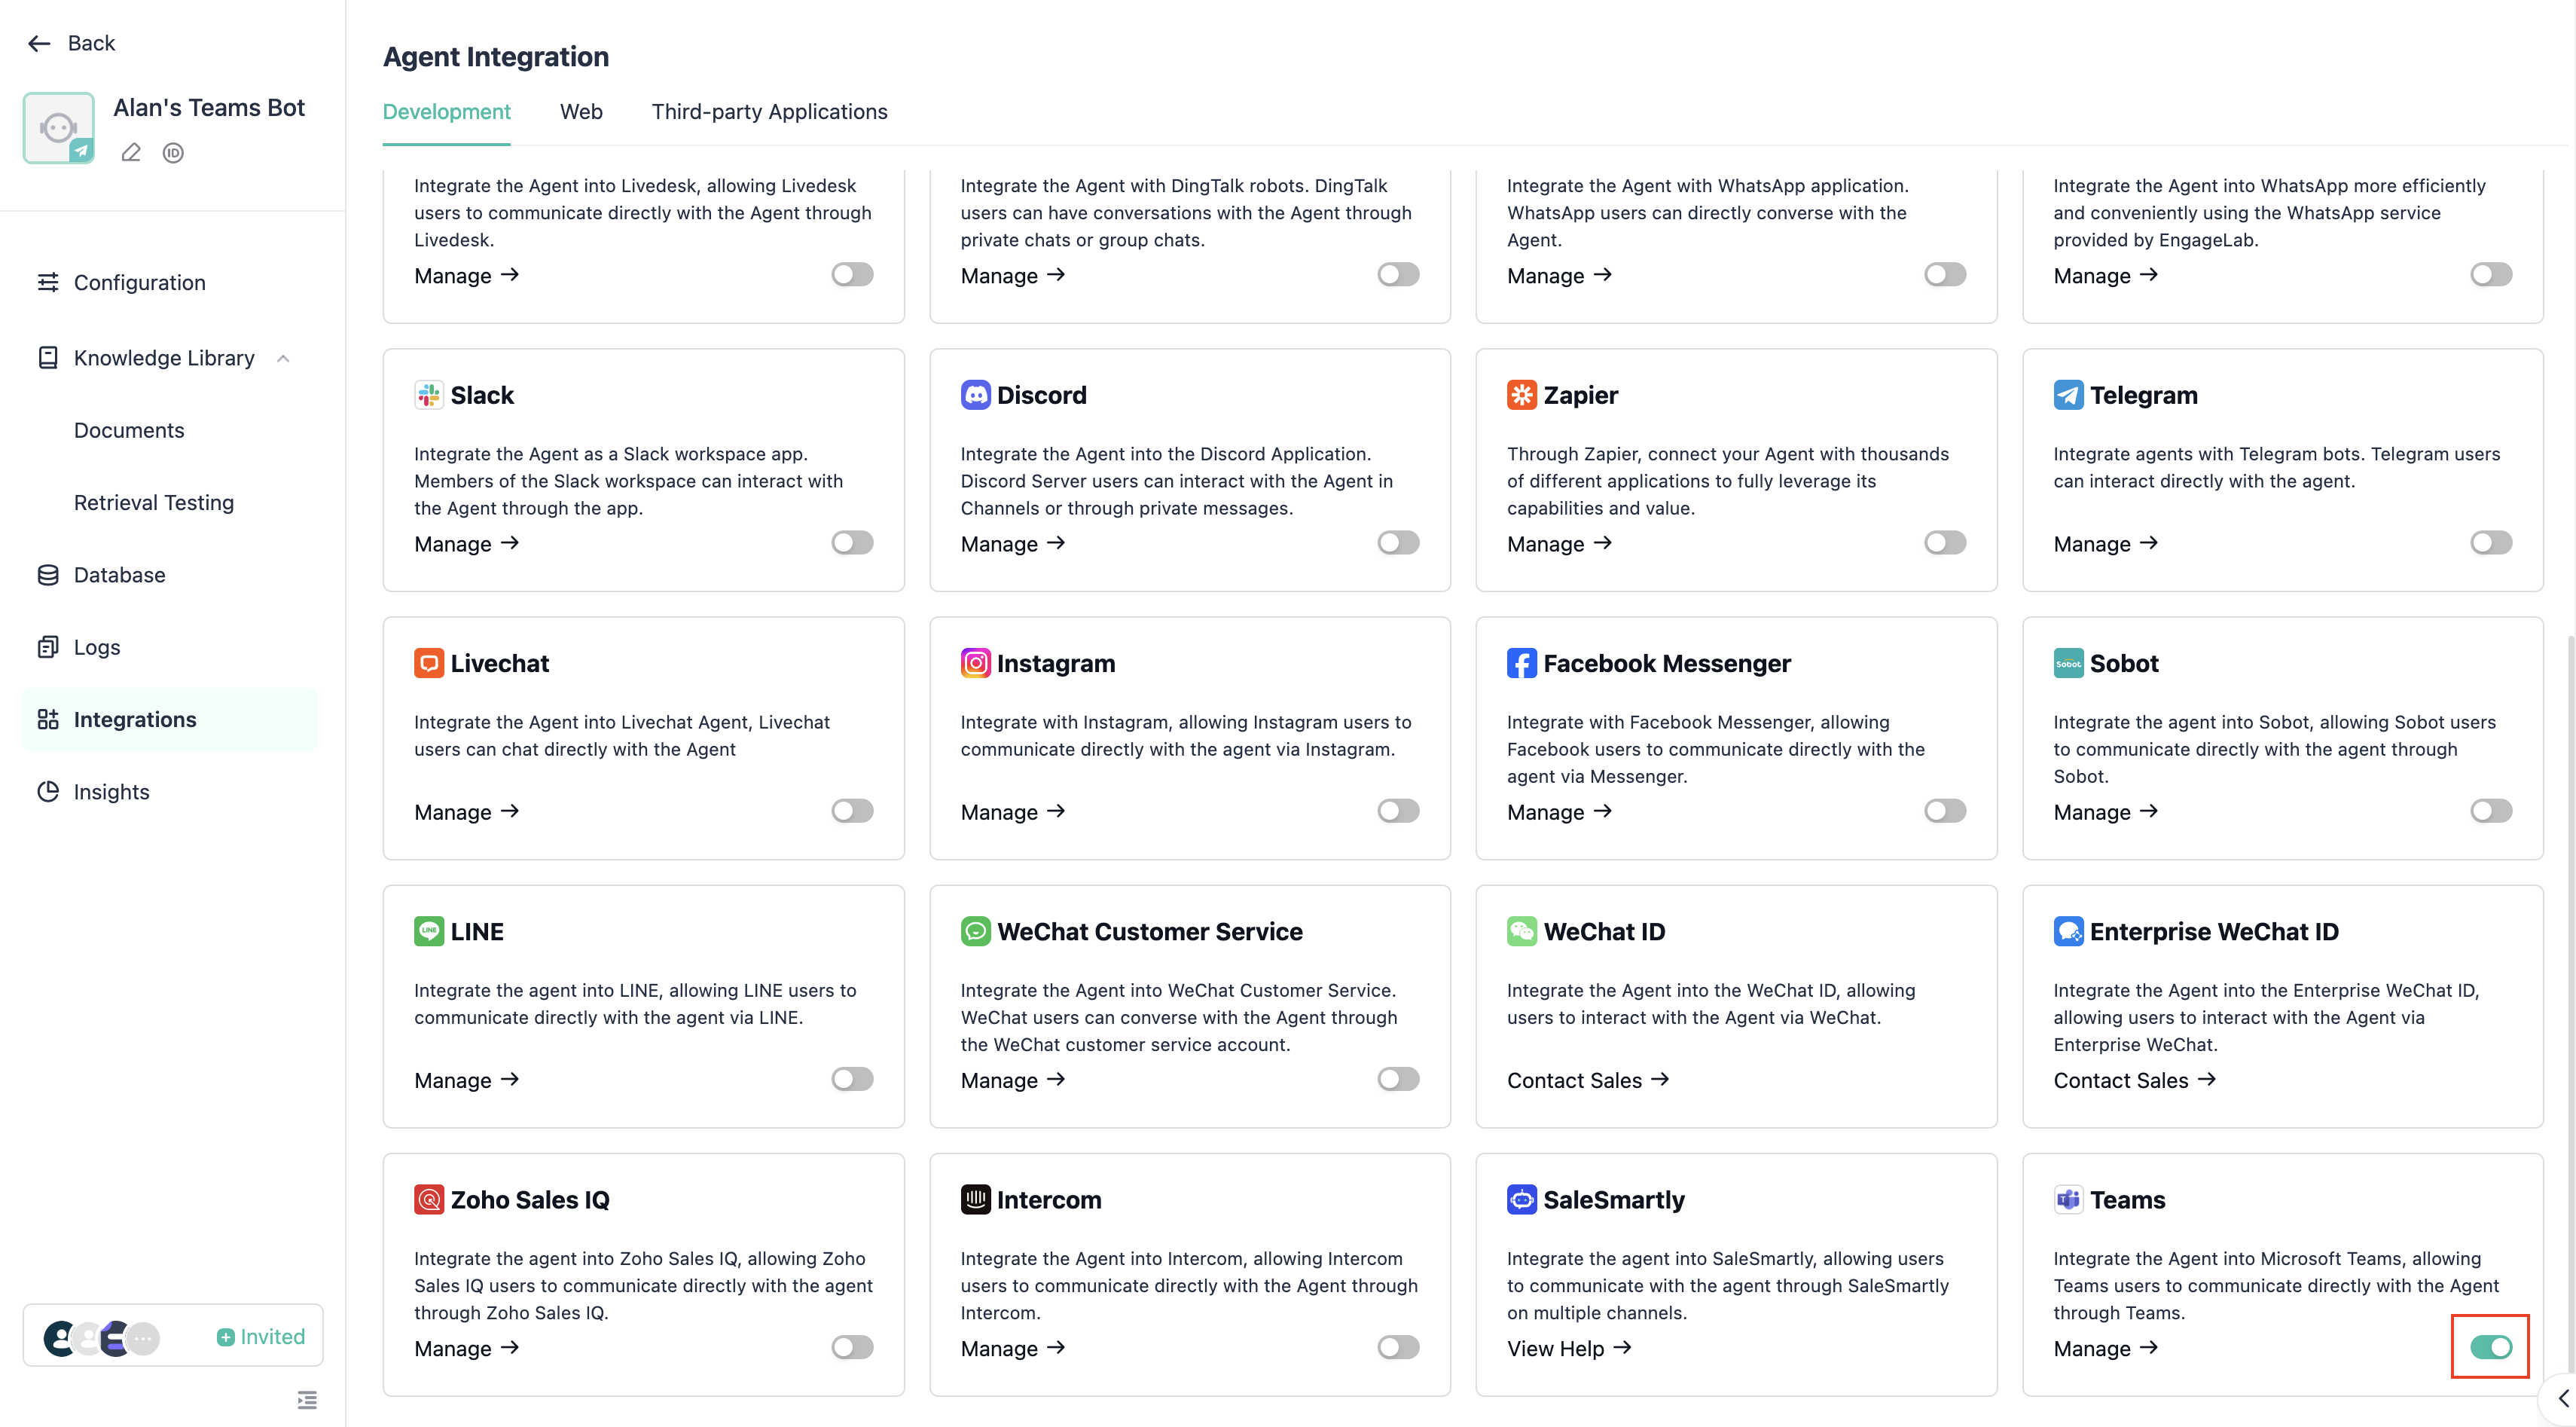
Copy the webhook, then return to Microsoft Azure
Paste it into Messaging endpoint and check Enable Streaming Endpoint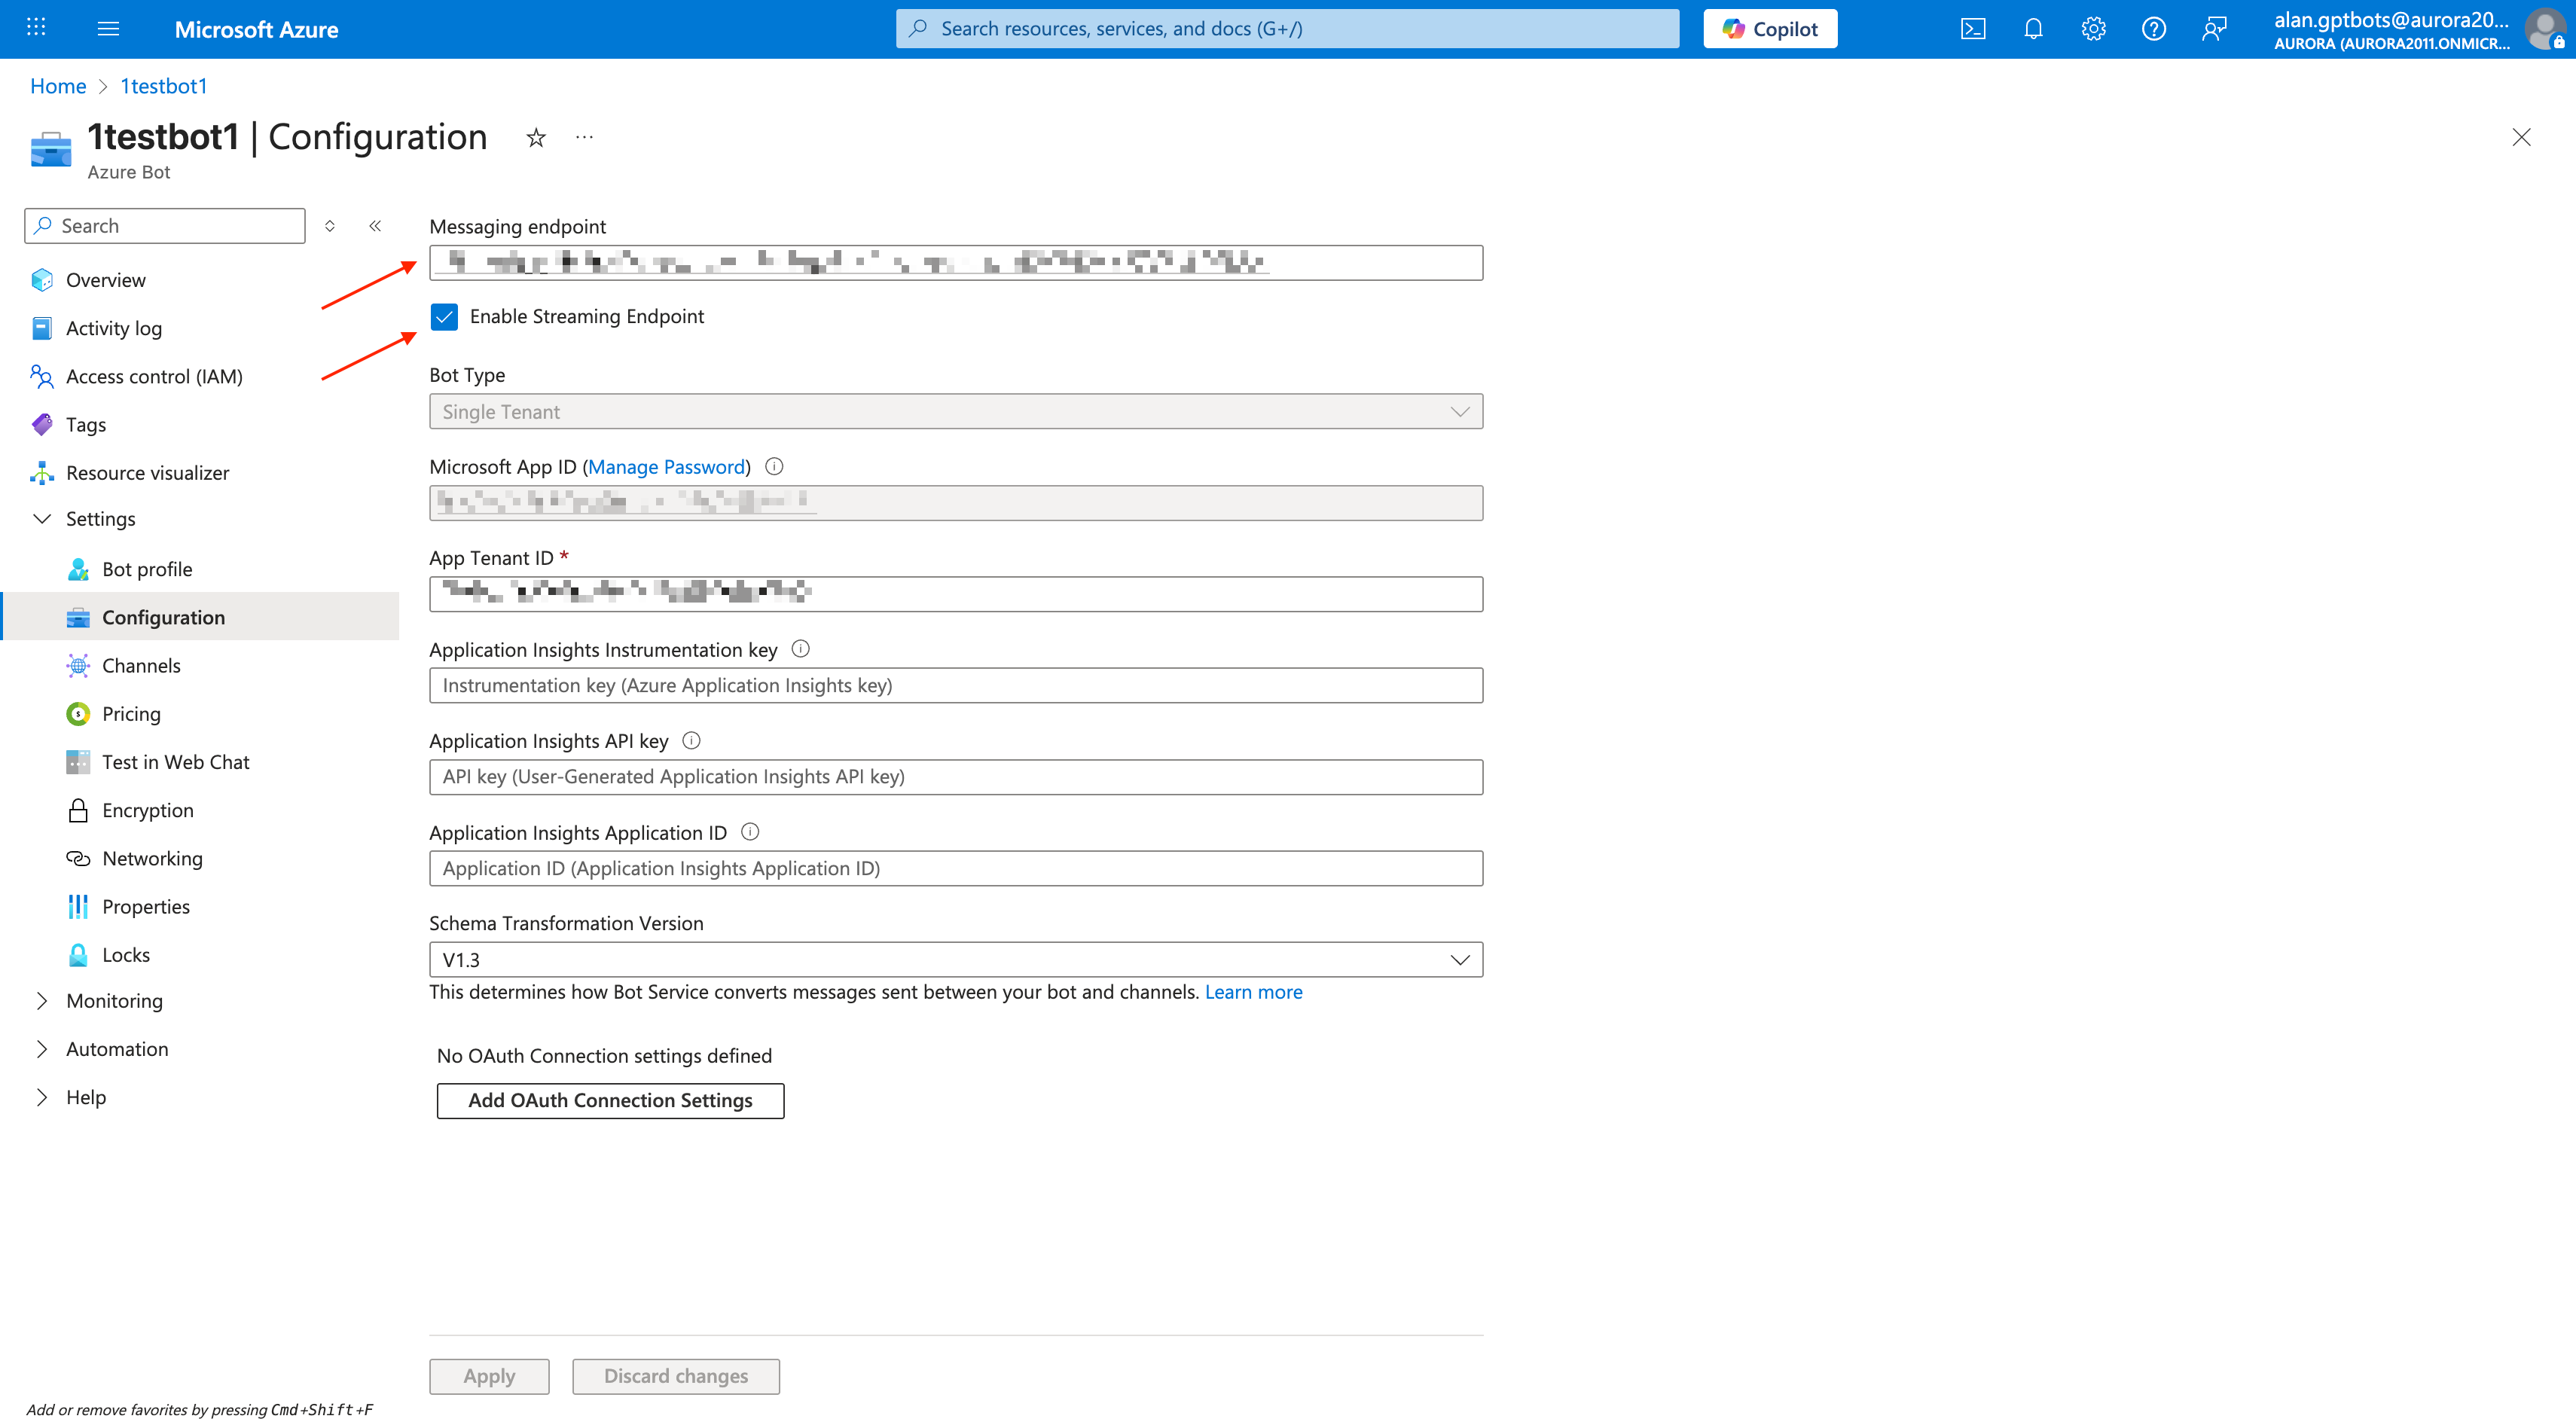
Copy the Microsoft App ID and App Tenant ID for later use in GPTBots configuration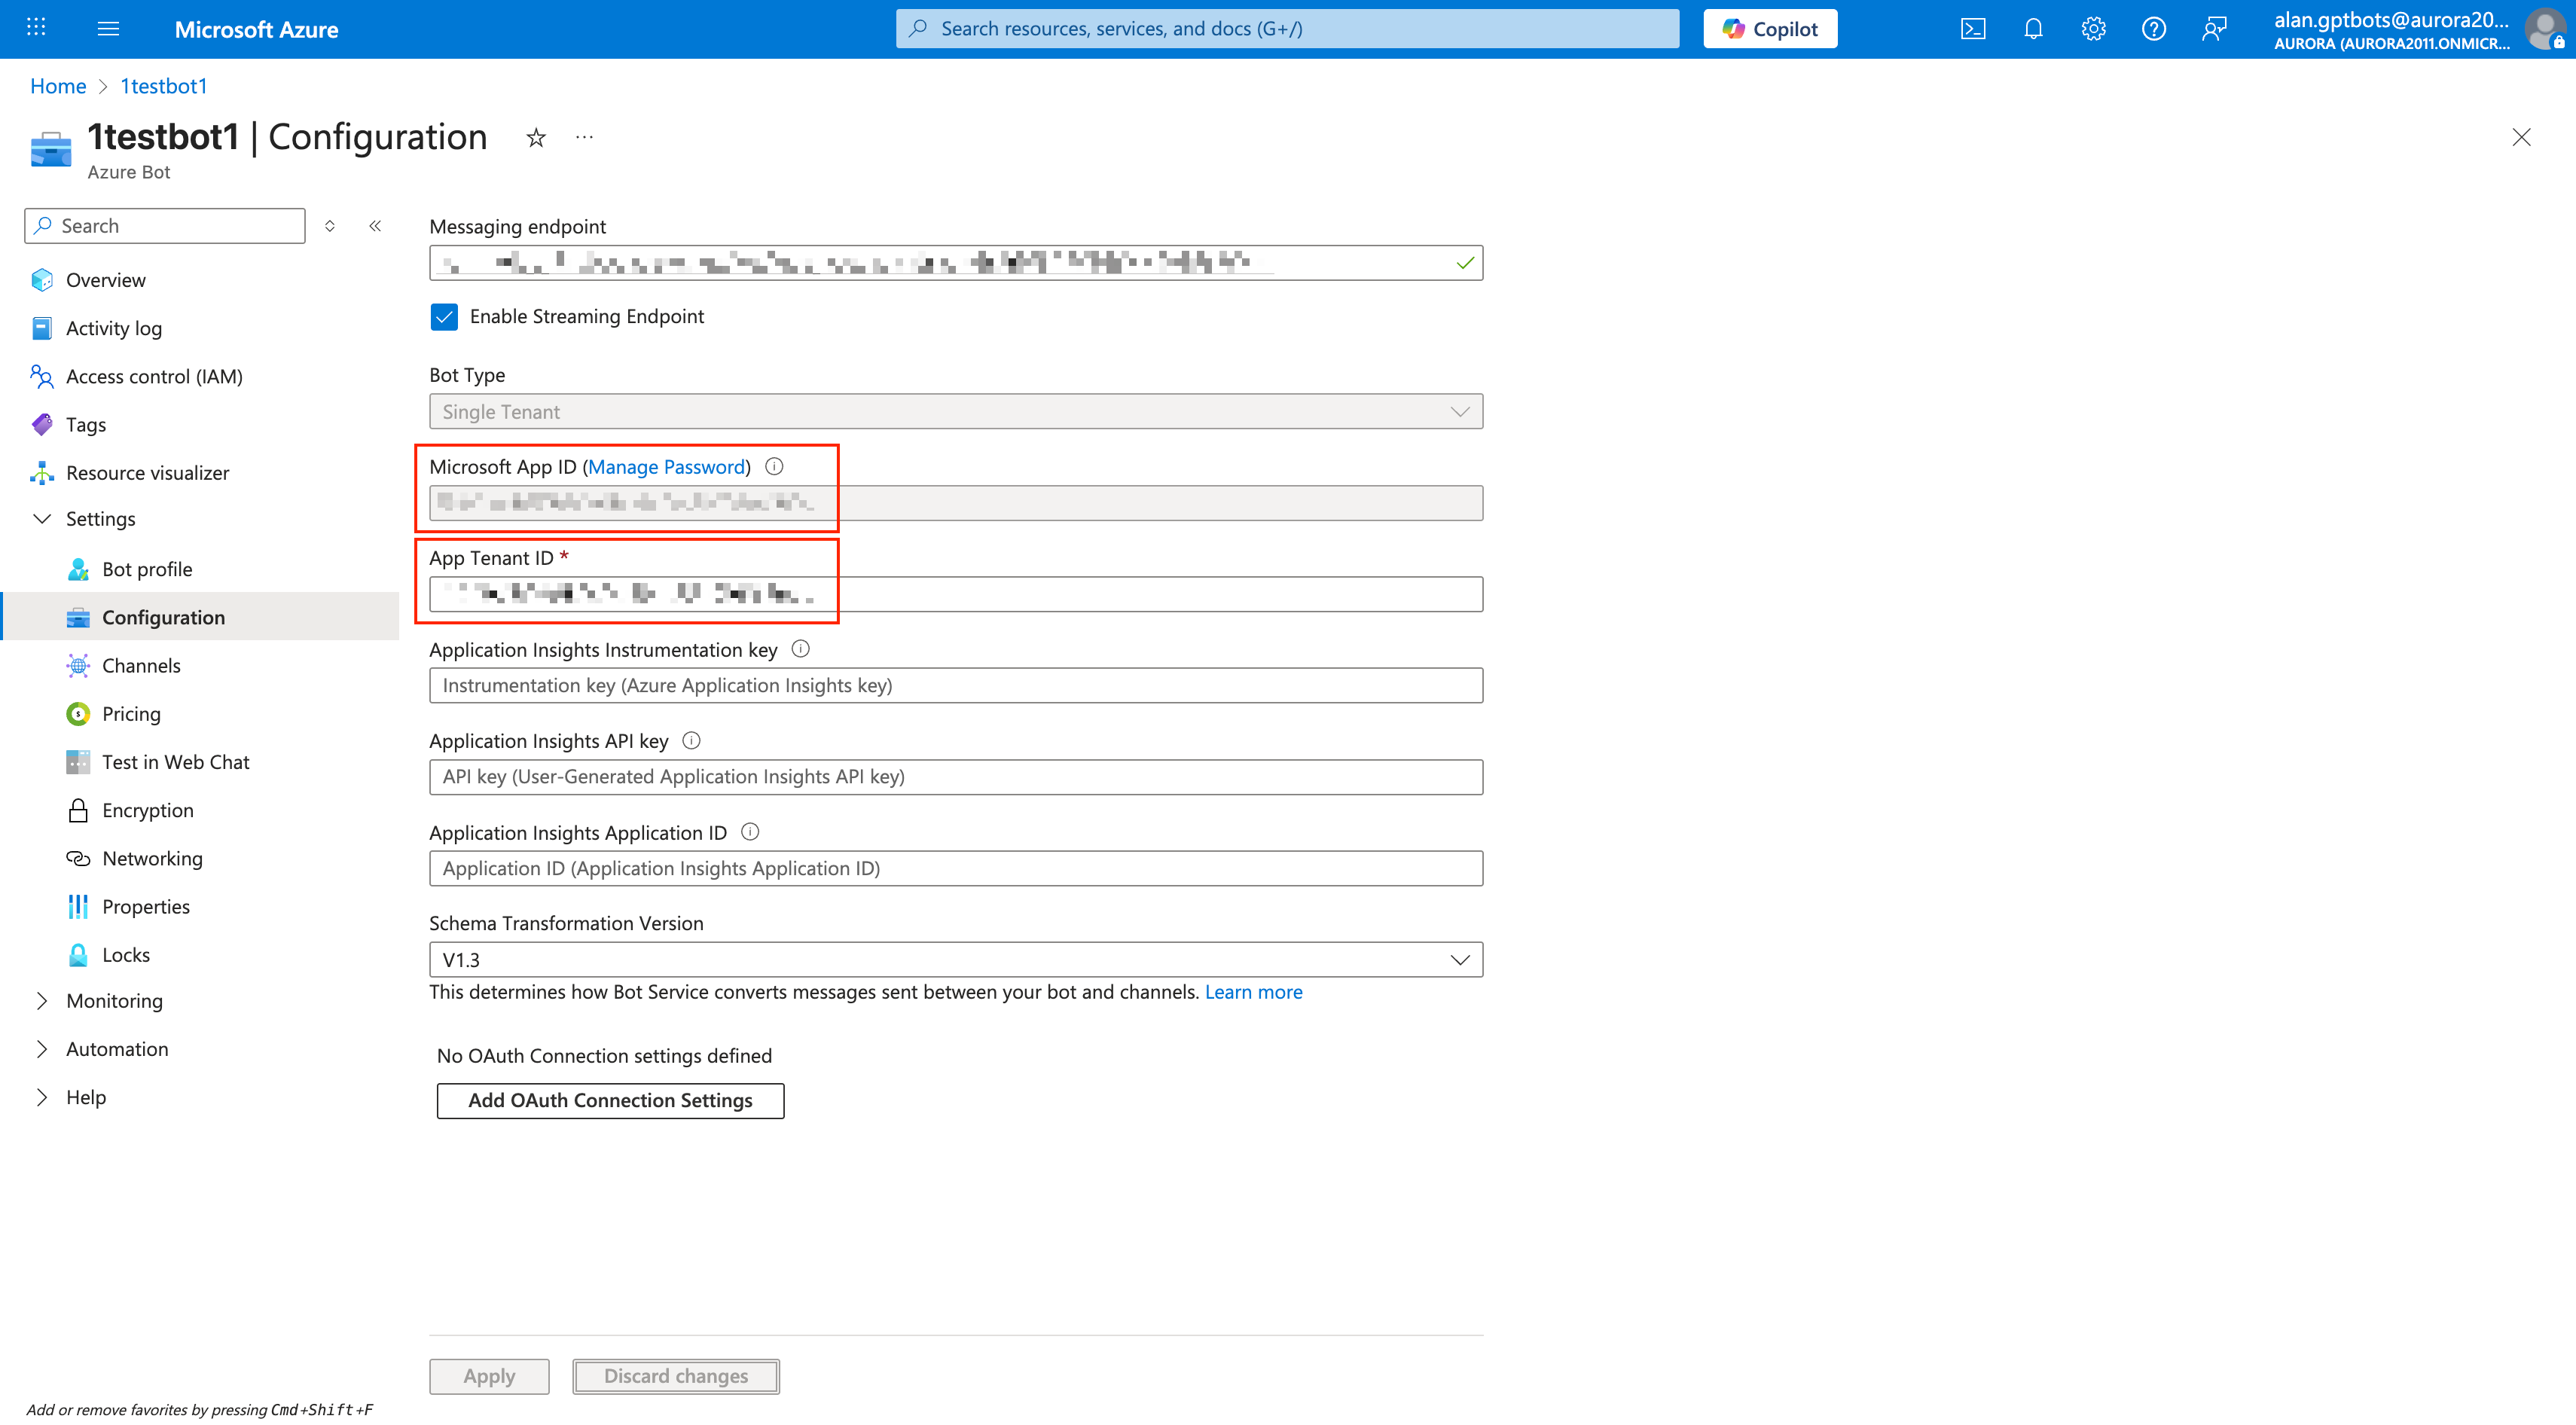
Click Manage Password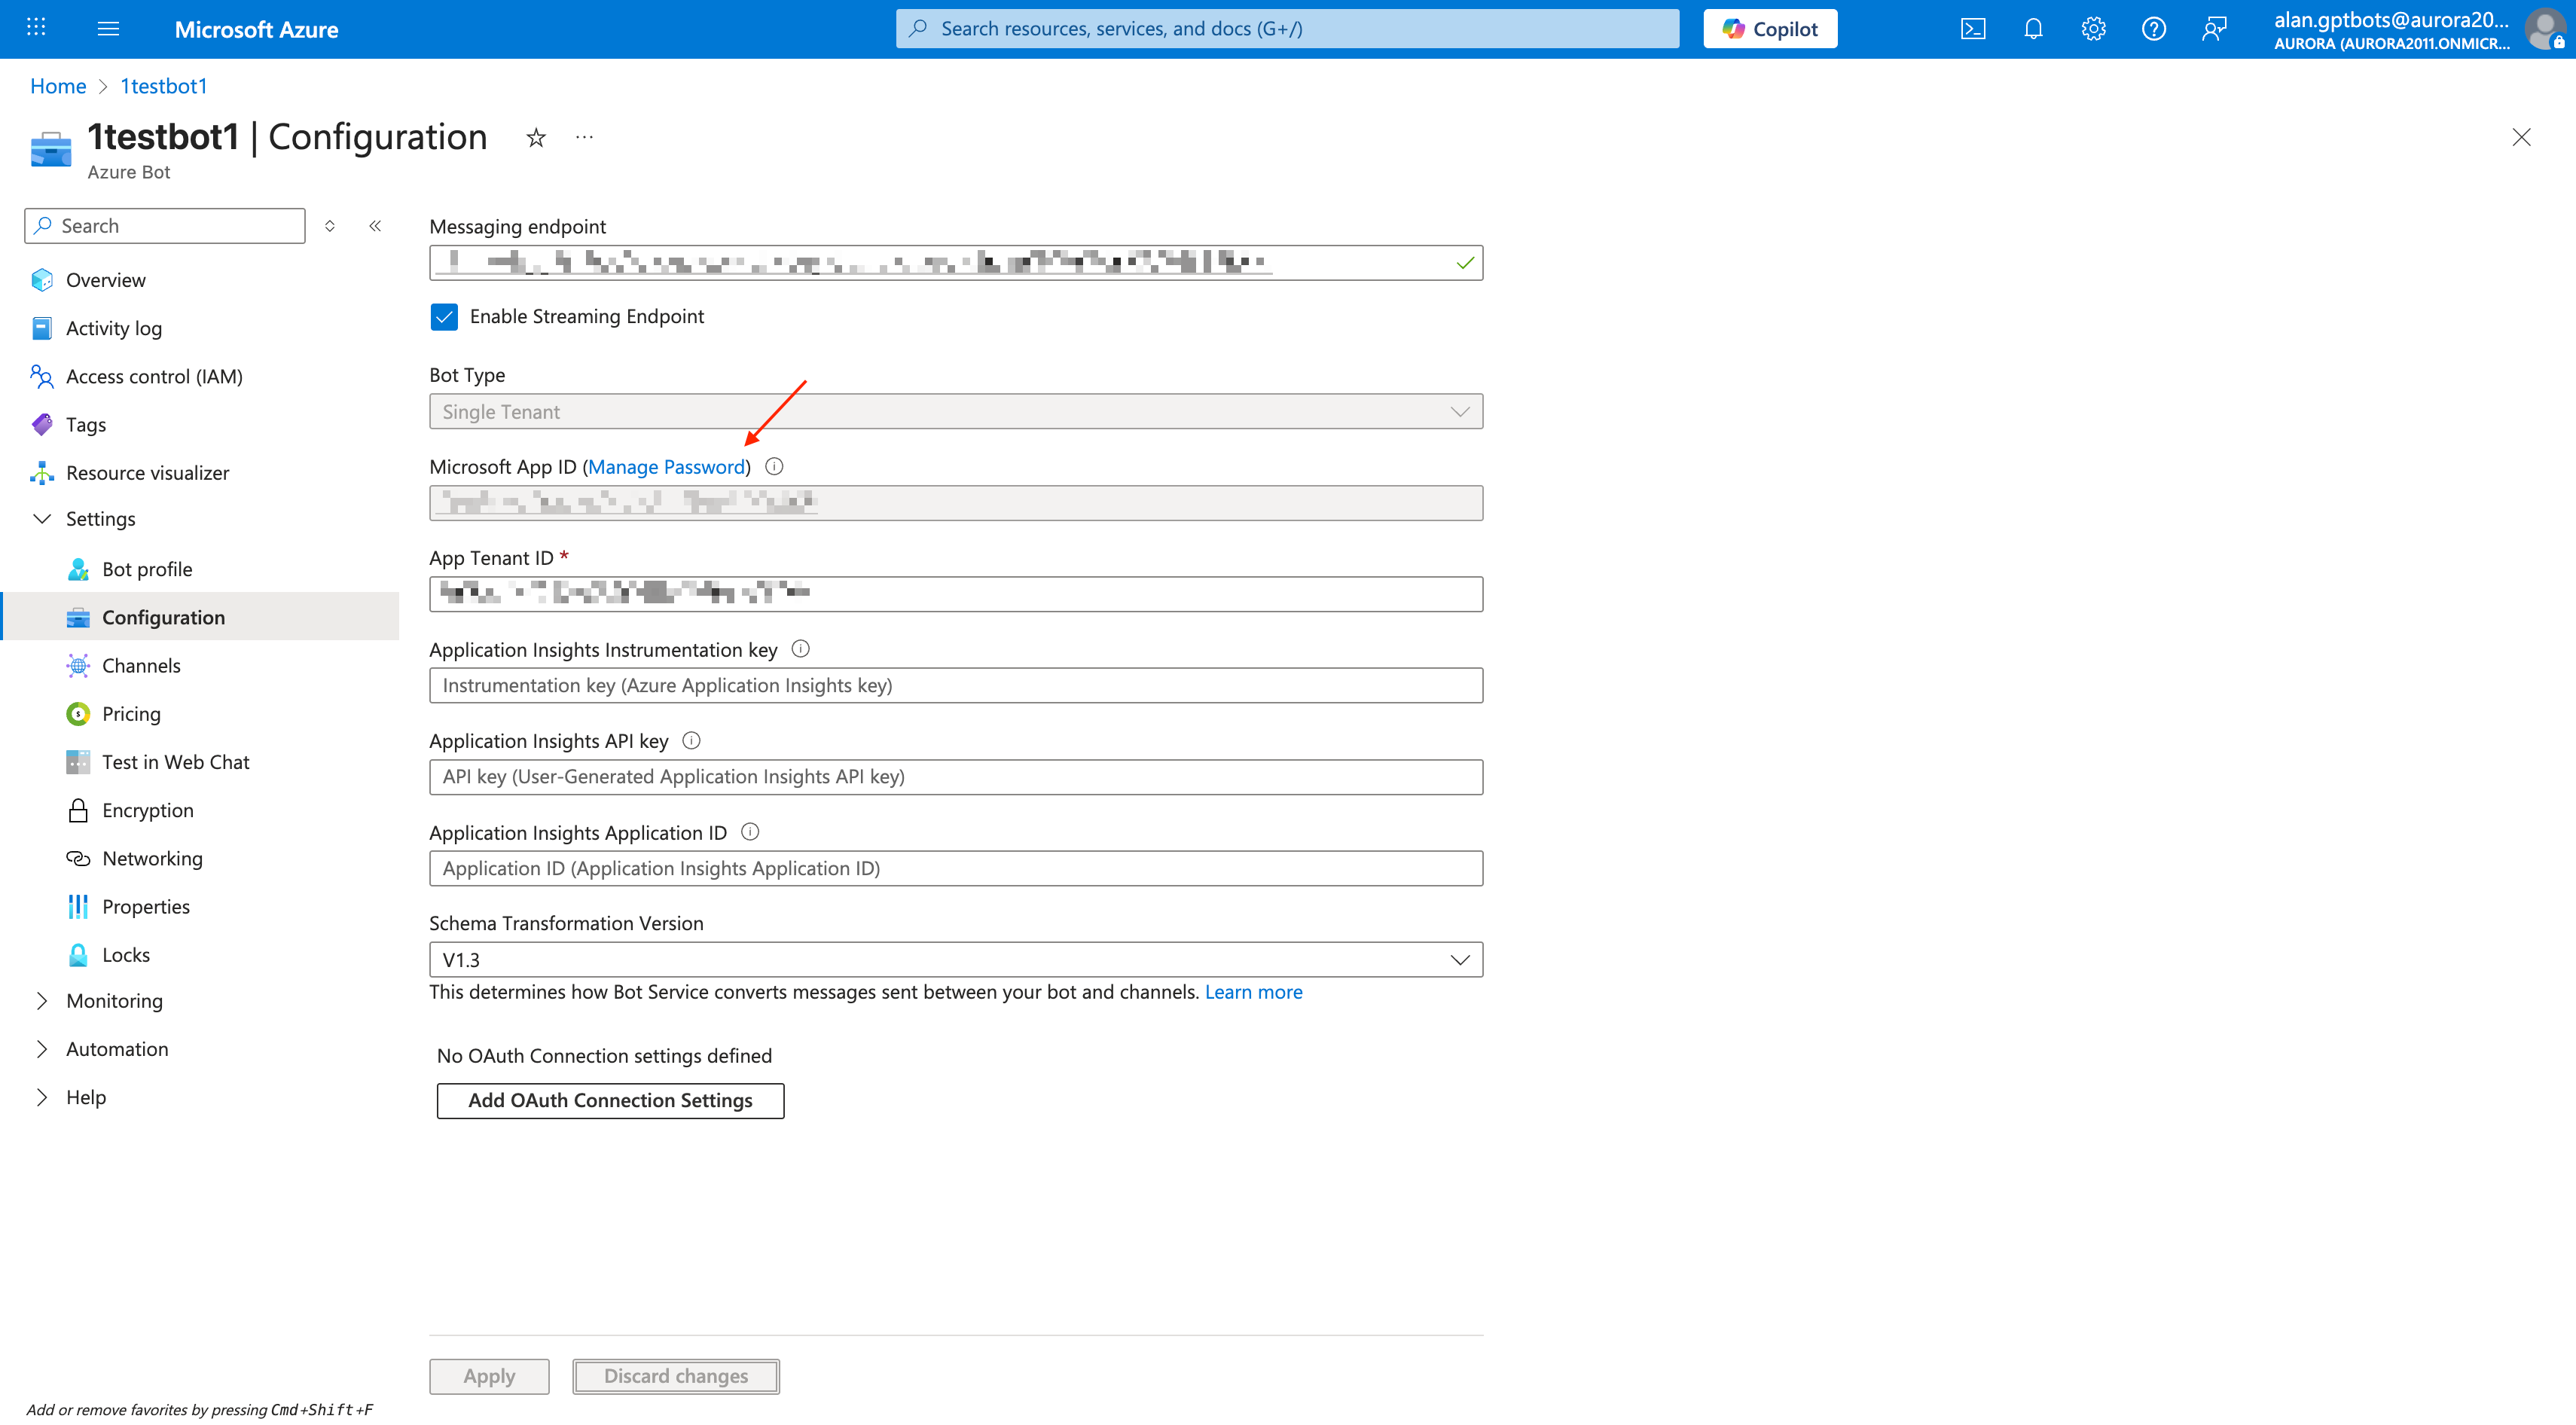
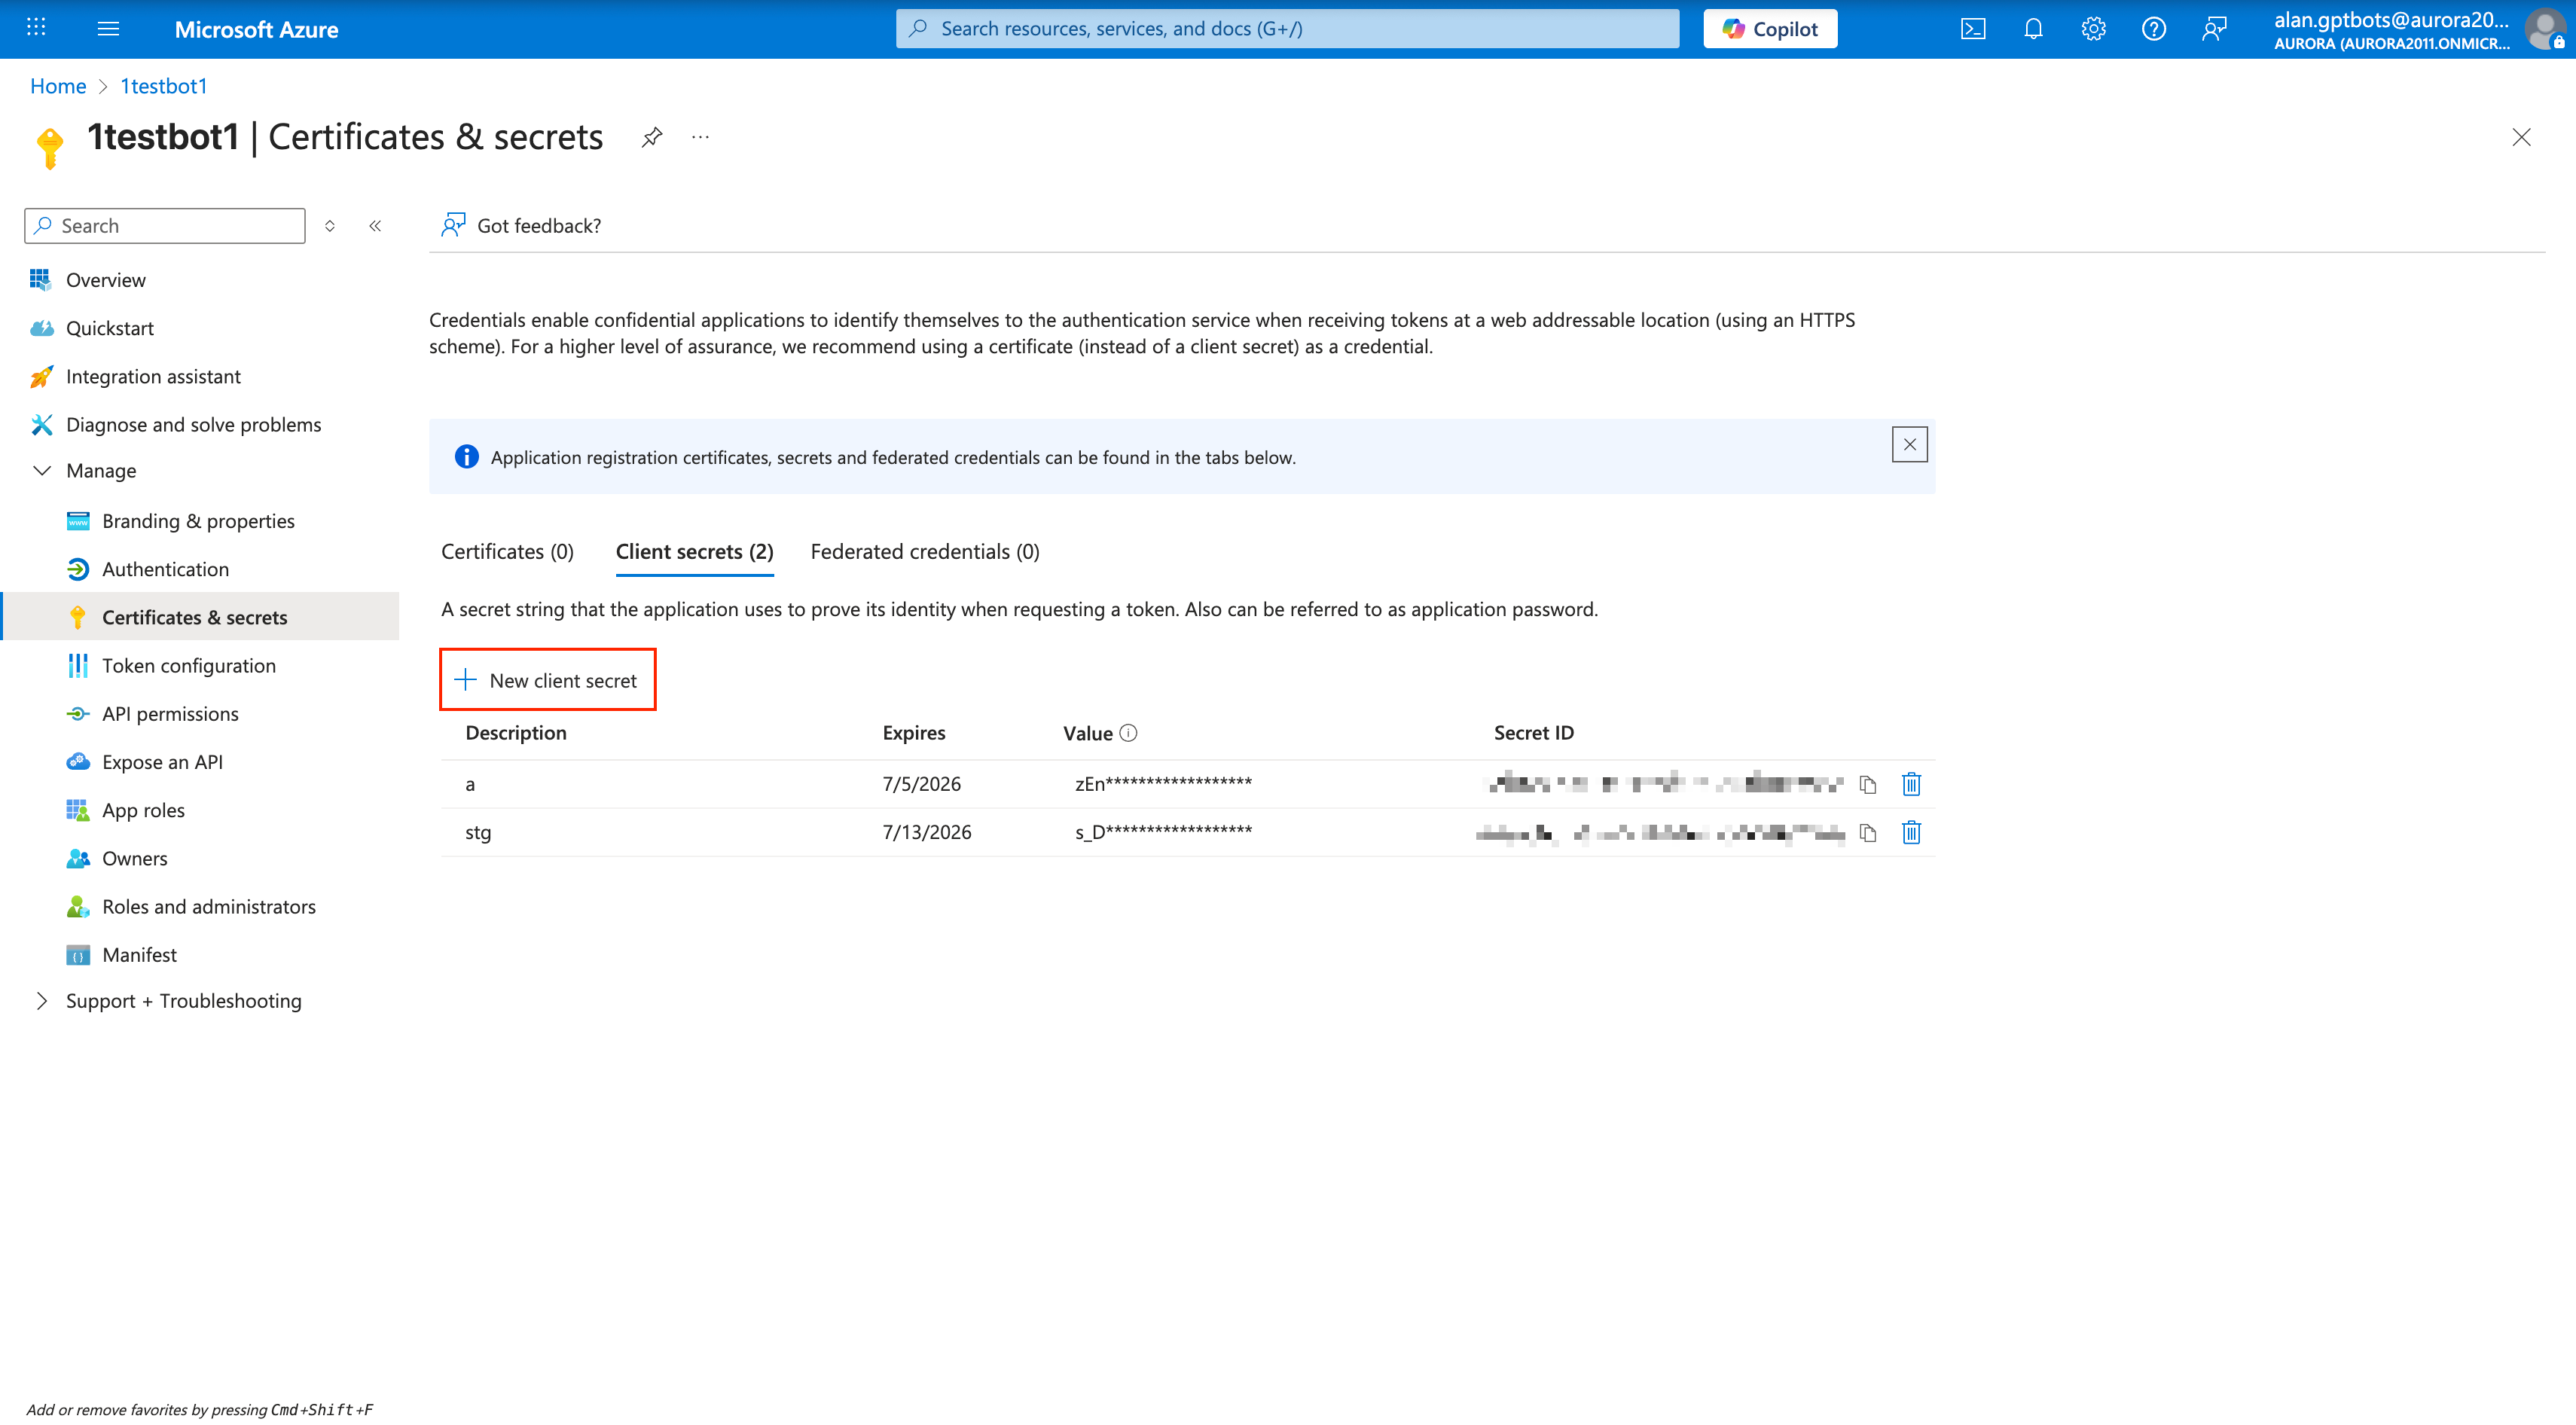
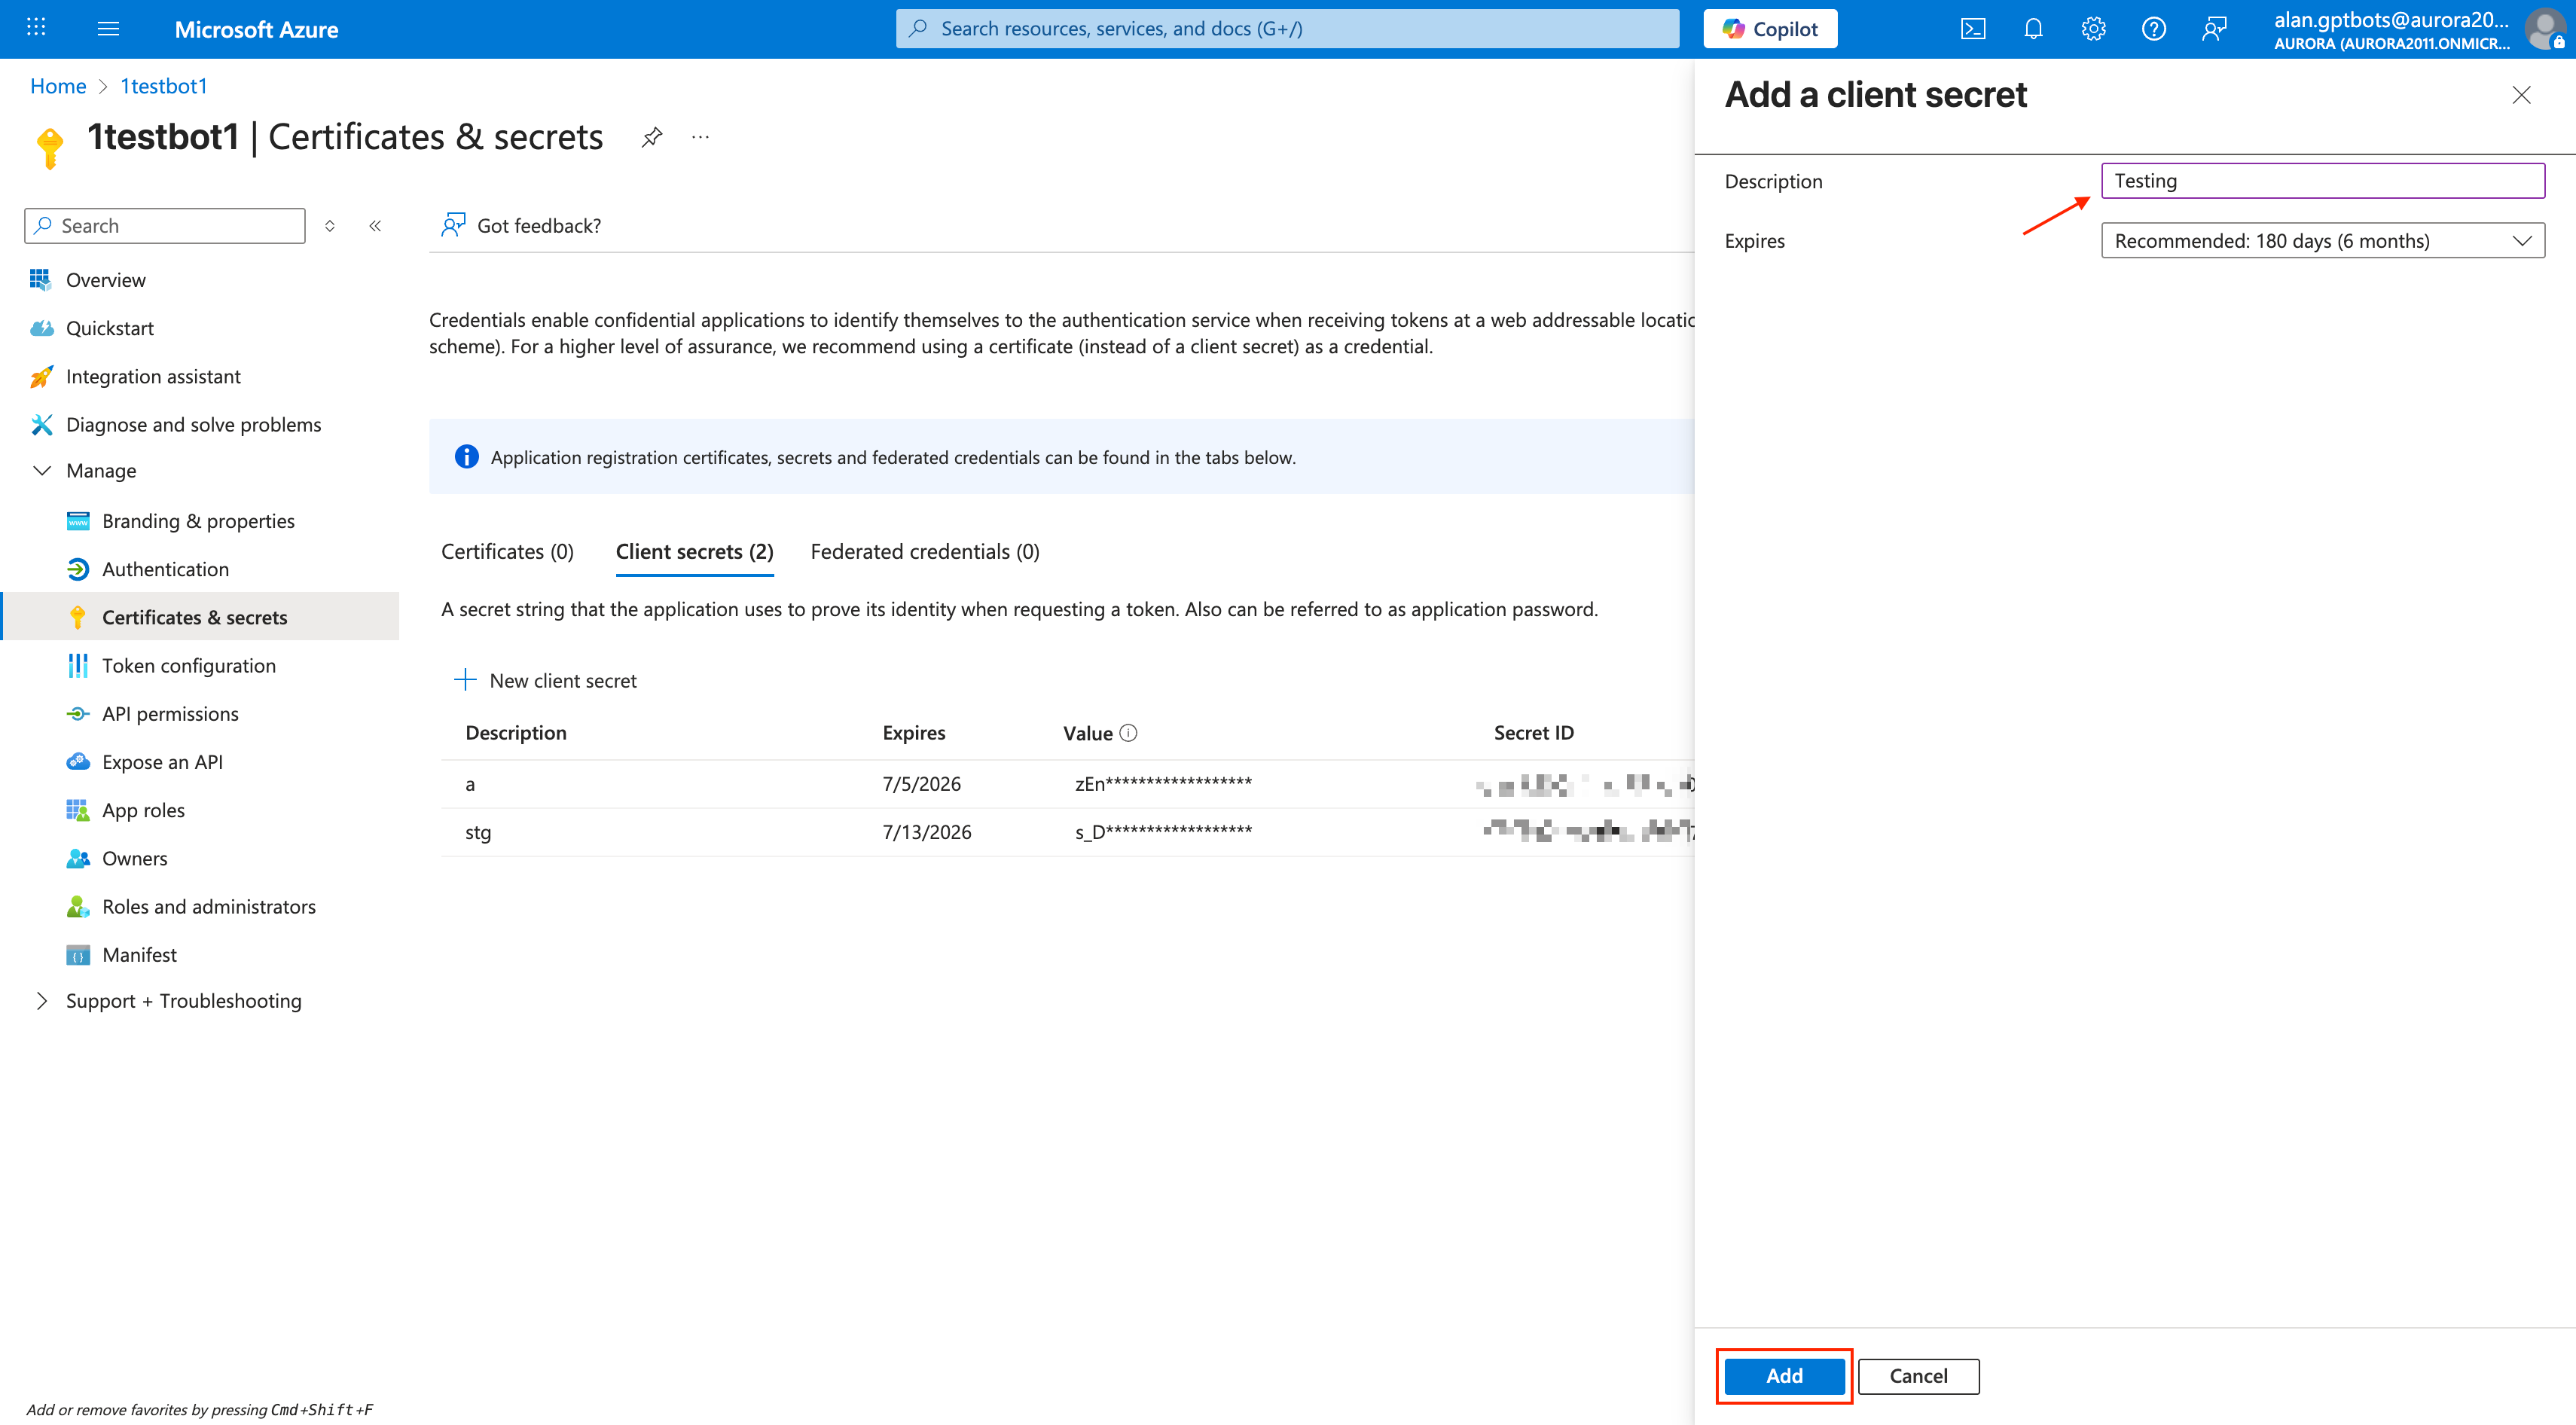
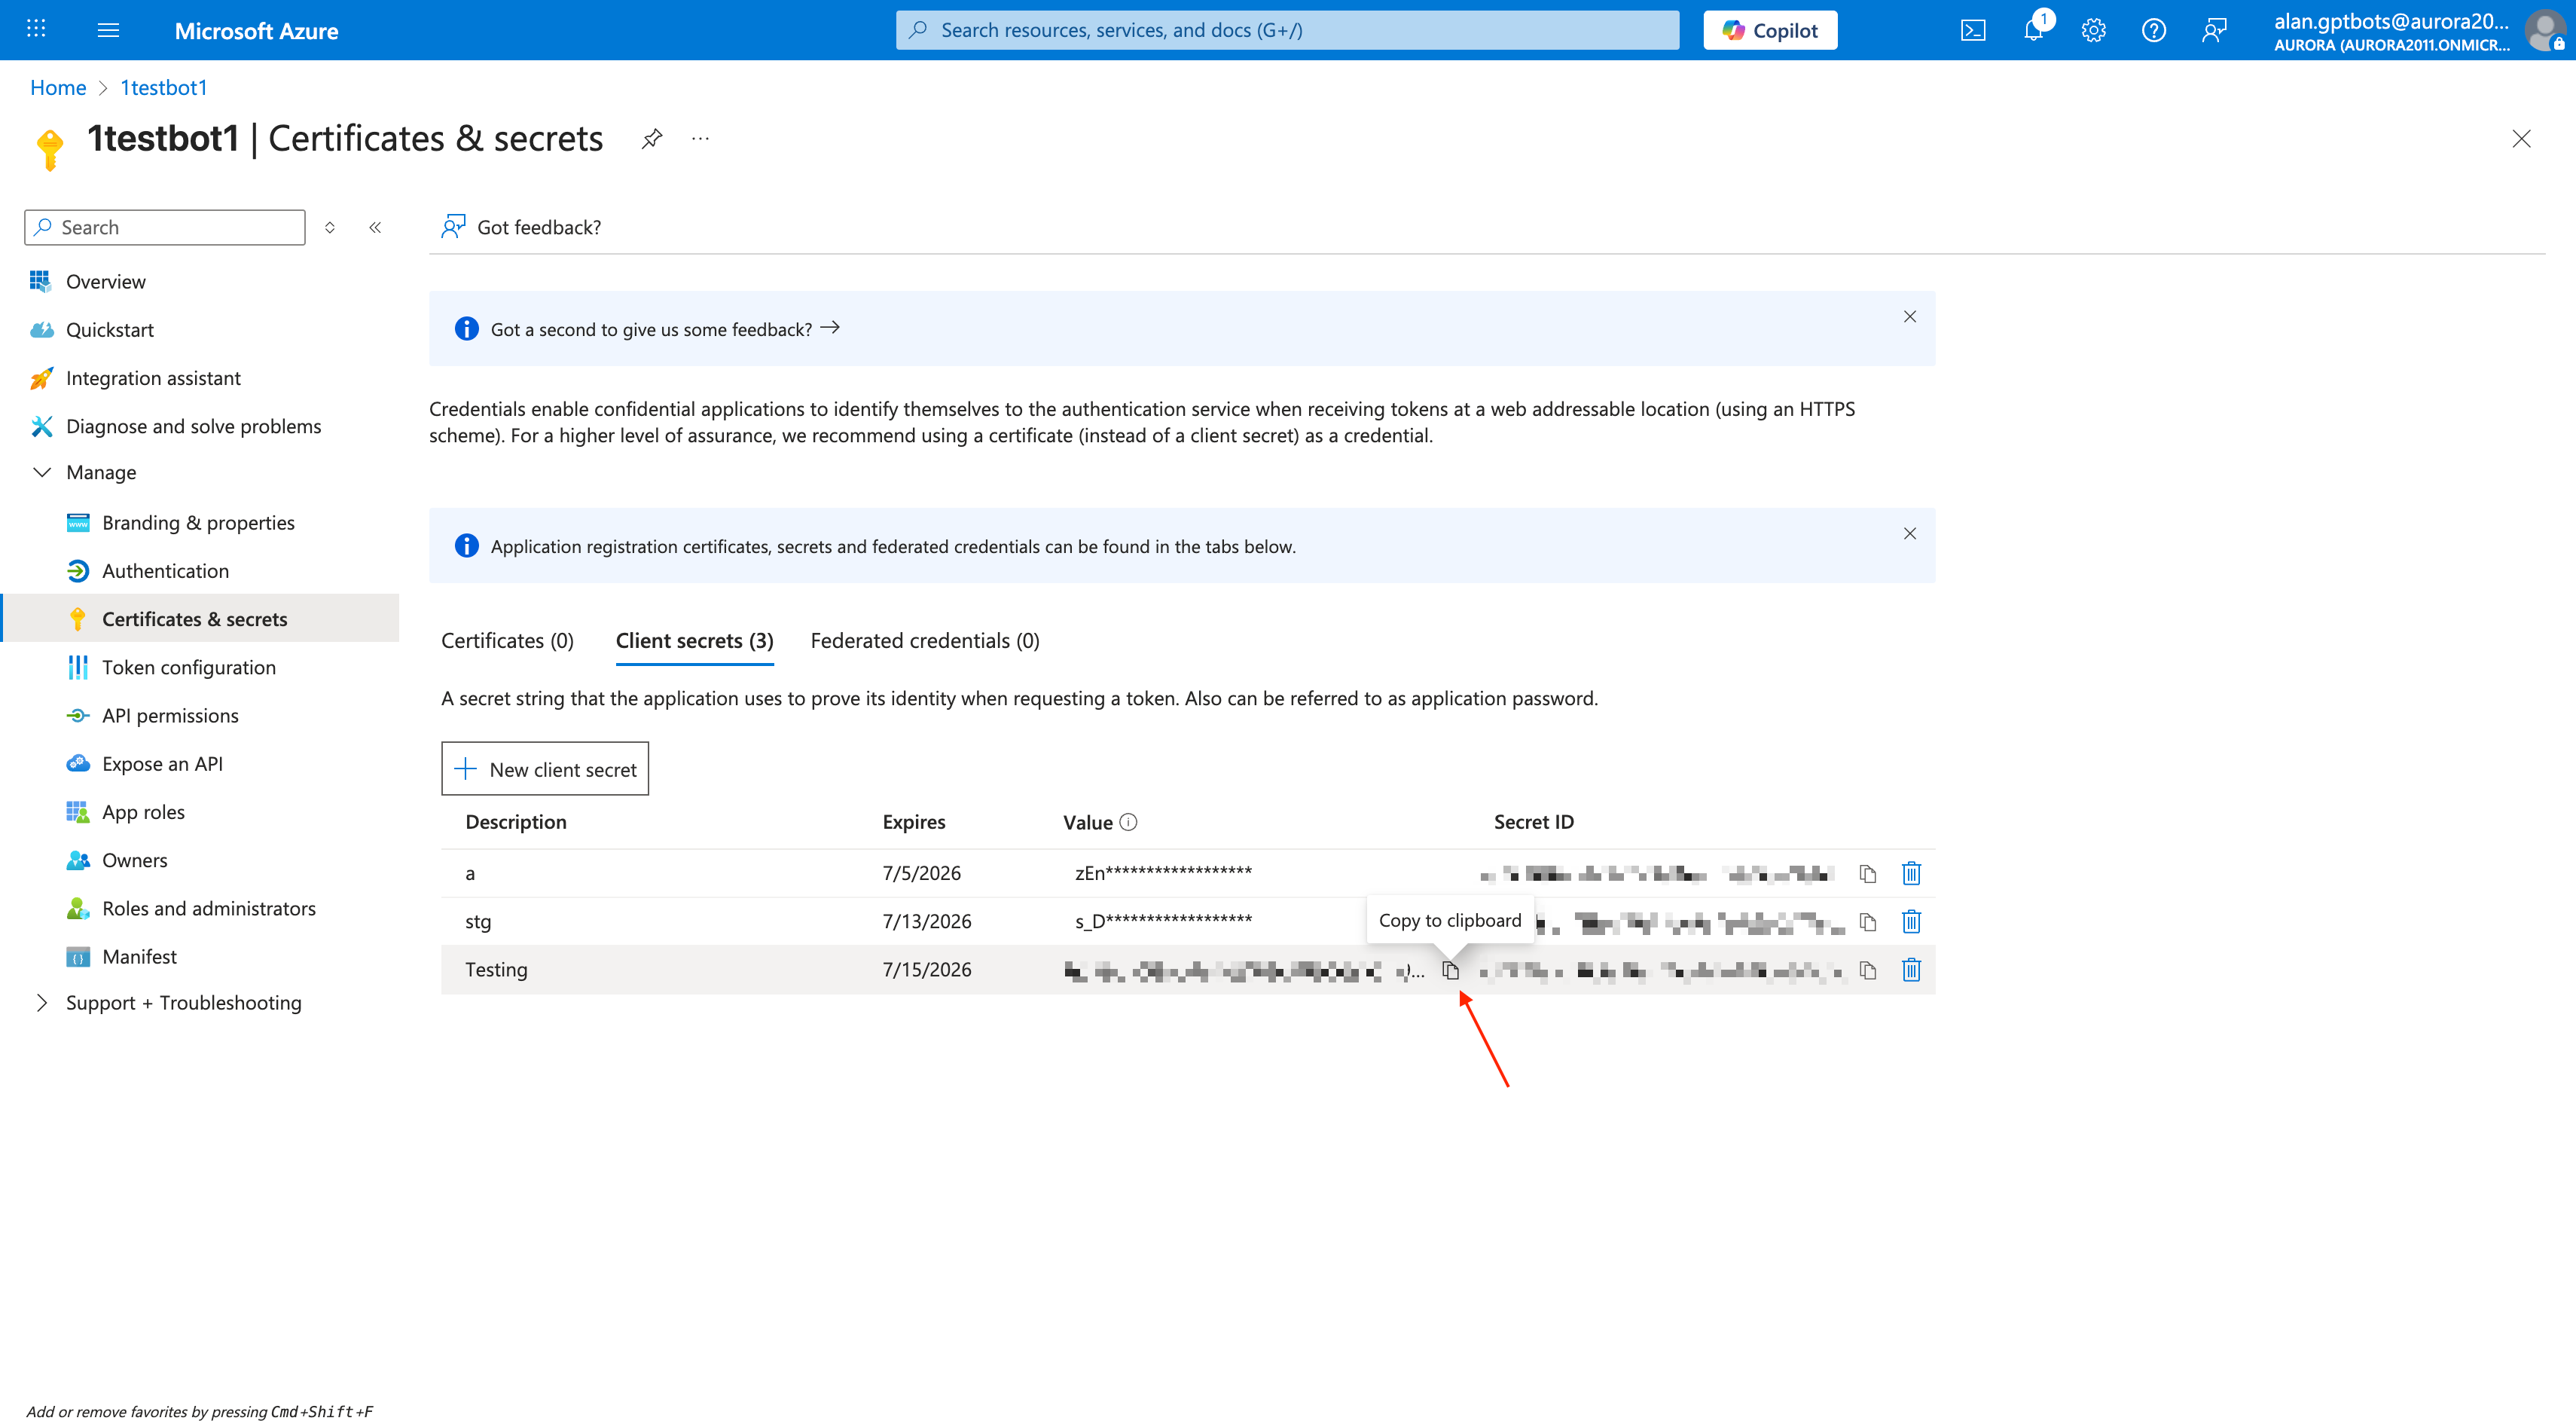
Copy the Value field for later use in GPTBots configuration (APP-Password).
Note: Please save this value securely; it will not be fully displayed again once you leave this page.
Switch to GPTBots, click Add Azure Bot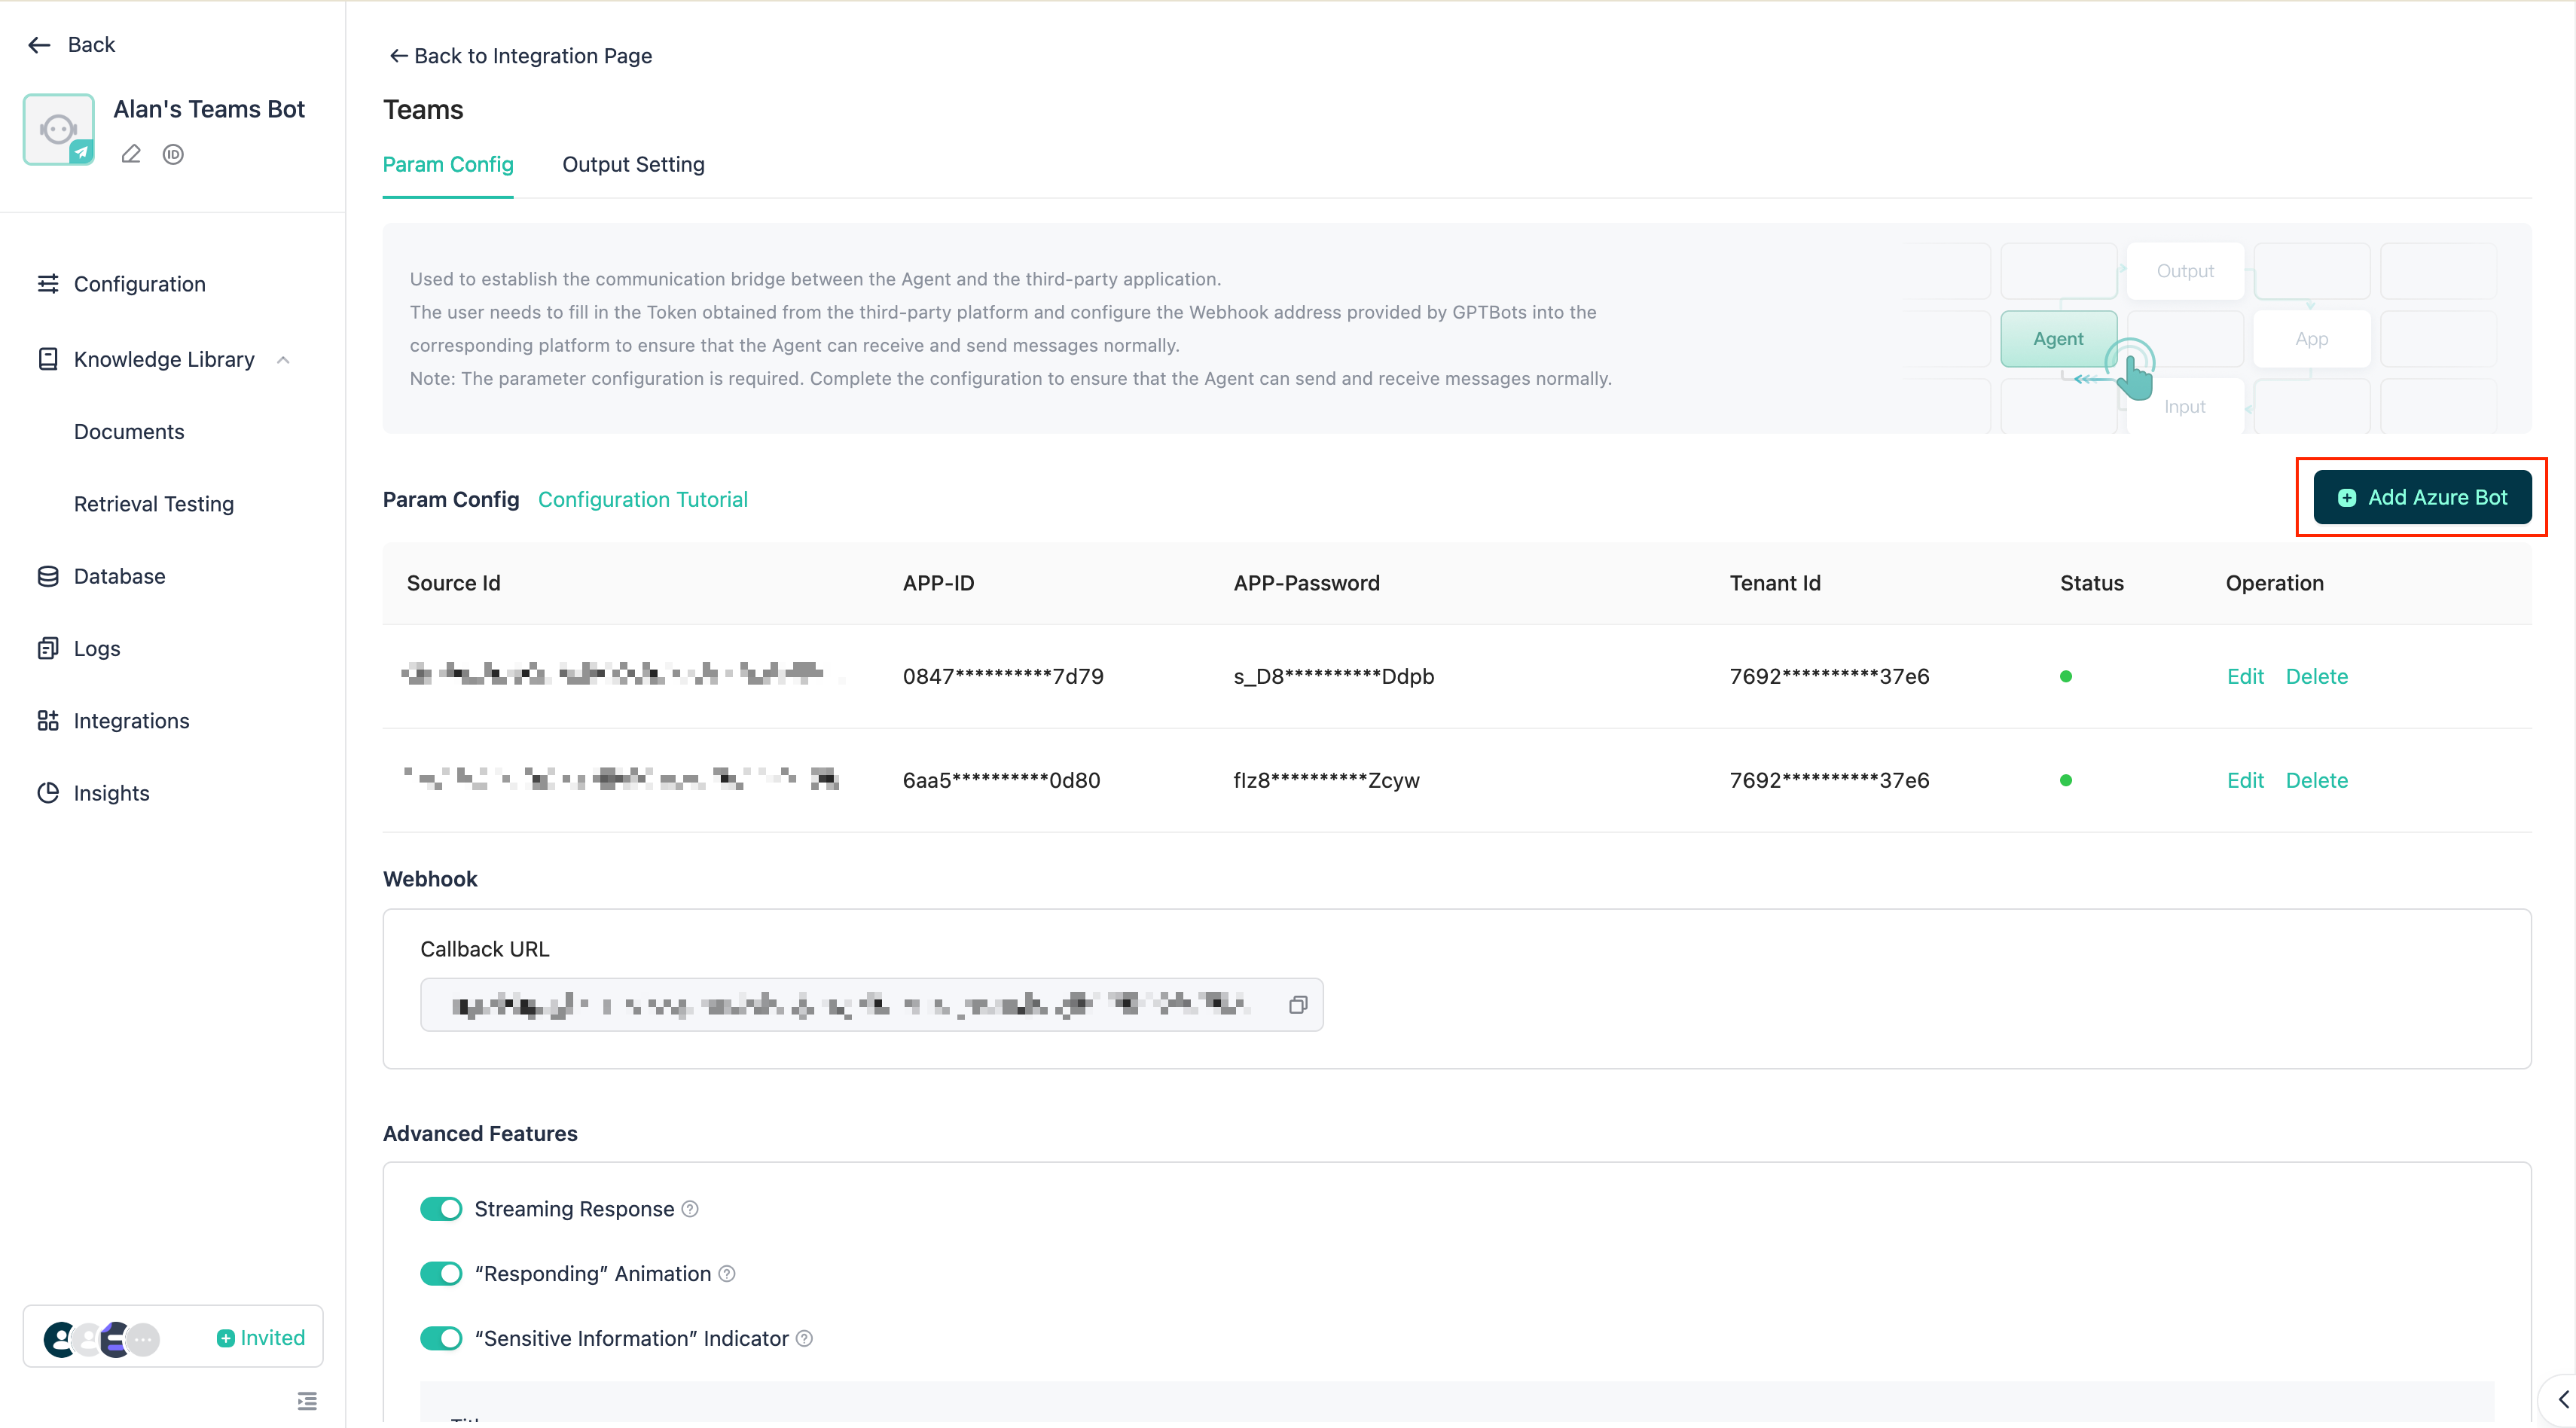
Fill in the copied values and click Save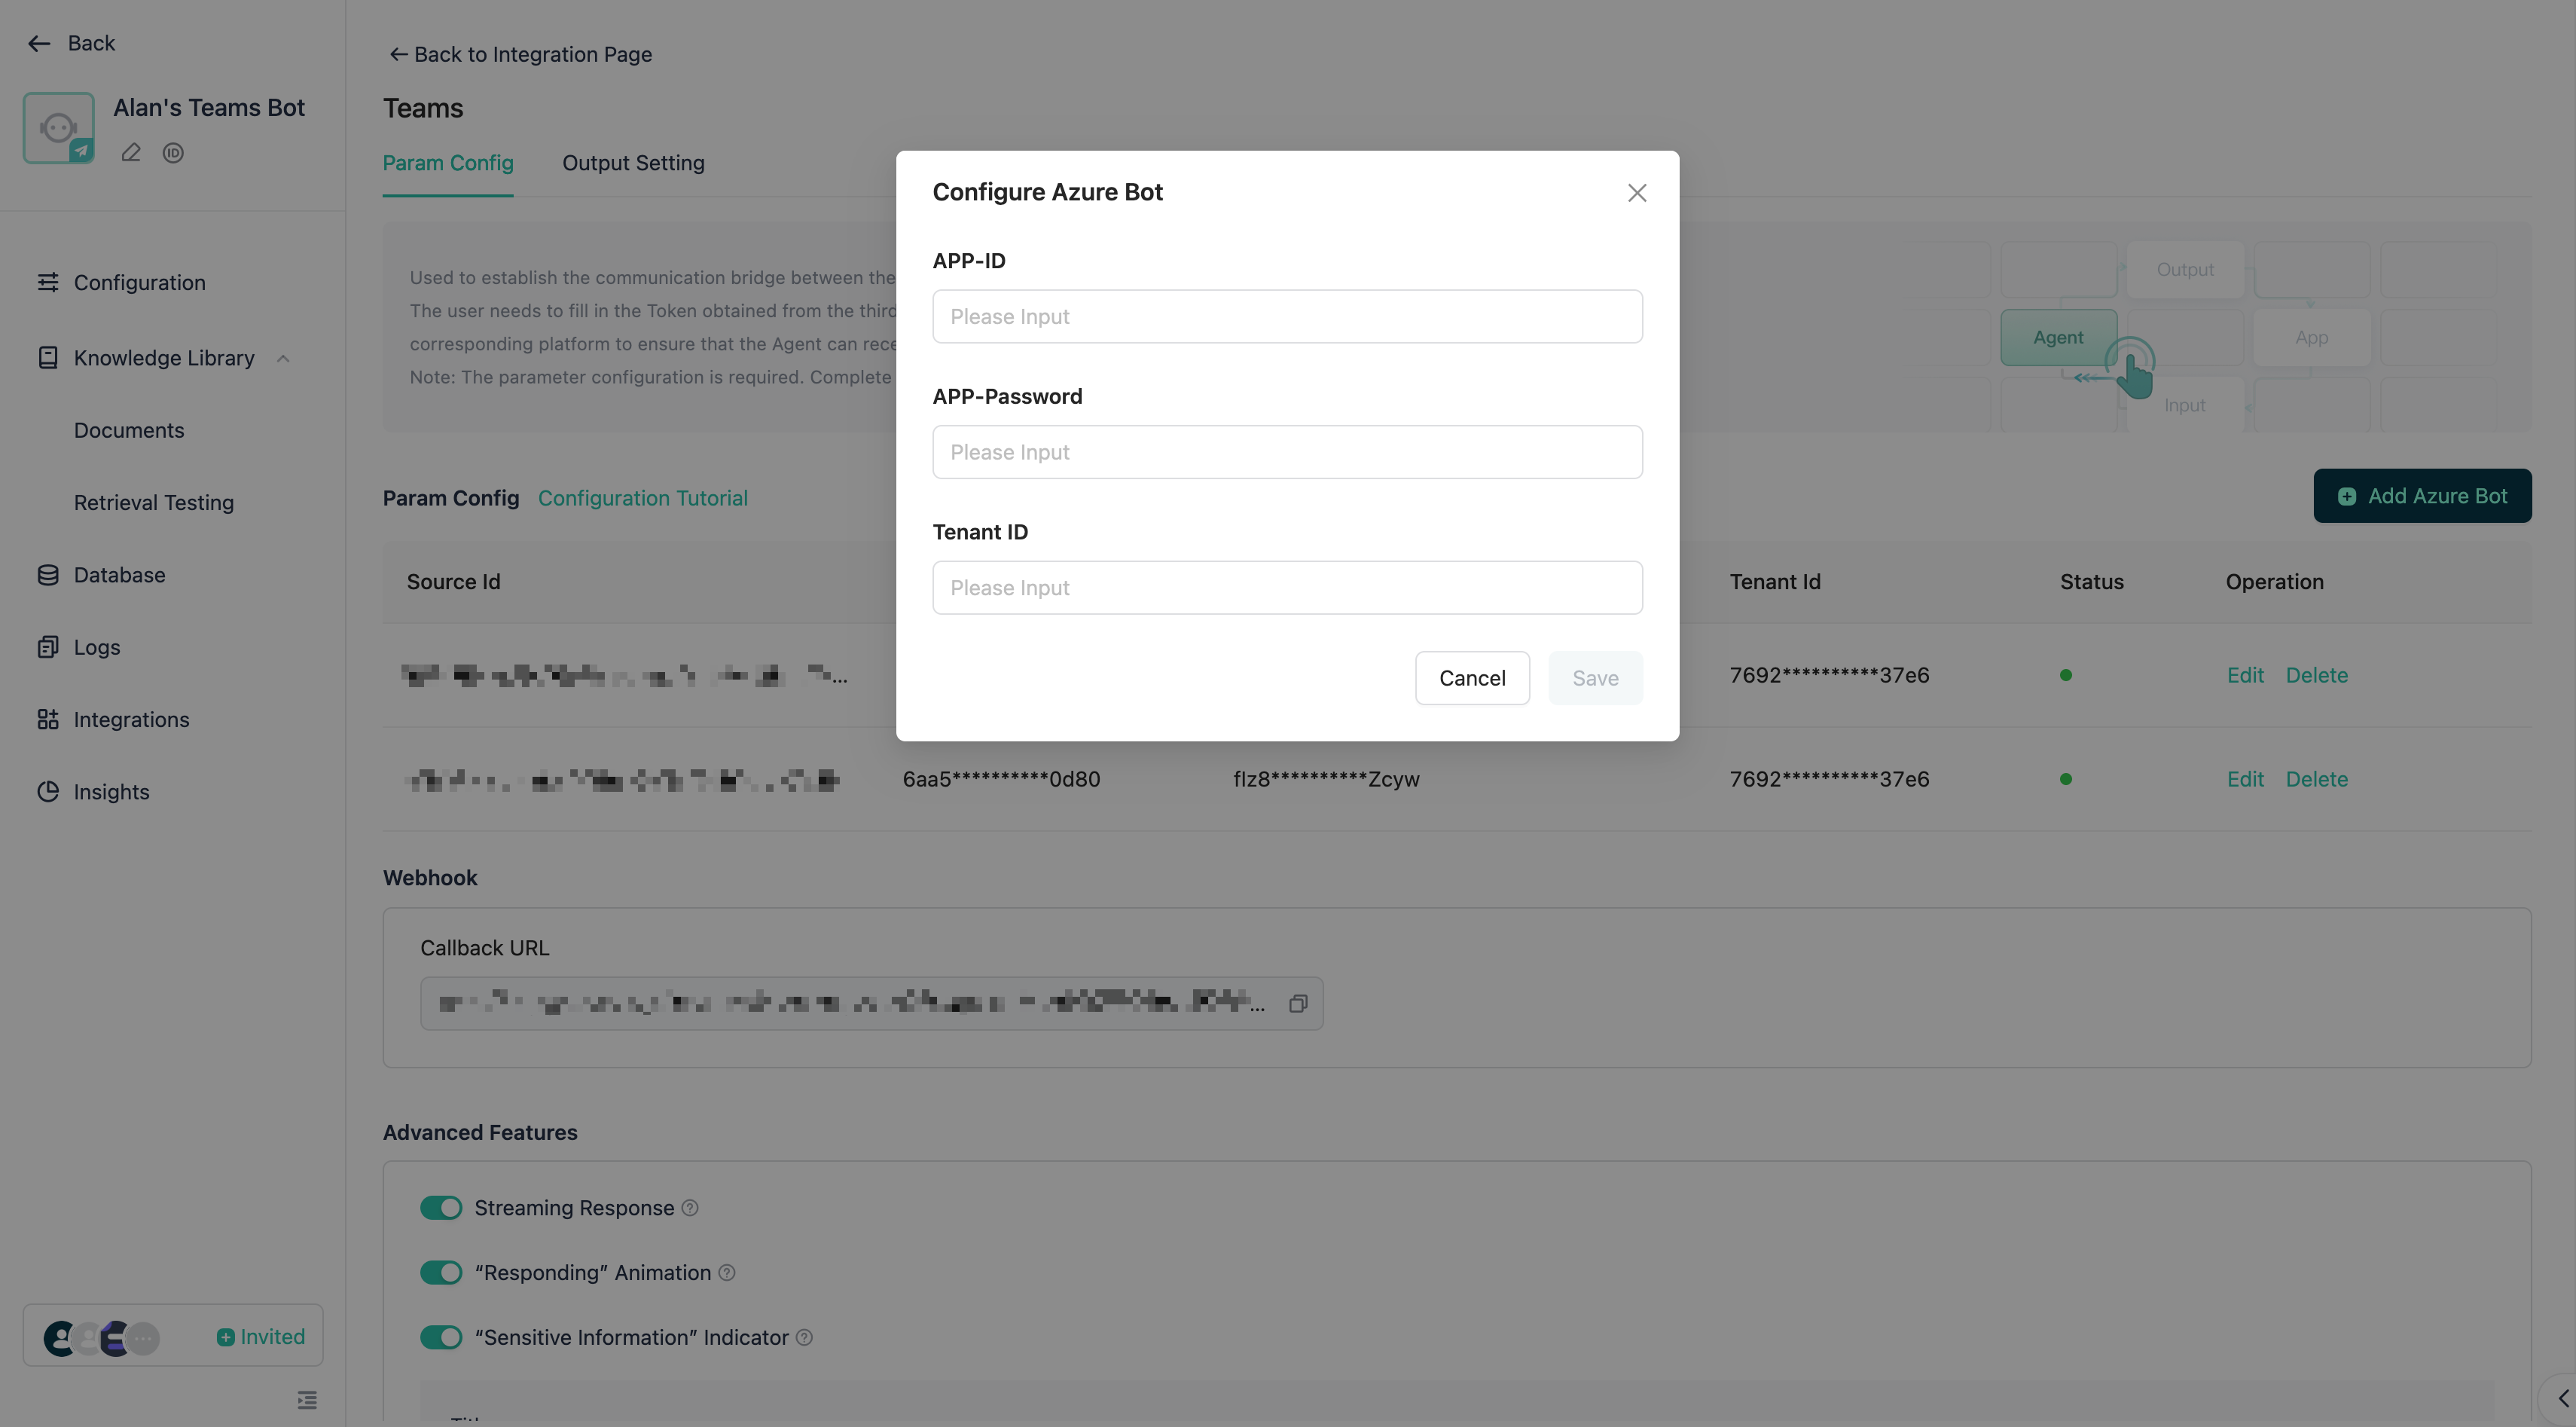
Return to Microsoft Azure, click Channels > Teams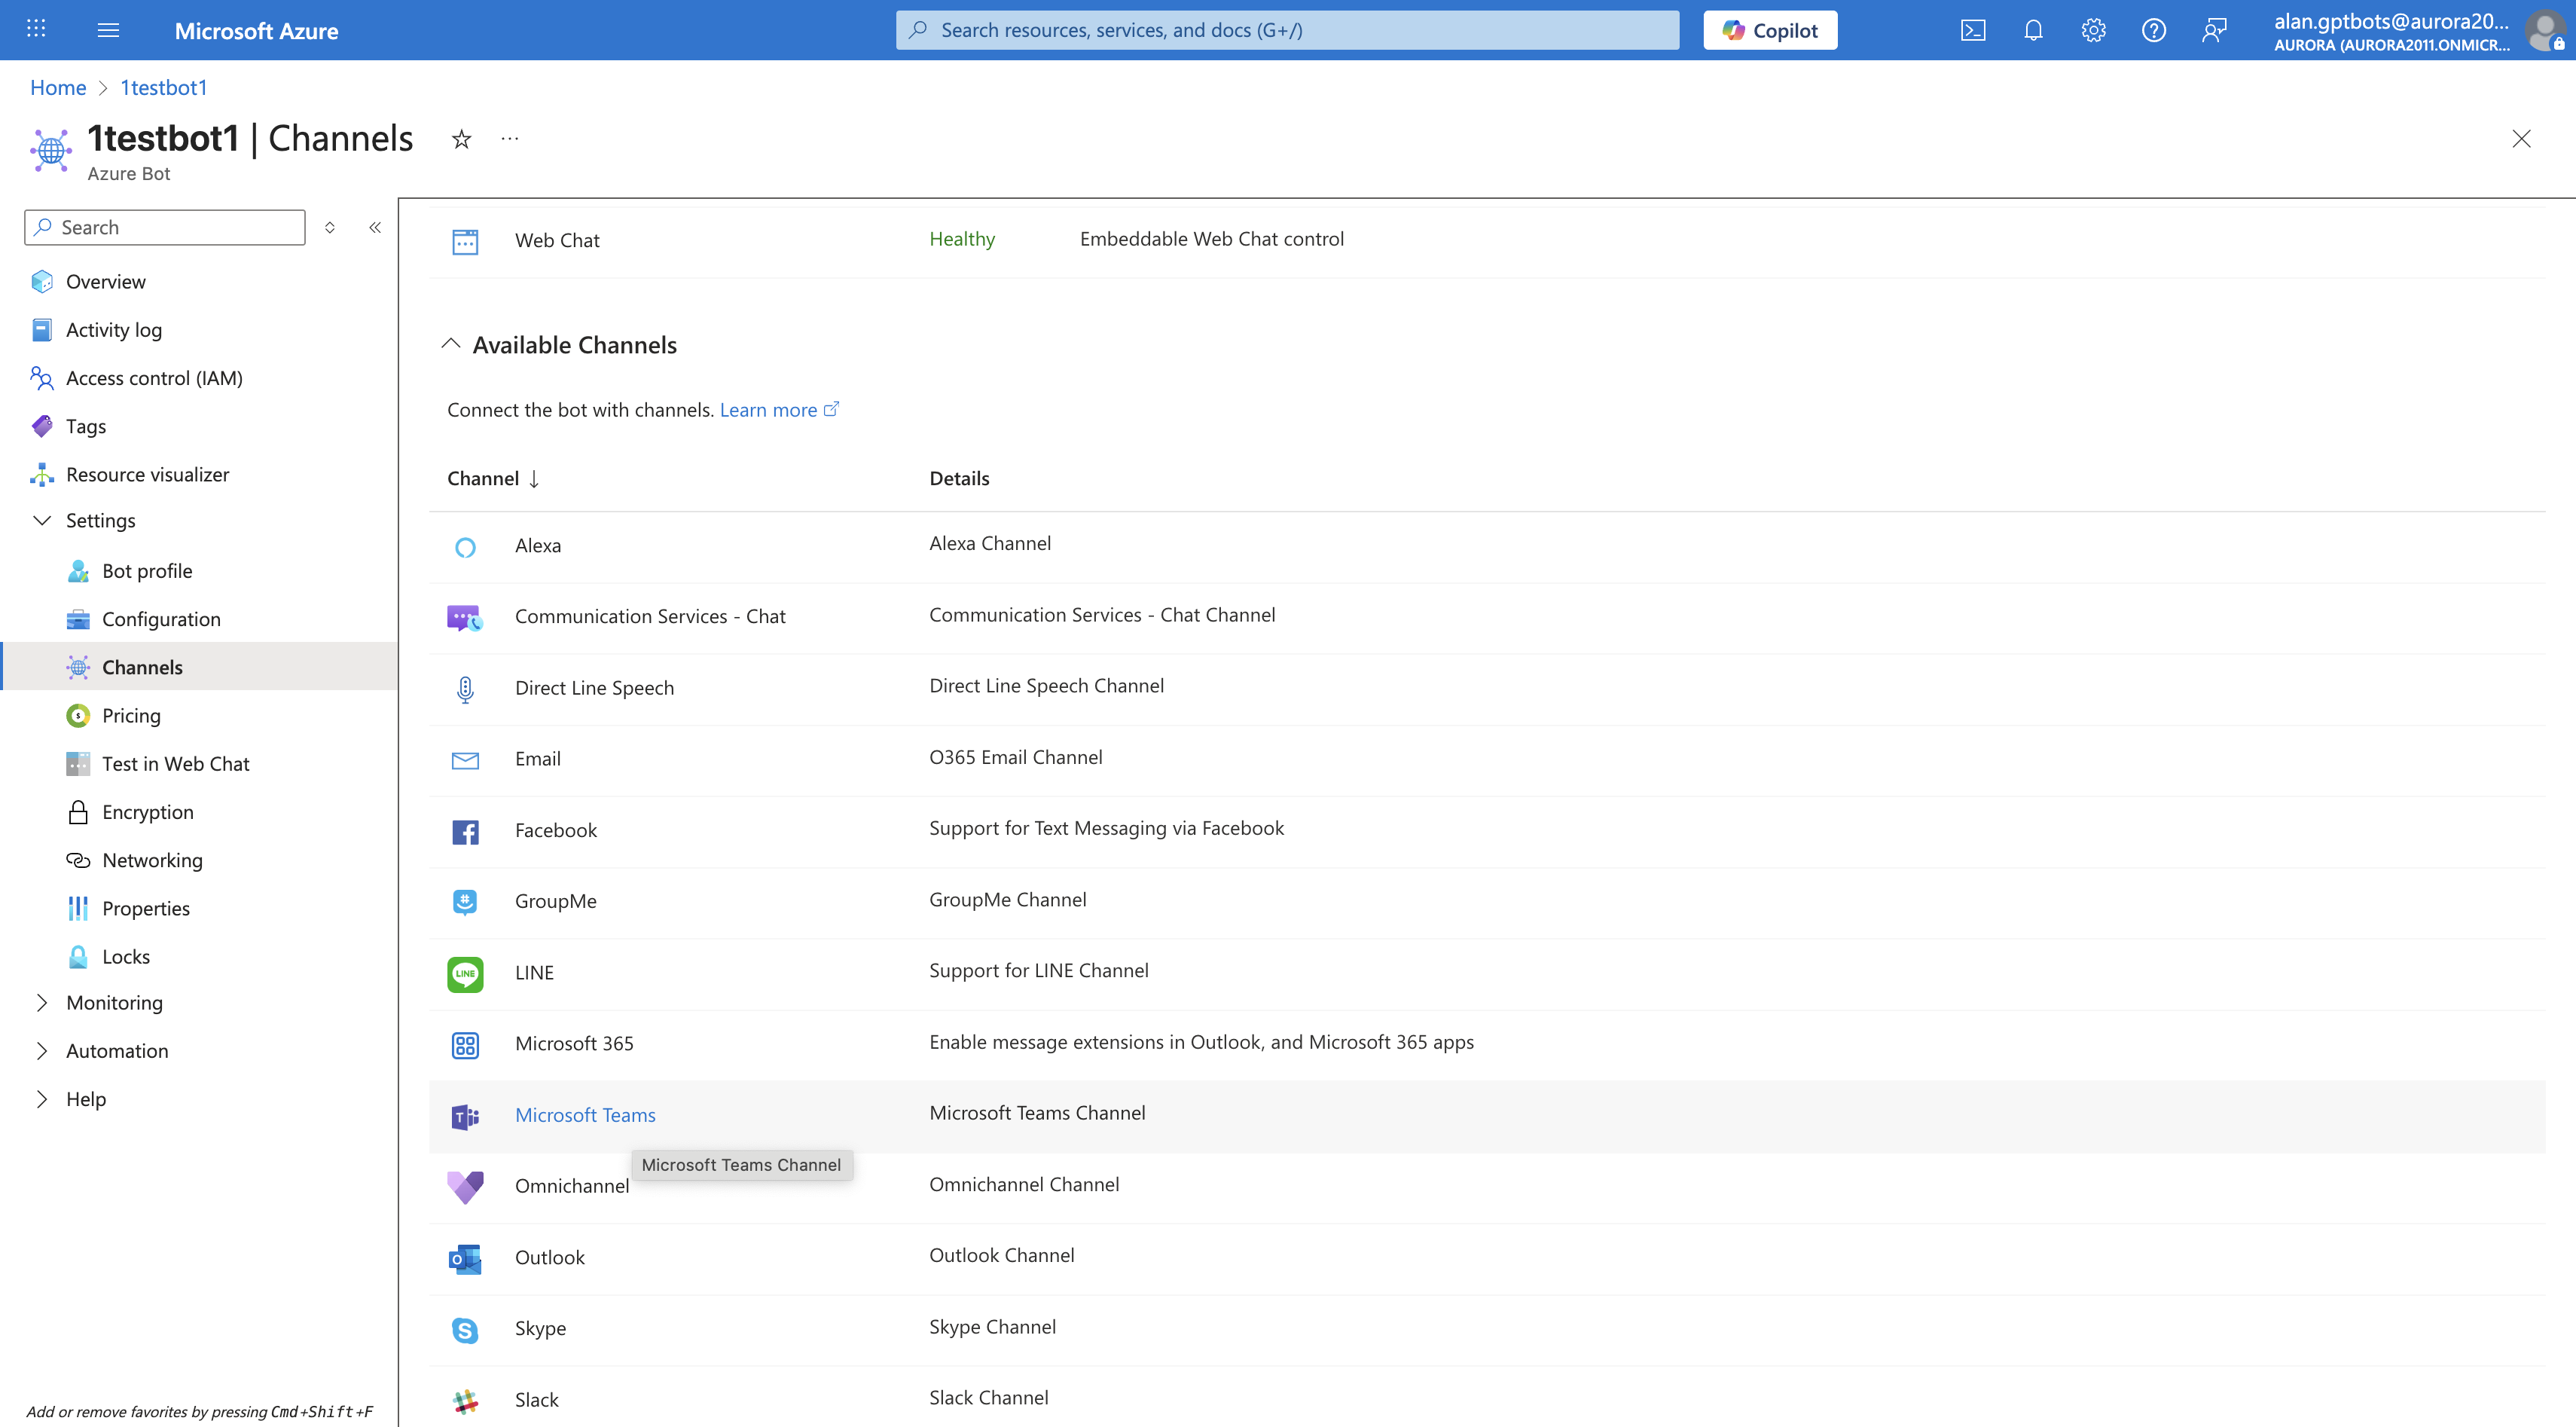
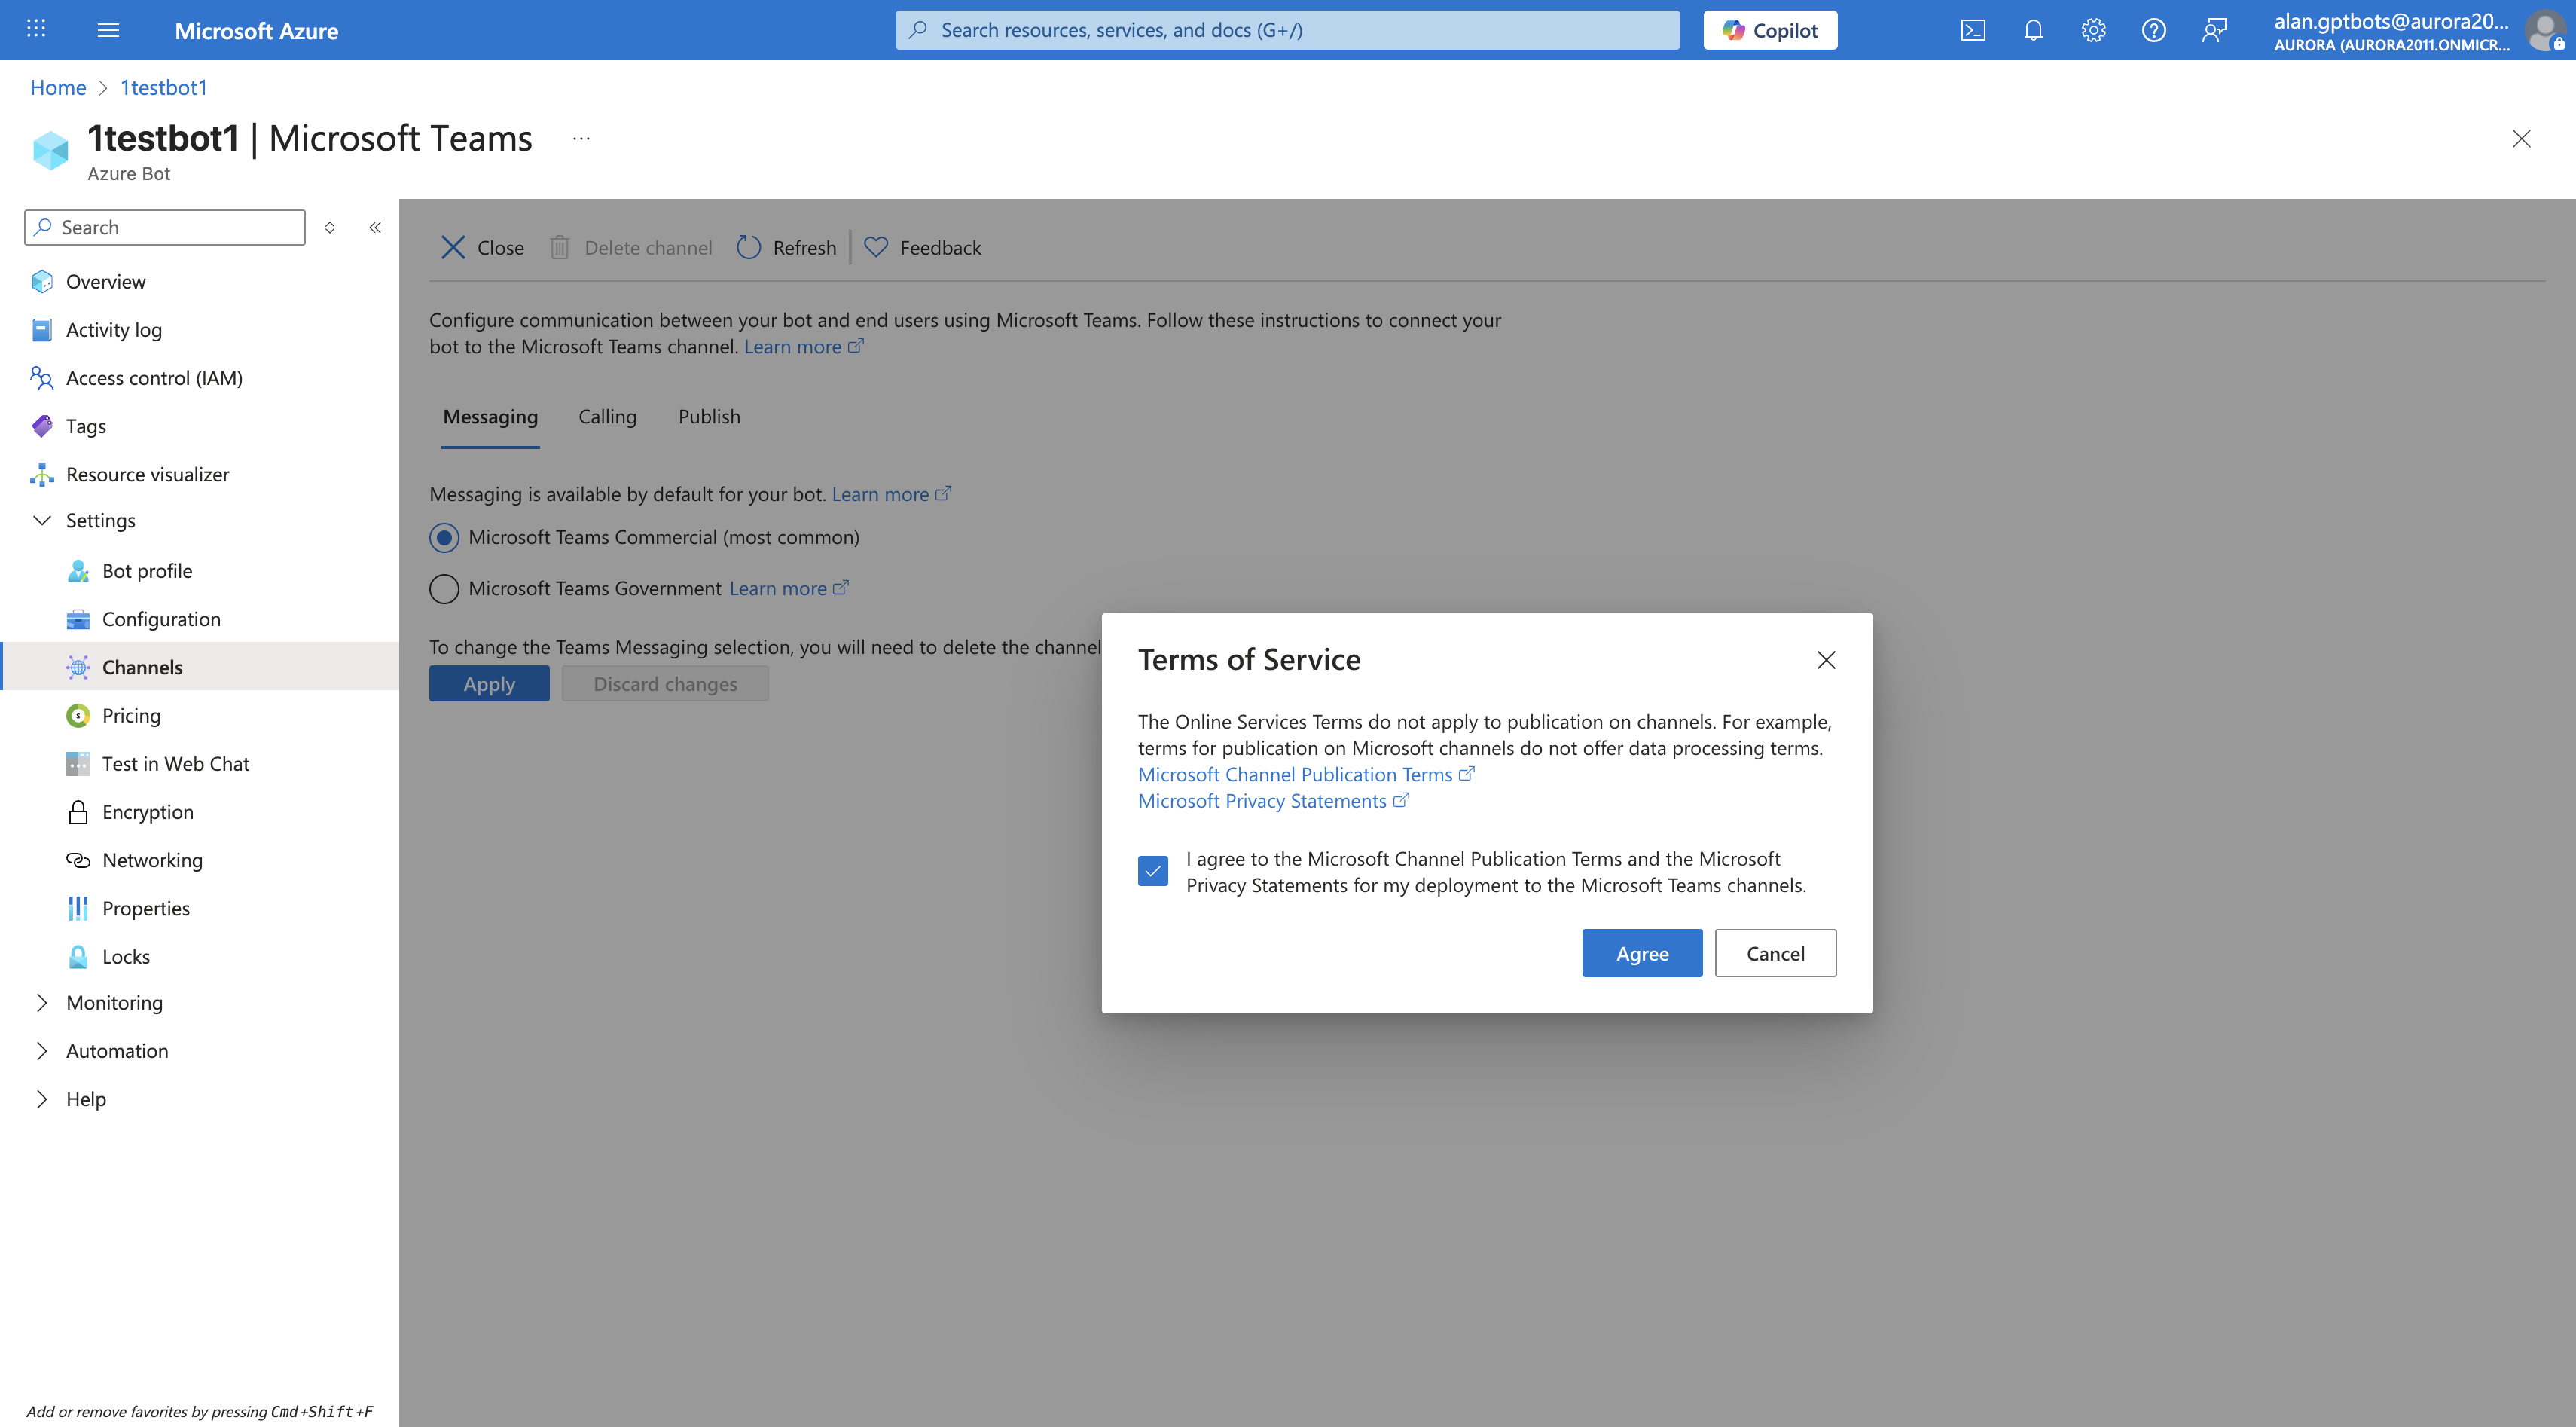
Check Microsoft Teams Commercial (most common) and click Apply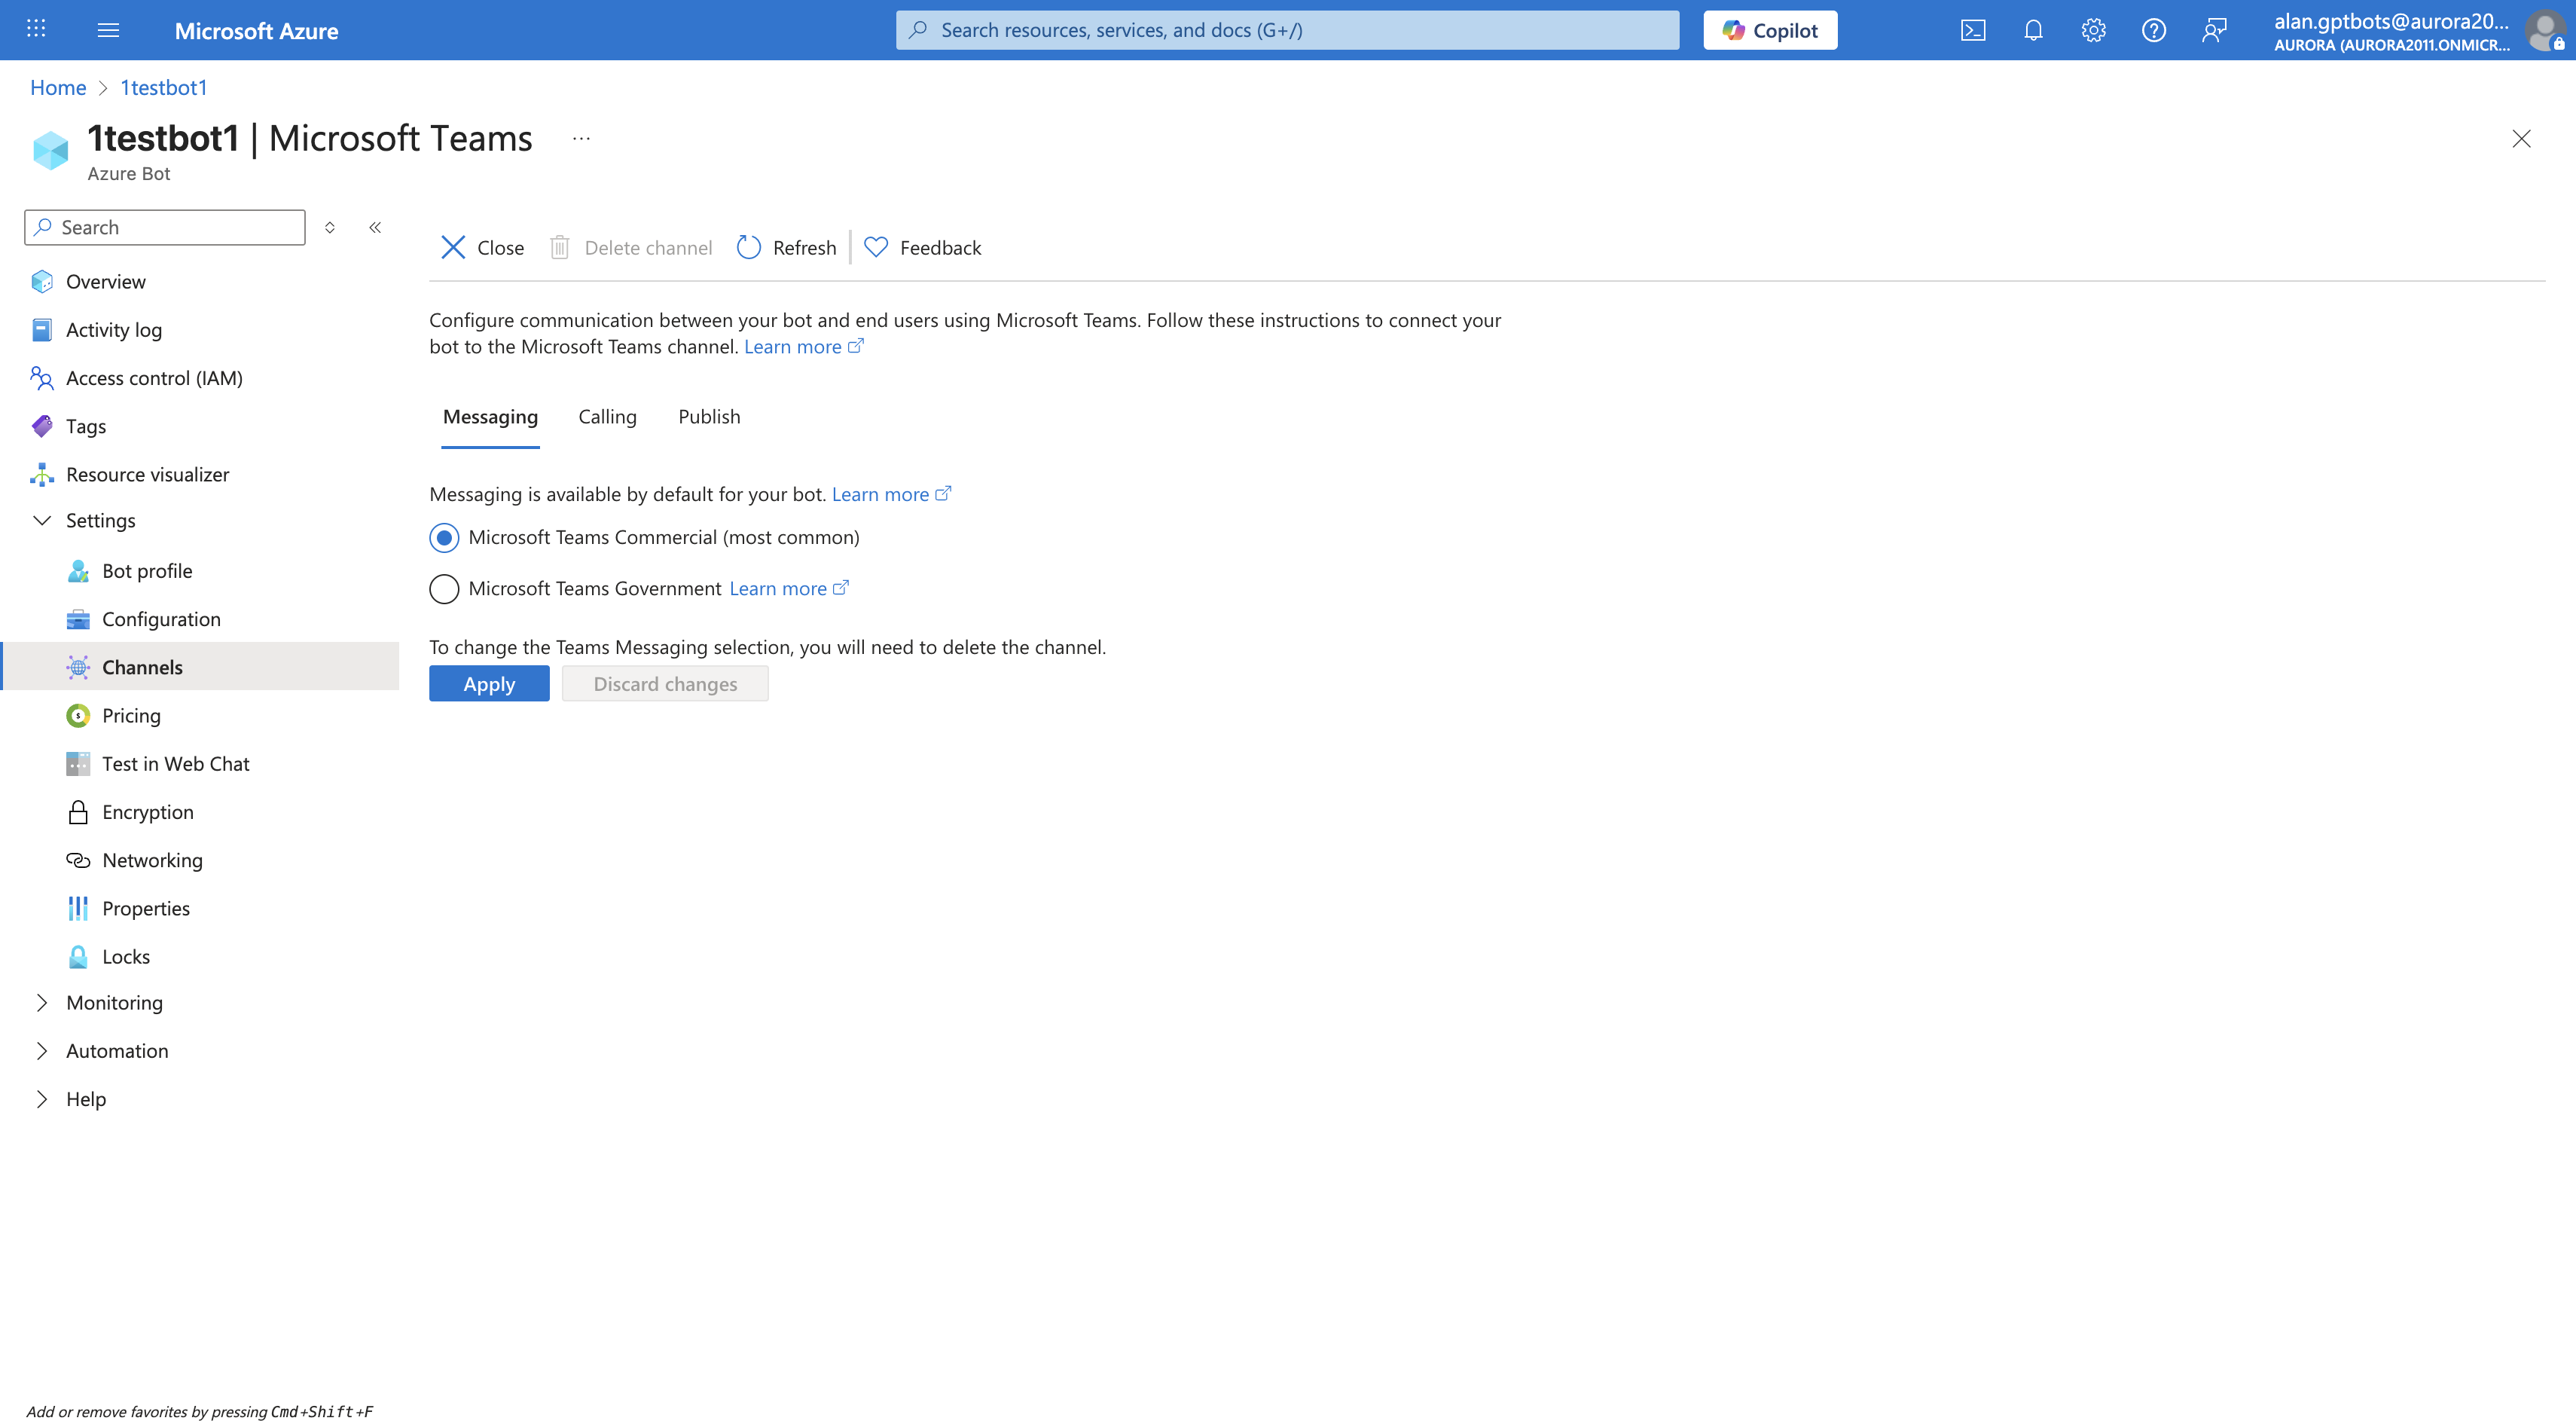
2. Grant Bot Permission to Receive Attachments in Group Chats
Search for App registrations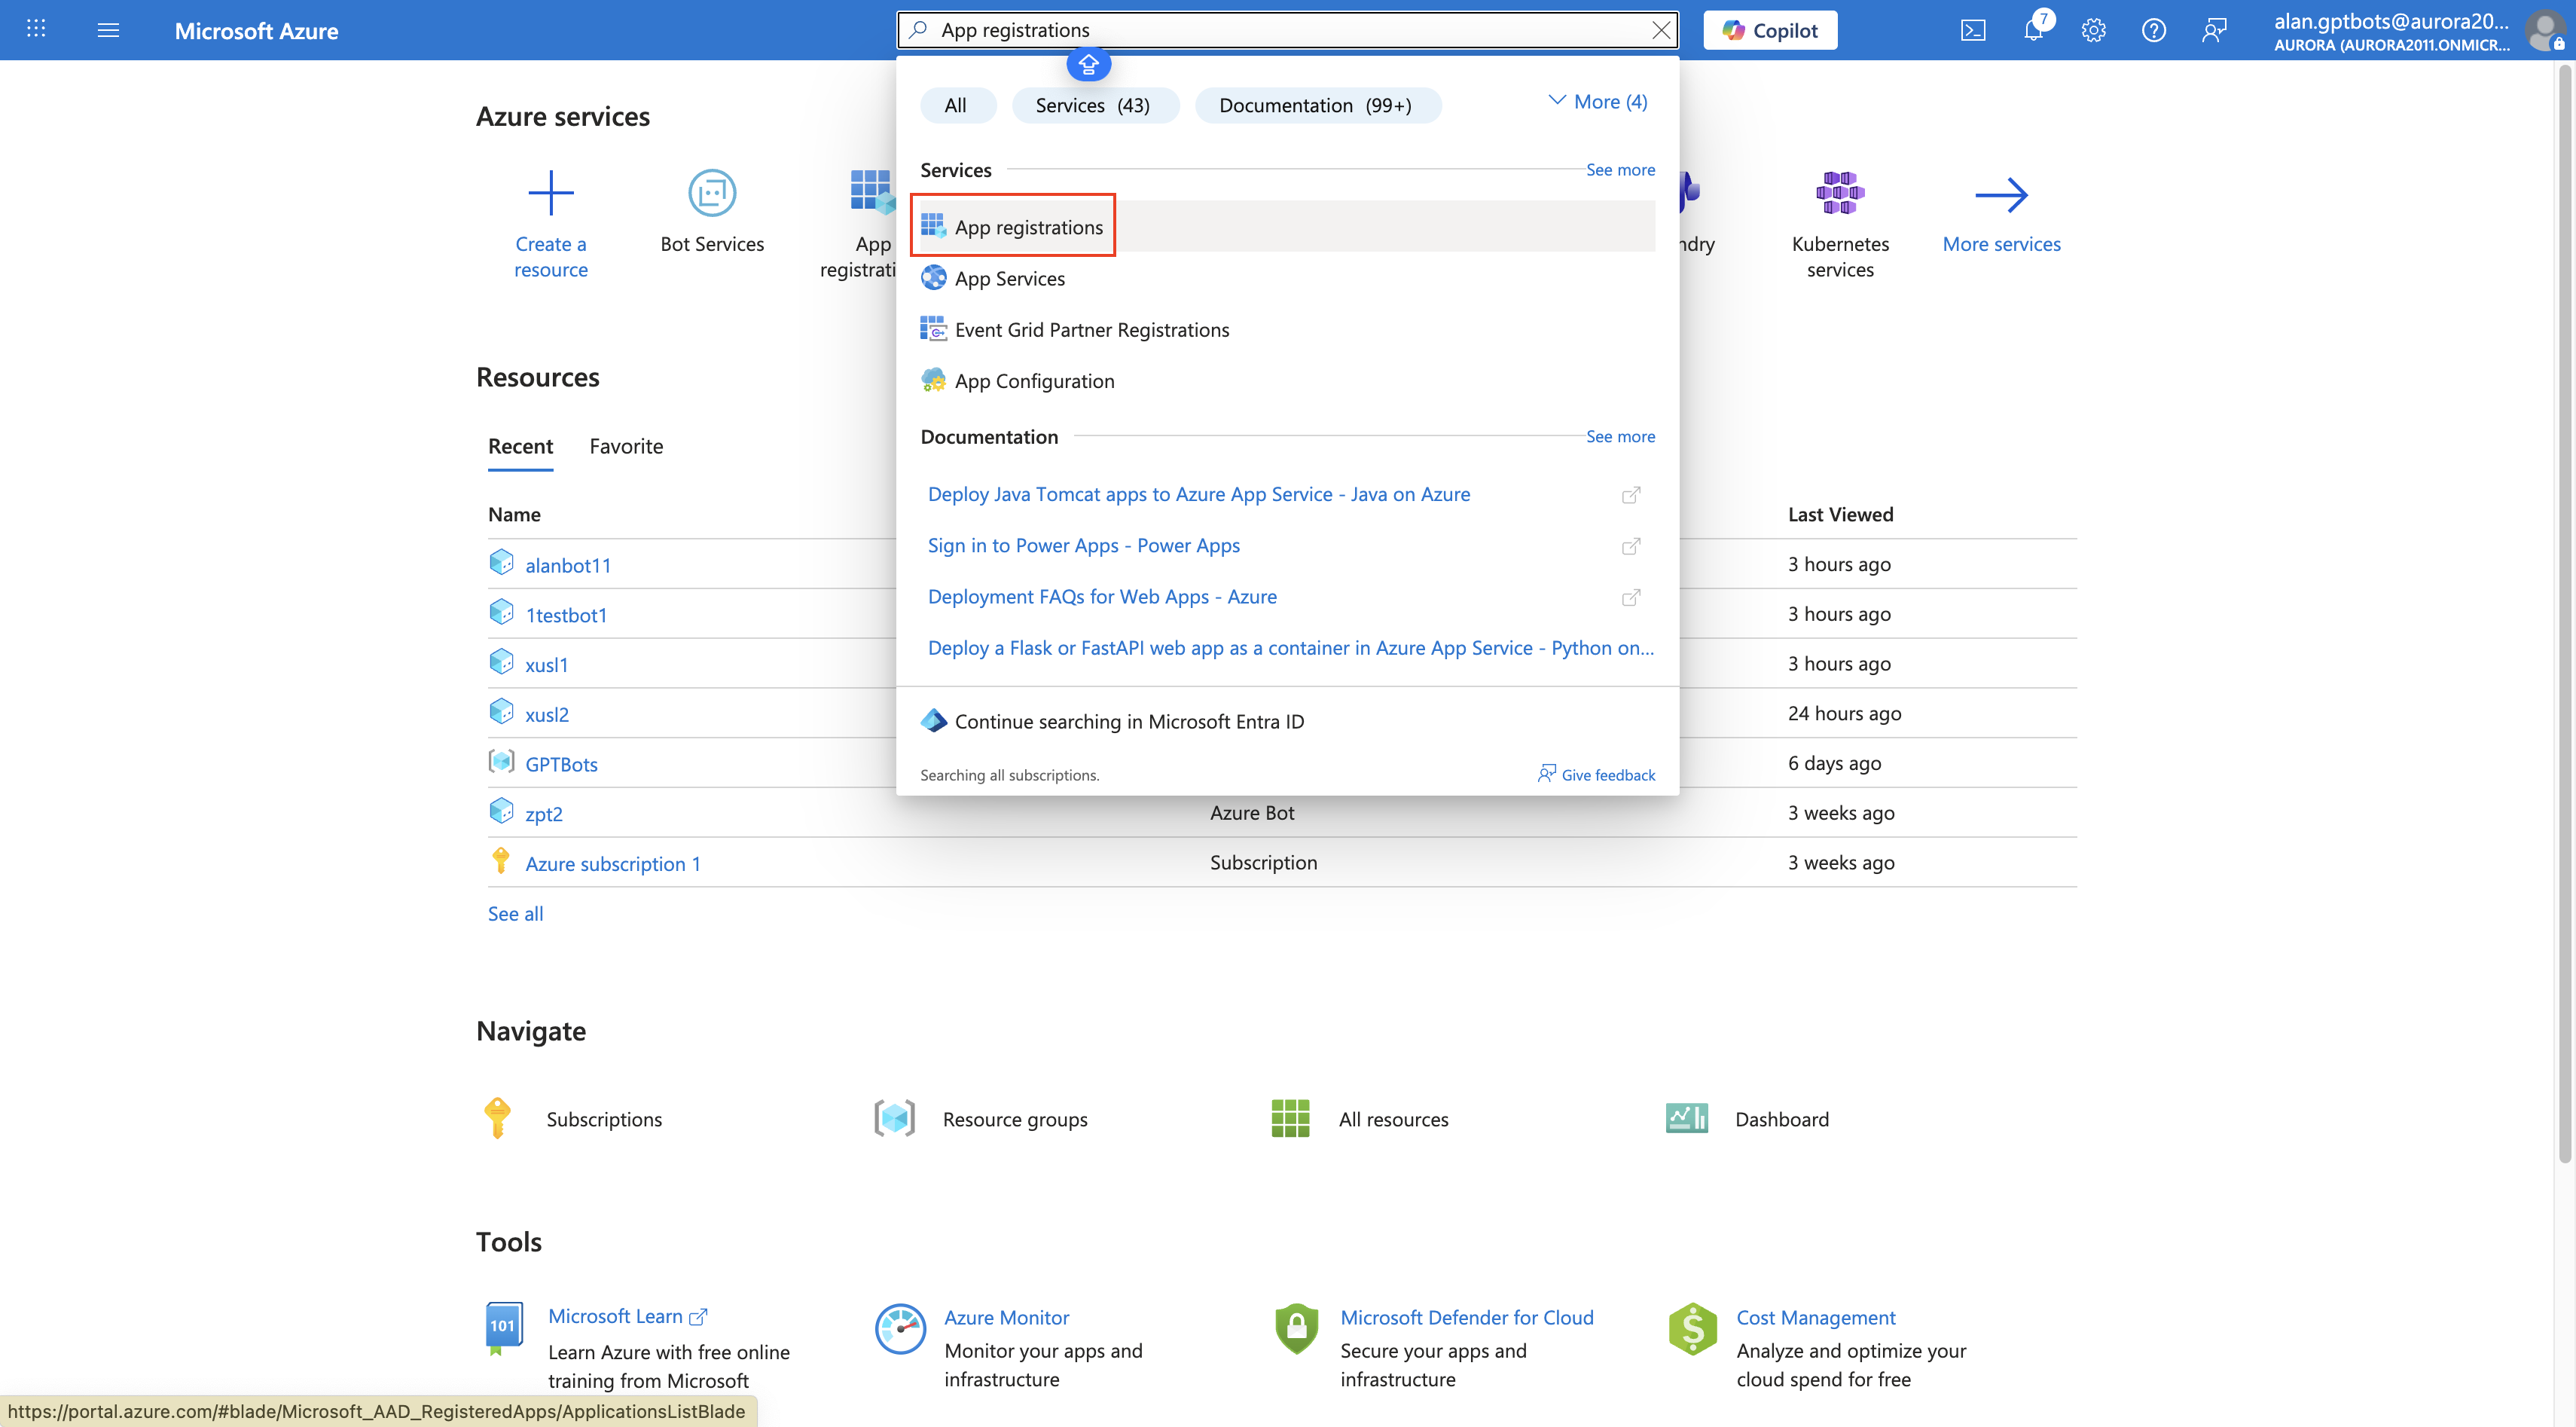
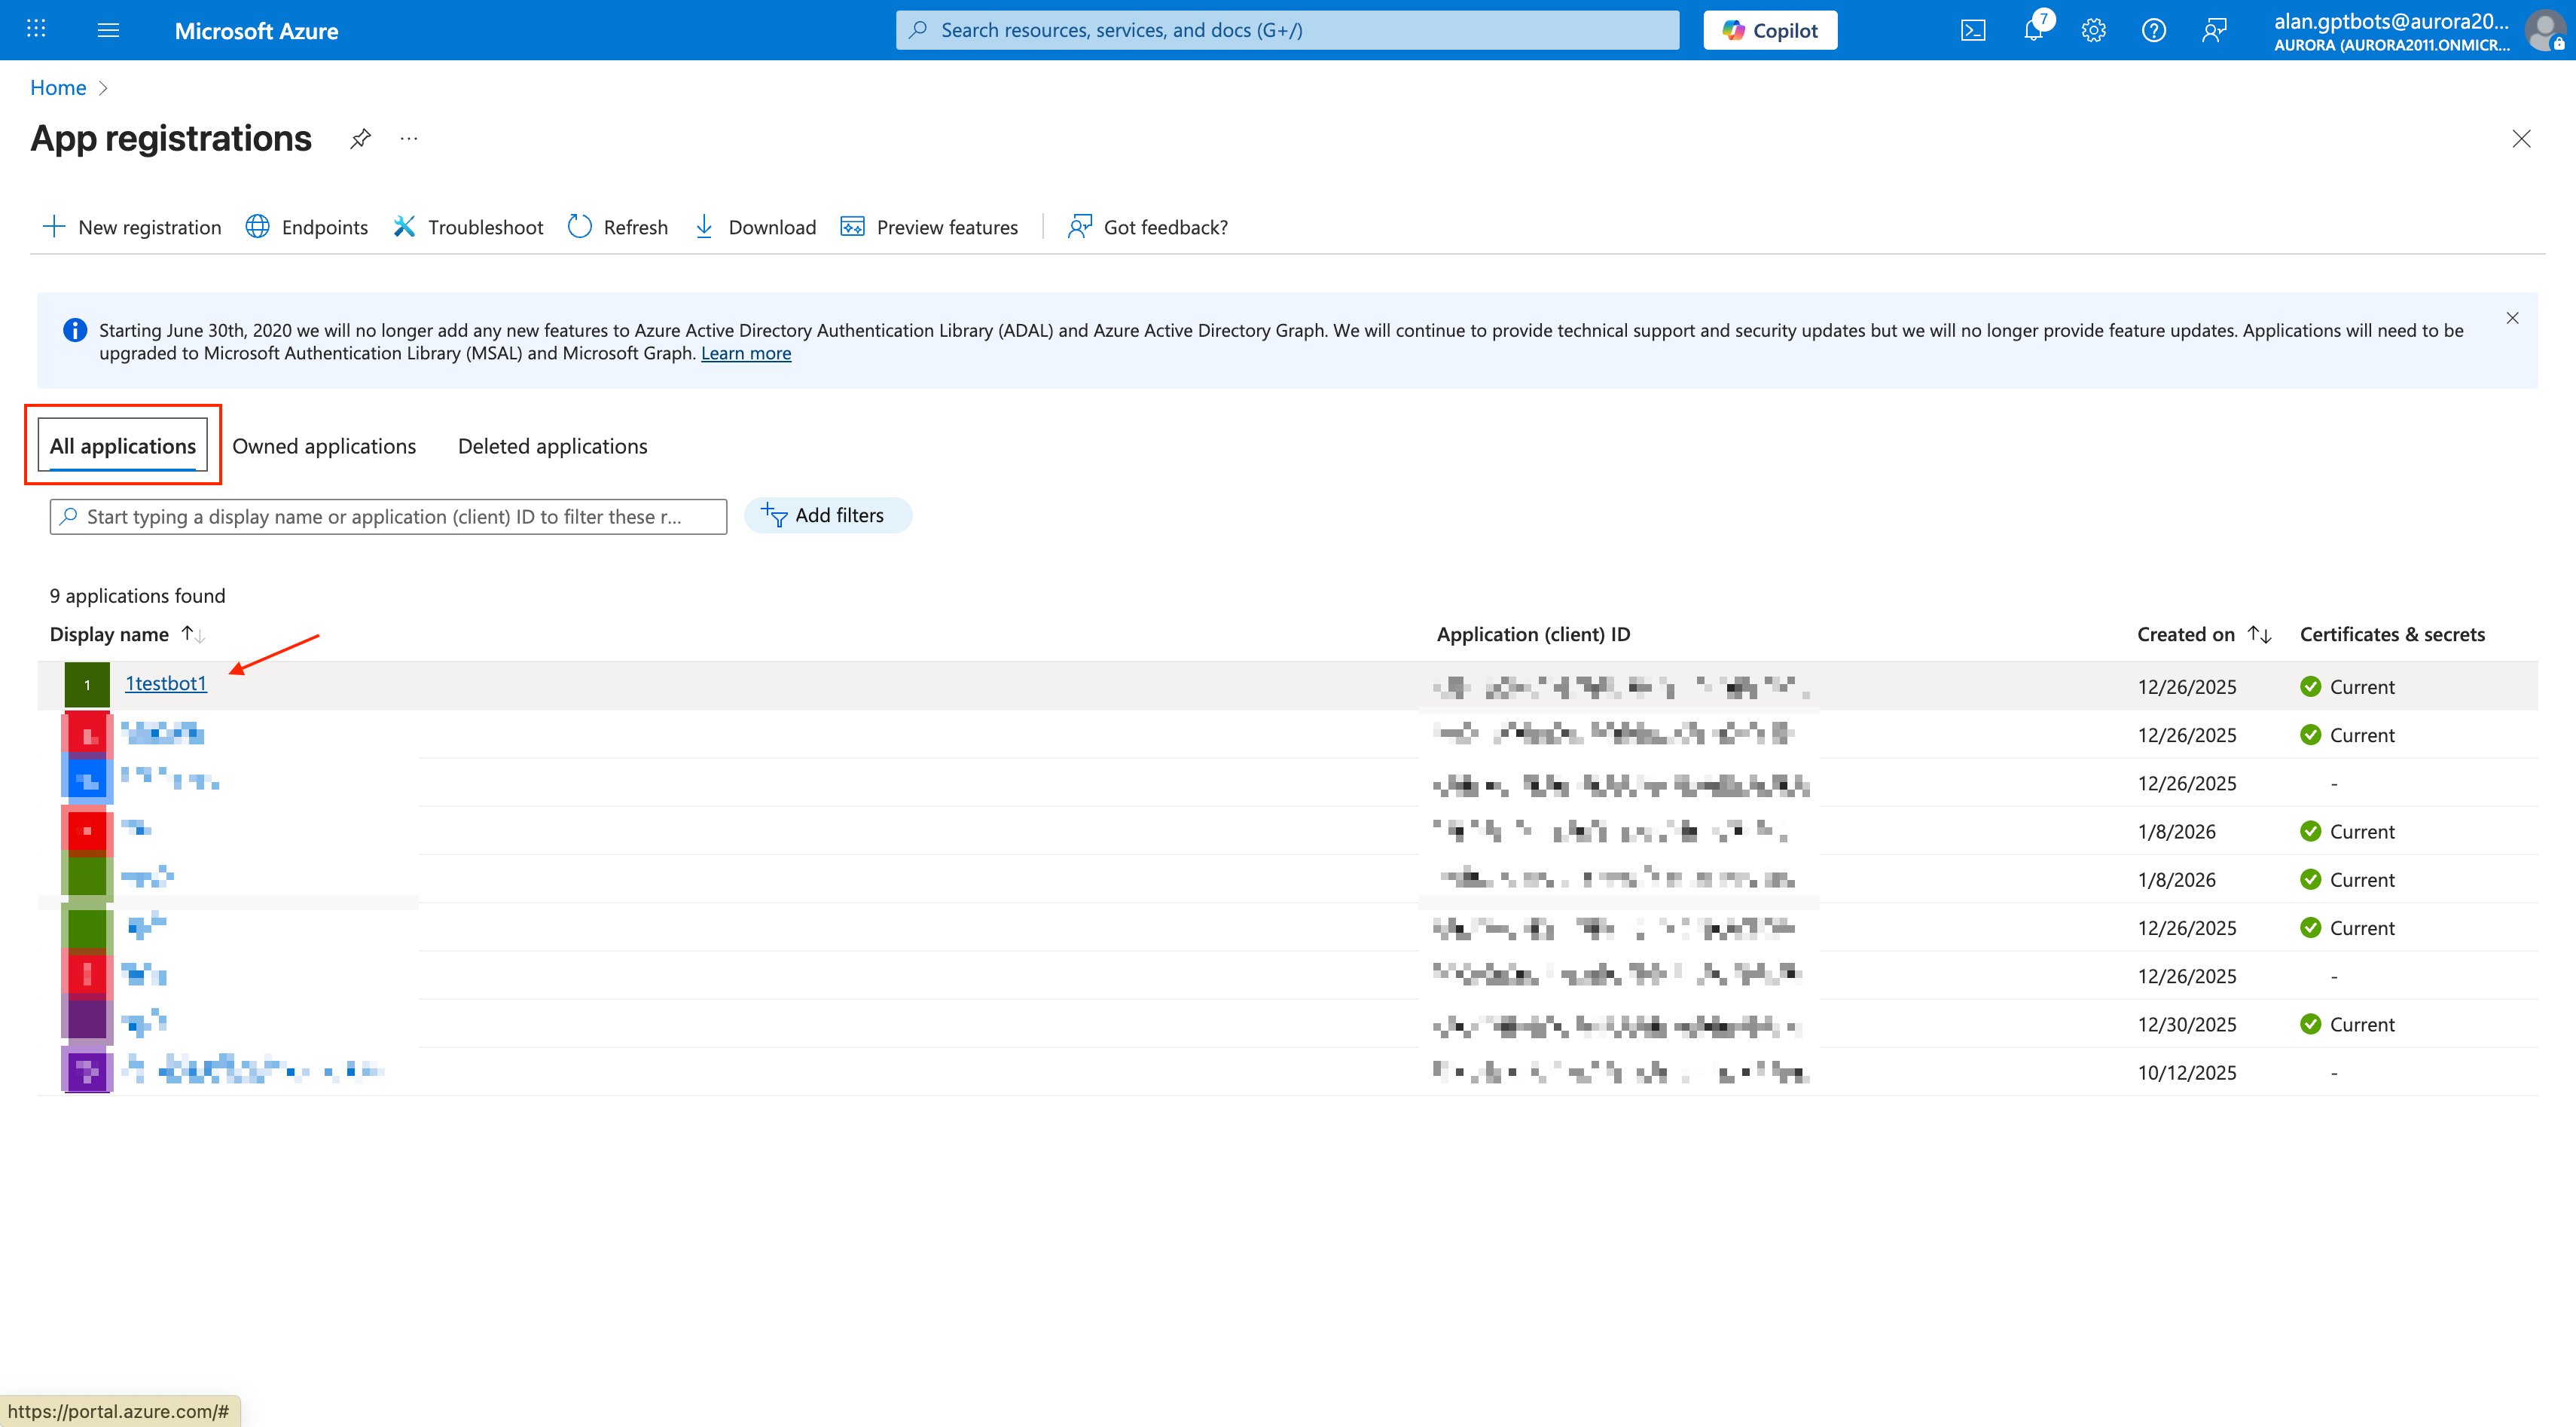
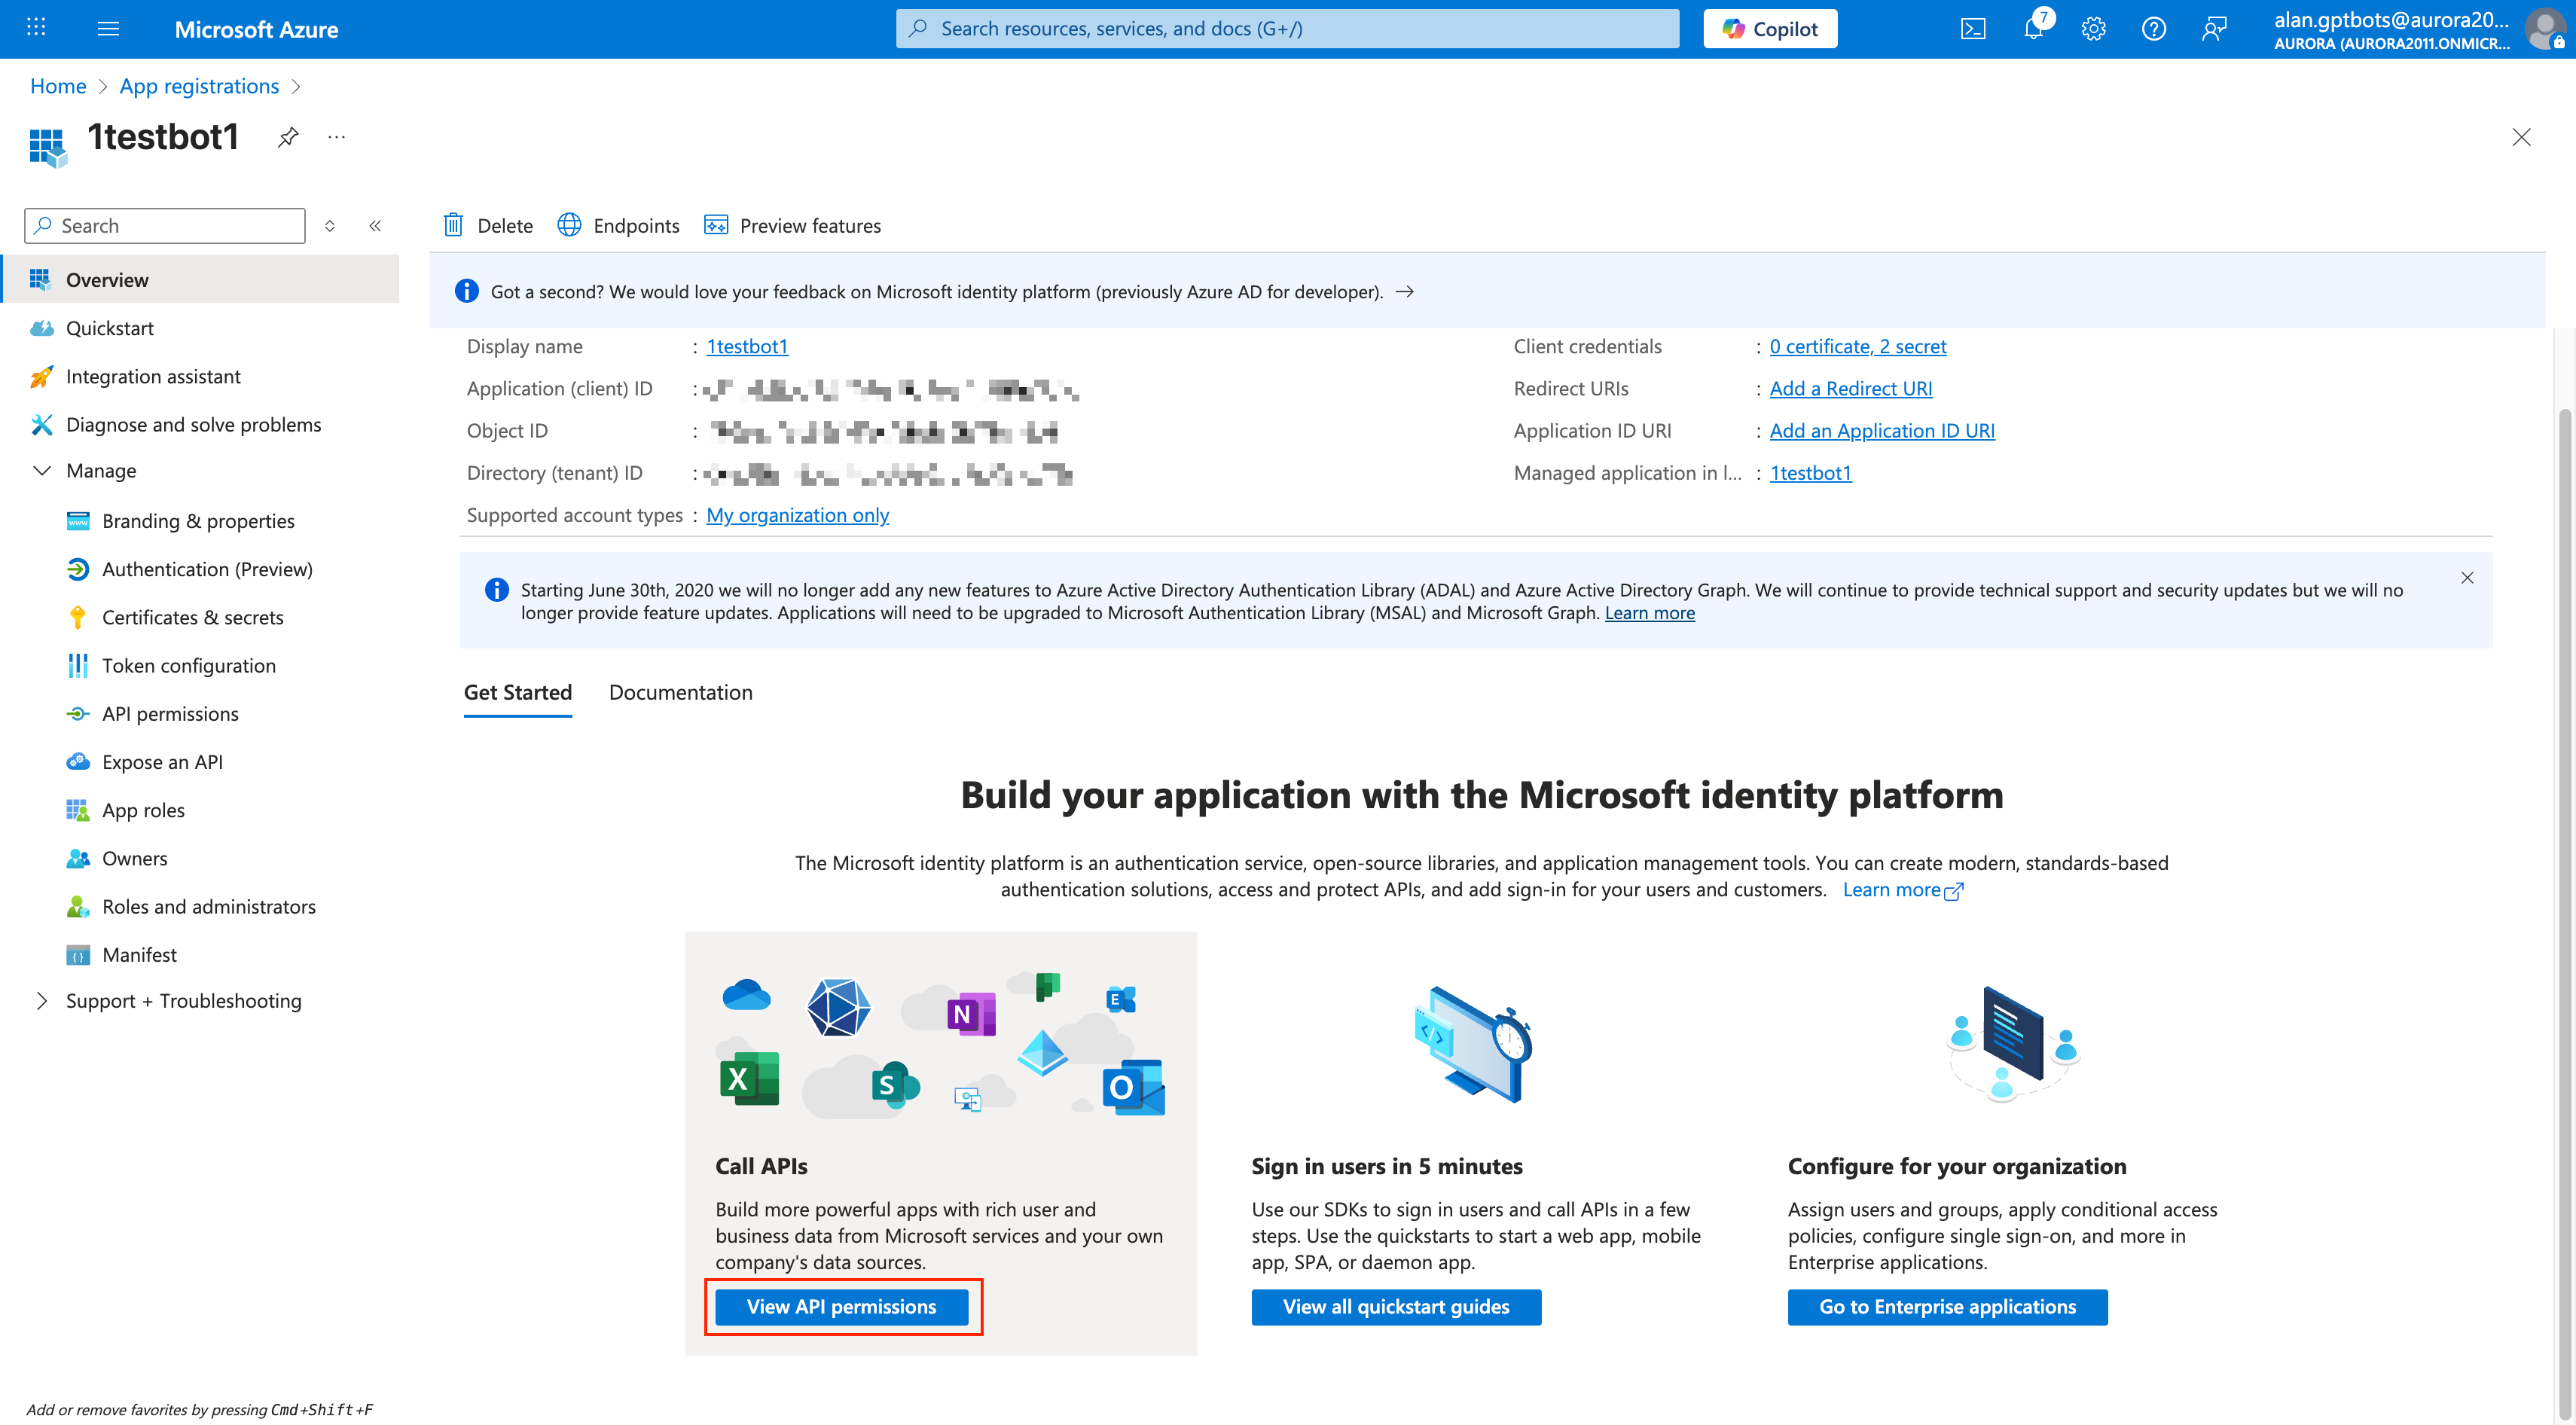
Click Add a permission and add the four permissions shown in the image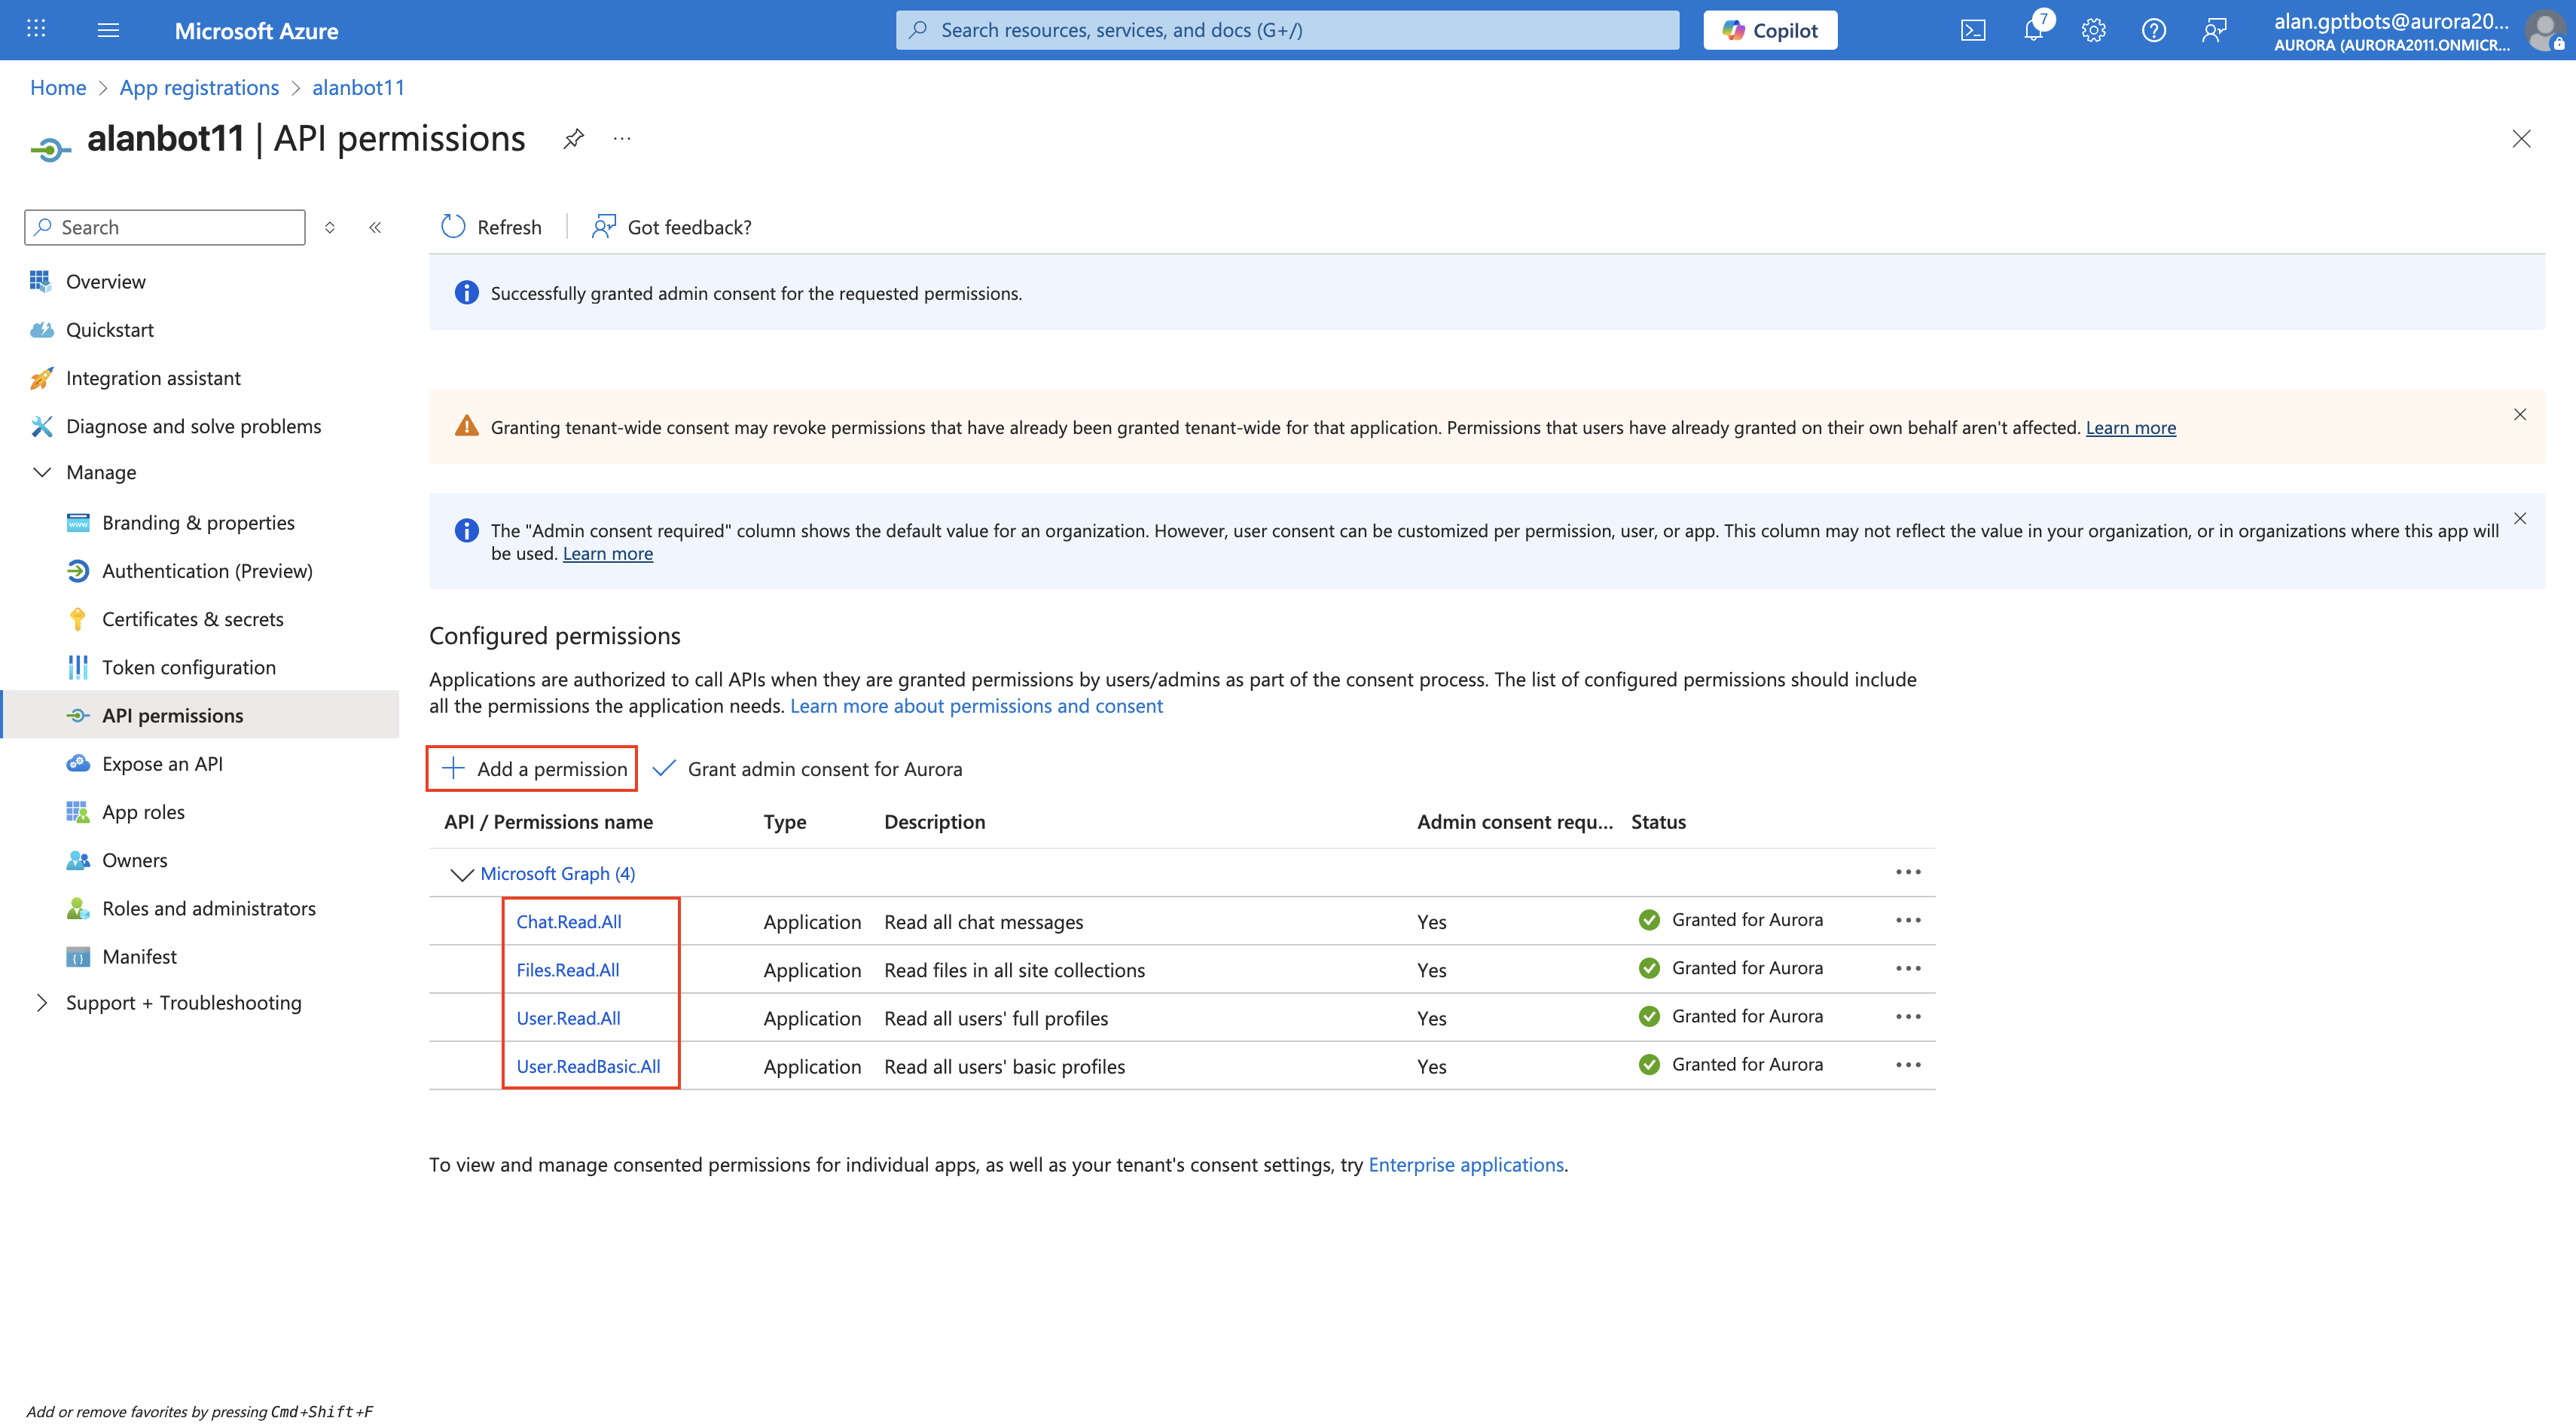
3. Create Apps
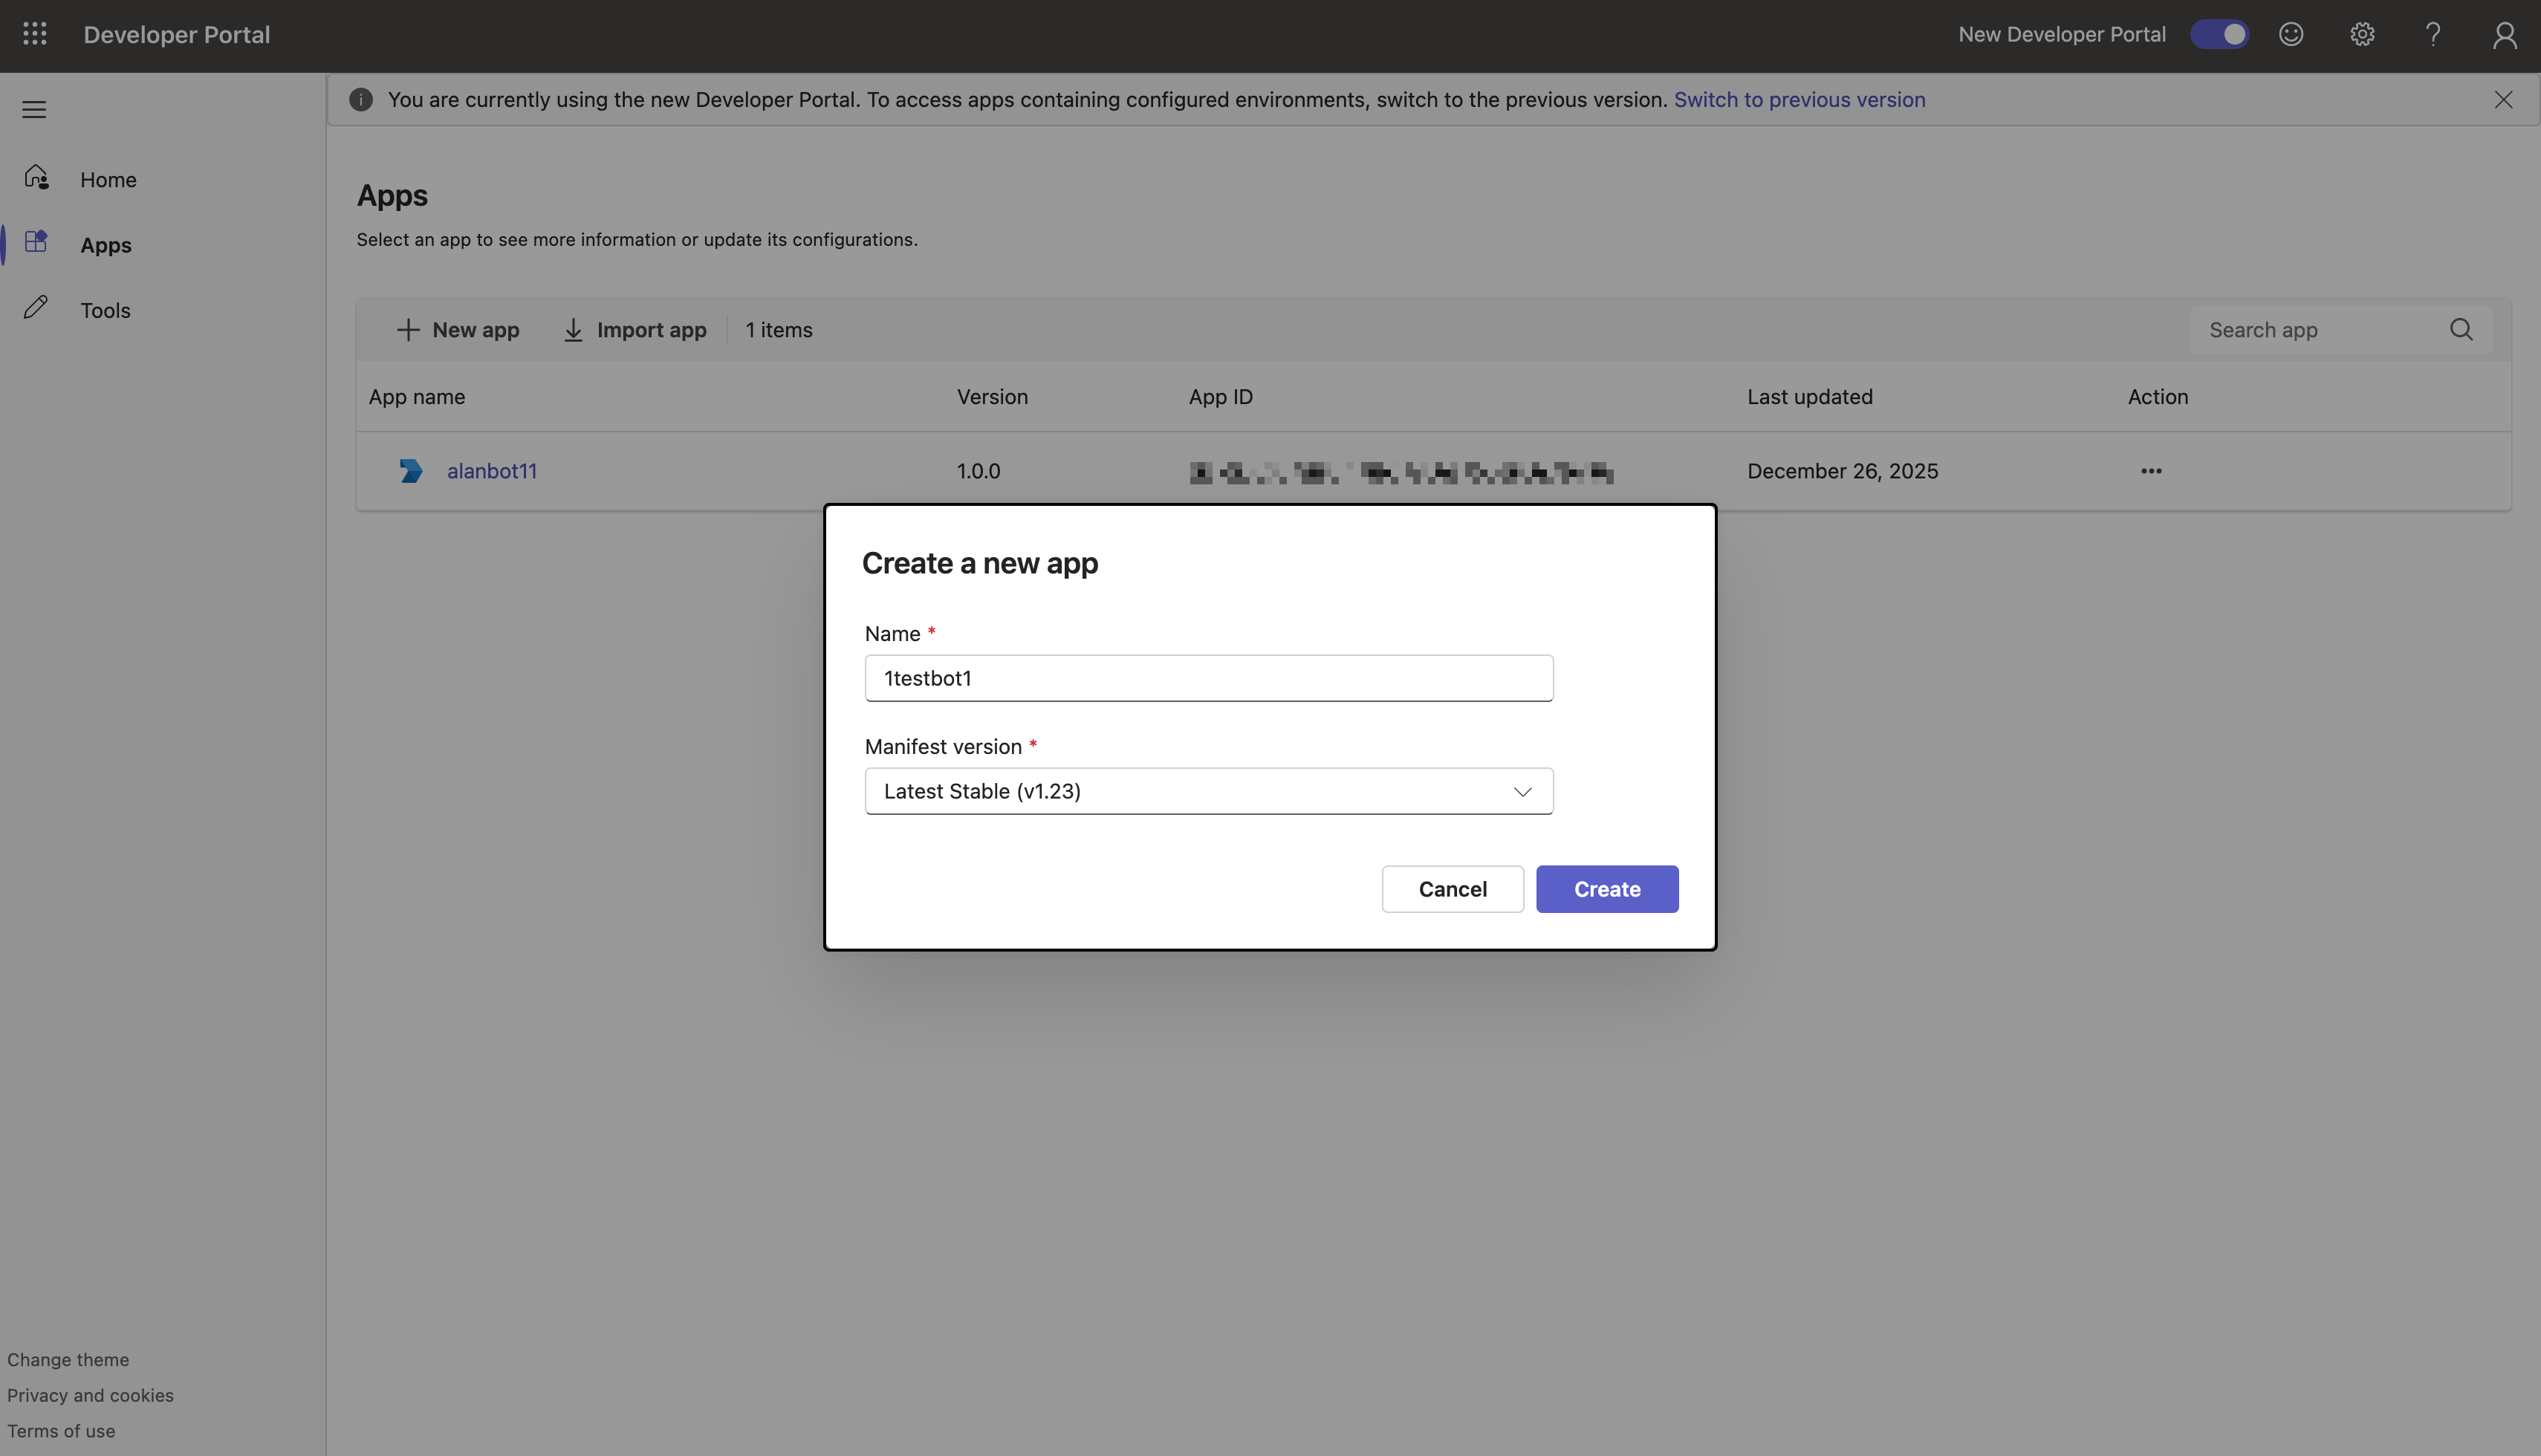
Go to Developer Portal, click New app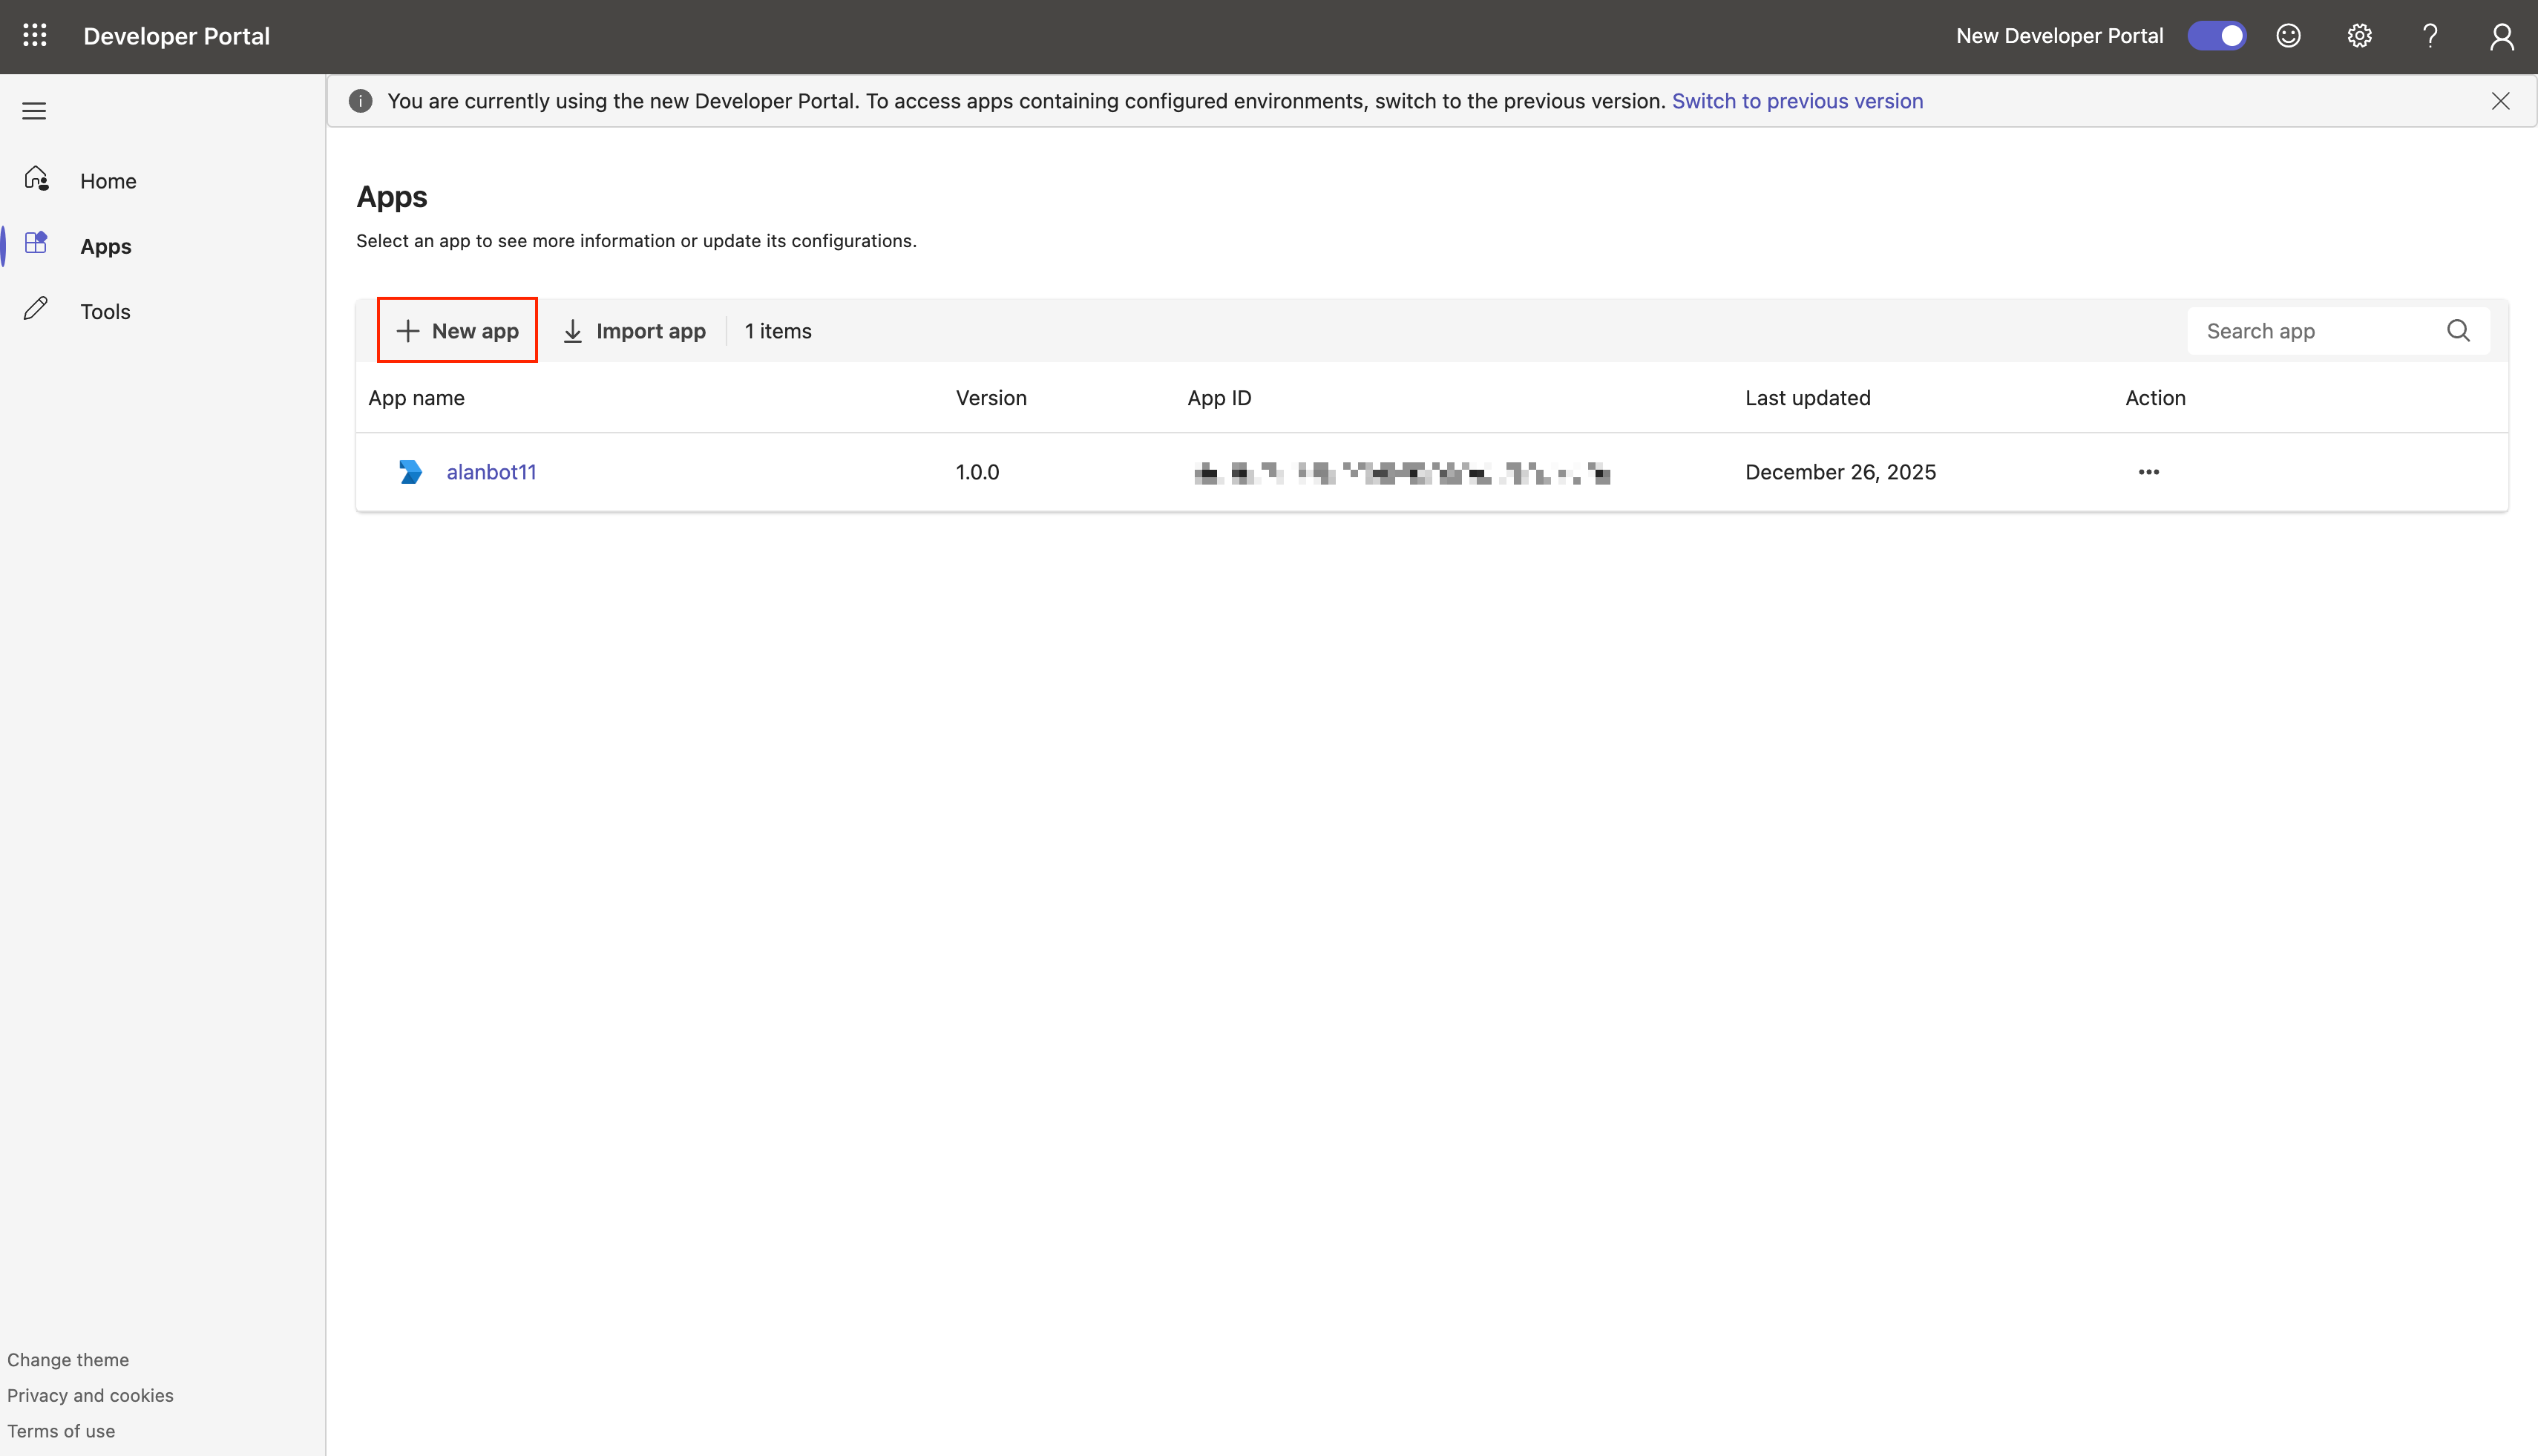
App feature > Bot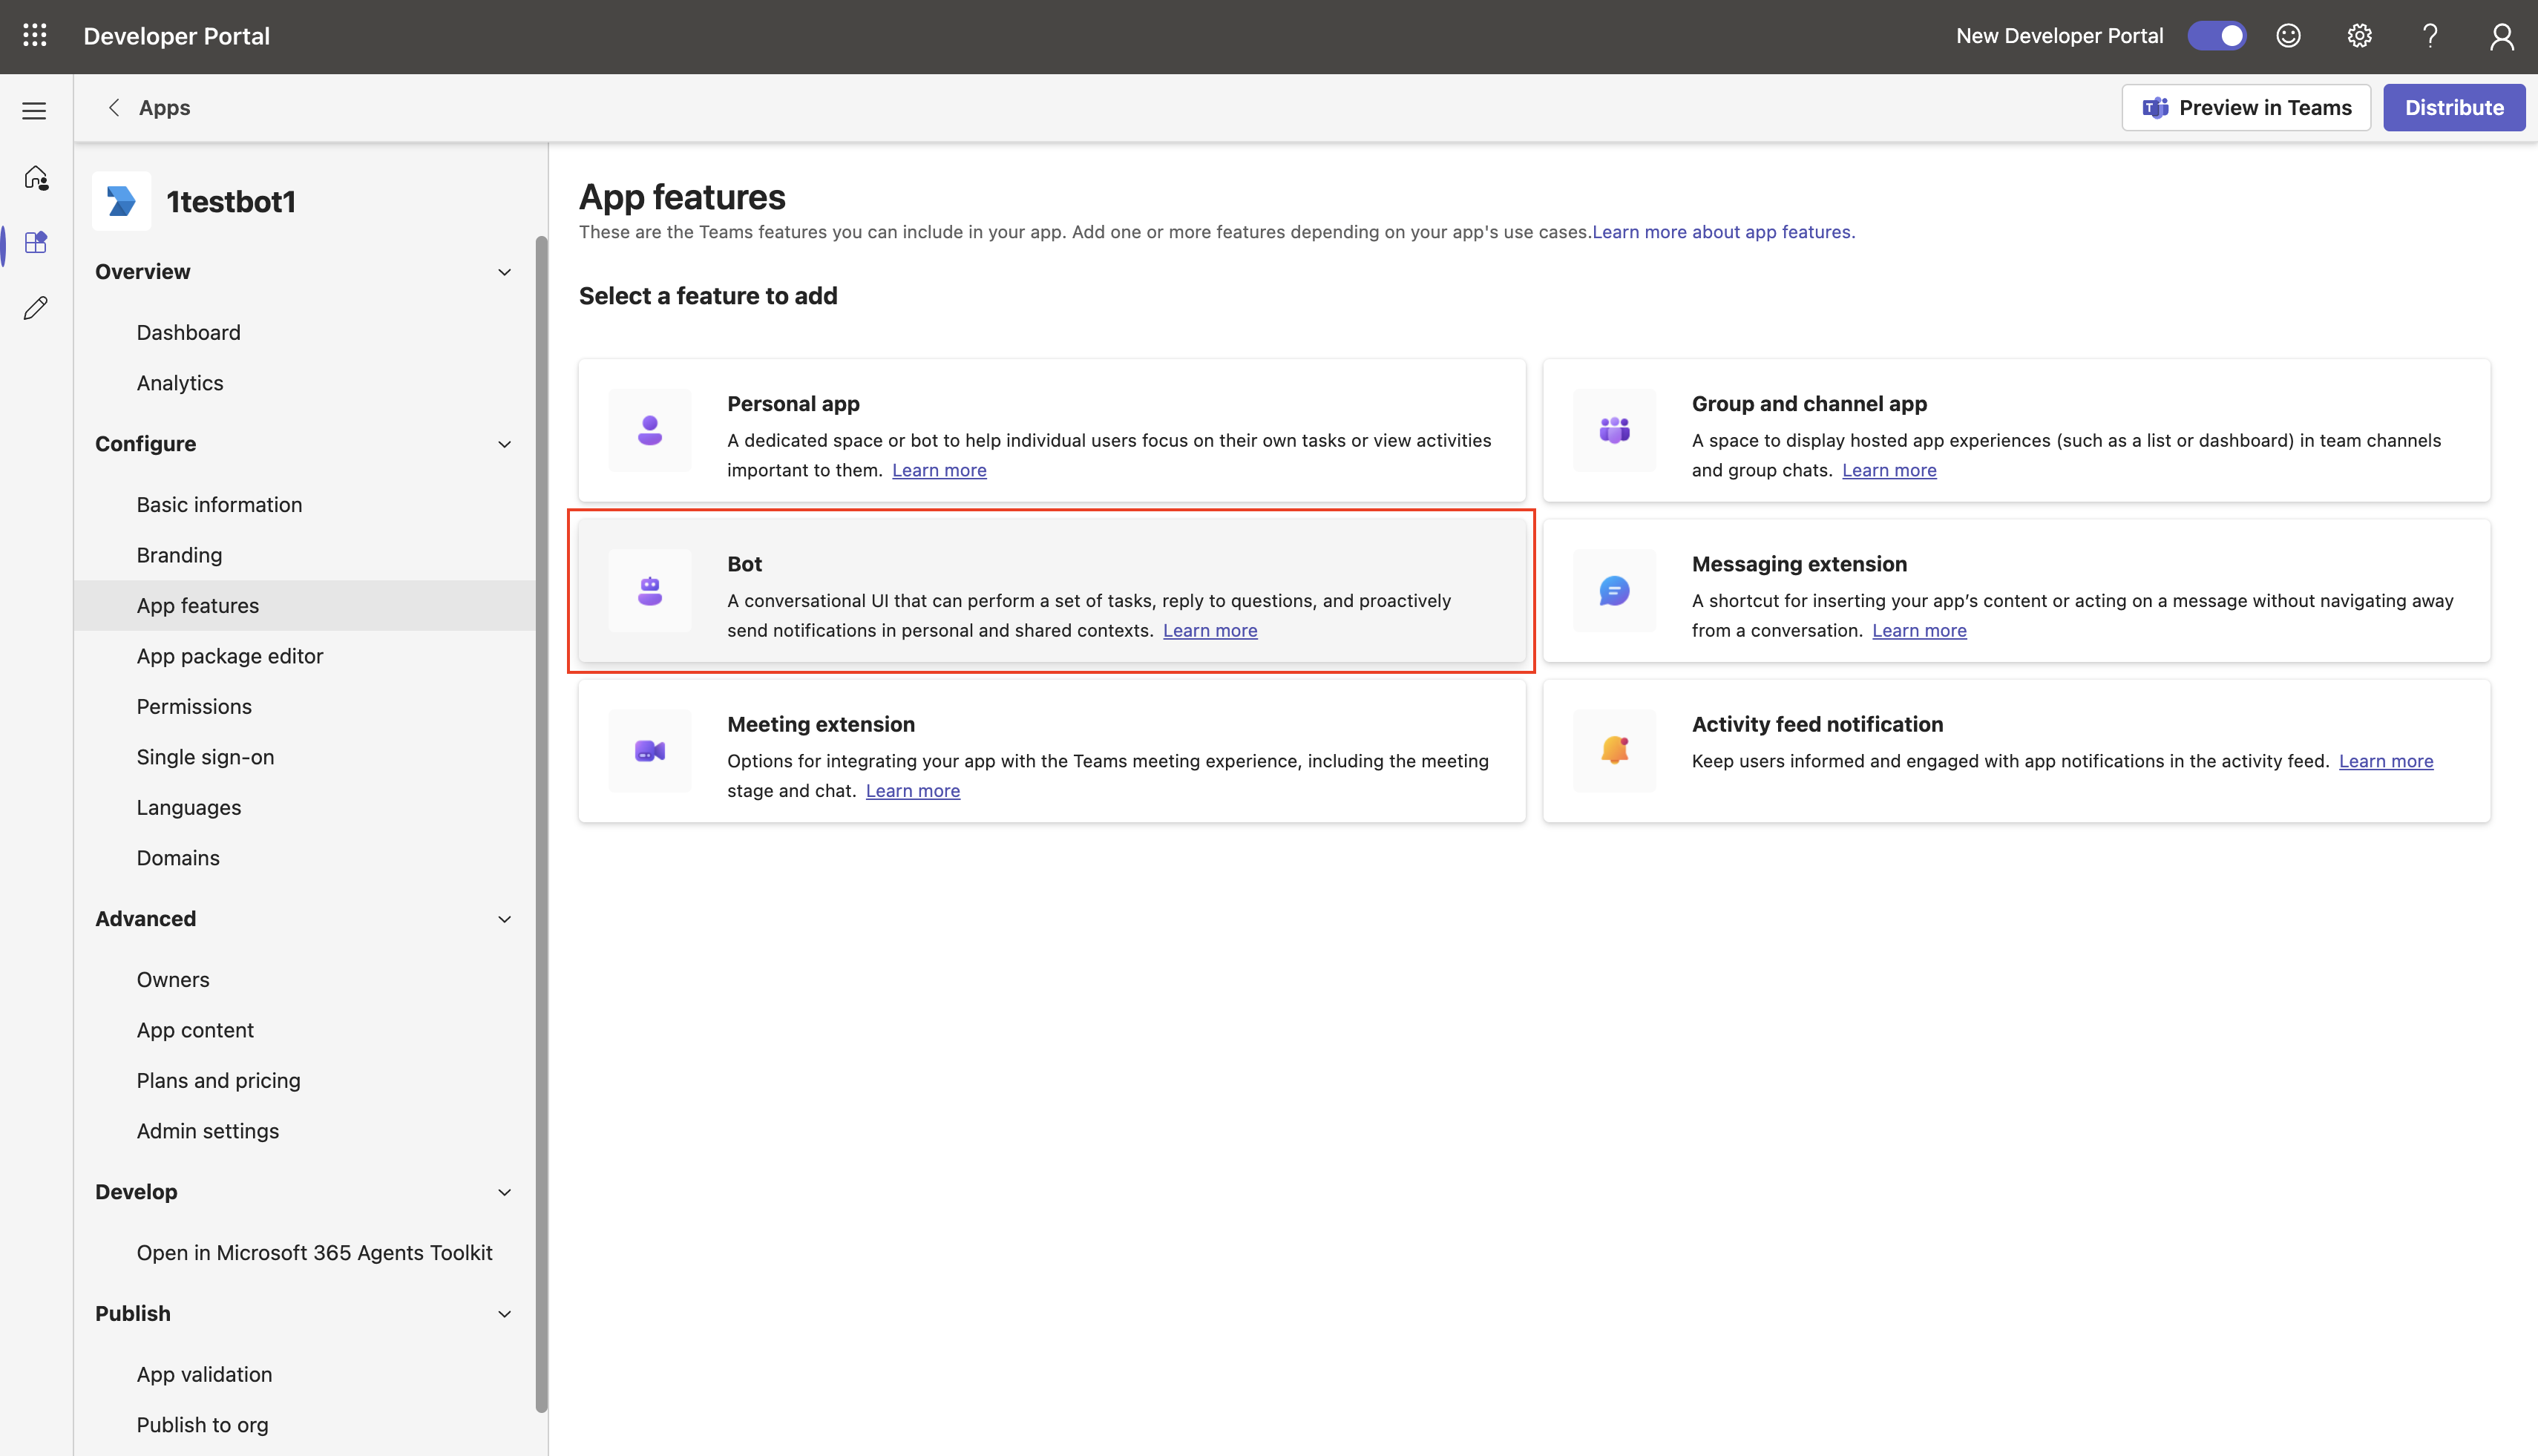
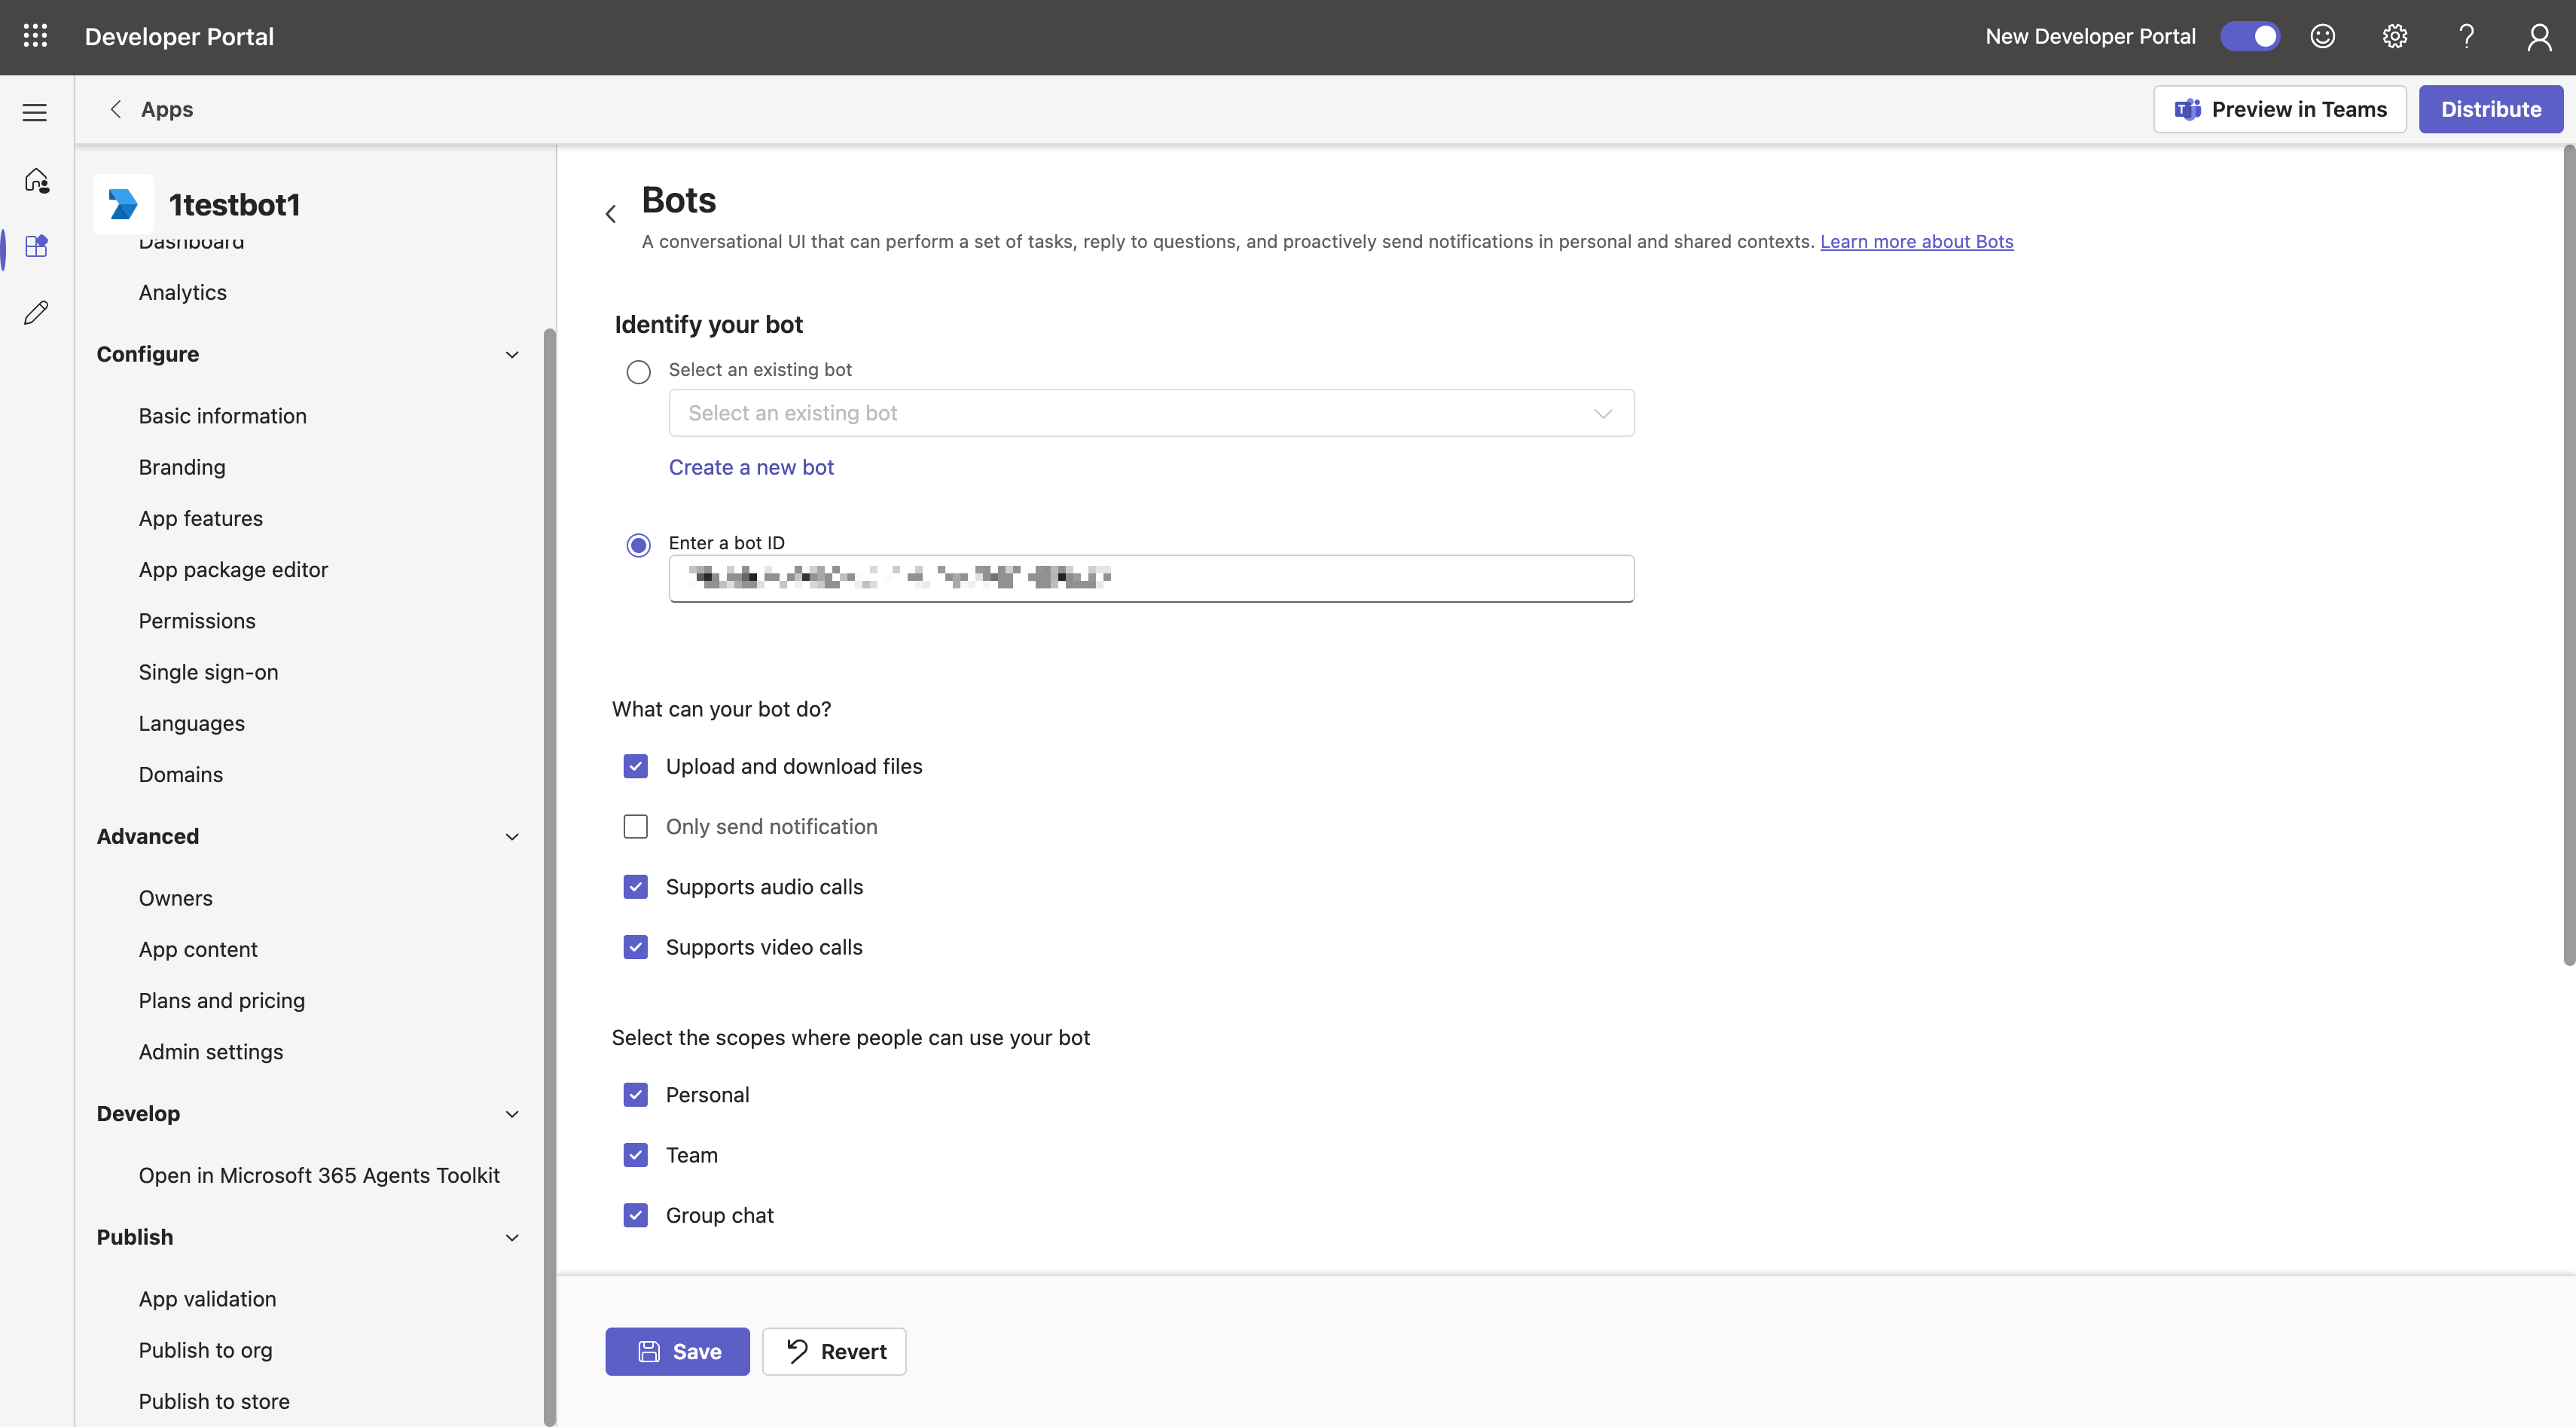
Enter the Microsoft App ID you just obtained in the Enter a bot ID field and check the options shown
Note: Do NOT check Only send notification
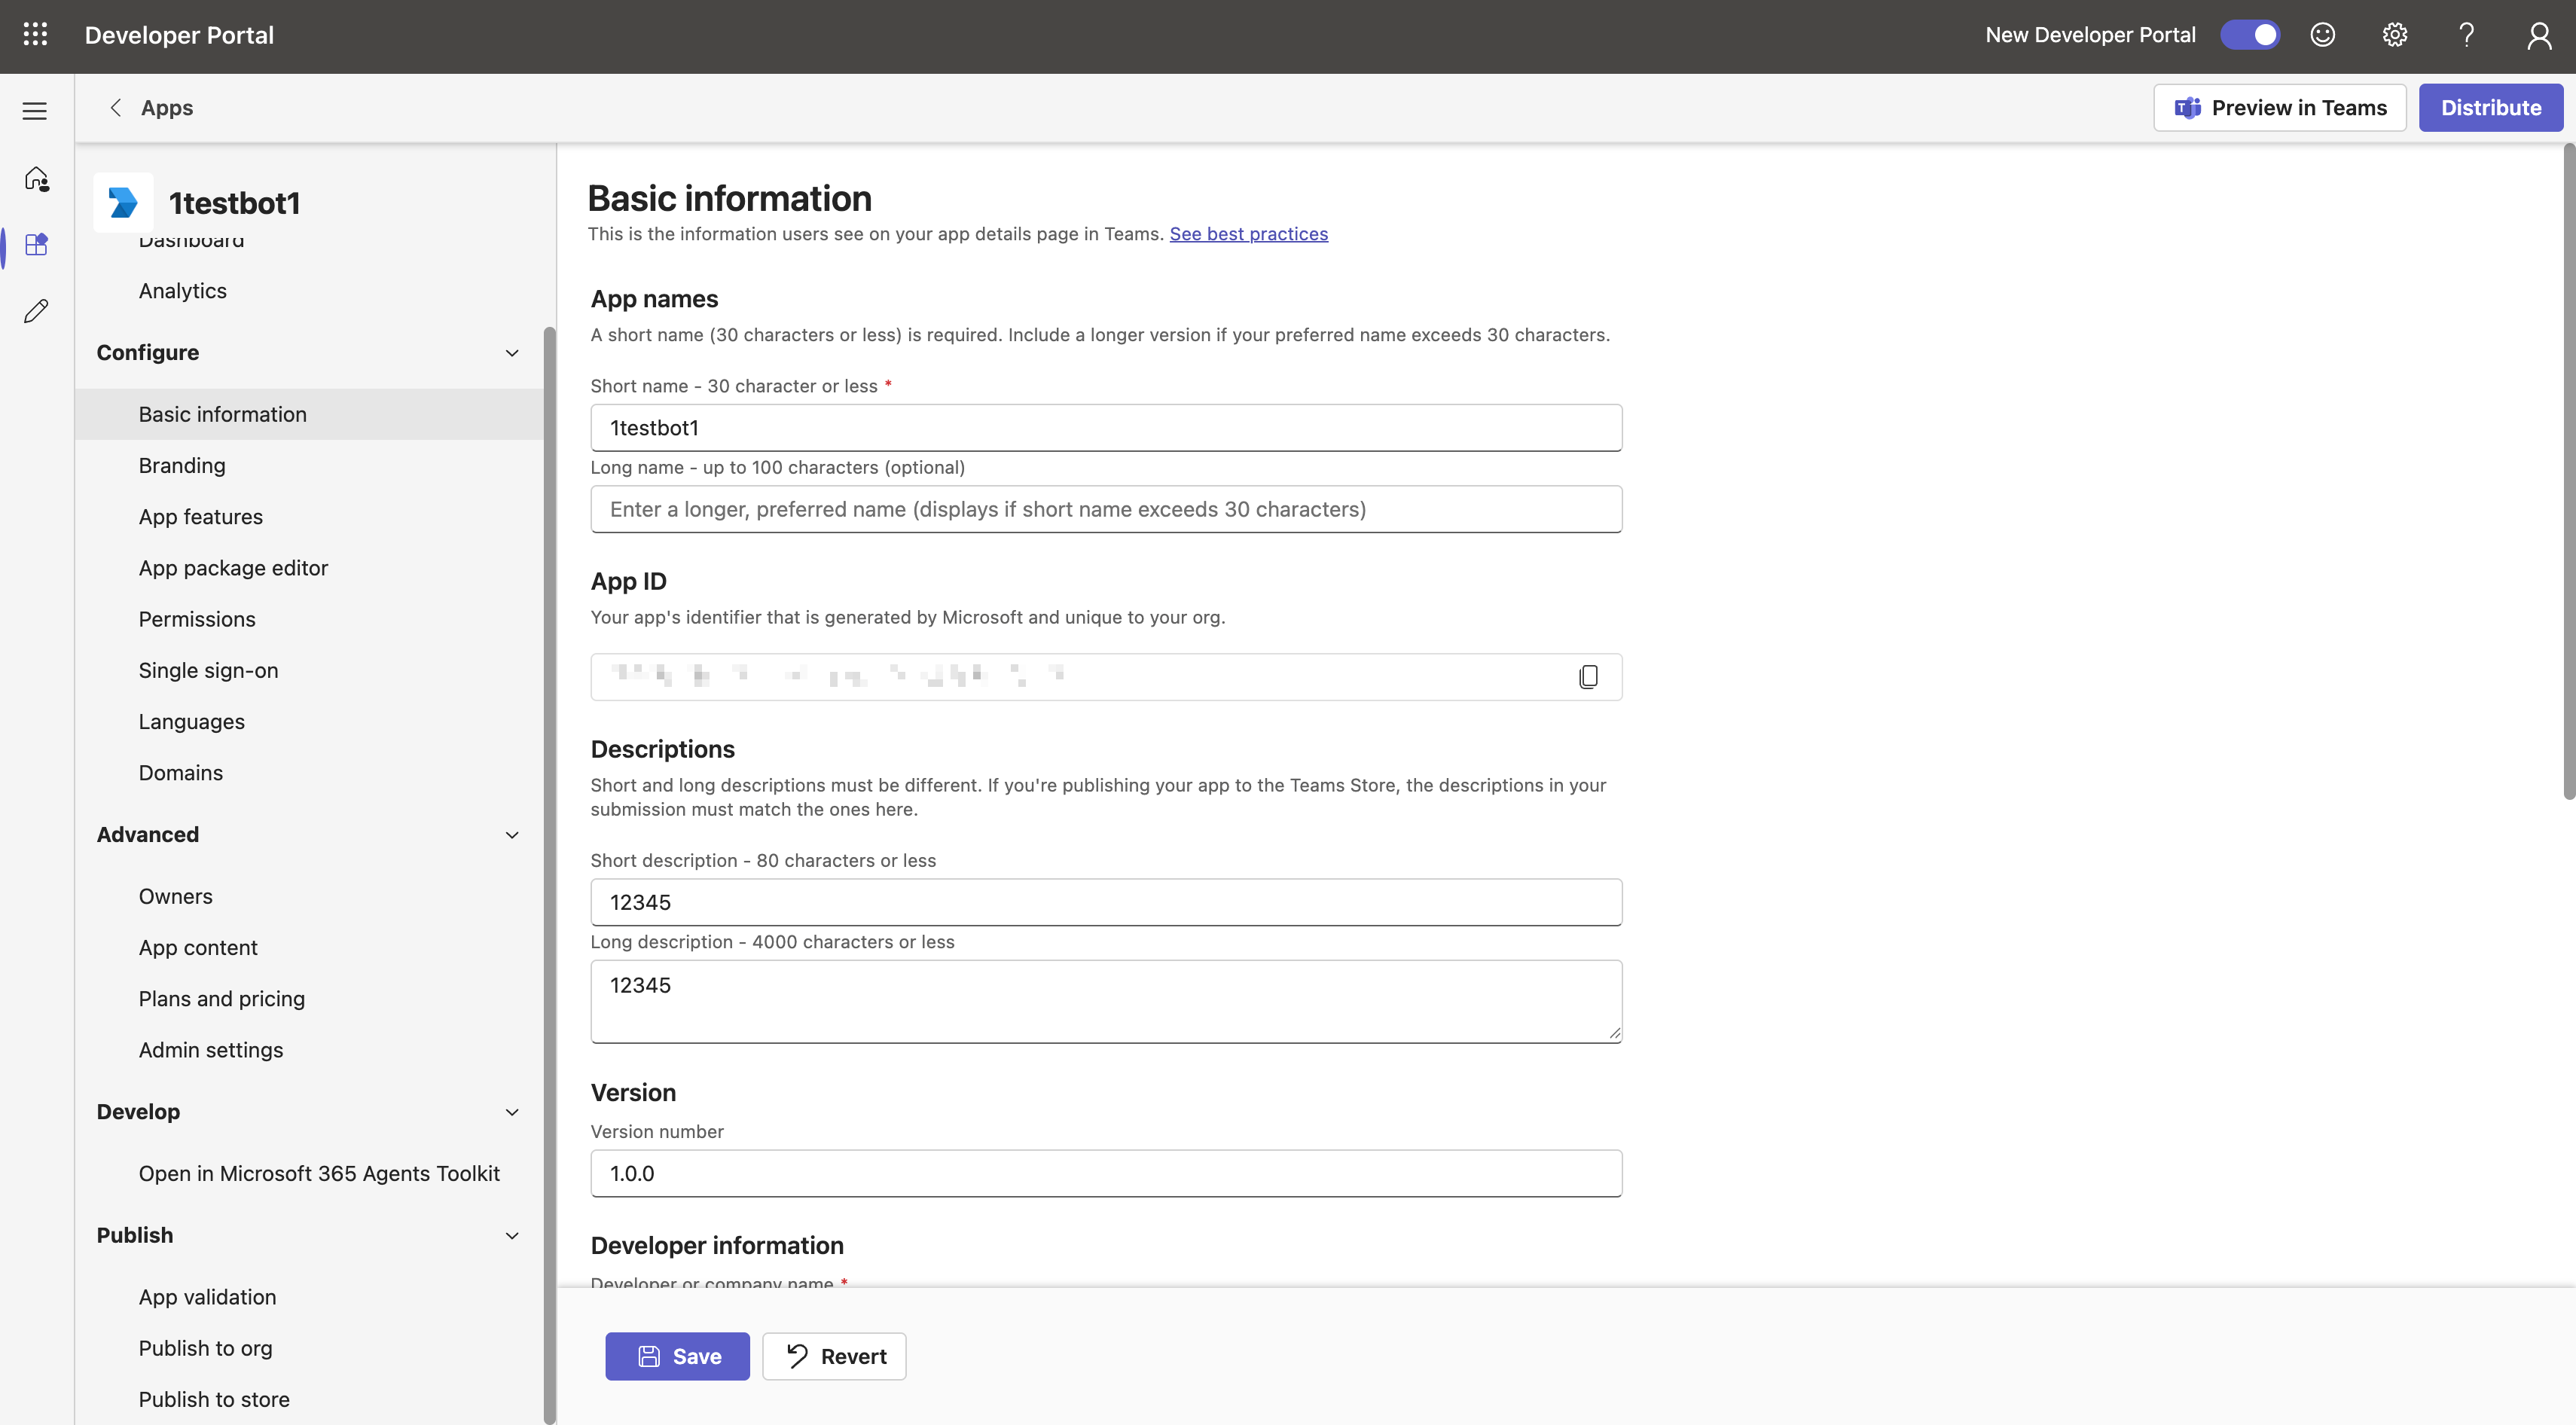
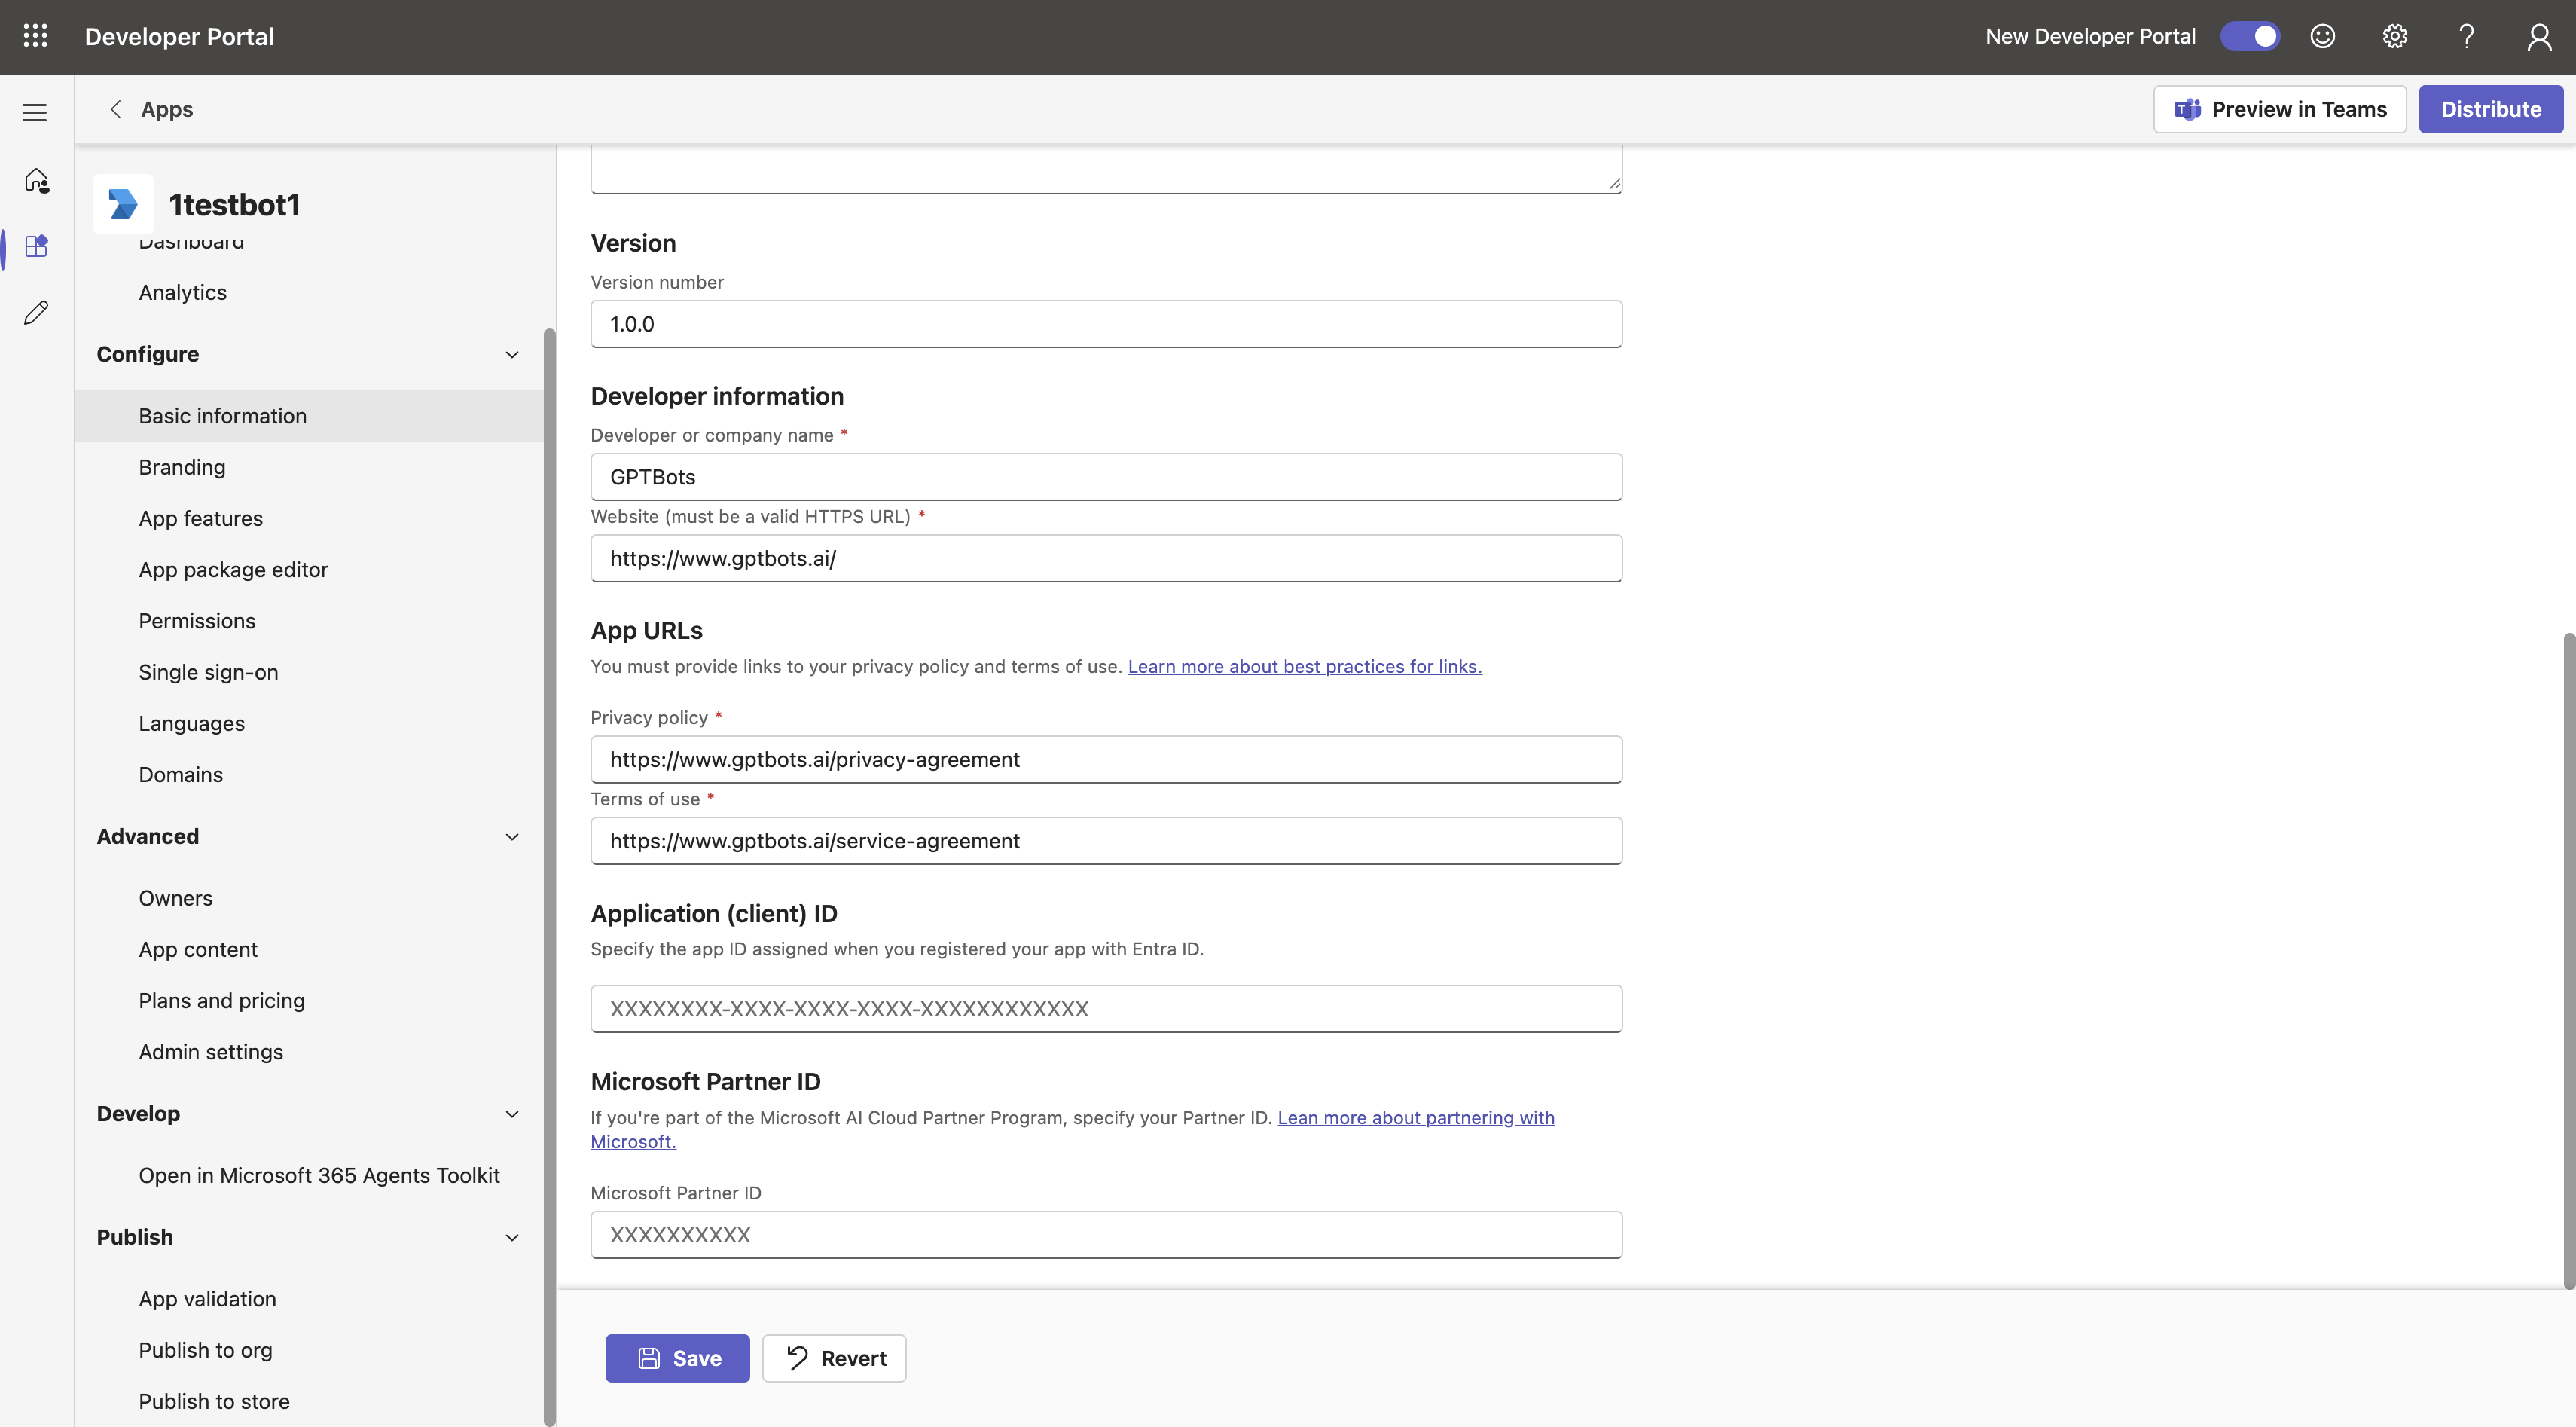
Go to Basic information, fill in all required fields, and click Save
Note: Both fields under Descriptions are also required; be sure to complete them
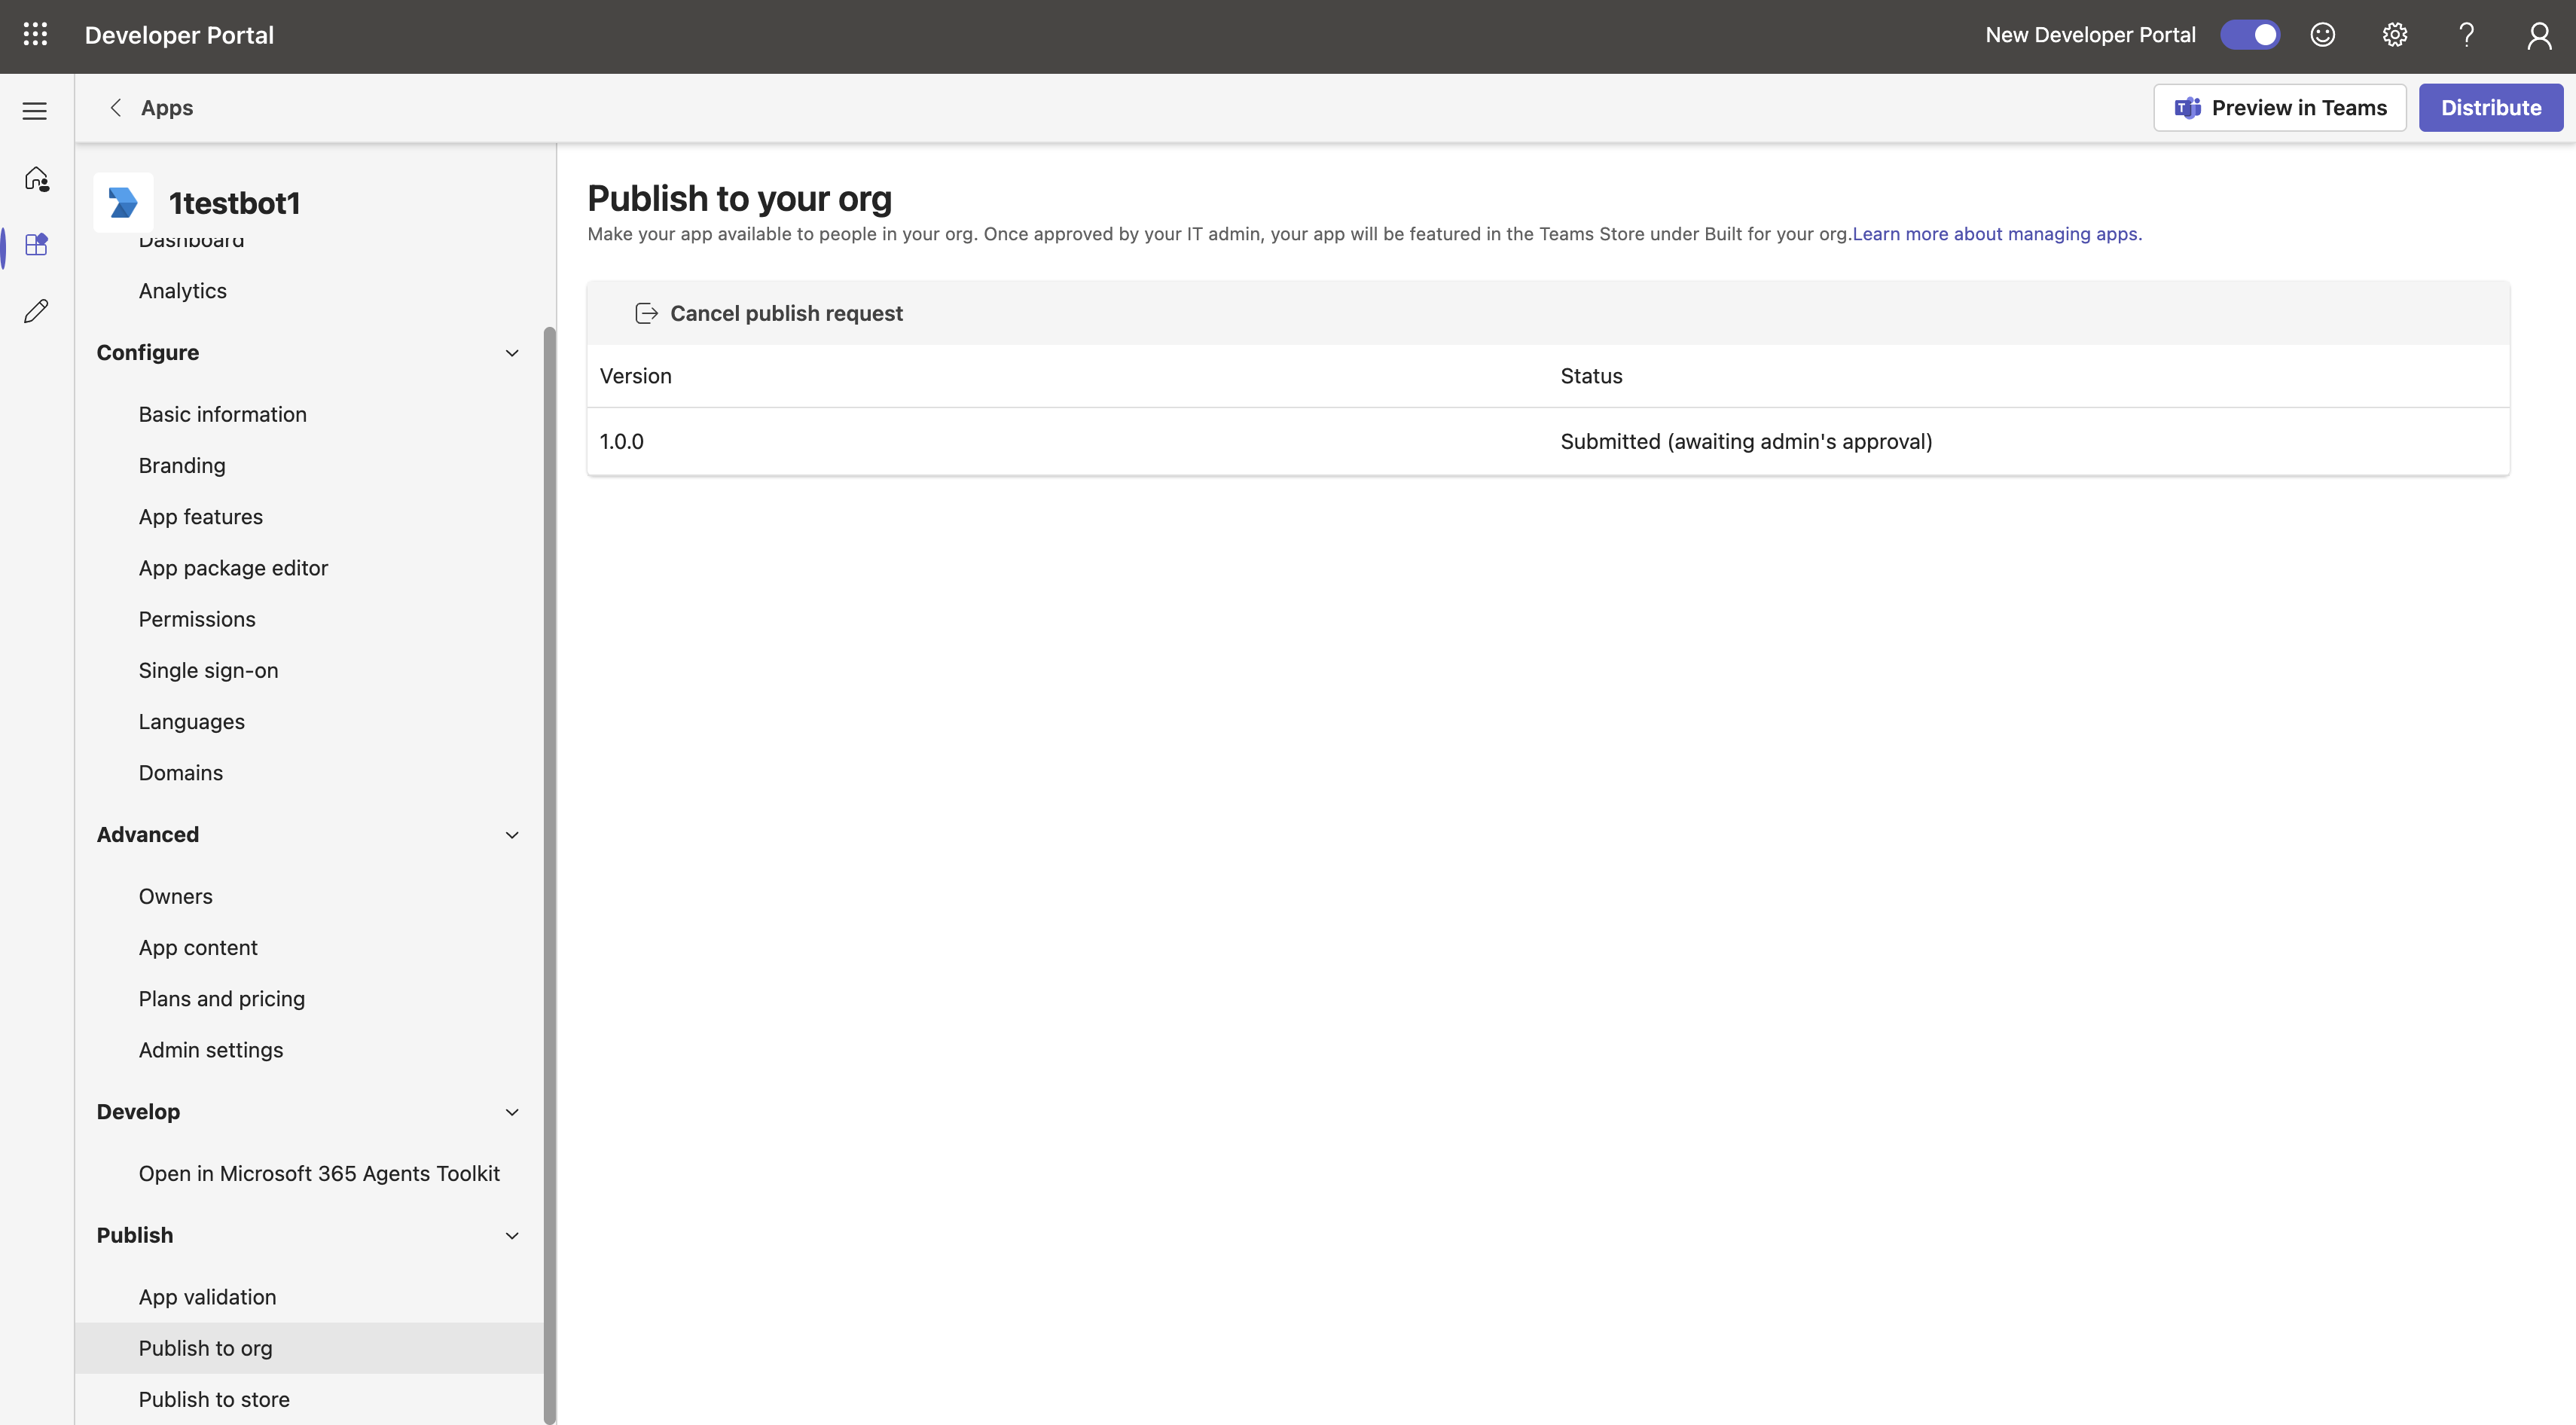
Next, publish this app. Go to Publish to org and click Get started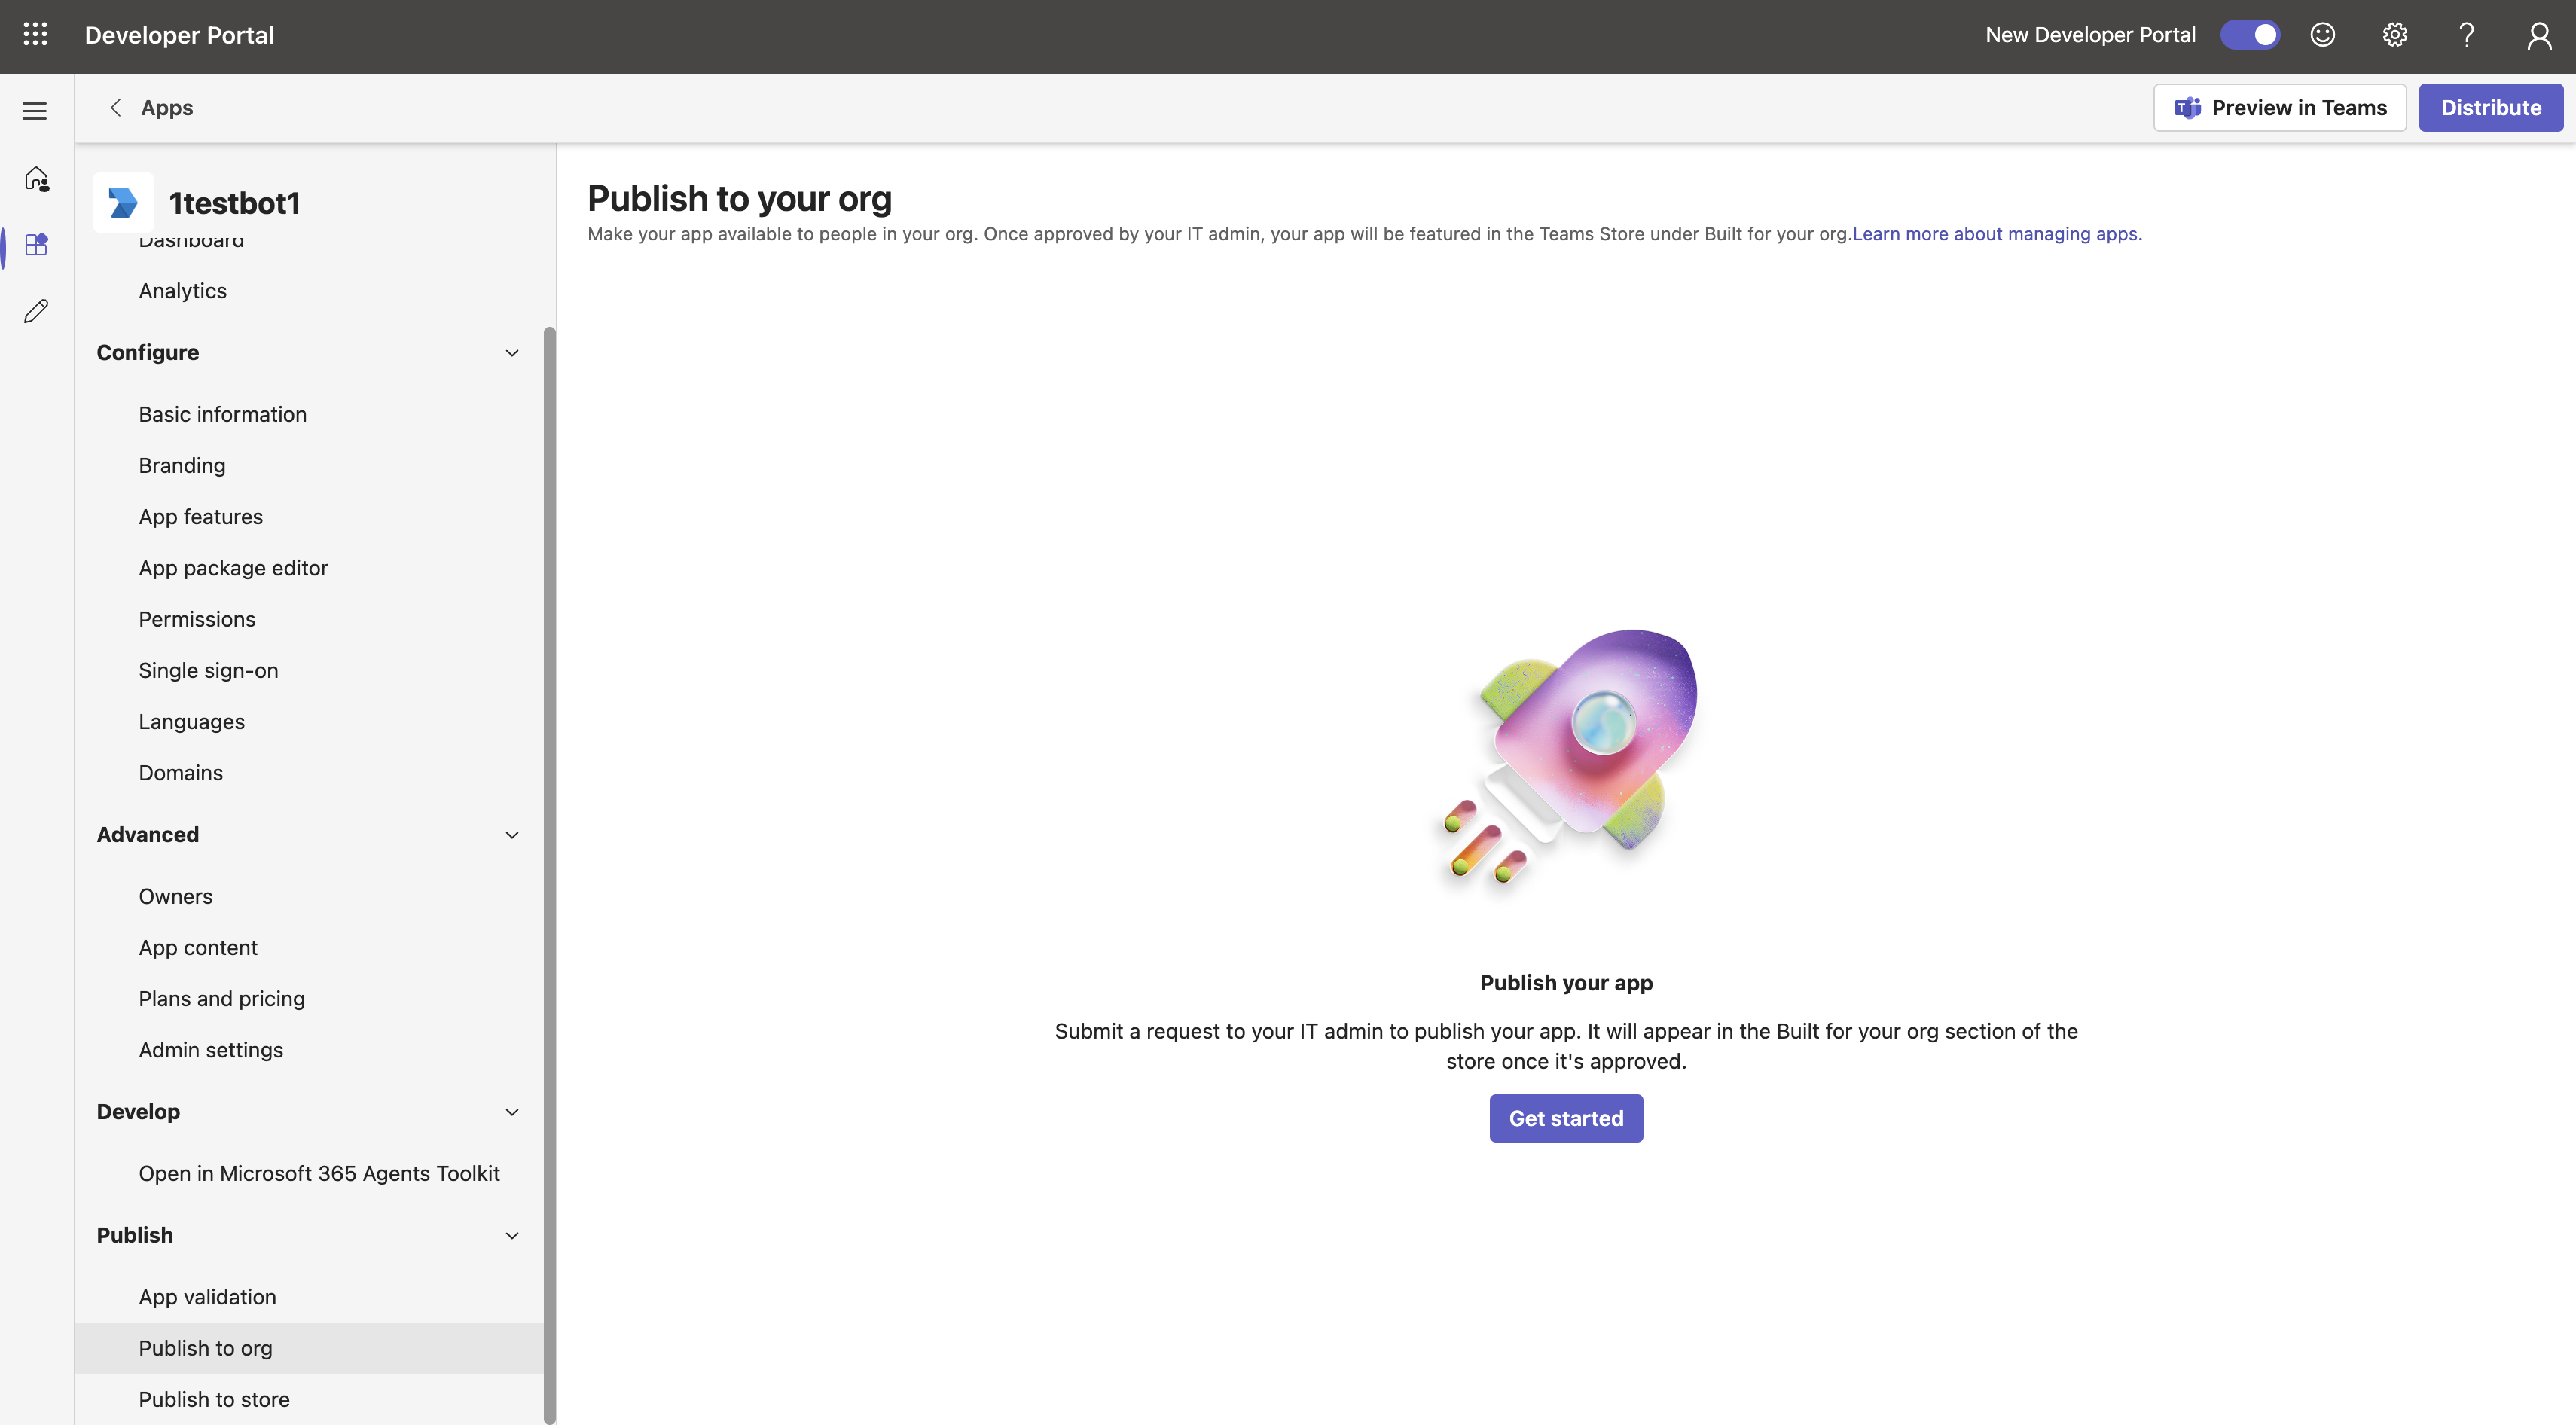
4. Review the Published App
Go to Microsoft Teams Admin Center to approve the app's publication
Teams apps > Manage apps > search for the app name in the search box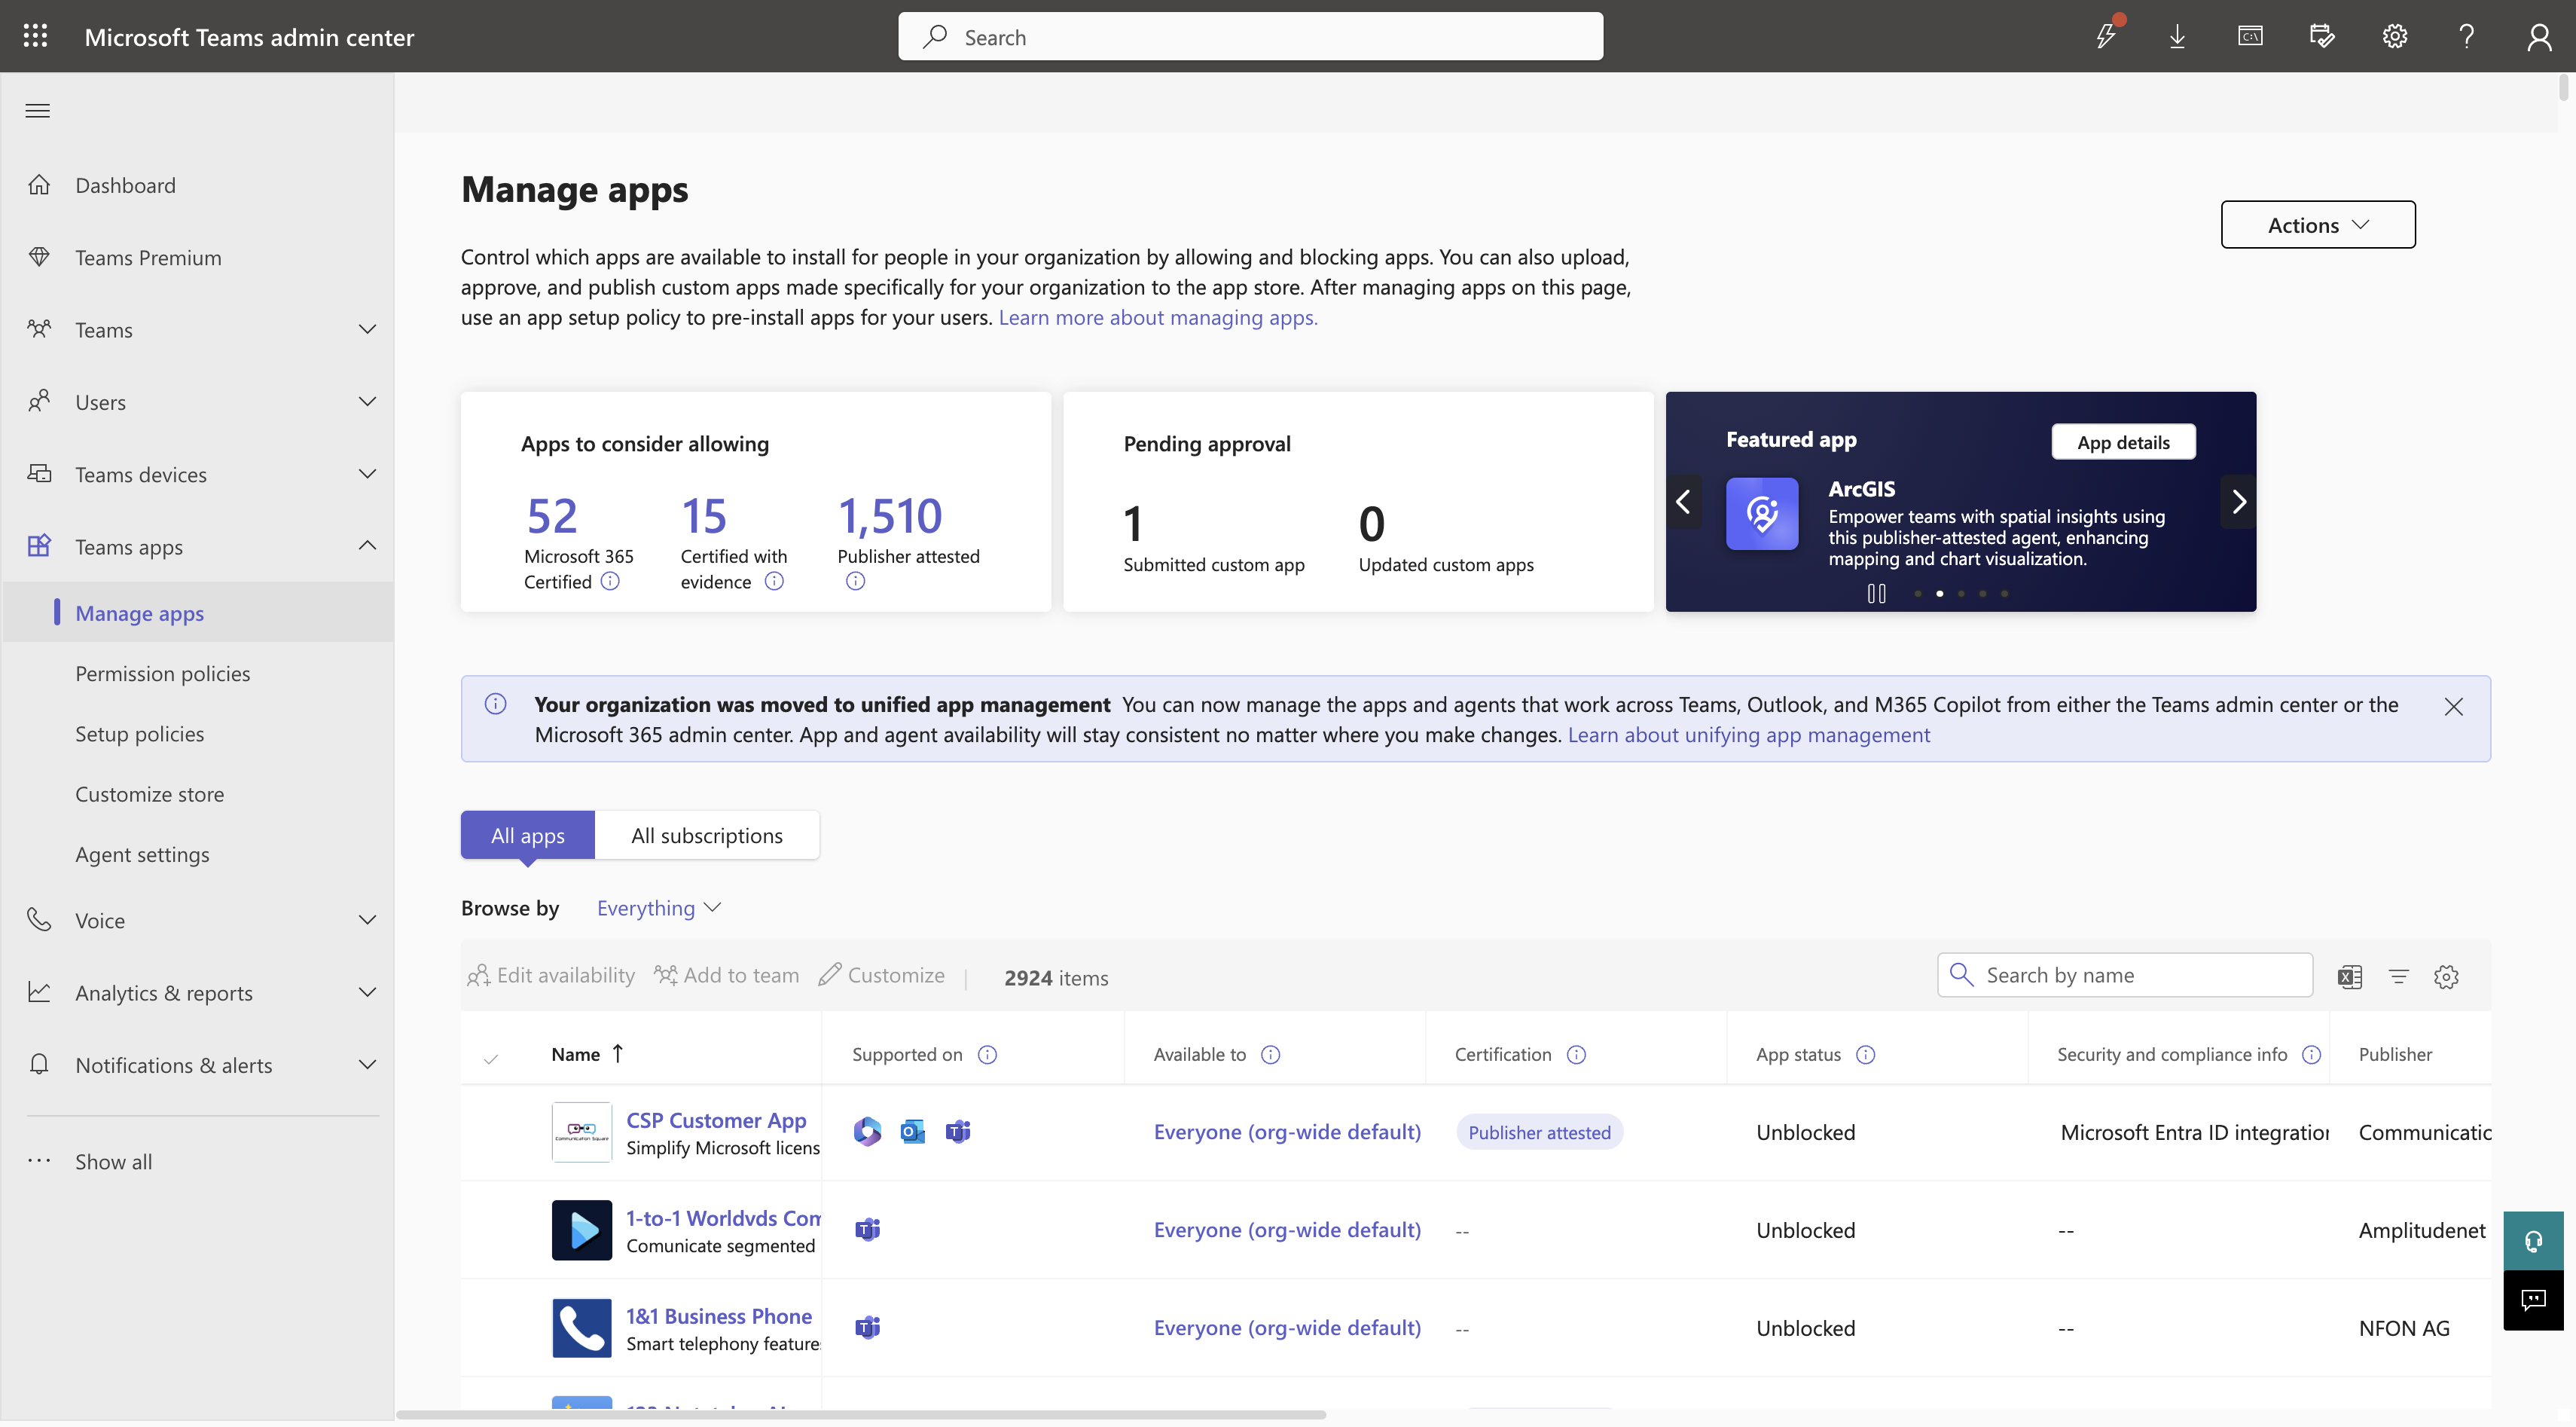

Click Publish to complete the entire integration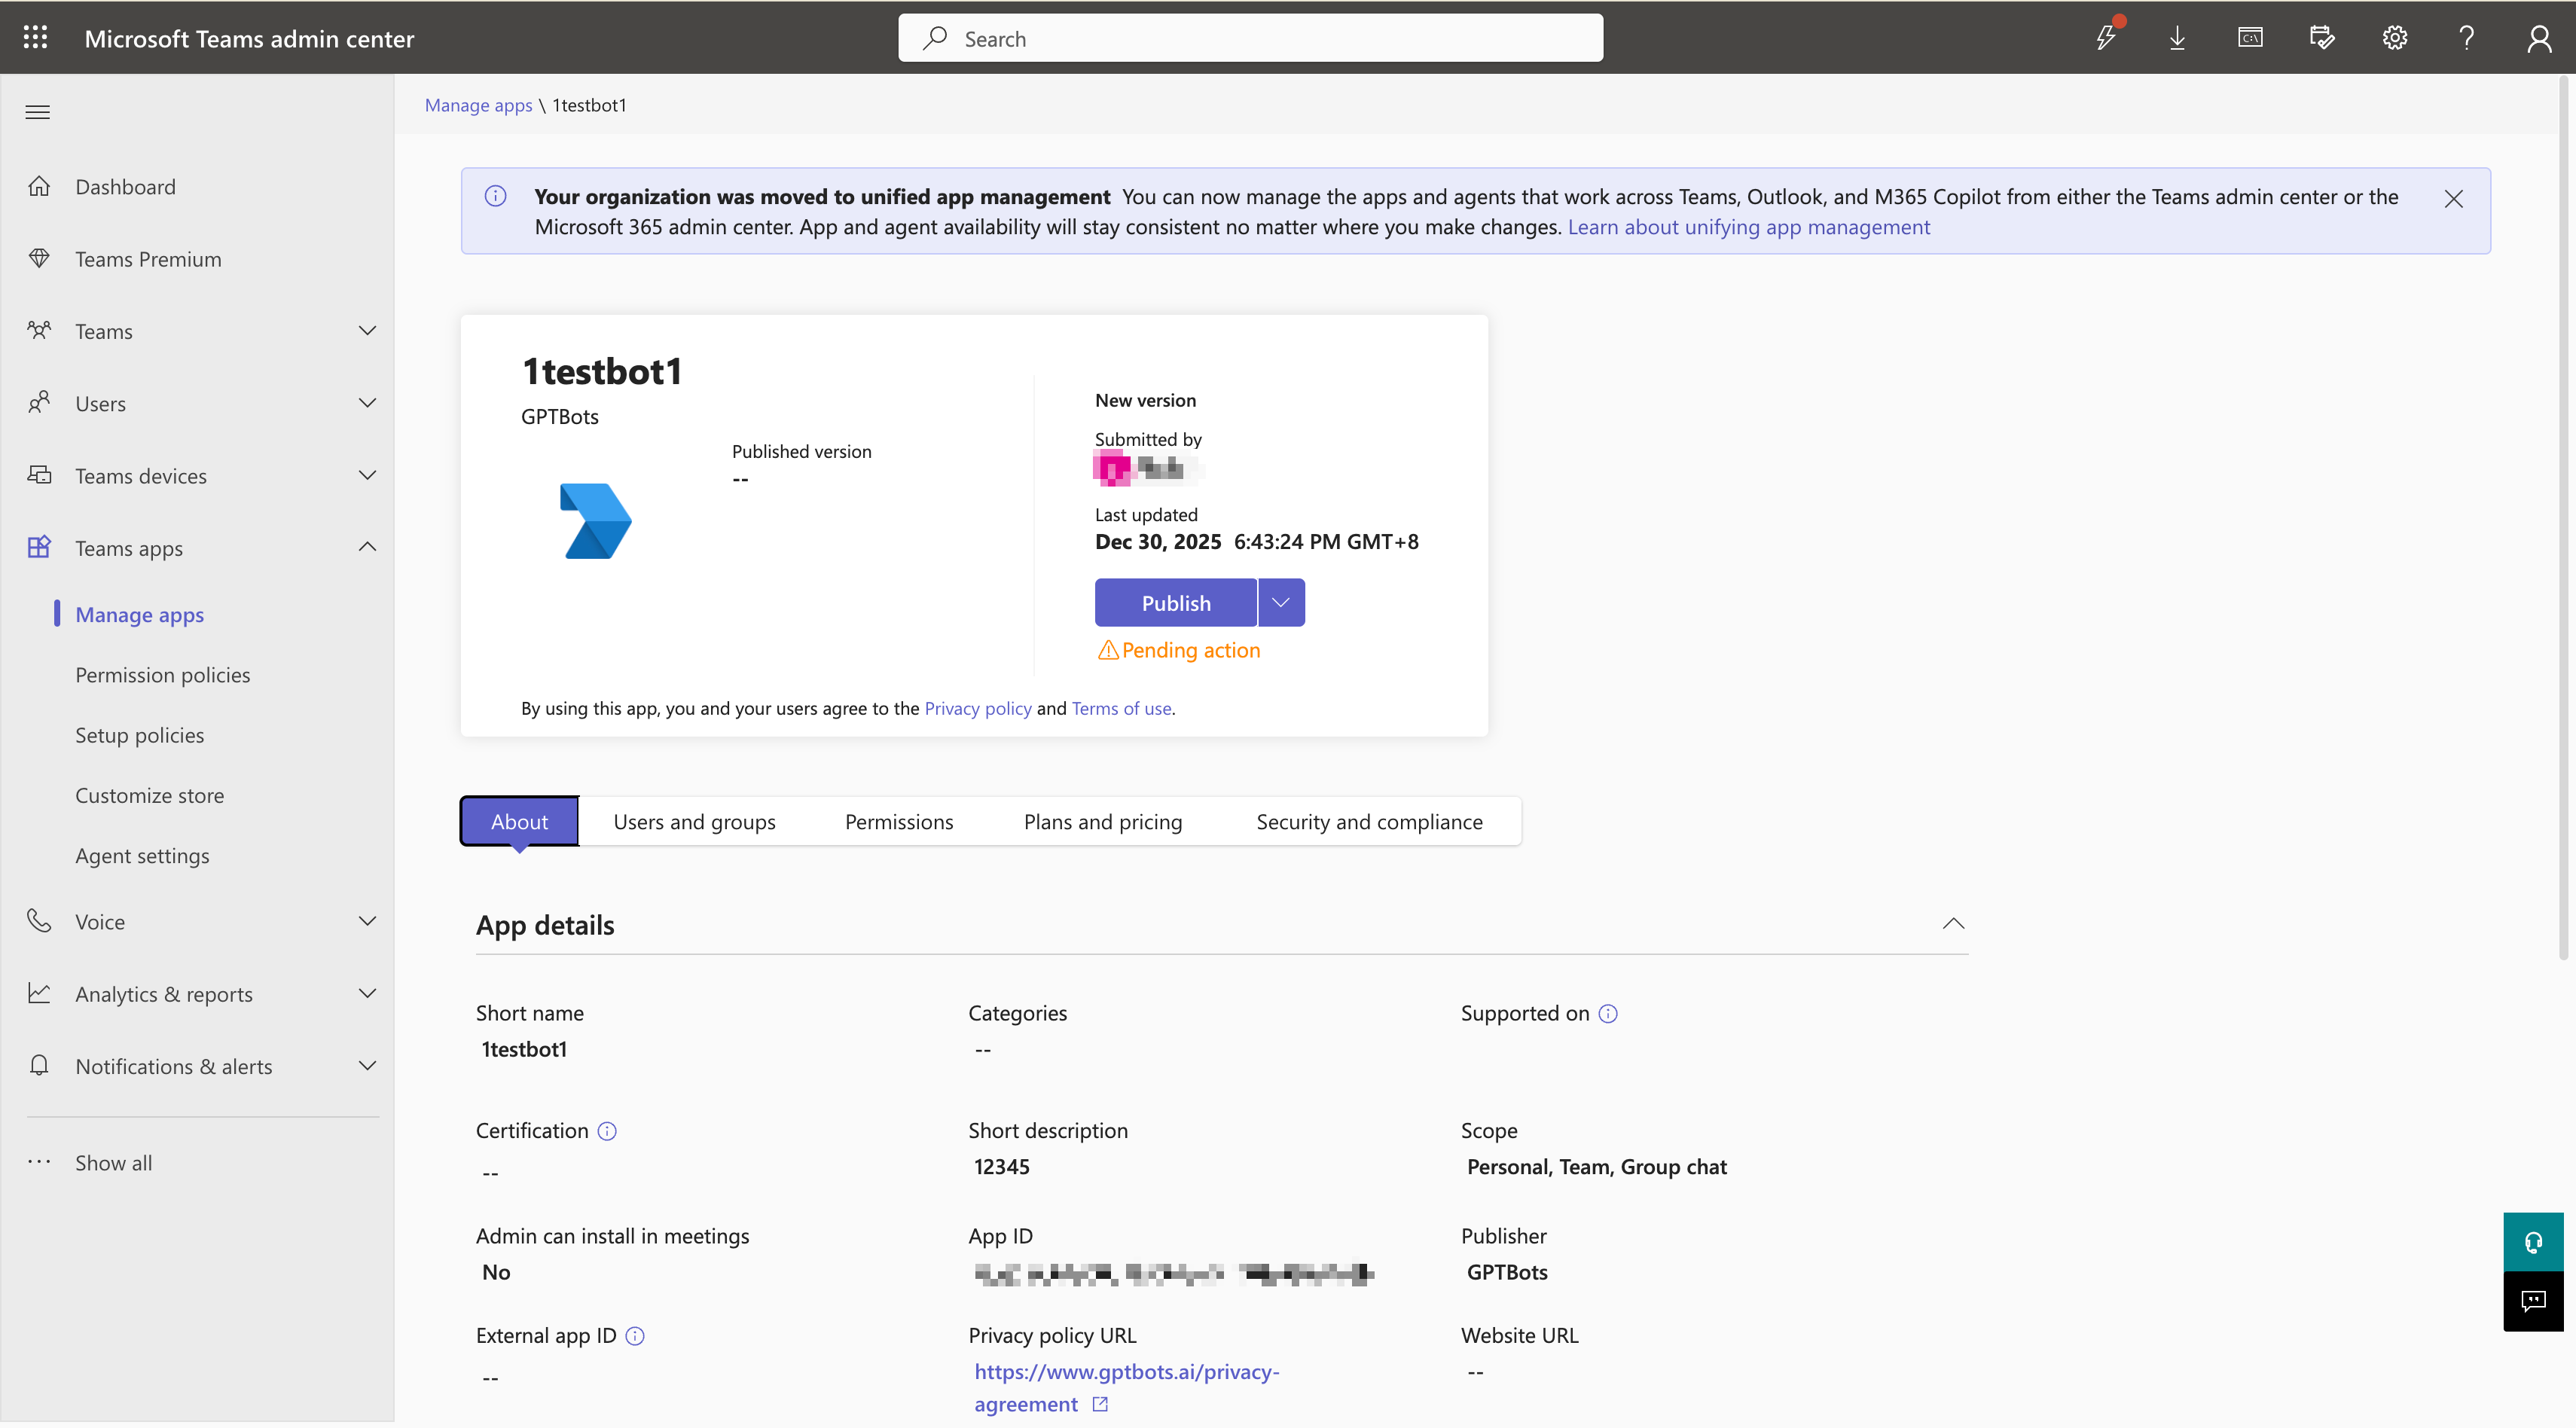
5. Use the Bot in Teams
Go to Teams > Apps > find the bot > click Add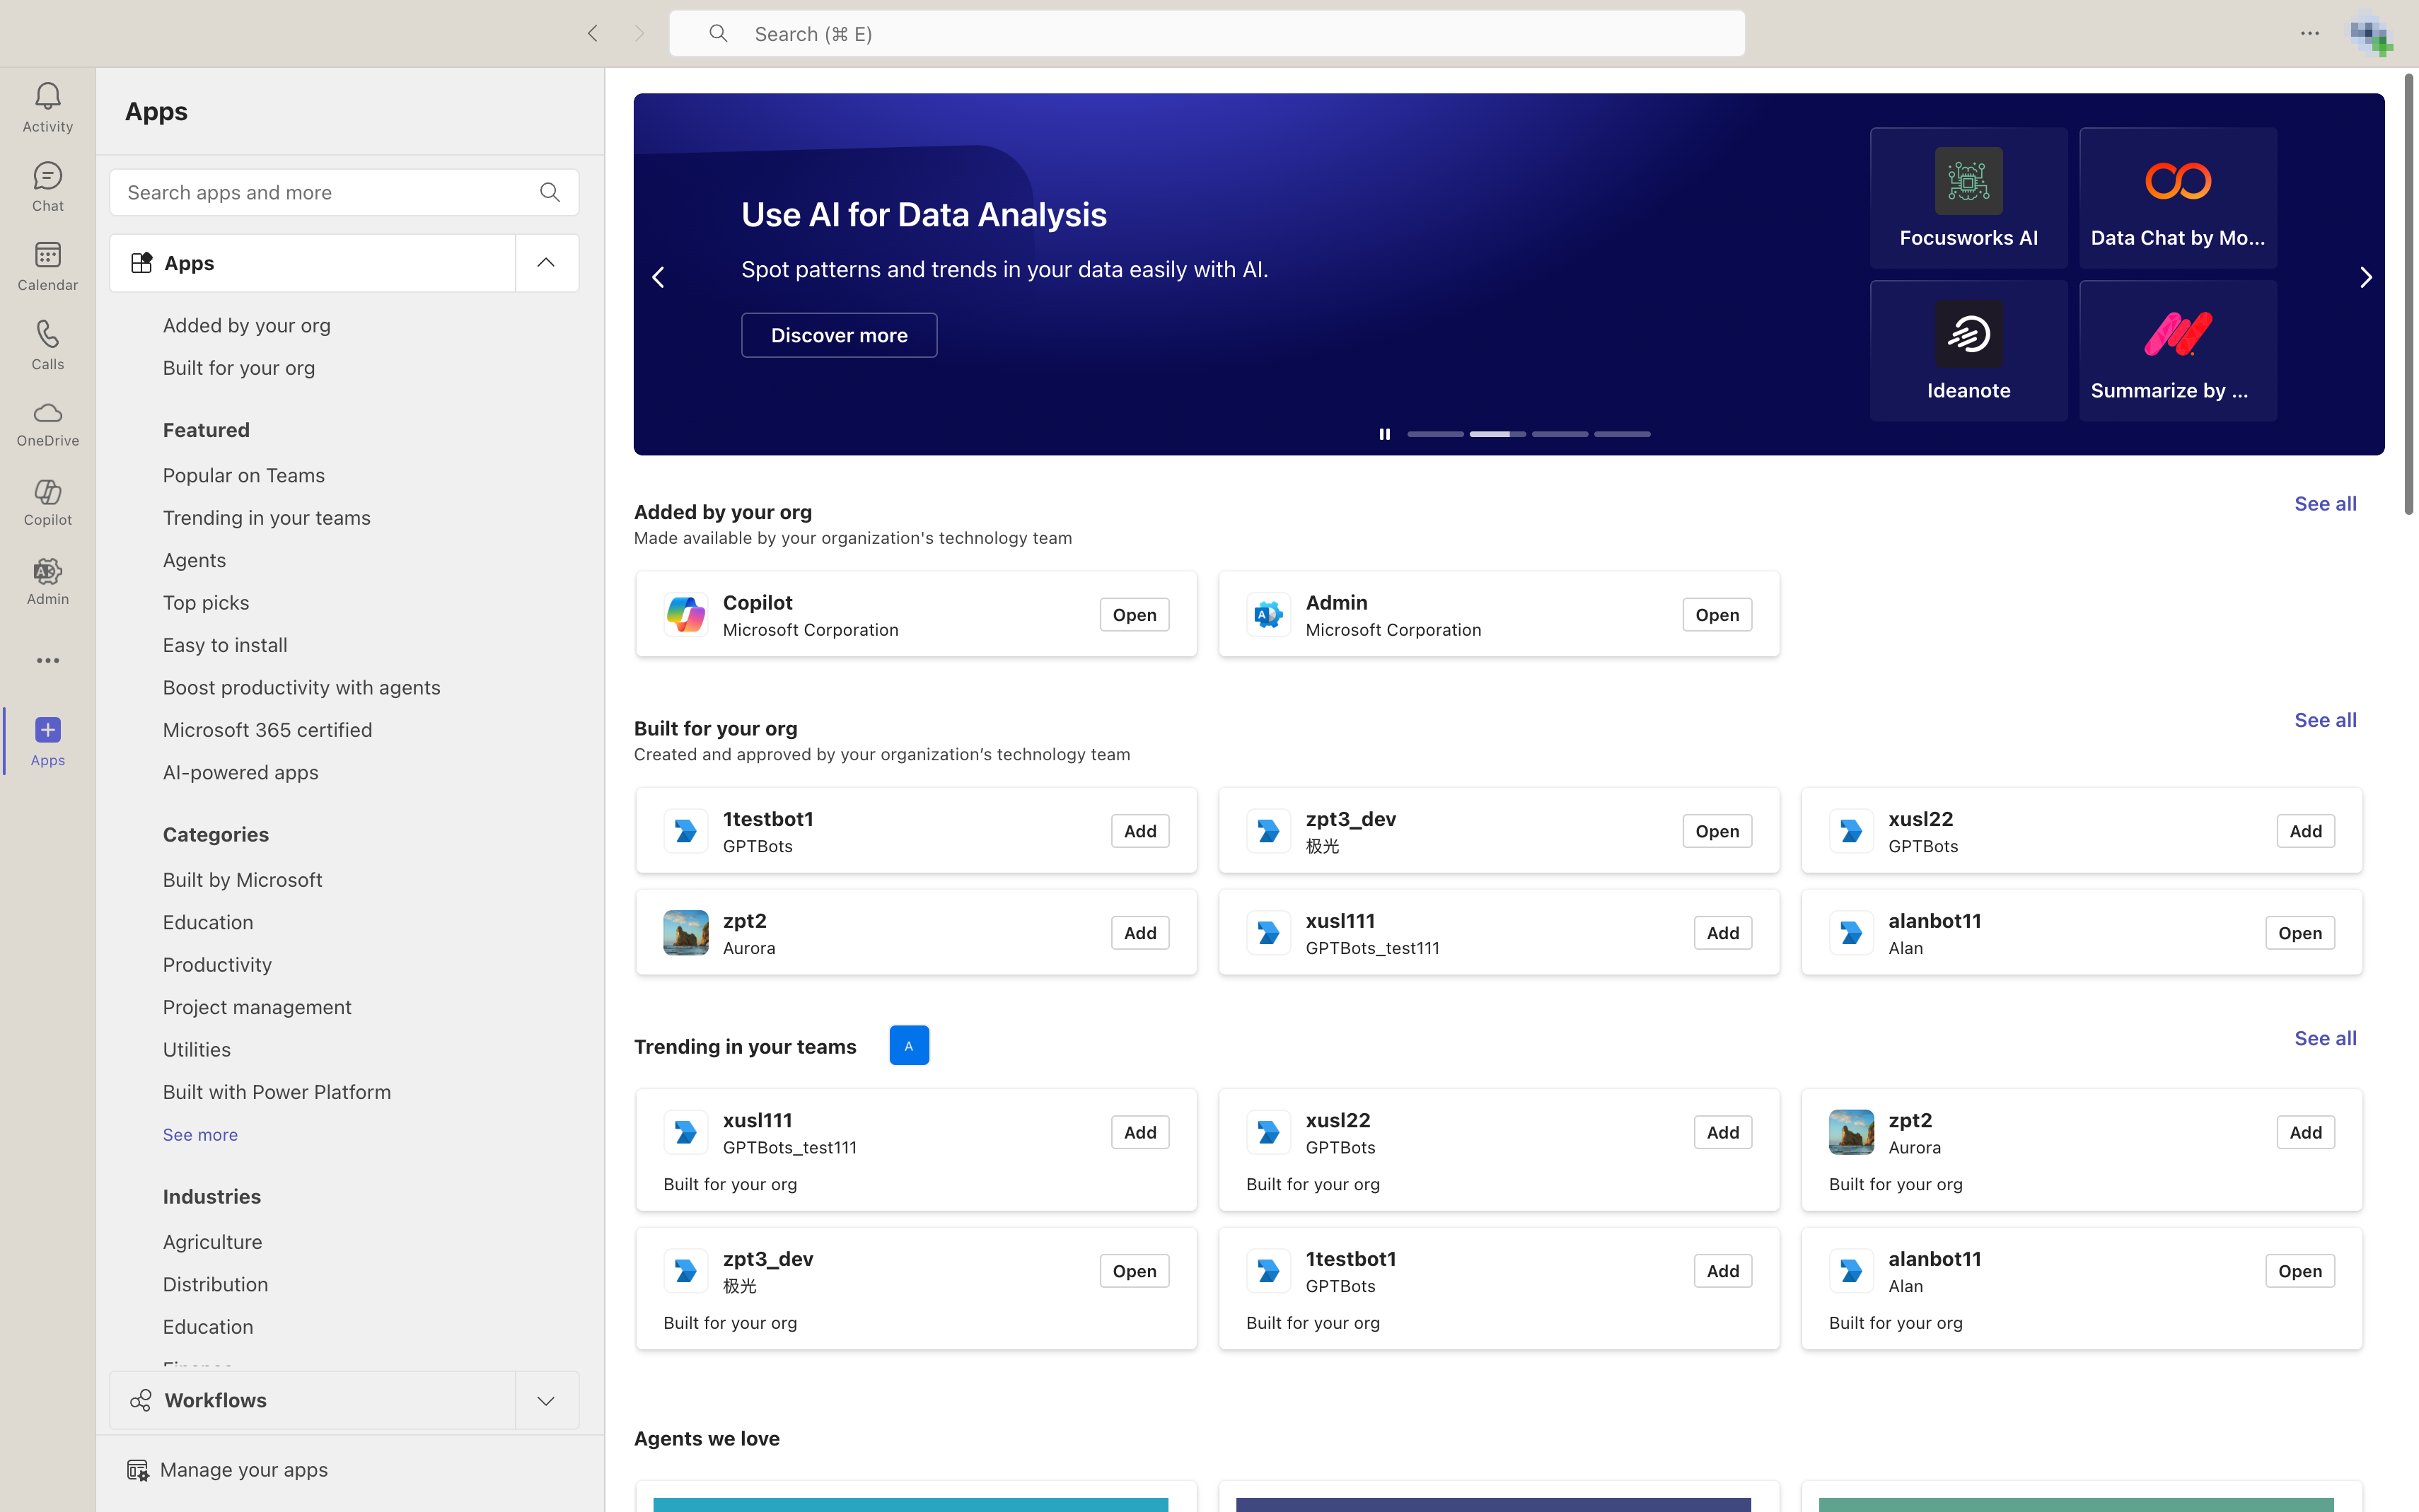
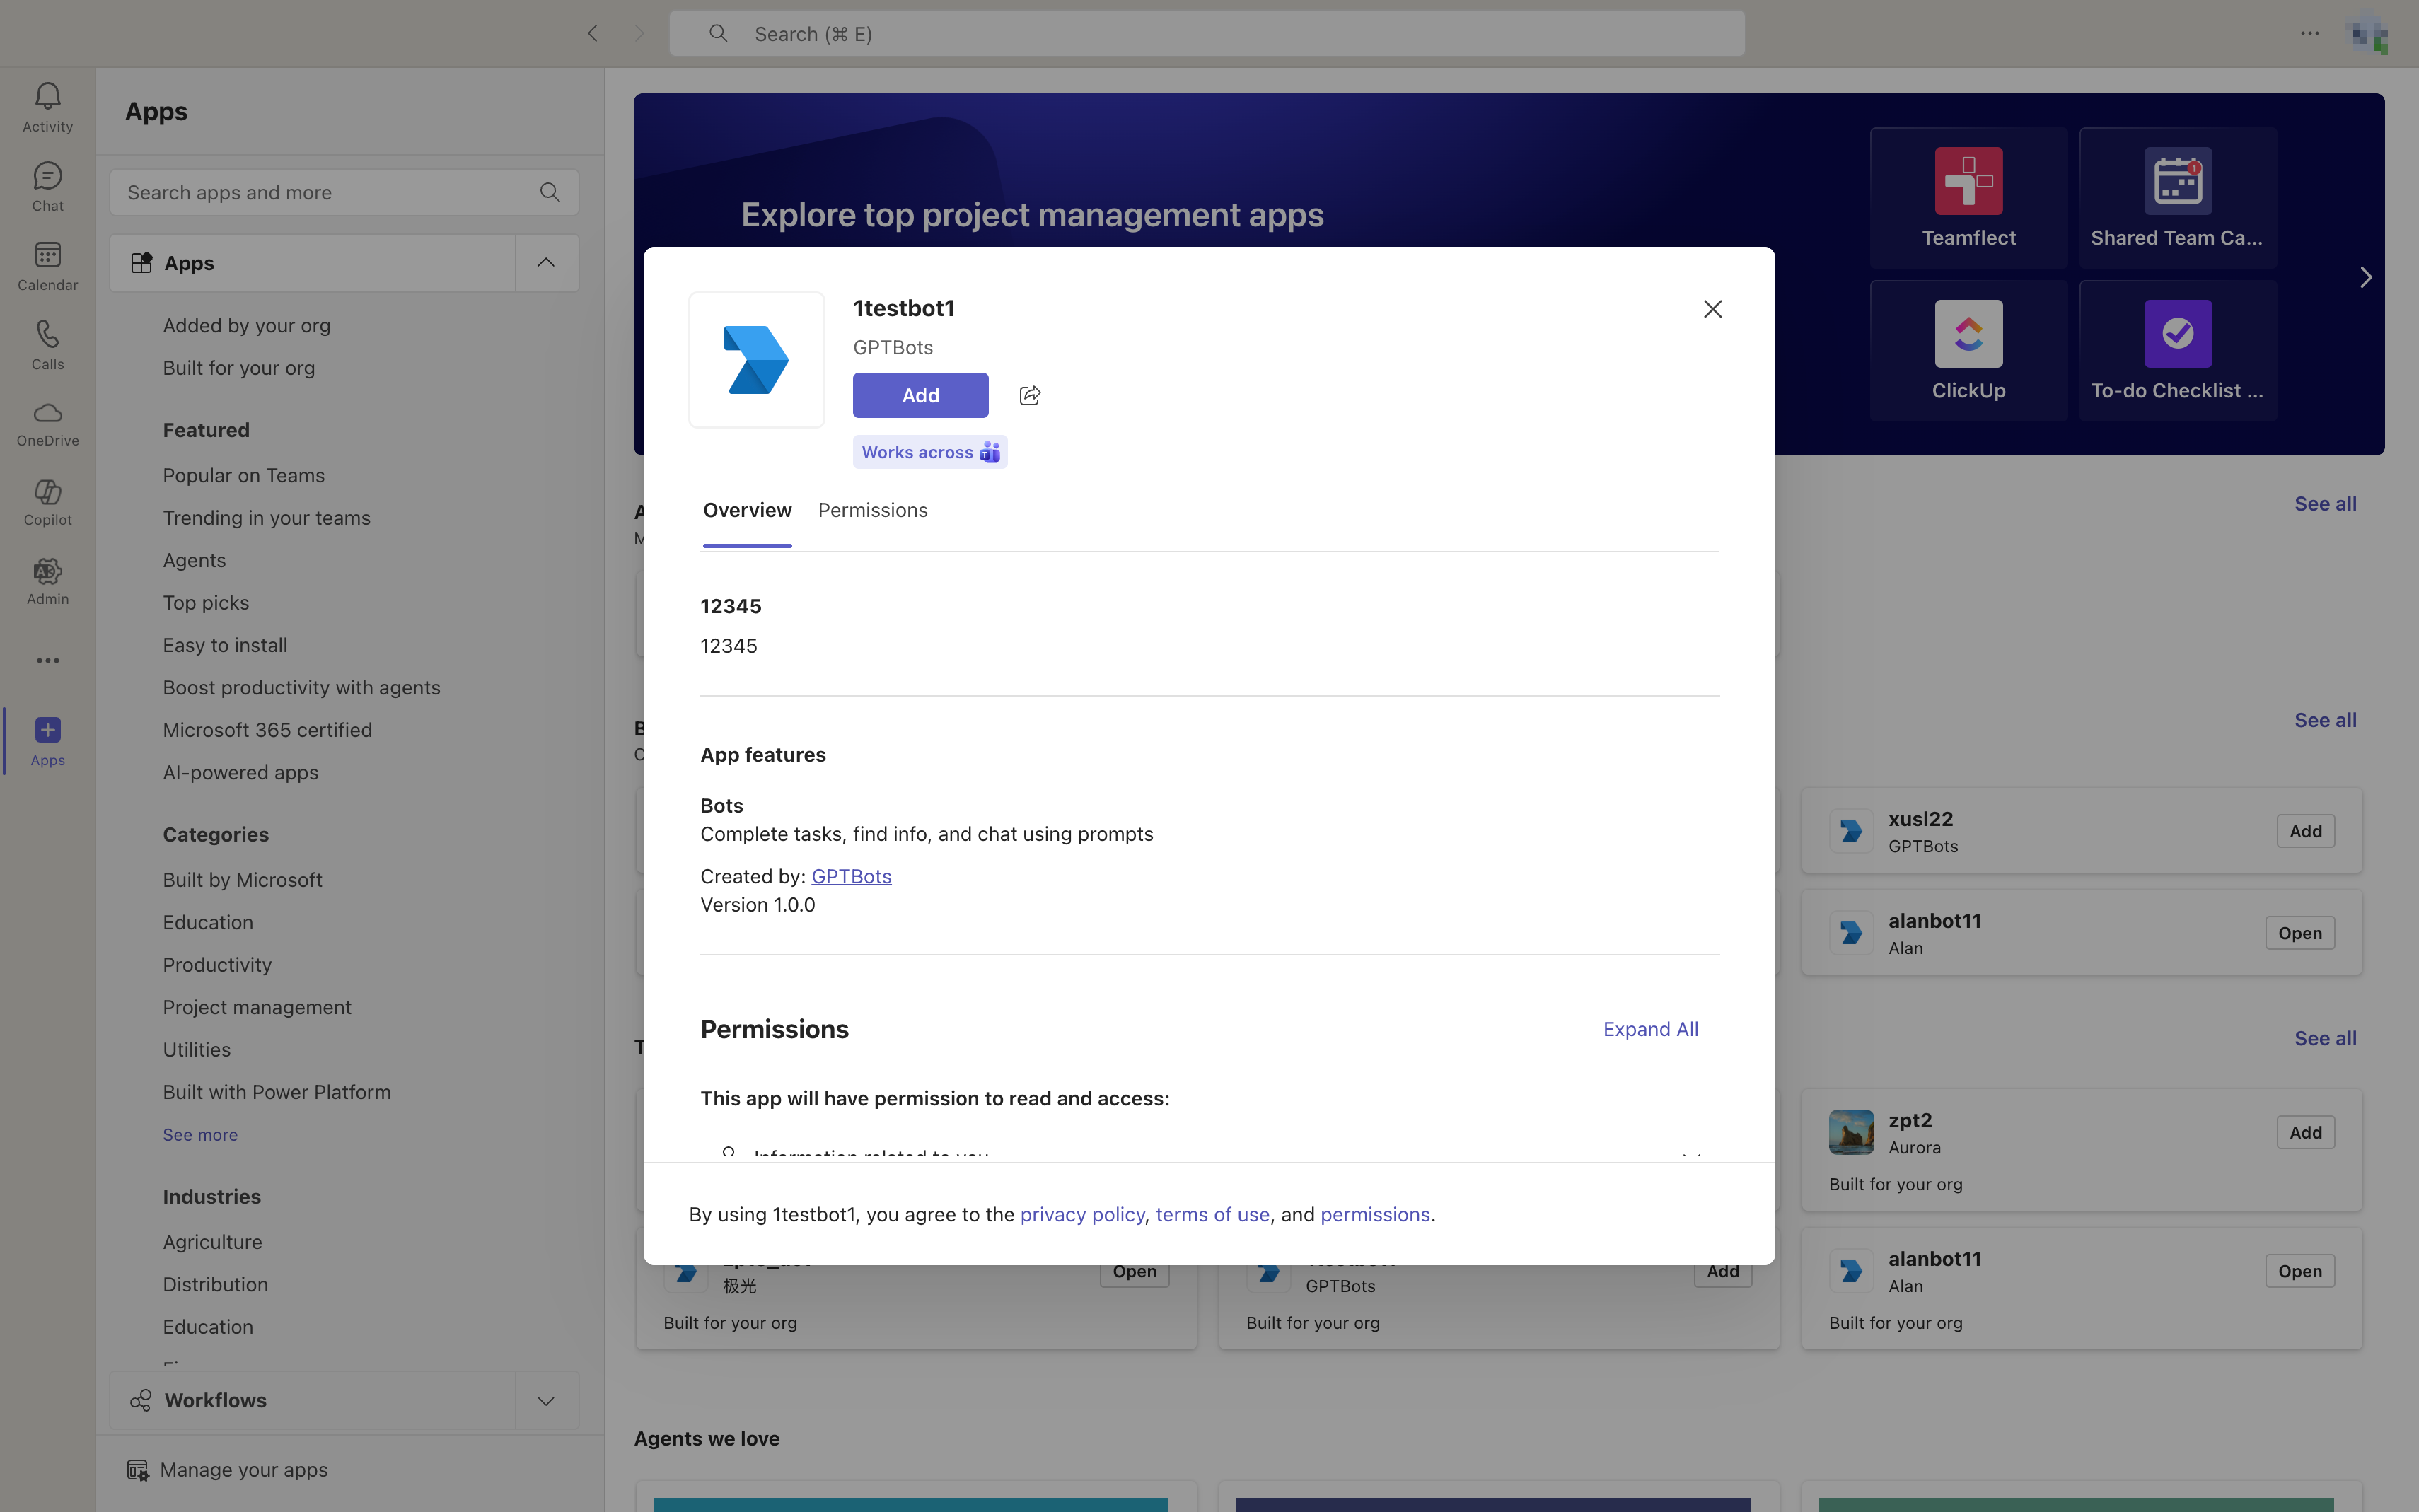
Choose the conversation space and start chatting.